
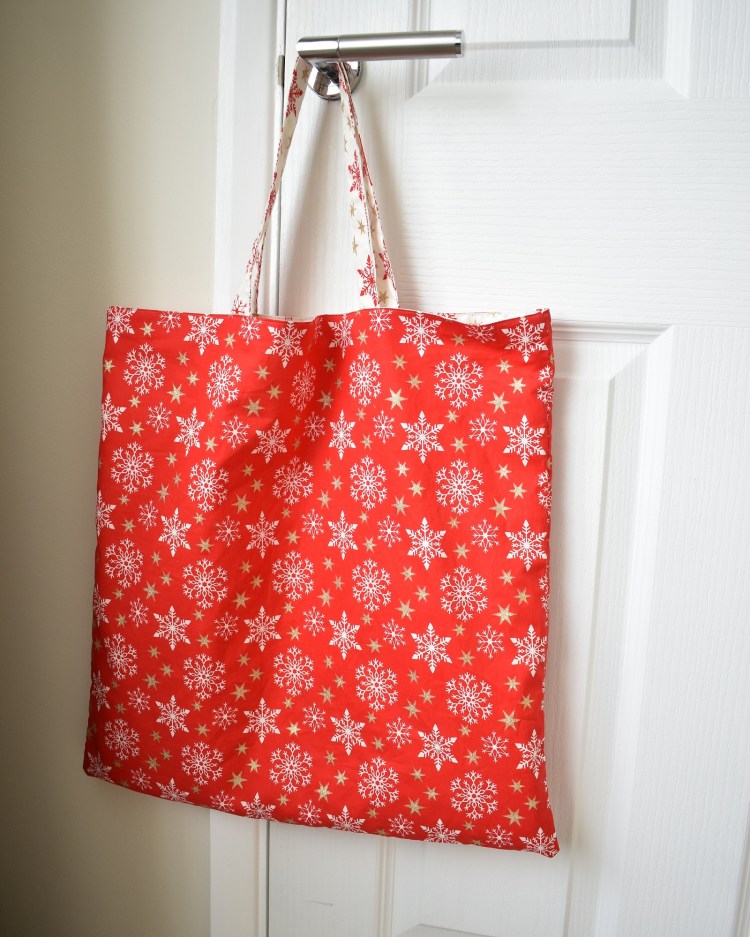
On the first day of Christmas Jillian Sharples Design gave to me, a lovely Christmas Tote Bag
So, here we are, ready to start getting festive with the first of our ‘Twelve Crafts of Christmas’, and what better place to start getting into the festive spirit than by thinking about Christmas shopping. Let’s face it, that’s generally where the festivities all begin isn’t it. To be honest I have already purchased a few items, yep I’m one of those people!! In fact, I’m pretty sure I bought my hubby something back in the golden heyday of pre-lockdown shopping! Where it is I’m not entirely sure at this moment but he clearly hasn’t found it yet!
Now I’m not saying let’s make a lovely festive tote bag and take it out shopping next week! But I do like to get organised, so if that’s you, when the time comes you’ll be all ready to go Christmas shopping in your very own festive style!
What you’ll need:
5 festive fat quarters or 1 metre of fabric (1 metre at a width of 115cm will be perfect. Most craft fabrics are this width so that’s nice and easy)
Sewing machine
Complimentary thread
Tape measure
Cutting board (if you have one)
Cutting Ruler (if you have one)
Scissors or roller cutter
Needle and Pins
Preparing the fabric:
1) Select 4 of your fat quarters, you’ll want 2 pieces of main fabric for the outer bag and 2 pieces of lining fabric.
If not using fat quarters, you’ll want to cut out 4 squares of fabric measuring somewhere between 40x40cm and 50x50cm depending on how large you want to make the bag.
If you are just using 1 metre of fabric you can self-line the bag, if using fat quarters you can select a different fabric for the lining, it is up to you to design your festive tote bag as you wish.
2) Using the remaining fat quarter cut 2 lengths of fabric 10cm wide which will form the straps.
If using fabric from the roll cut 2 strips measuring 10cm x 50cm. Although, if you are using a metre of fabric and want longer straps you can.
3) Lastly, cut a rectangle measuring approximately 16cm x 20cm. This will form the inside pocket of your festive tote bag.
Now you have all the fabric ready it’s time to start making!
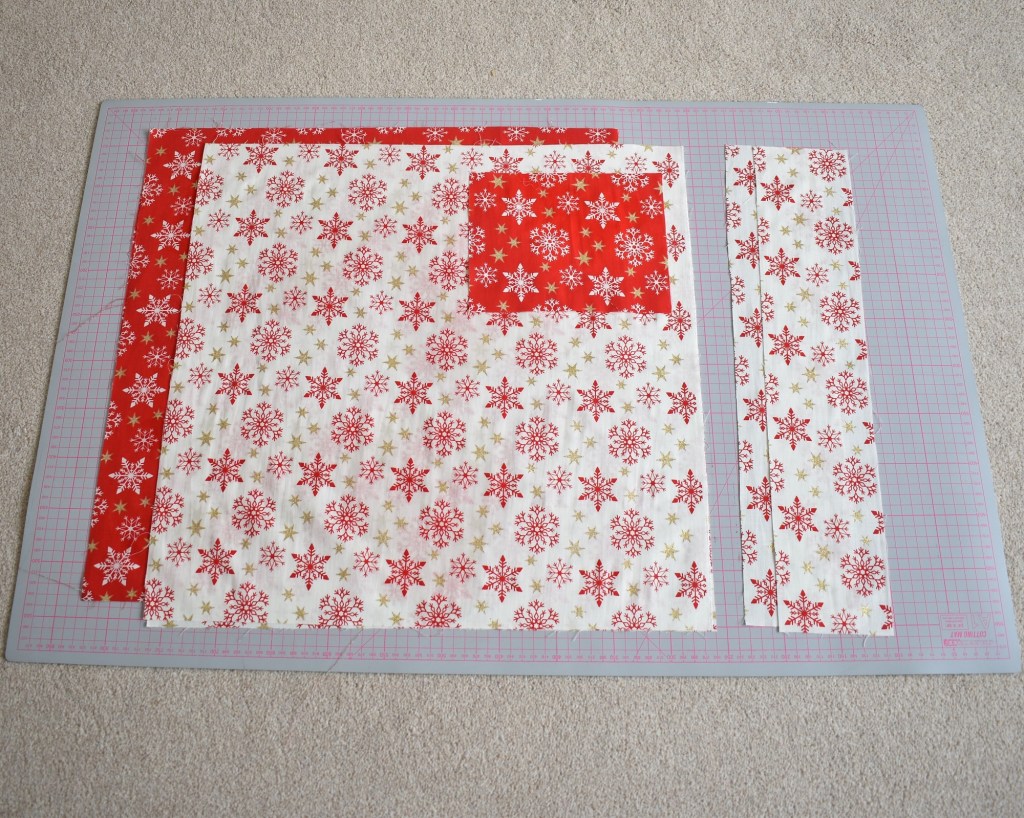
Fabric is ready to go 
straps 10cm x 50cm 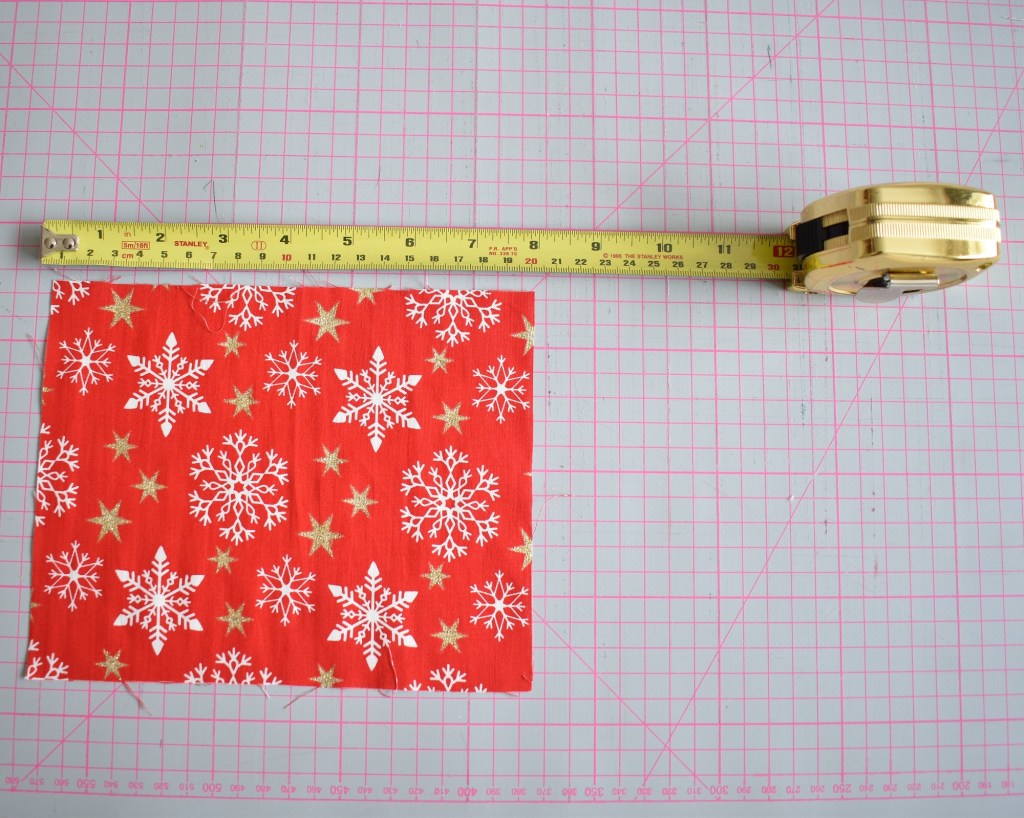
Pocket 16cm x 20cm
Making the festive tote bag:
1) The straps
Take 1 piece of strap fabric.
Fold the long edges in so that they meet in the middle.
Next fold the 2 outer edges together and pin.
Sew a line of stitches all the way round the length and width of the strap, a couple of millimeters from the edge of the fabric. Remember to go over the starting point with a few extra stitches to secure the stitch line at the end.
Repeat for the second strap.
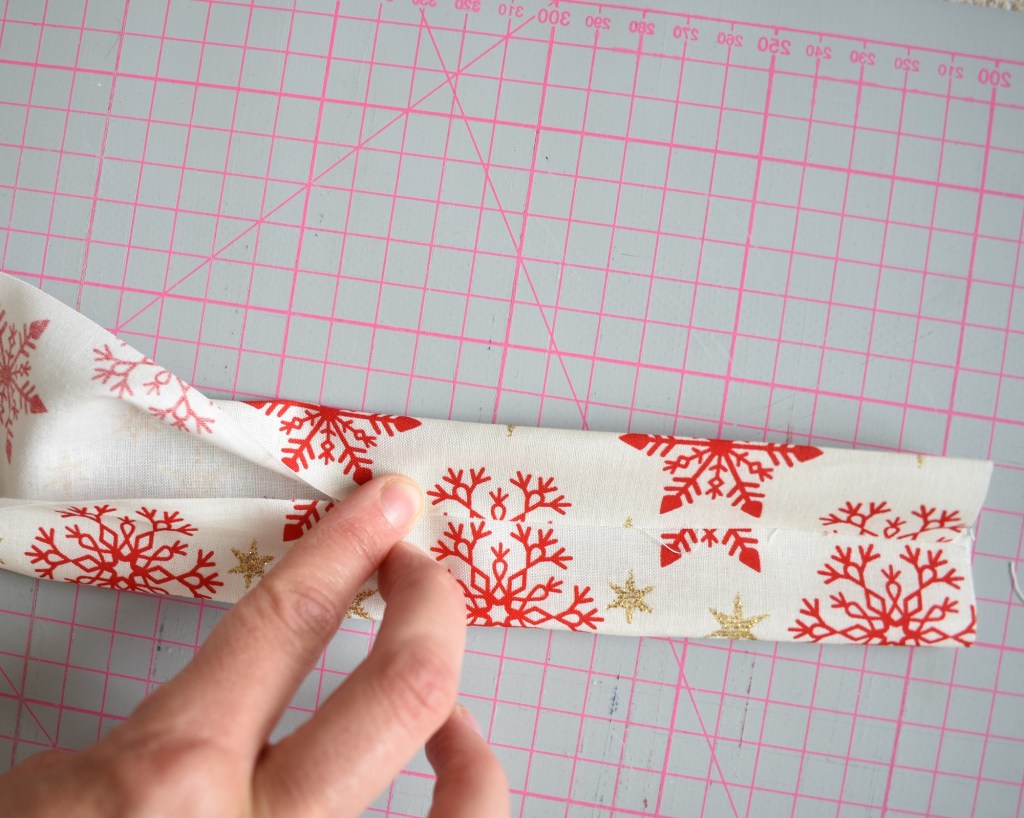
Fold the two edges in to meet in the middle 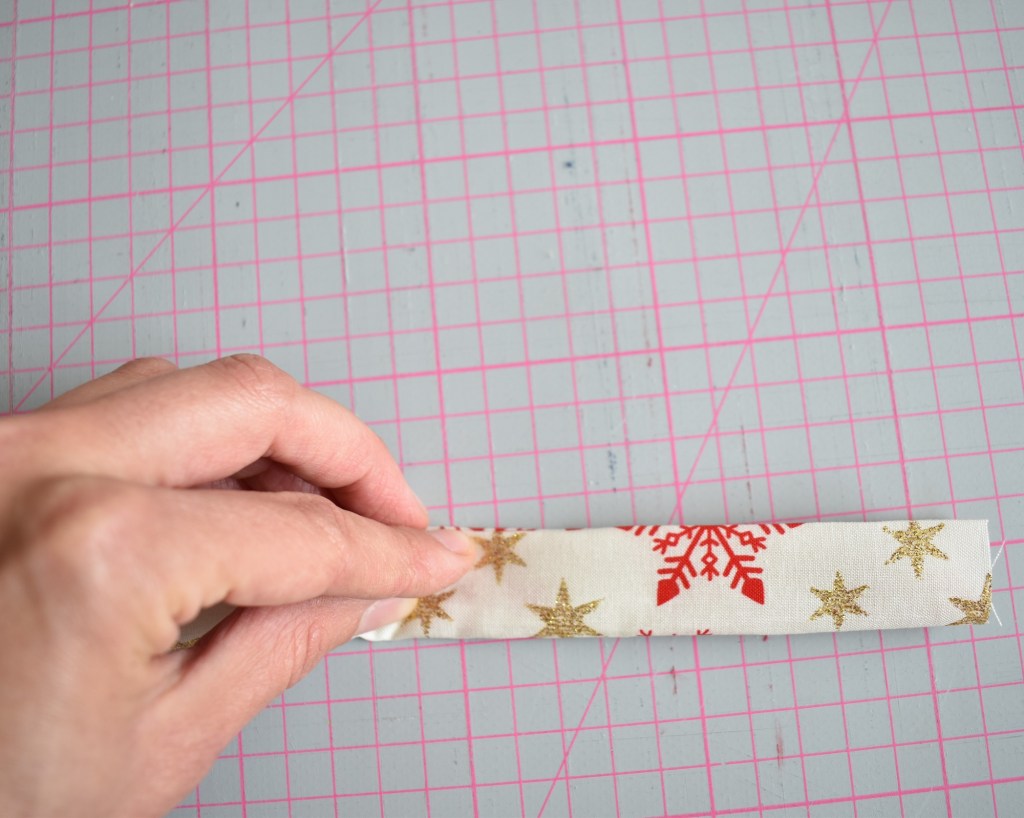
Fold in half again
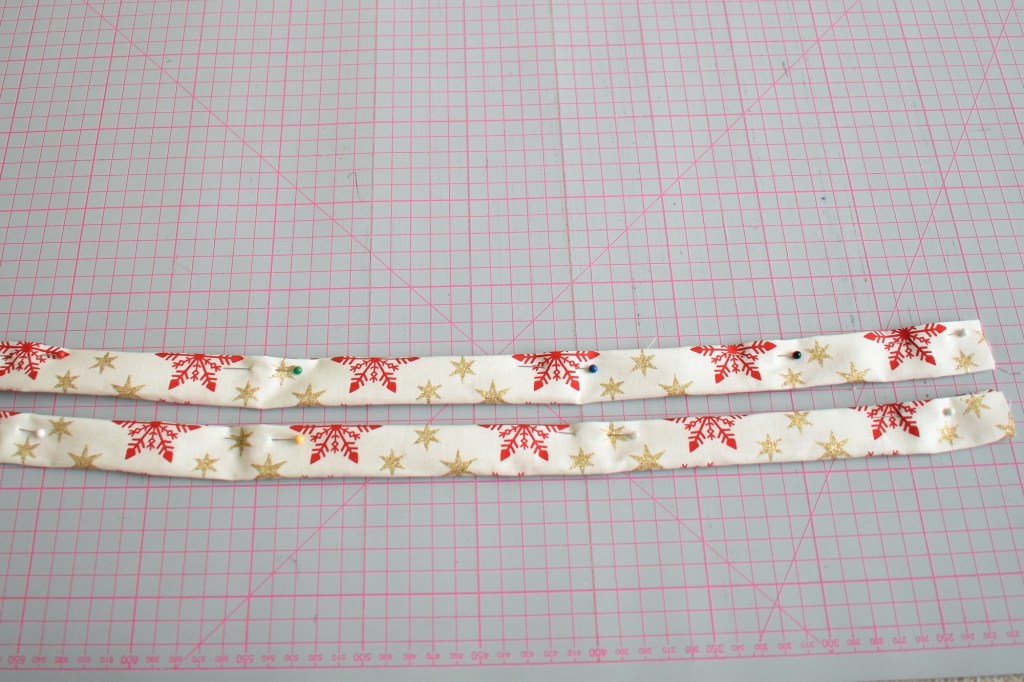
Pin together 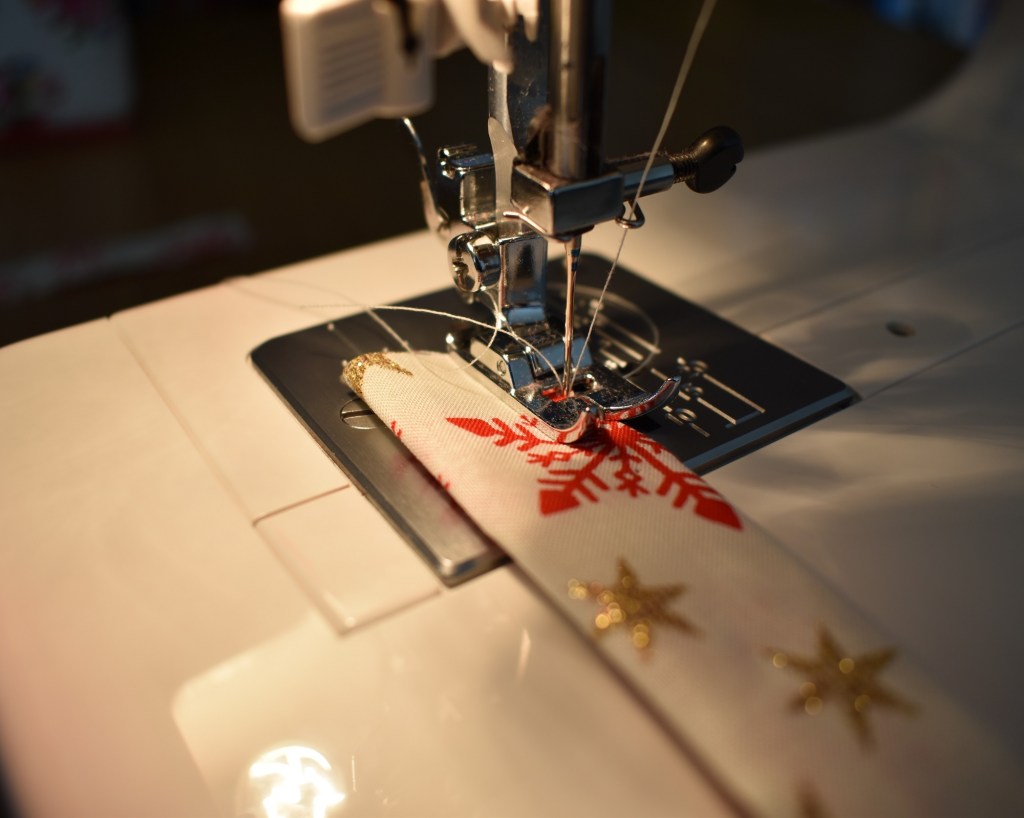
Sew round all 4 sides 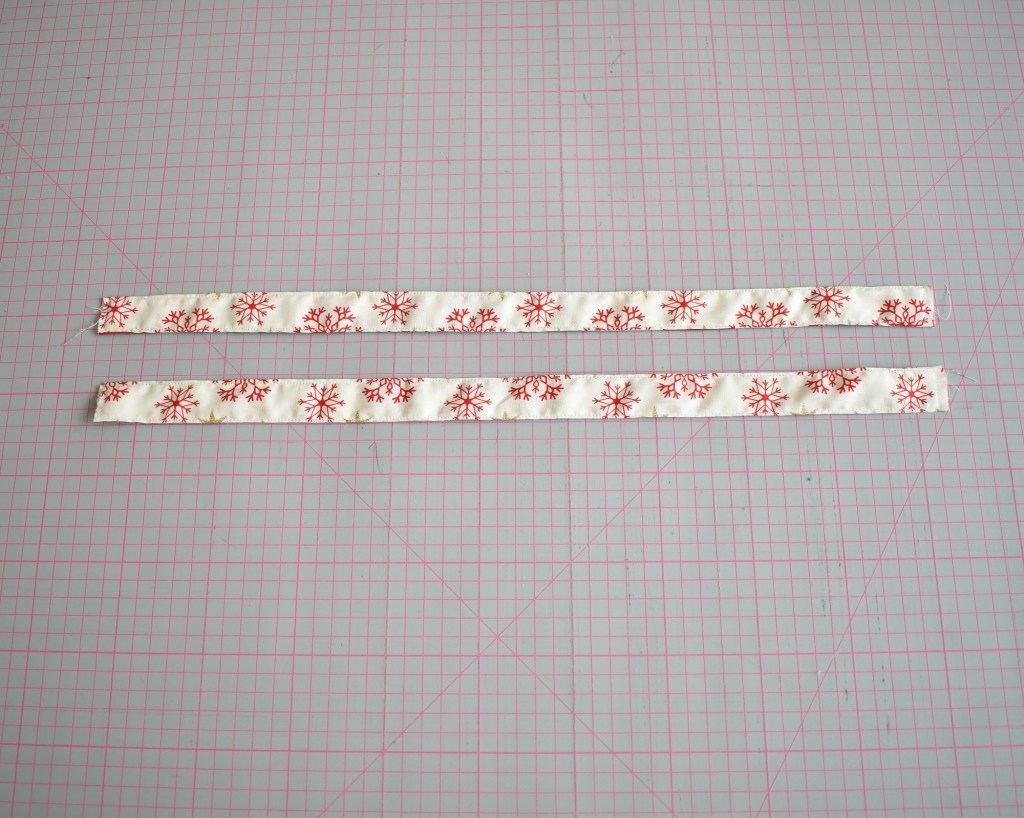
Your 2 straps
2) The pocket
Take the piece of pocket fabric, lay it on its front and fold a 1cm hem all the way round.
I’d recommend ironing hems but it isn’t necessary.
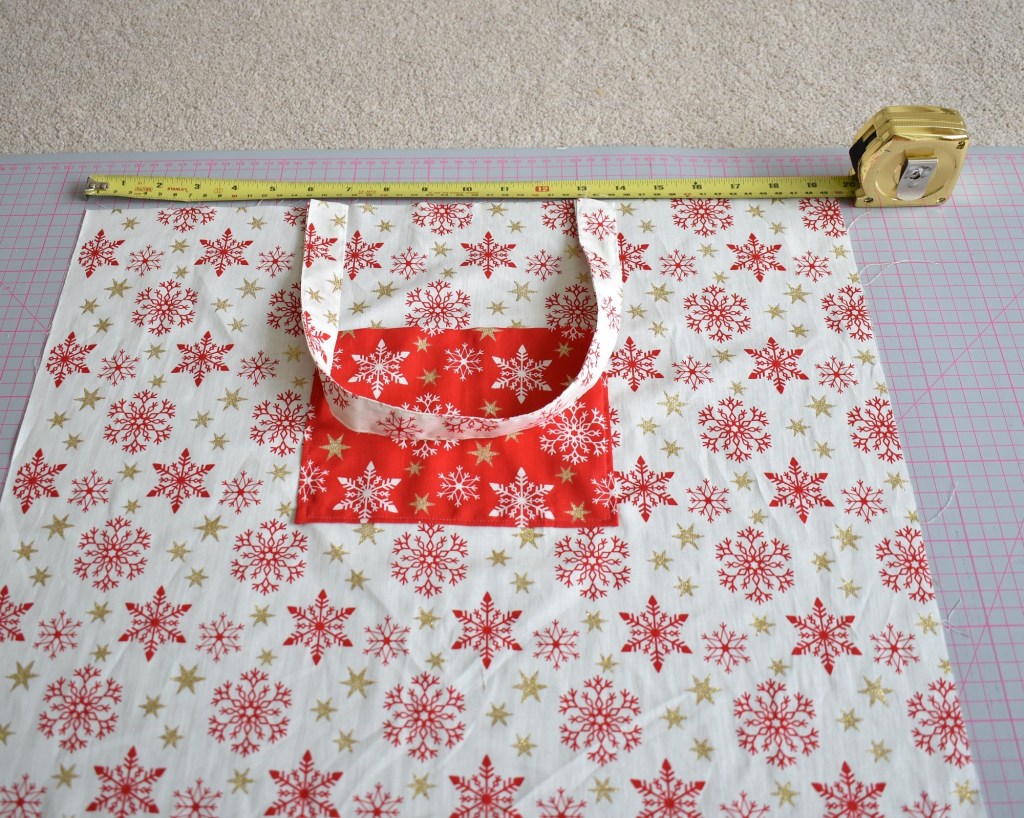
Place it on the front side of one of the pieces of lining fabric, lay it in the middle, 11 cm from the top. Attach with pins.
Top Tip:
On a 50 x 50 cm square I placed mine roughly 16 cm from each side edge
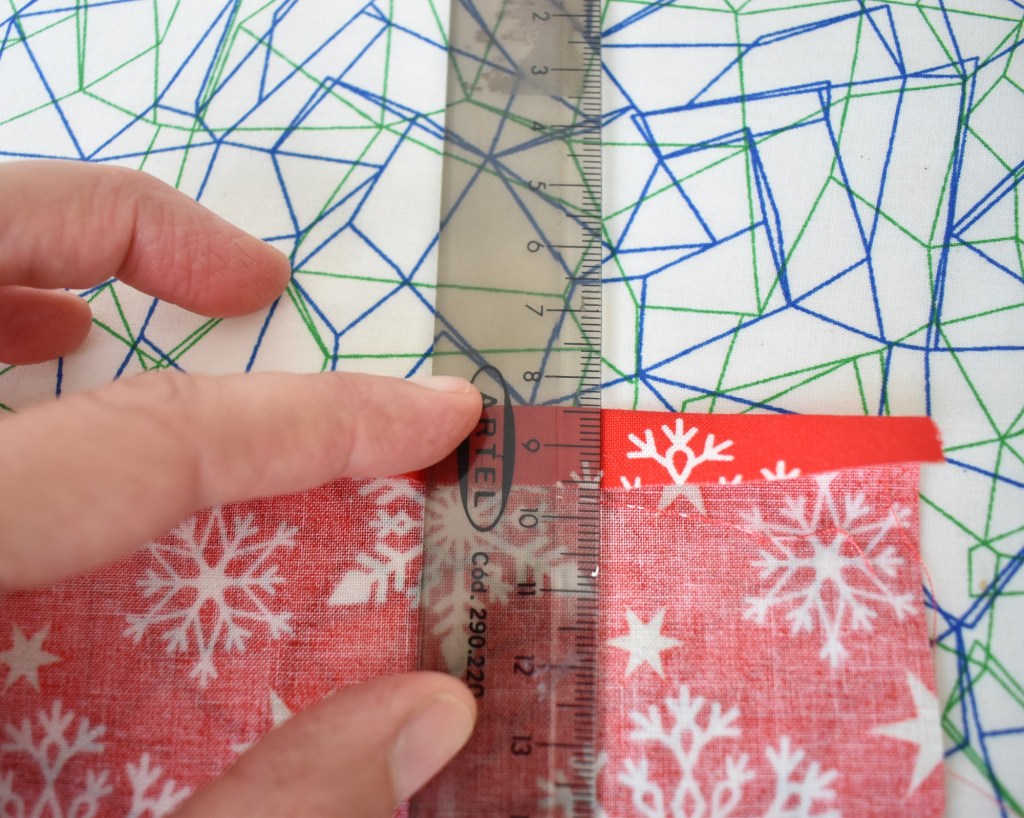
Fold a 1cm hem 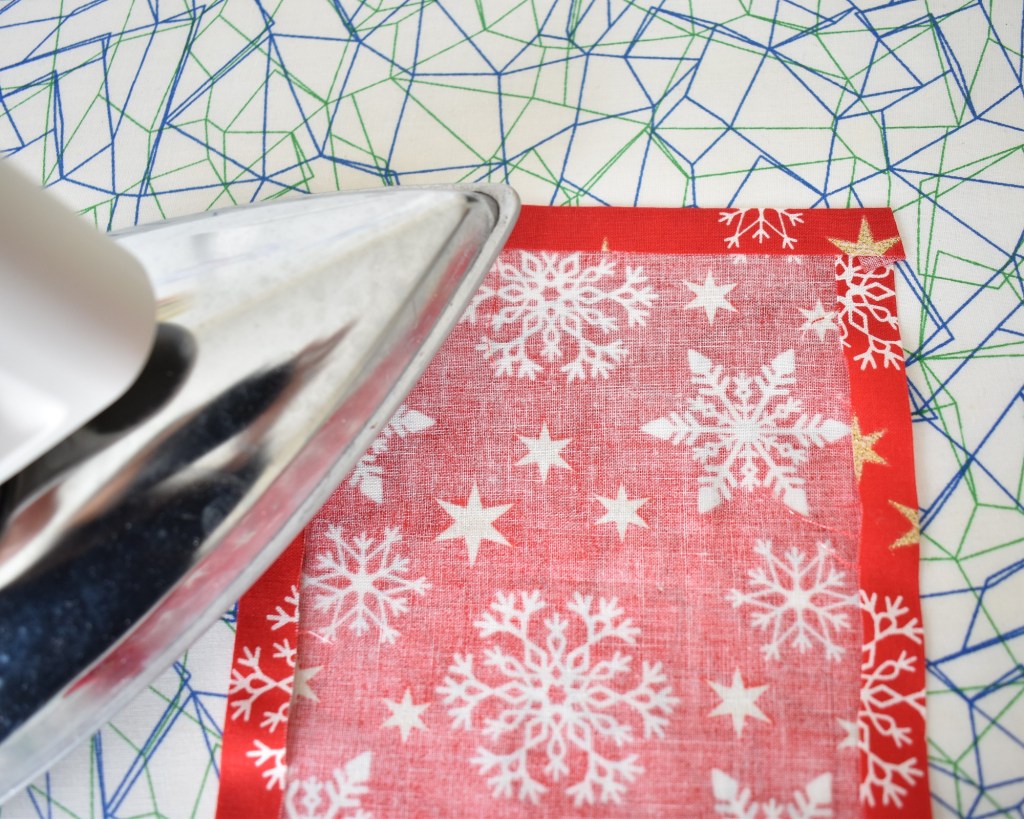
Iron flat if desired 
Place on fabric 11cm from top edge
On the machine affix the pocket by sewing around the bottom edge and the two sides. Not the top edge as this is the opening to the pocket! Remember to do a couple of backwards stitches at the beginning and end of sewing to secure the line.
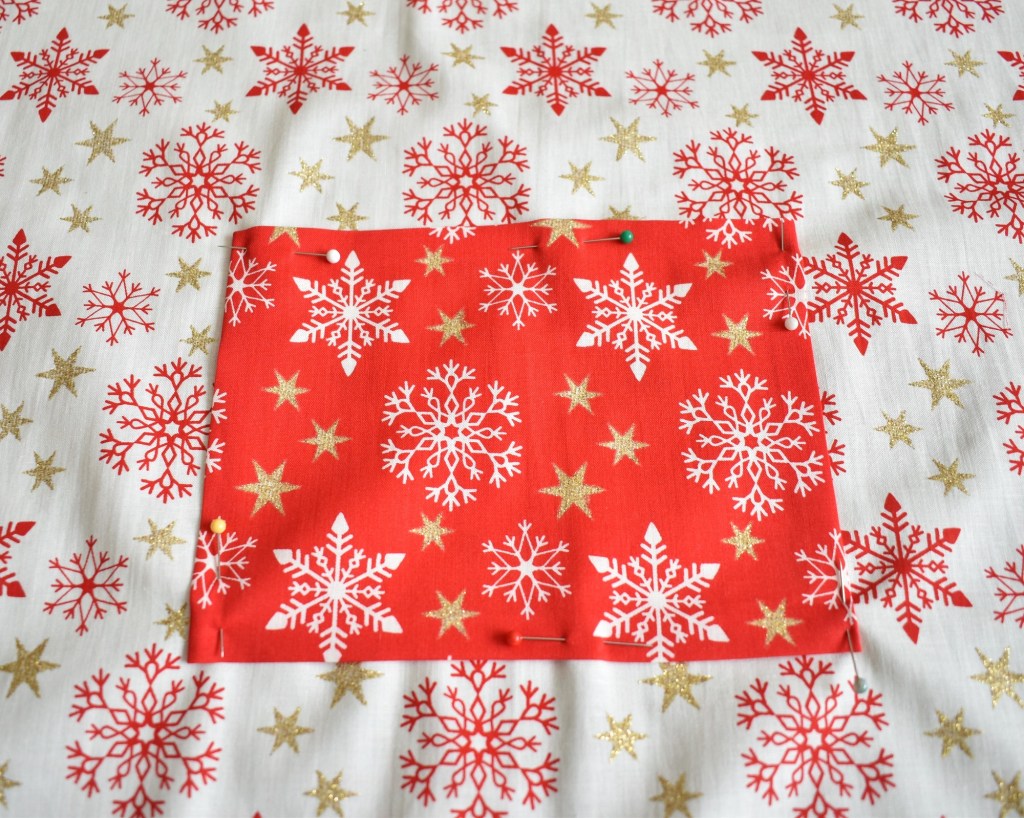
Attach with pins 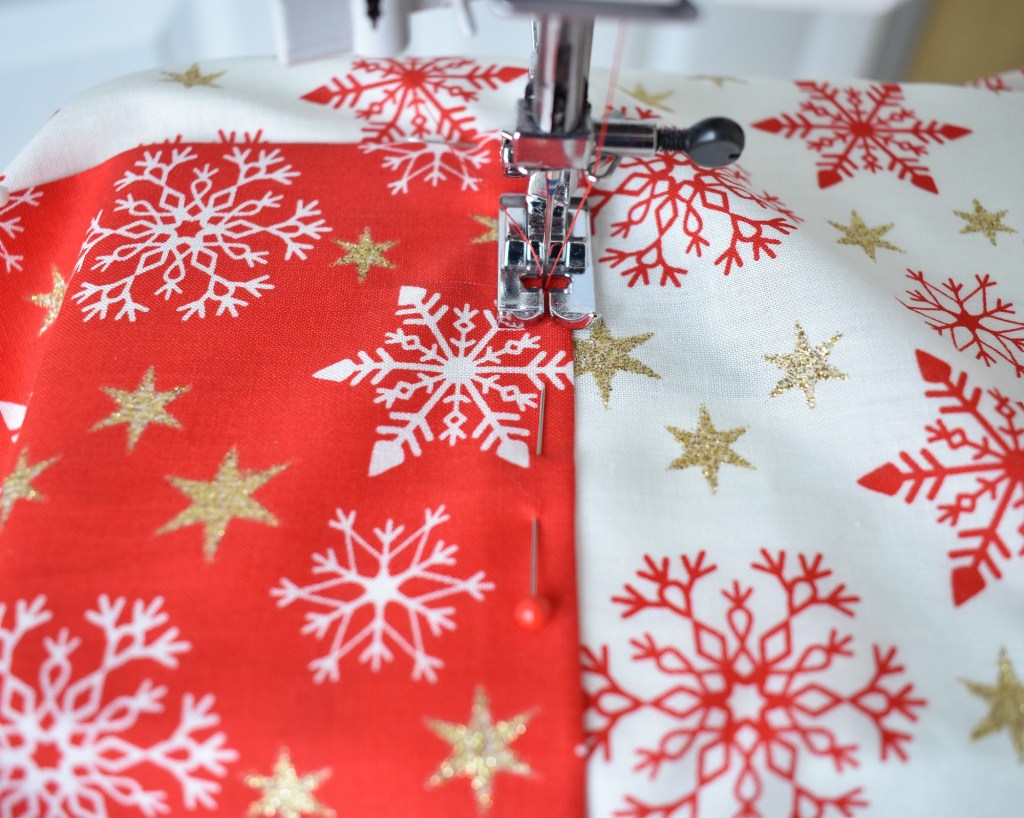
Stitch bottom edge and two sides 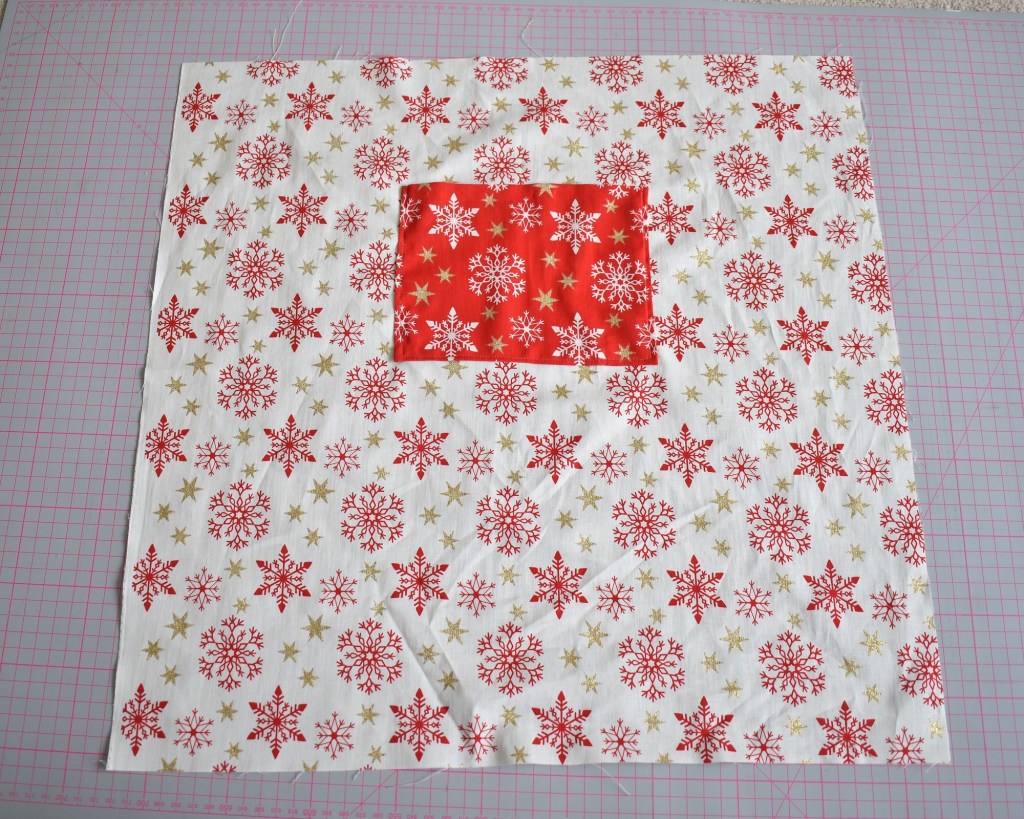
Your pocket in position
3) Attaching the handles
Now you are ready to put the bag together!
Lay a piece of lining fabric down, face side upwards. Lay the first strap in the middle at the top of the fabric with its outer edges meeting the edge of the fabric. Place the outer side of each end of the strap 15 cm from the side edge of the fabric.
Lay a piece of outer fabric on top, face down and pin along the top edge, securing the lining and main fabrics together with the straps secured in between. Make sure to secure each end of the strap with a pin so that it doesn’t move whilst sewing.
Sew a line along the top edge of the fabric, securing the straps inside, 2 cm from the edge.
Place straps in the centre on the face side of the lining fabric 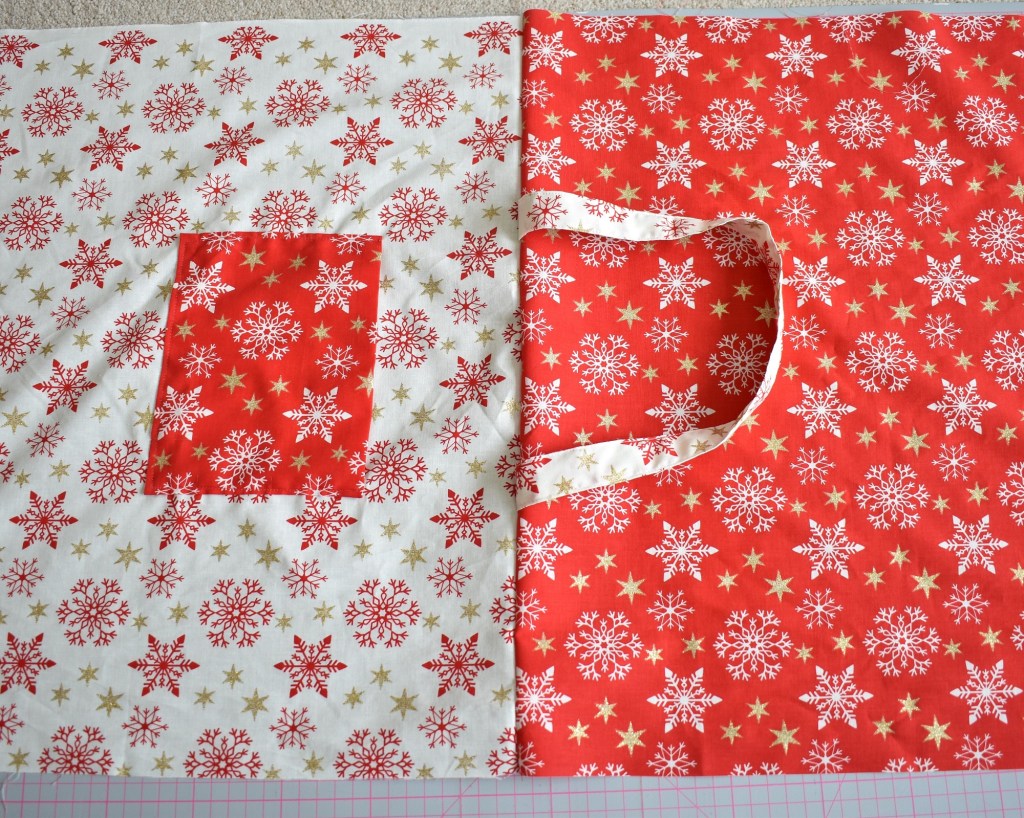
After laying the first piece of main fabric face down and pinning, sew together along the top edge
Next, lay one side of the bag flat down, face side up. Place the second piece on top, face side down.
Quick check
Ensure that the lining fabric sits on top of the lining and the outer fabric on top of the outer.
Pin together all the way round, leaving a gap of 15 cm in the middle of the bottom edge of the lining fabric for turning in the right way.
Fabric is matched up face sides together 
15cm gap with vertical pins 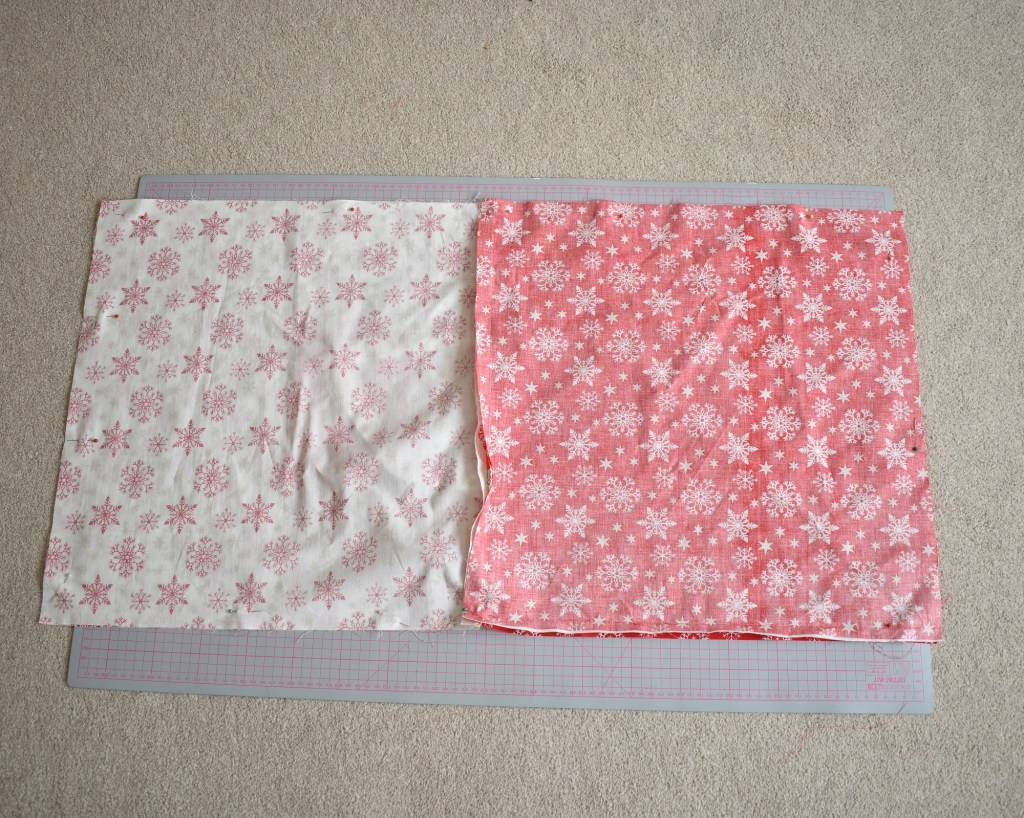
Front and back of bag pinned together
Top Tip
I always put vertical pins at either side of the gap – so it kind of looks like a doorway – as this reminds me not to sew over this section.
Now you can sew it all together!
Start sewing at one side of the gap or ‘doorway’, 1.5 cm from the edge of the fabric and remembering to do a few back stitches first to secure the line. Sew all the way round the bag to the other side of the gap, remembering to do a few backstitches at the end also.
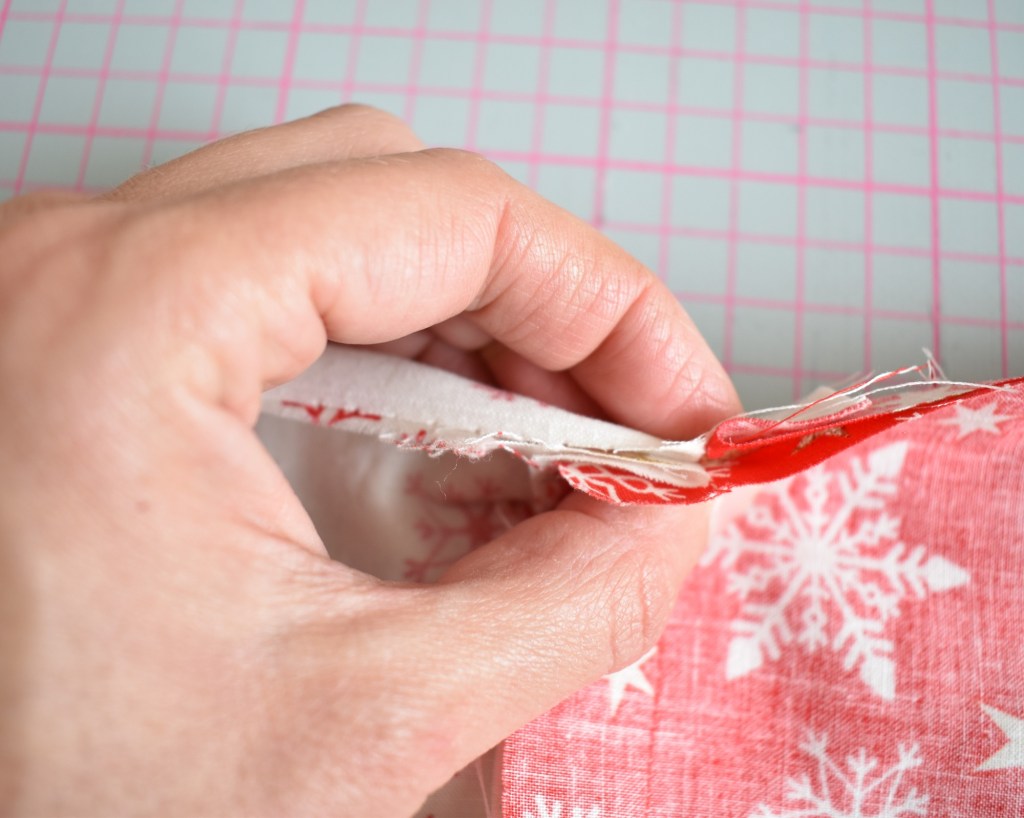
Cut off the four corners, leaving a couple of millimeters between the cut and the stitch line. This helps the corners to be turned neatly with no bunching.
Turn the bag in the right way.
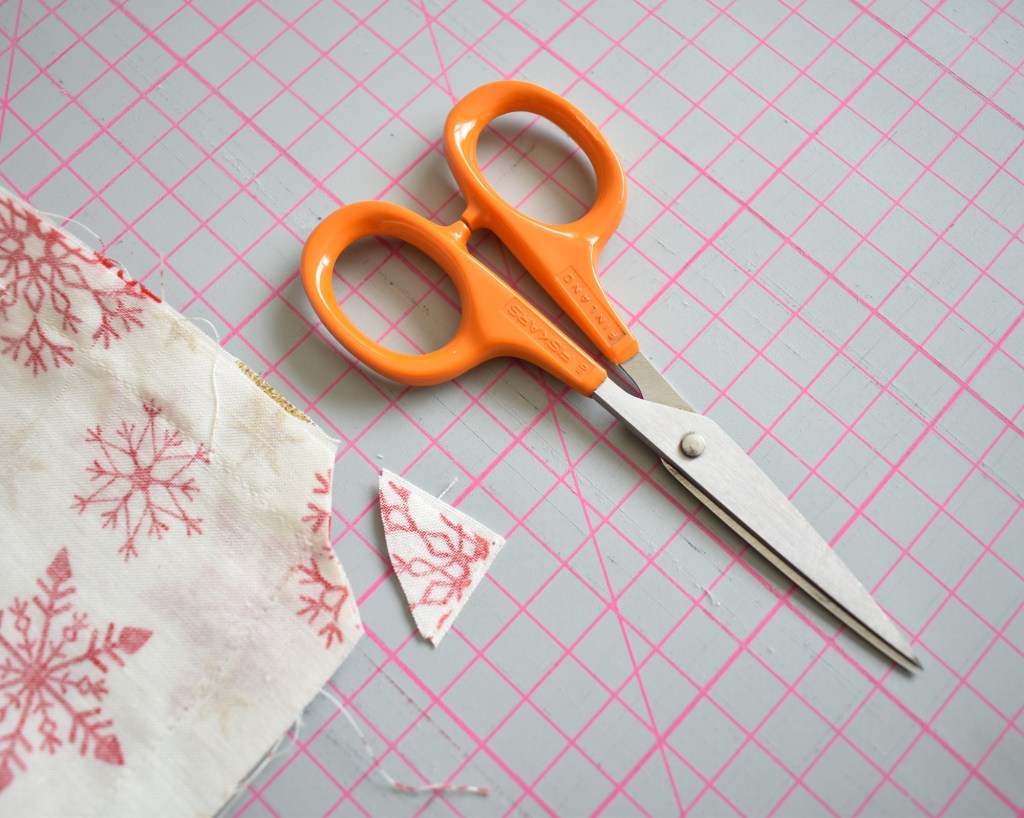
Carefully cut off the inside corners 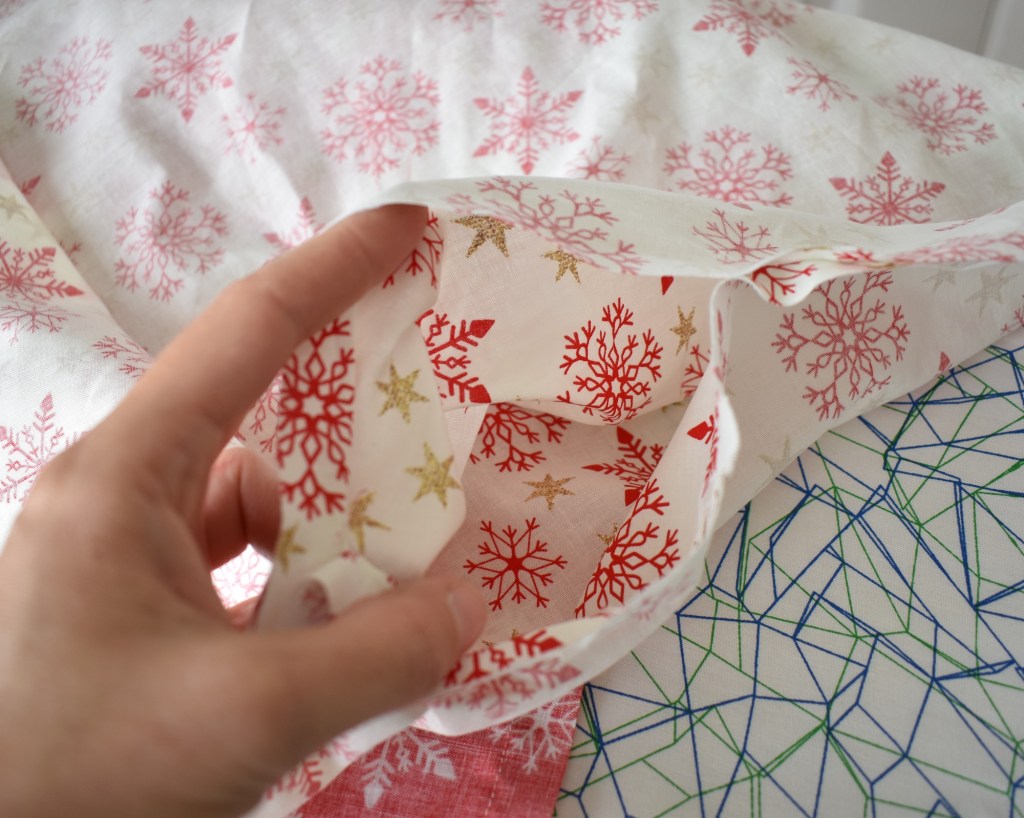
Using the gap you have left… 
Turn the bag in the right way
Using ladder stitch sew up the gap at the bottom of the lining fabric.
Top Tip
If you are unsure of how to do ladder stitch, or slip stitch as it is also known, please watch my youtube video
Once you have closed the gap, push the inner fabric down inside the main fabric, pushing the corners down into each other firmly.
Final step: For a little more stability in the bag, sew one stitch line all the way round the top of the bag, a couple of millimeters from the edge.
Top Tip
I tend to place pins in the fabric so that it doesn’t pull whilst sewing
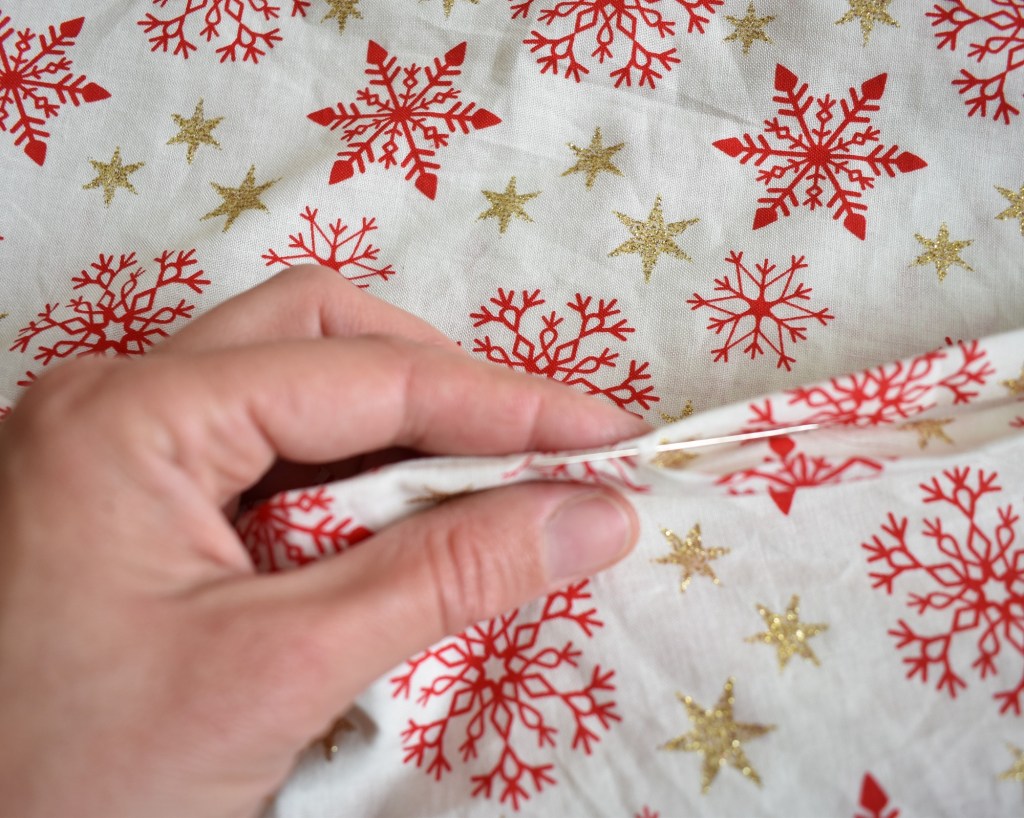
Sew up the gap using ladder stitch 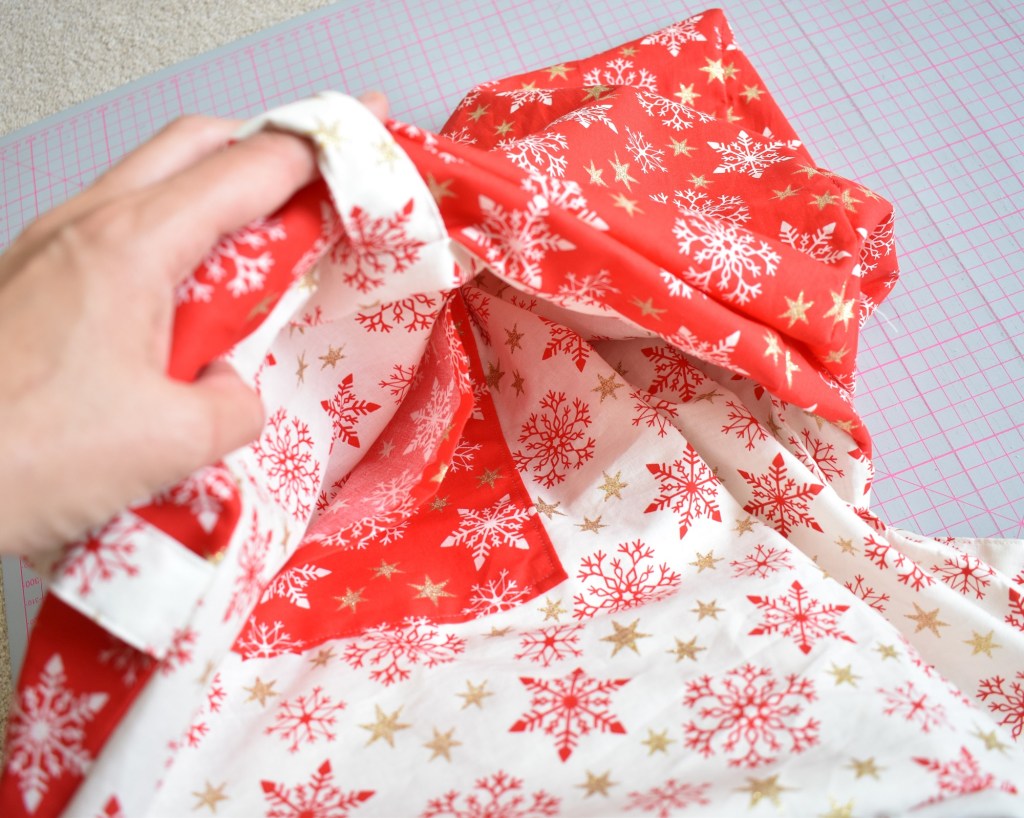
Turn bag in the right way 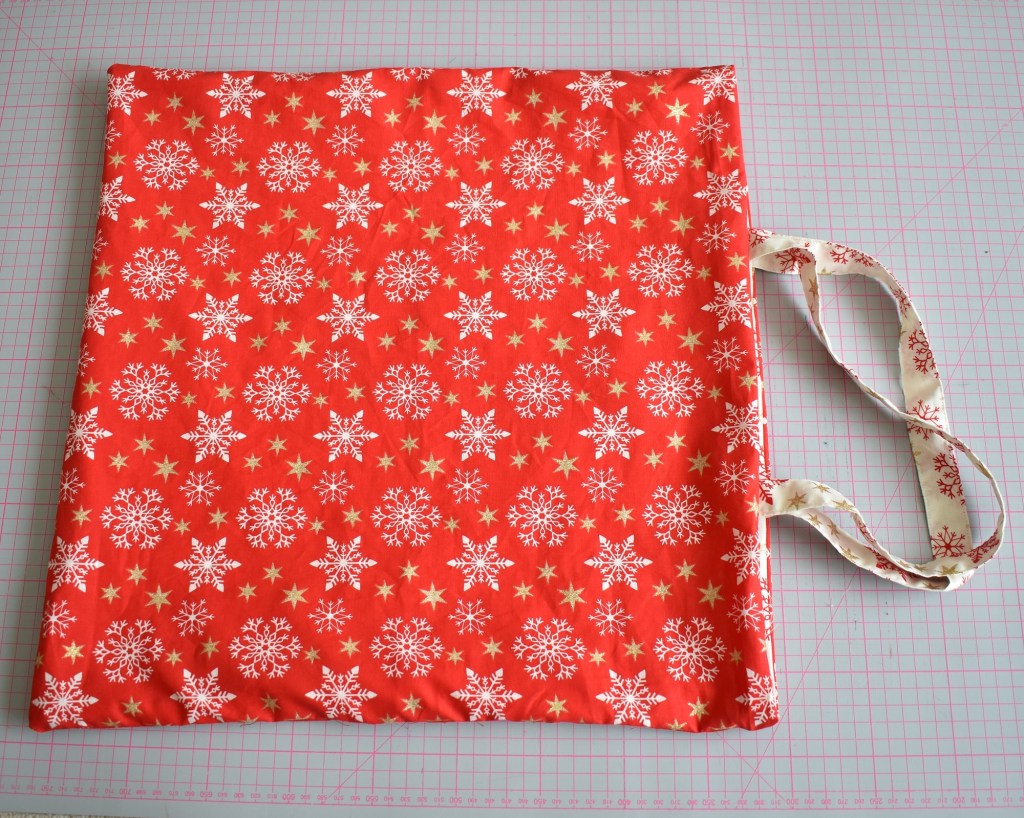
Almost finished 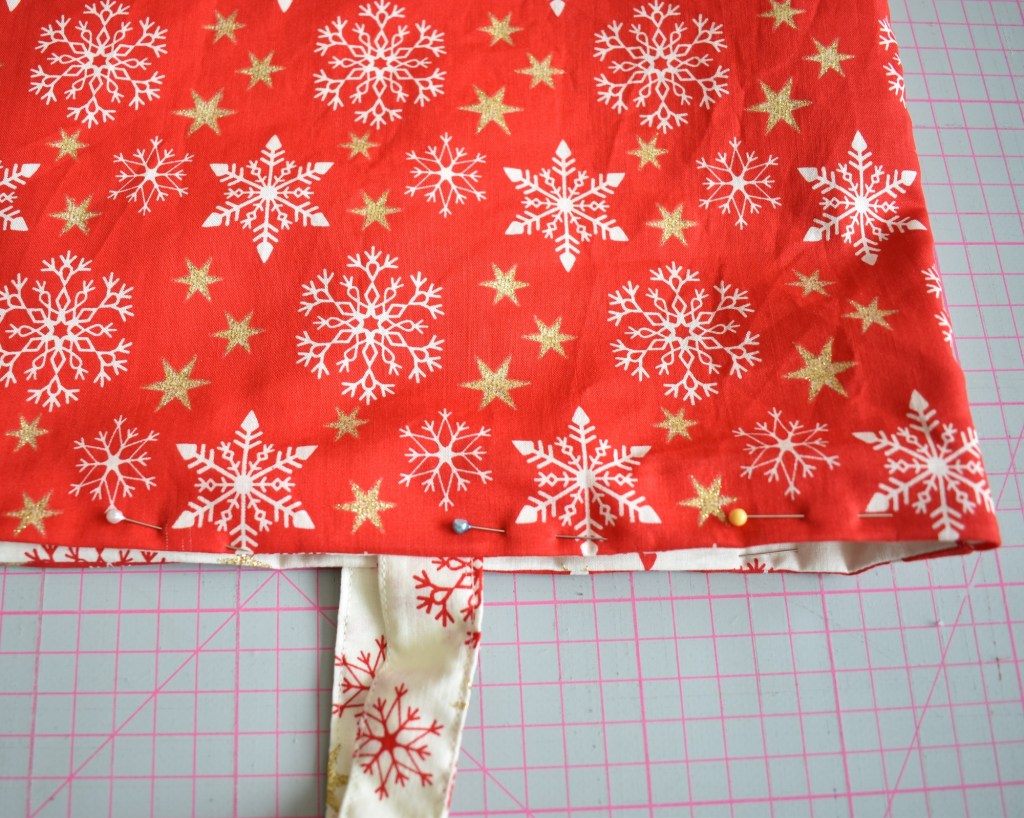
Place pins in the top edge of the bag all the way round 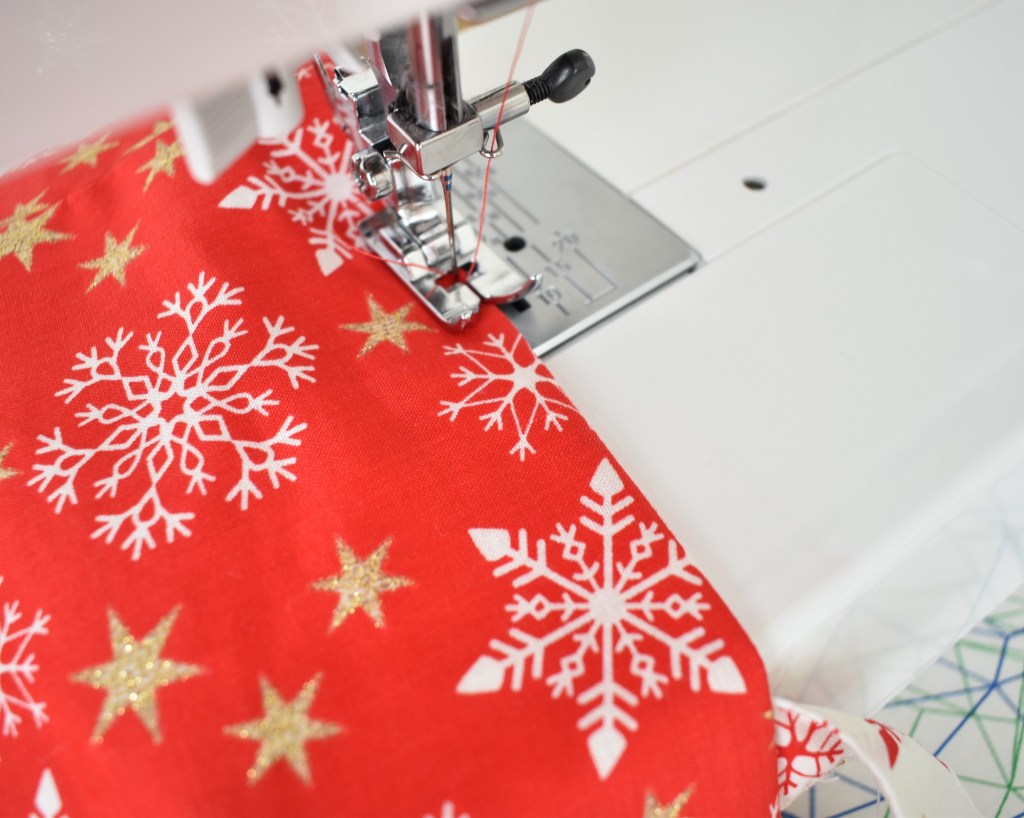
Sew a stitch line all the way round, a couple of millimeters from the edge
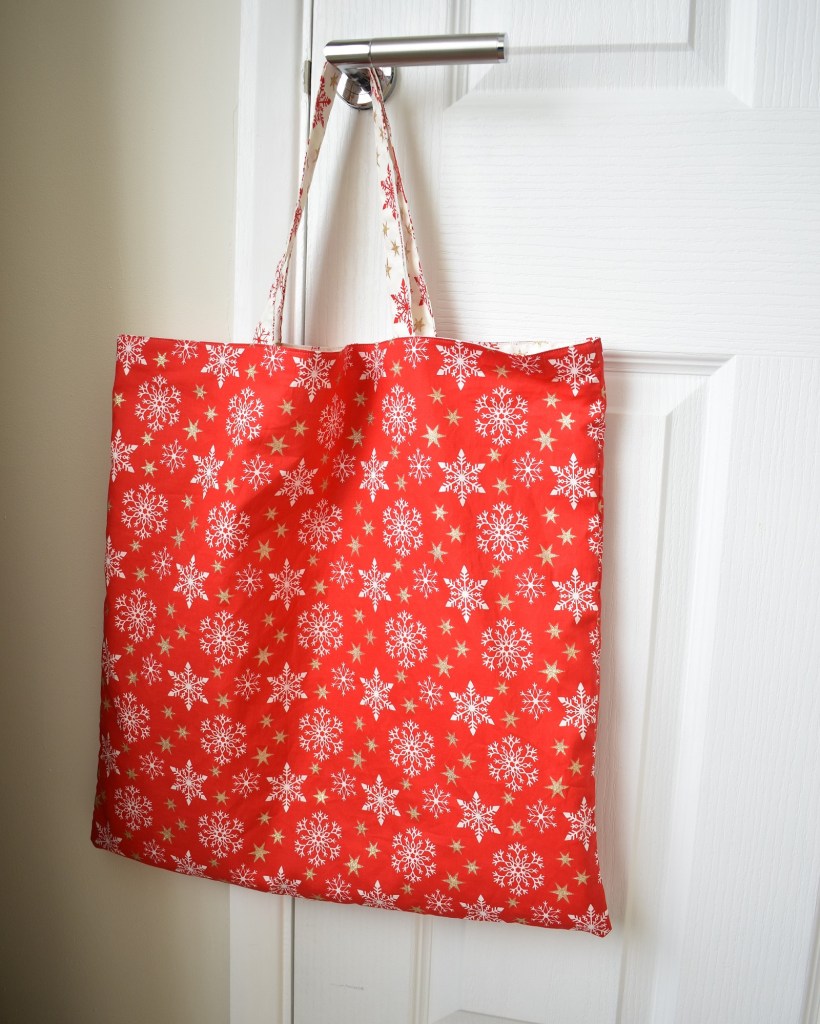
And, Voila! You have a beautiful Christmas Tote Bag
But before writing those lists and heading off to the shops, check out next week’s blog for the second of our ‘Twelve Crafts of Christmas’. I’m going to be showing you how to make a cute little wallet for your debit cards so you really do have everything you need for your Christmas shopping trips!
