

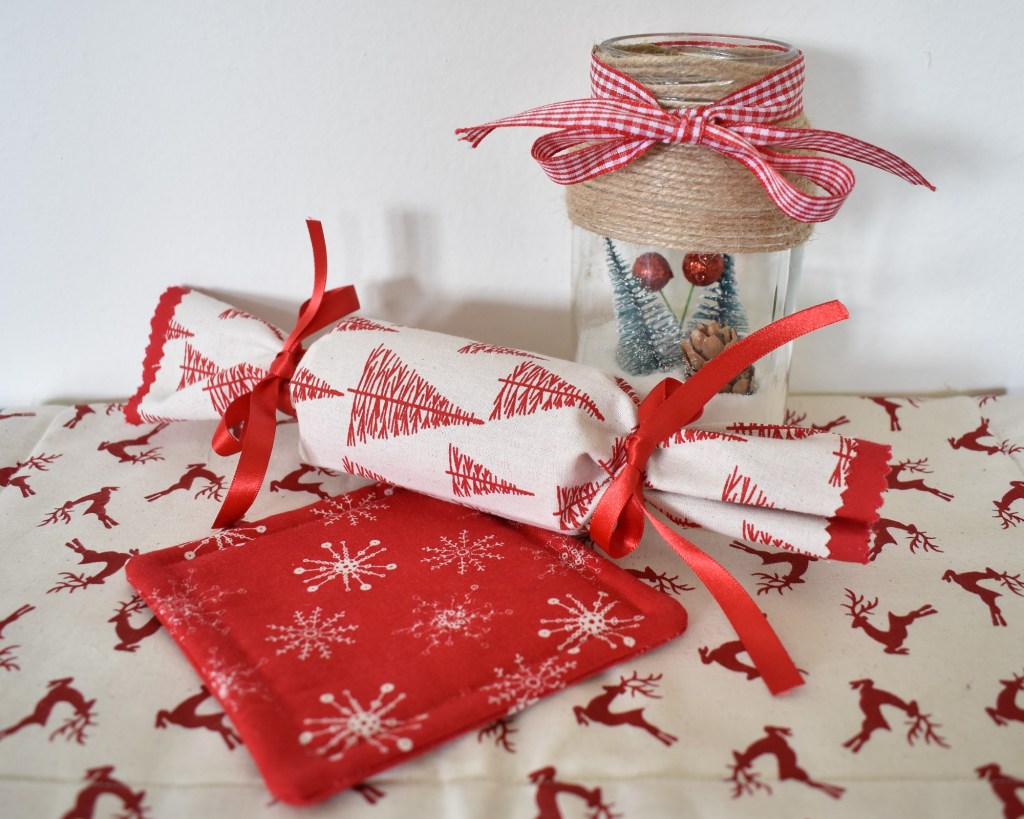

On the third day of Christmas Jillian Sharples Design gave to me, a lucky dip advent calendar…

Hi there, so do I dare ask where we’re all at with our Christmas planning!? Don’t worry if you’re still struggling to think that far ahead, beacuse this week I’m back to help you with another lovely homemade Christmas project, my ‘Lucky Dip Advent Calendar’. Helping you treat your kiddies, partners, or just yourself every day throughout advent 2020. If you’re anuthing like me, you love those advent choccies first thing on a December morning!
It makes sense, we’ve thought about Christmas shopping trips so now it’s definitely time to start thinking about the presents you’re going to start buying! Definitely one of my favourite things about the Christmas period, and no I don’t mean all the lovely gifts I get, I mean coming up with ideas and picking fun and thoughtful gifts for those I love. It’s so much fun isn’t it, being able to spoil those around us that we love. And, maybe this will take on even more meaning this year as we find ways to spend special time with the people we love who we maybe haven’t been able to see so much thanks to the current Covid situation.
I’ve called this my lucky dip advent calendar as I haven’t included any numbers, making it slightly less traditional than the usual. Although if you want you can get all kinds of different craft numbers to tie on to the ribbons or stick on to the fabric as you like.
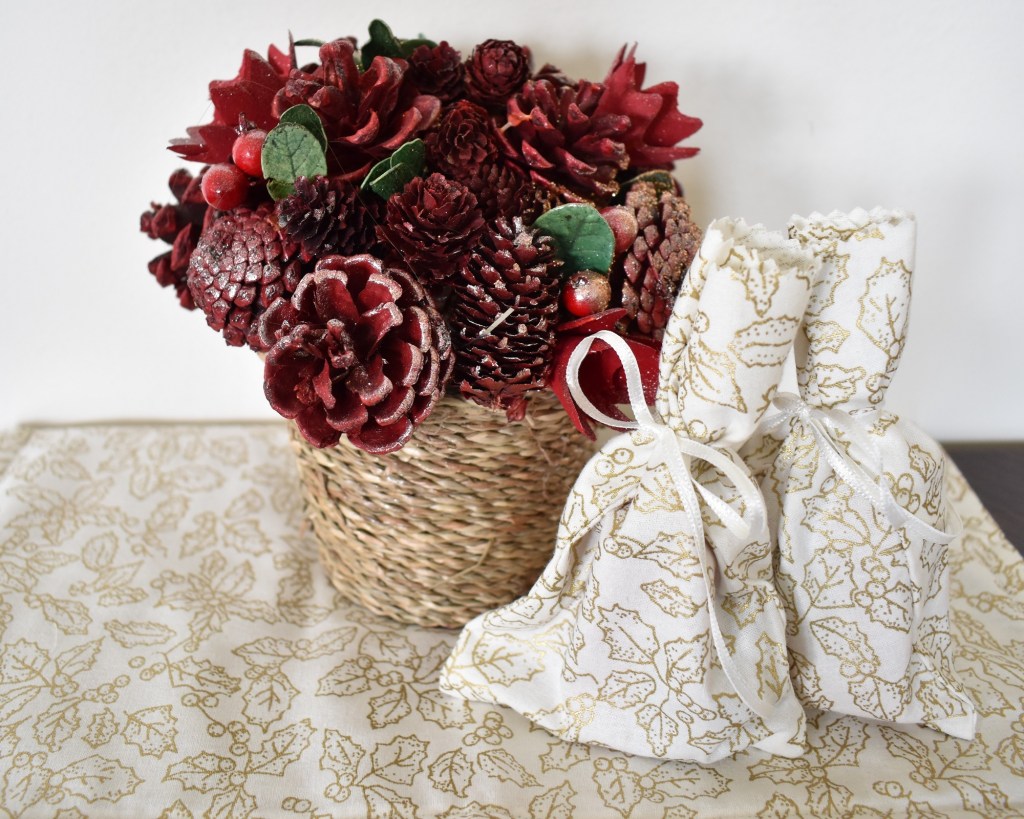
This is made up of 24 simple little gift bags, or if you’d prefer to make little Christmas stockings there’s an extra option for this at the end.
I’ve based the third of my Twelve Crafts of Christmas on an advent calendar I made my niece a few years ago where I decided to improvise away from the standard style of homemade calendar. The issue I found when doing research is that calendars of this type often involve hanging stockings from a string, a bit like bunting, which affects the kind of gift you can put in them as they can’t be too heavy. Or, they hang stockings on some kind of heavy board that, quite frankly, I find cumbersome and difficult to store throughout the year. Well, I did some thinking and decided to make little gift sacks and pop them in an A4 size Christmas Eve style box. This makes storage much easier, both throughout advent as it’s easy to simply pop the box under the tree, and throughout the year as you can store things in the box.

I’ve also made this craft project super simple for you, because let’s face it, while it really is lovely to have some homemade touches around the home, making 24 of anything is fairly time consuming! That’s right, I’ve actually thought of everything to make this as simple as possible for you!! So are we ready to get making?
What you’ll need:
6 Fat quarters (each fat quarter measuring 40cm x 40cm or 50cm x 50cm will provide fabric for 3 bags)
OR
1.25metres of fabric (Please note this is based on standard craft fabric which tends to measure 115cm in width)
OR
Mix it up by using leftover pieces of fabric as I have. It doesn’t necessarily need to be Christmas fabric if you want to create a certain theme.
10 metres of matching ribbon to make 24 pieces of 40cm
Cutting board (if you have one)
Cutting ruler (if you have one)
Roller cutter or scissors
Pinking shears
Tape measure
Sewing machine
Matching thread
Needle and pins
1) Preparing the fabric:
You want to begin by cutting out 48 pieces of fabric 13cmx18cm
Using pinking shears cut across the very top edge of each piece, this effect looks sweet and prevents fraying without the need for extra sewing.
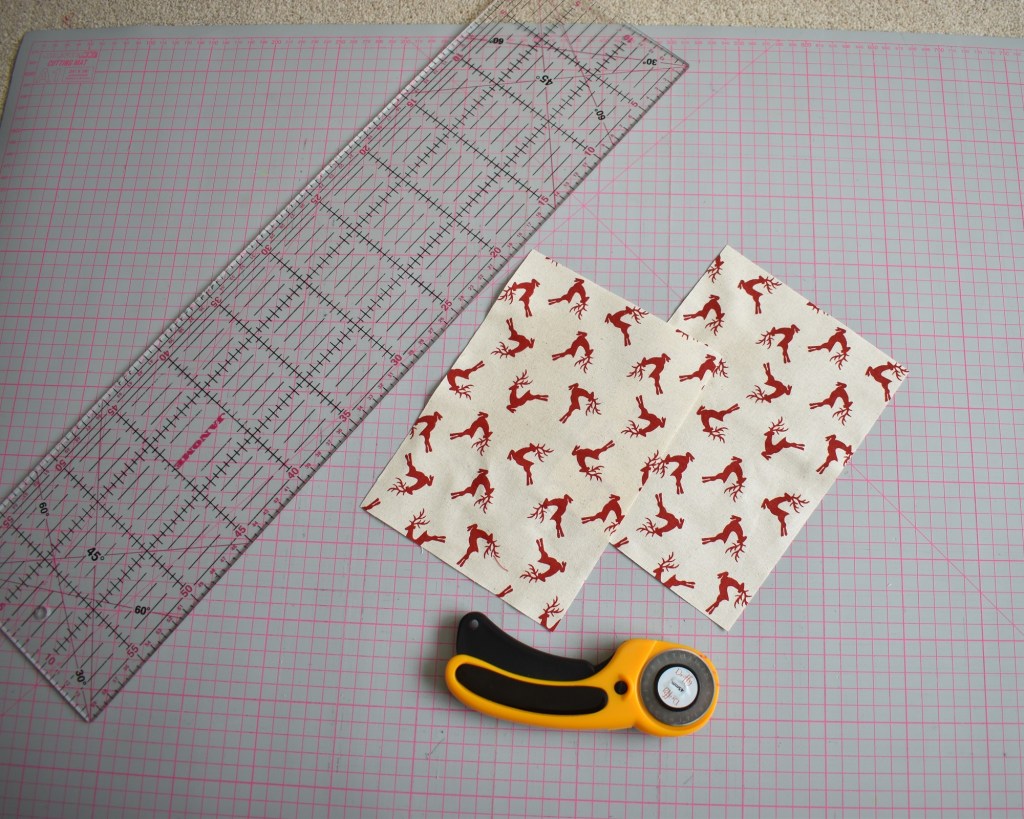
Cut out your first two pieces of fabric 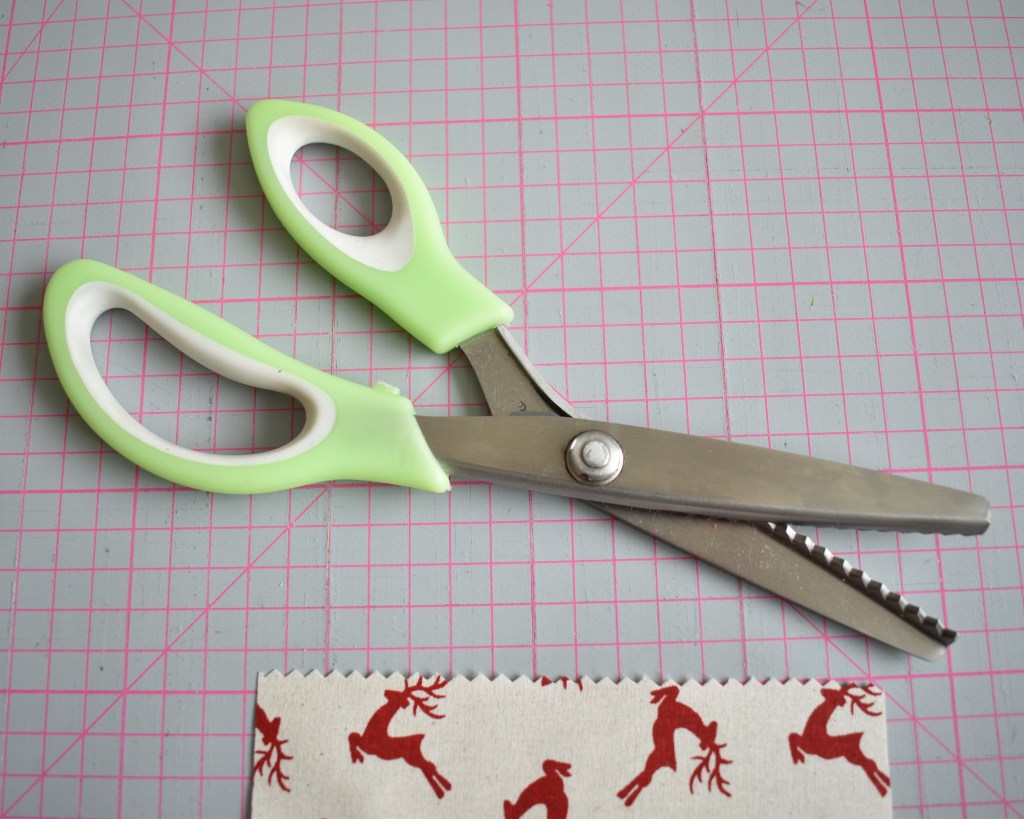
Using pinking shears cut along the top edge 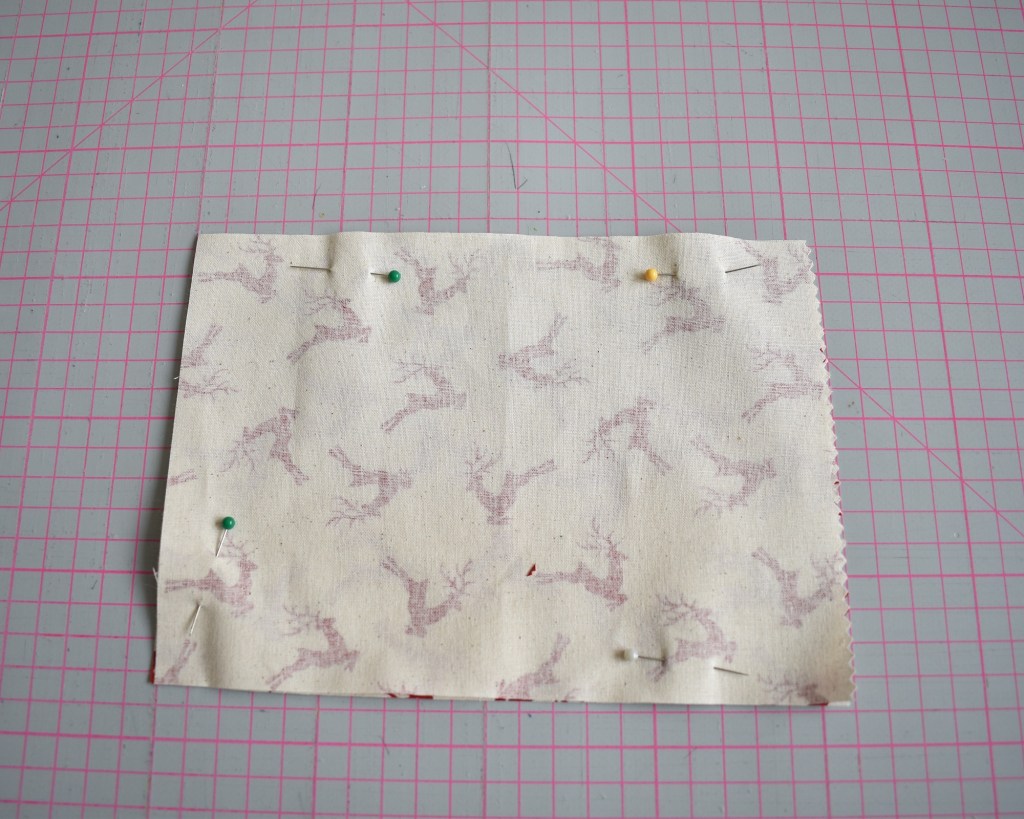
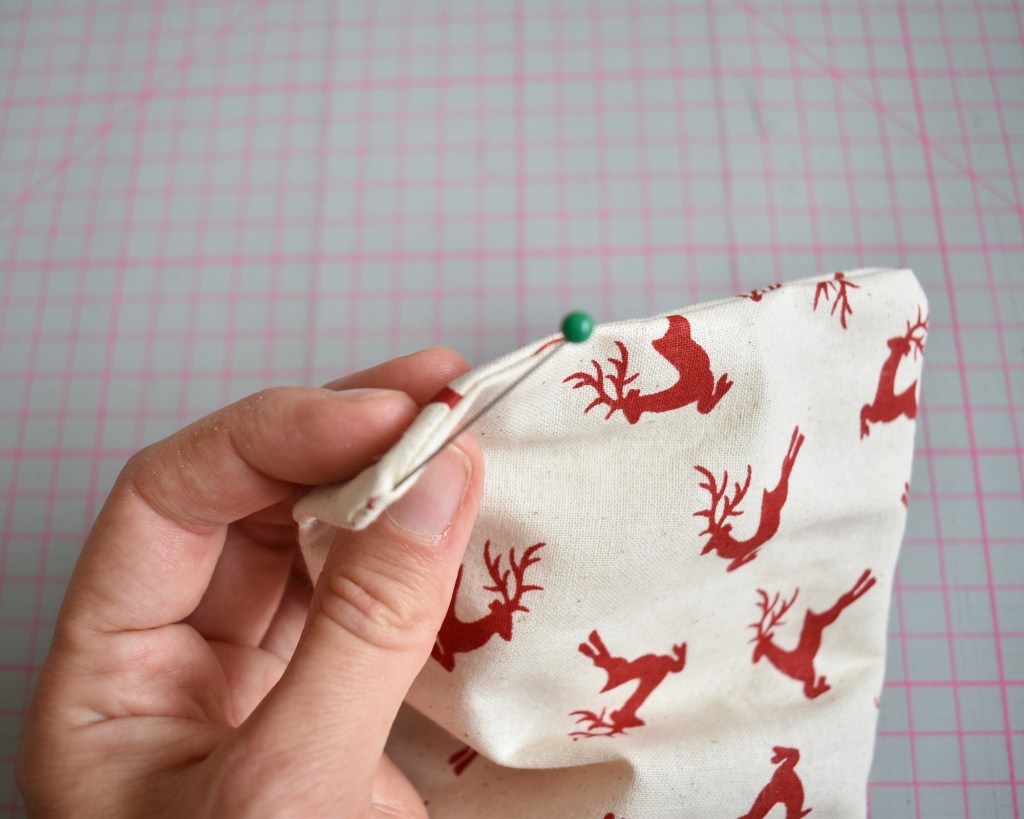
Pin the two pieces together, face sides together
2) Making the advent bags
Place one piece of fabric down, face side up. Place the second piece of fabric face side down on top. Pin together.
Sew all the way round the three non-pinked sides of the bag, 1cm in from the edge of the fabric. Start about 1cm down from the top edge and do a few back stitches to secure the stitches and prevent fraying. Repeat this at the end also.
Cut off the two bottom corners, leaving a couple of millimeters between the cut and the stitch line. This helps the corners to be turned neatly with no bunching.
Turn the bag in the right way.
Using a pin nudge out the bottom corners if necessary.
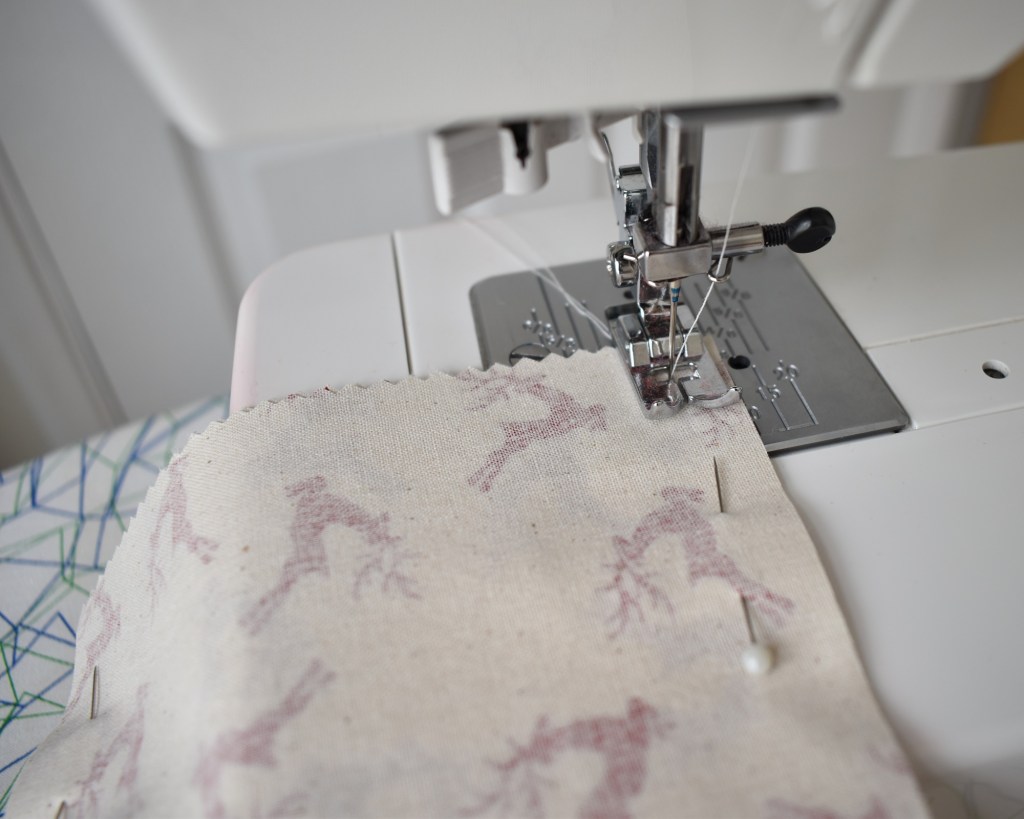
Sew around the three non-pinked edges 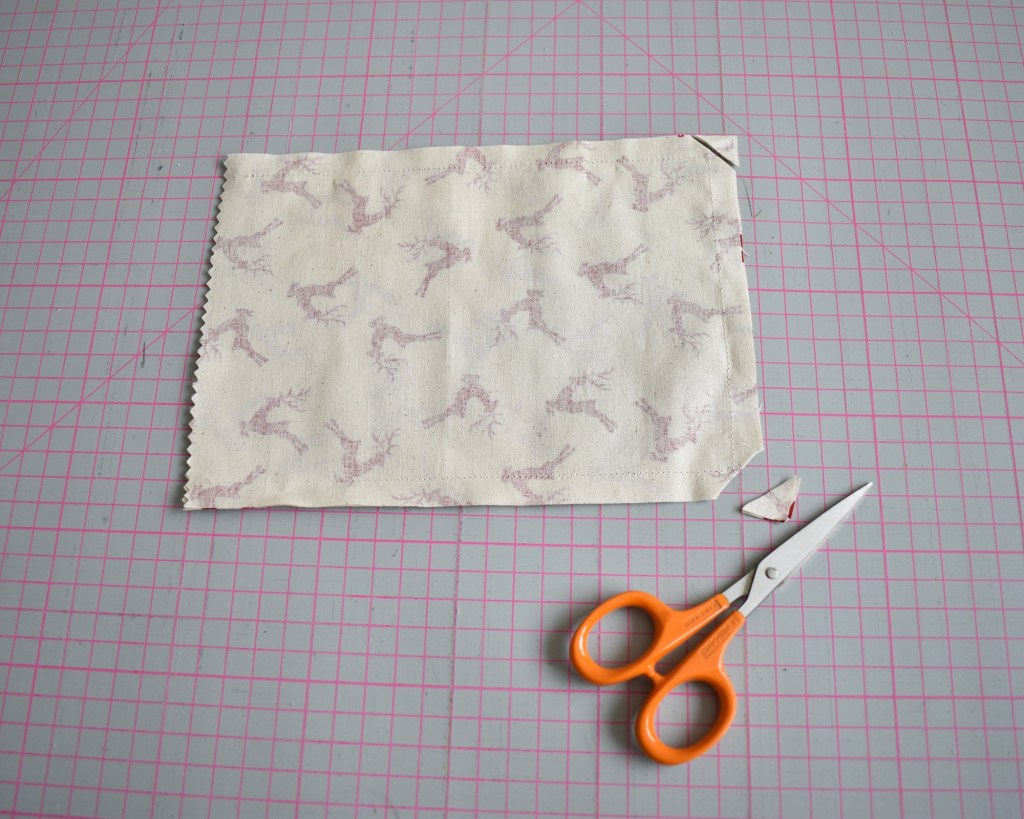
Cut off the bottom two corners 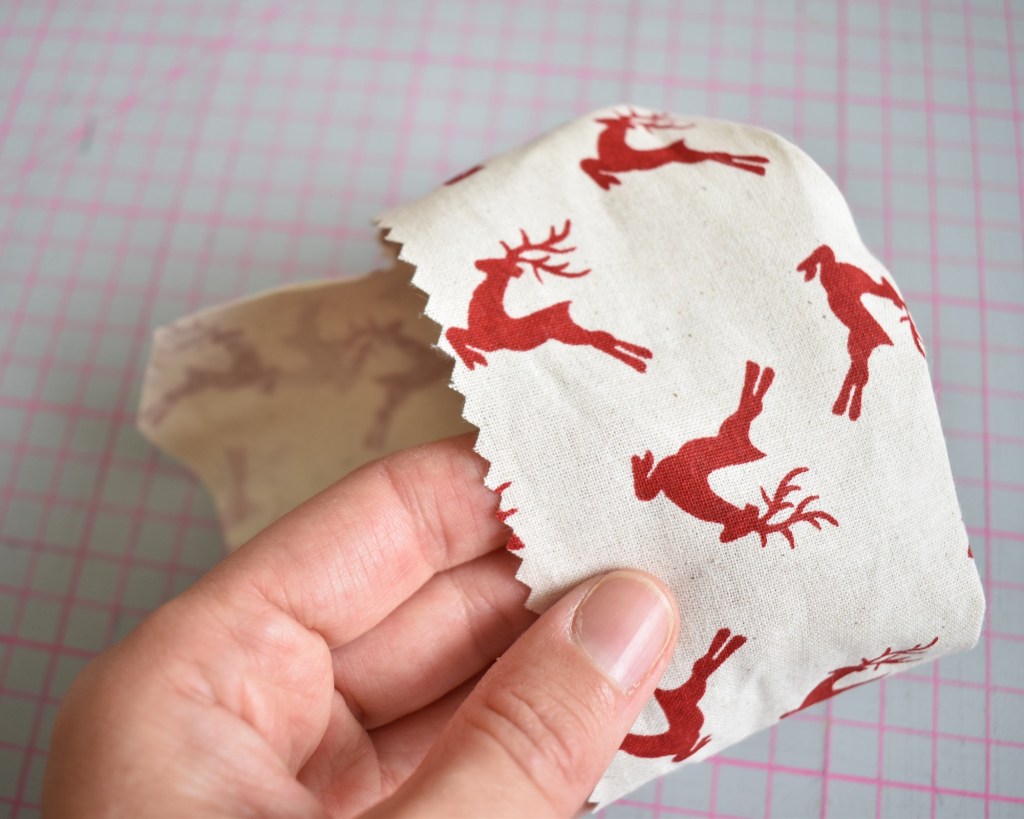
Turn the gift bag in the right way
3) Attaching the ribbon
On the back of the bag, measure 5cm from the top and lay the ribbon down. I double my thread for extra strength. Bring the thread through from the inside of the bag and attach the ribbon with a few stitches. For a thin ribbon like I am using I tend to do a cross stitch and go over this three times to secure. For a thicker ribbon, you can either use this method or using tiny stitches attach the ribbon along both edges for about 1.5cms.
Use a pin to nudge out the corners 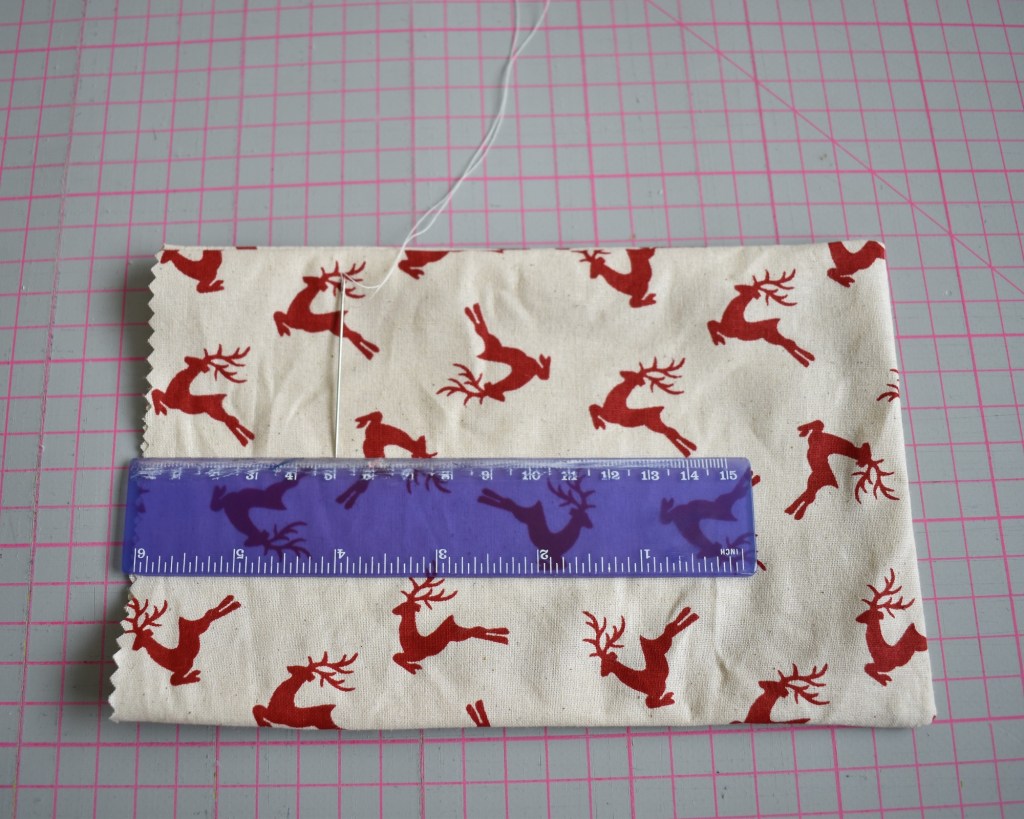
Measure 5cm from the top of the bag 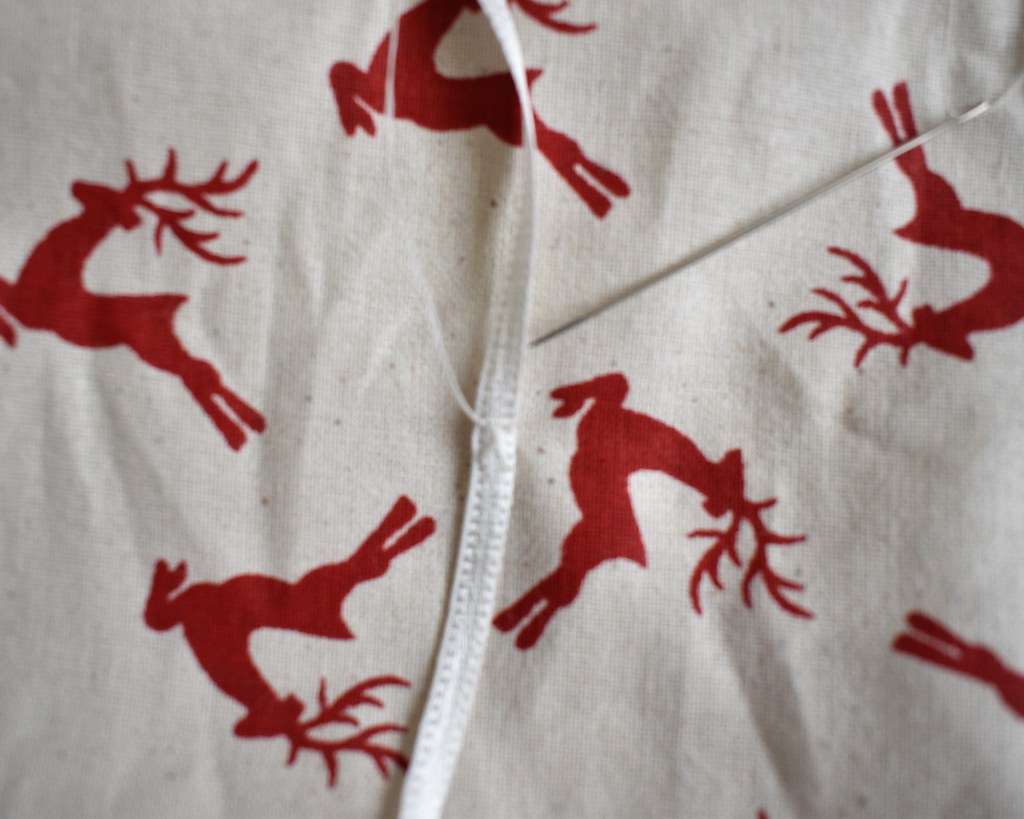
Attach your ribbon 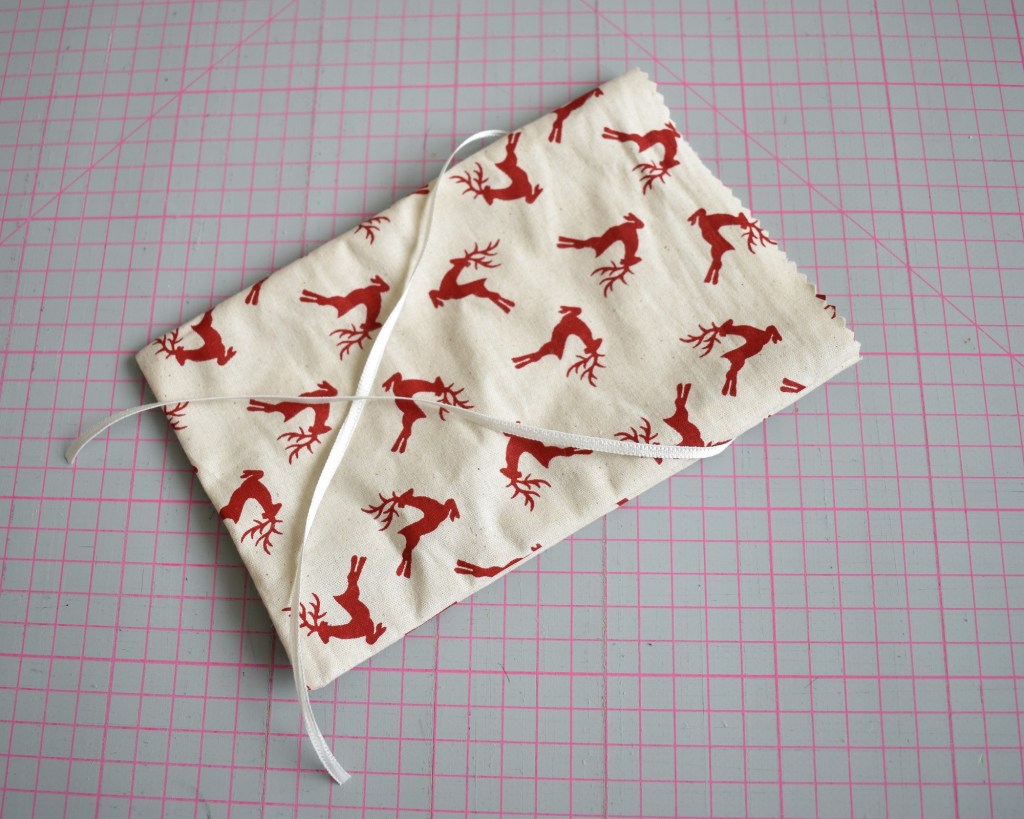
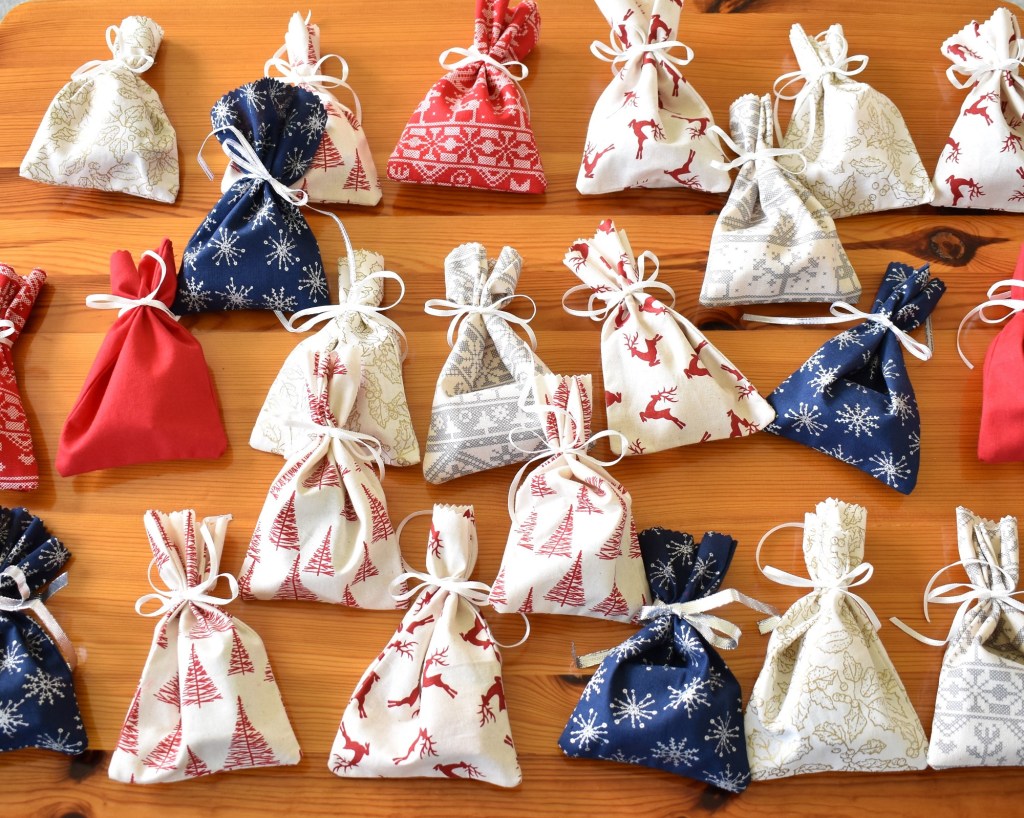
And, Voila! Your finished advent bag. Now you just need to repeat the process 23 more times!!
But that’s not all…
Today I have a second option for you! How do you fancy making 24 mini Christmas stockings for your ‘Lucky Dip Advent Calendar’ instead? It’s just as simple and won’t take any more of your precious time.
The only difference in what you’ll need for this is your ribbon as you don’t need anywhere near as much.
You’ll need 2.5 metres for 24 lengths x 10cm.
1) Preparing the fabric
The first thing you’ll need to do is make a stocking template and the simplest way I’ve found is to simply draw around an existing sock! I tend to use a fairly big sock, either a man’s sock or one of those cosy, fluffy kinds as it gives the extra width for the hem allowance.
Draw round your template twice, once with the toe pointing left and once with the toe pointing right. If you don’t do one of each the stocking won’t fit together, you’ll literally have two left feet!
2) Making the advent stockings
Cut out your stockings and as before use pinking shears to cut along the top edge.
Lay the two pieces of fabric on top of each other, face sides together and pin togther. As before, sew round the body and foot of the stocking, 1cm from the edge and remembering to do a few backstitches at the start and end to secure the stitch line.
Once you’ve turned your stocking in the right way, attach the ribbon. To do this fold the ribbon in two and place the bottom end inside the stocking. I have placed it about 1cm from the top, in between the two inside hems, and attached it with a simple cross stitch. Attaching it here means you can sew it in firmly and there are no visible stitches on the outside.
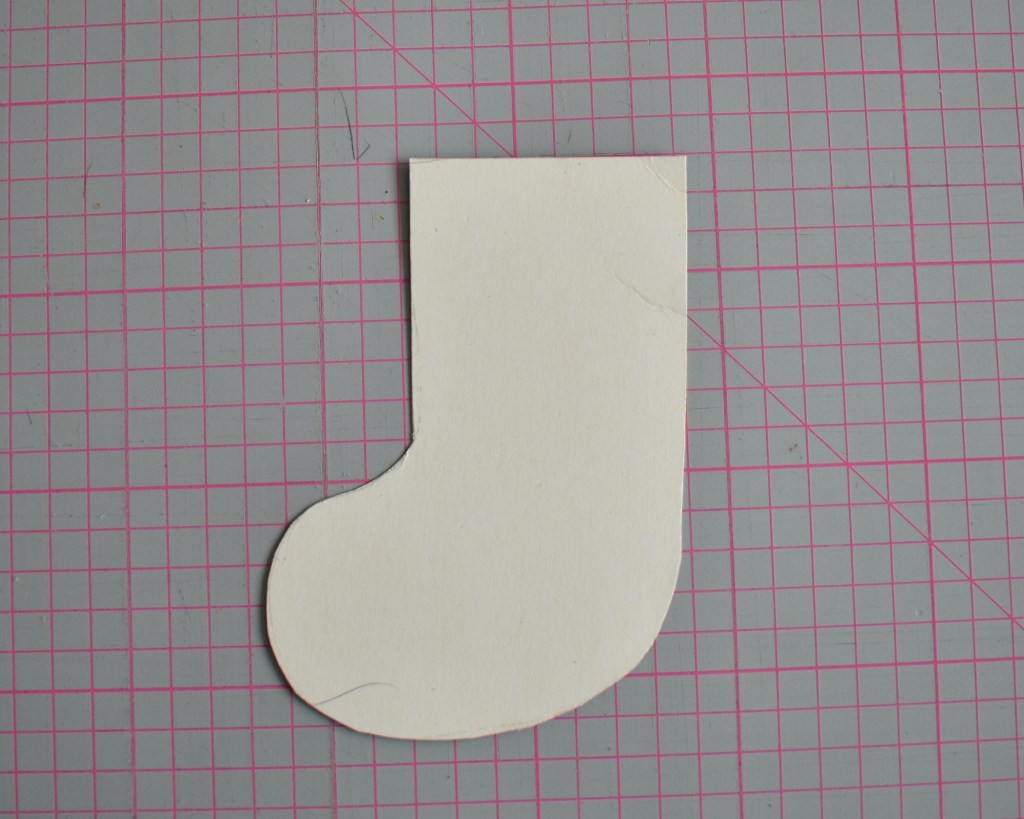
Make your stiocking template 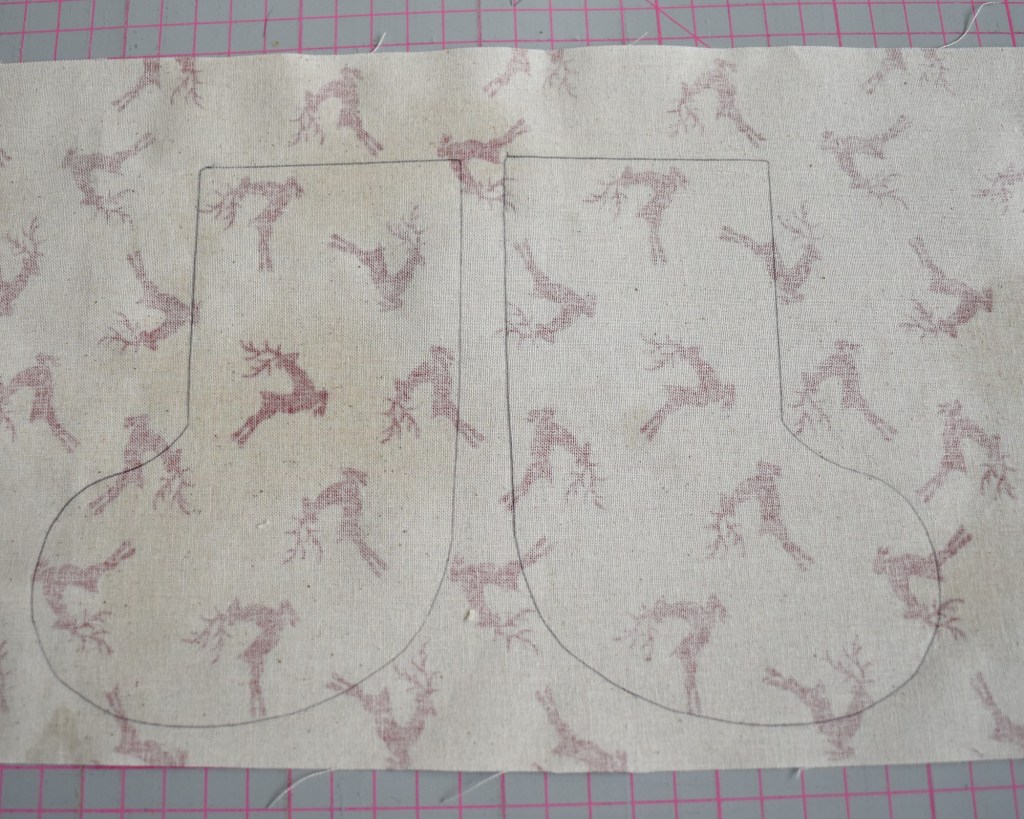
Draw round the template twice 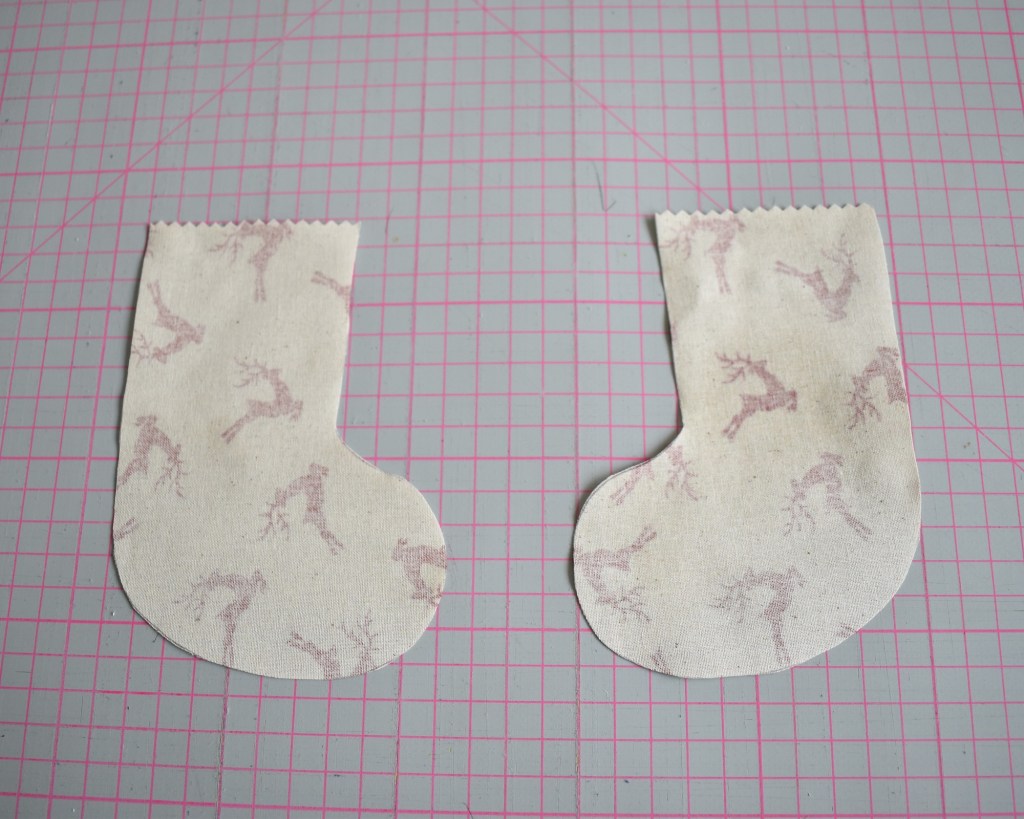
Cut out stockings, use pinking shears to cut along top edge 
Pin and sew together before turning in the right way 
Place the ribbon in between the 2 inside hems and sew on 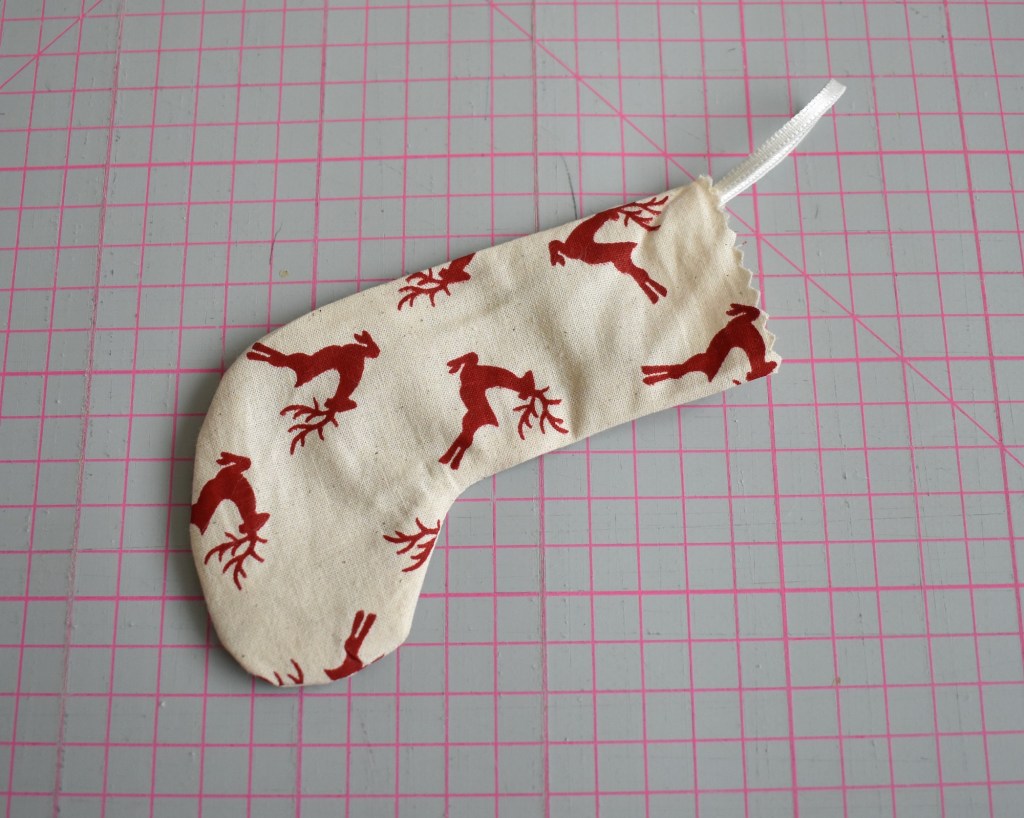
And, Voila! One finished advent stocking!
So there you have it, a lovely alternative to a homemade advent calendar that you can fill with lovely little gifts year after year. Now there’s no need to keep buying cardboard calendars that need to be recycled! But don’t worry, you can still fill these with yummy chocolates if that’s how you like to start those dark mornings of advent.
If you’re getting into the swing of my ‘Twelve Crafts of Christmas’ join me next week when I’ll be showing you how to make a full size Christmas Stocking for the big day itself.
