


On the fourth day of Christmas Jillian Sharples Design gave to me, a christmas stocking…
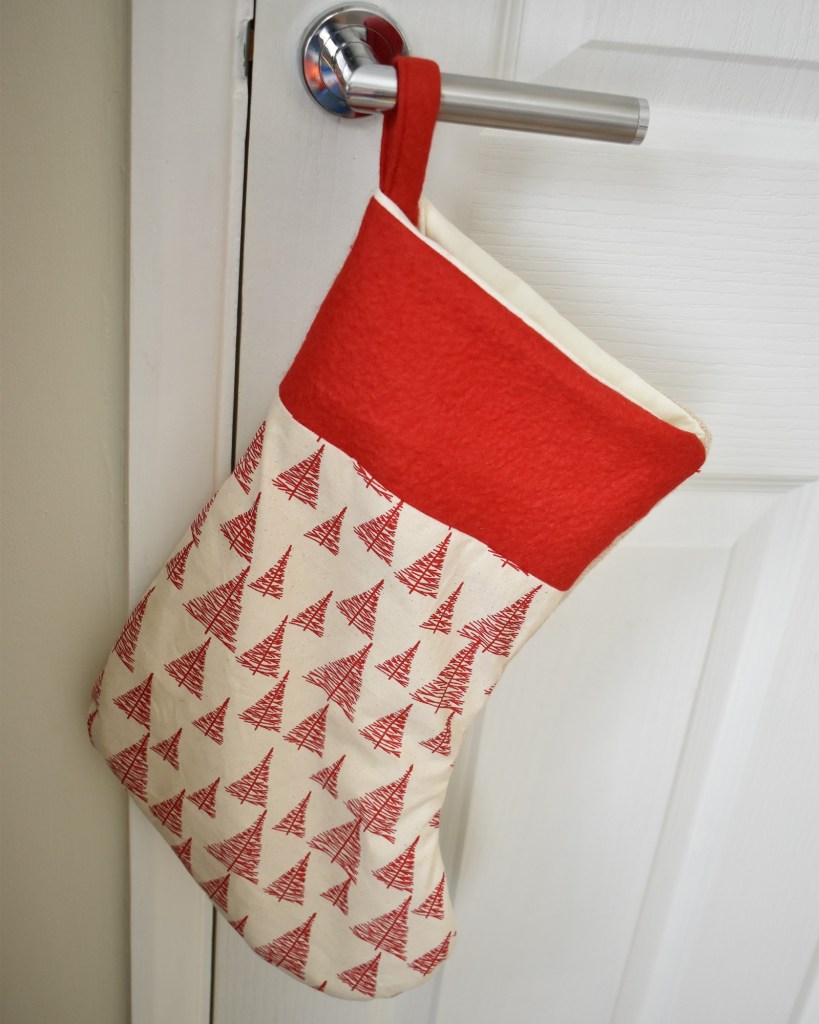
Hey there! So how are we getting on with our Christmas preperations? Well, let’s see, last week we covered the lucky dip advent calendar, enabling us to give our loved ones that one little gift each morning of December, you’ve gotta love Advent right! But what about Christmas morning? The big day itself! Who, no matter what your age, doesn’t want to start Christmas day with the joys of opening their Christmas stocking? Especially if you can do it with a glass of something chilled in your hand right, or a lovely cup of tea and some Christmas chocolate. Well, however you like to start Christmas day, here I’m going to show you some super simple instructions for making your very own Christmas stocking. Best of all, if you want, you can make them as big as you like for outsized pressies! Your Christmas, your choice! Let’s get going…
What you’ll need:
4 fat quarters or roughly 1m x 1m of fabric (If using fat quarters, 2 will be used for the main fabric and 2 for the lining)
Plus any fabric you may like to use as a trim. A textured fabric works really well, maybe fur, felt or a glittery fabric to add some texture. You’ll see from the photos that I’ve used a piece of red felt that I happened to have which I’ll use as a small trim round the top of the stocking.
Stocking template (see note below on how to make)
Cutting board (if you have one)
Cutting ruler (if you have one)
Roller cutter or scissors
Tape measure
Sewing machine
Matching thread
Needle and pins
For the template:
You might want to make a fairly big stocking to fit all those little gifts in for Christmas morning. The easiest way to make this is to draw round an existing Christmas stocking if you have one (which is what I did). Or, if you don’t have one, draw round a large sock and using a ruler measure out to make it bigger until it is the size you require. I did this anyway after drawing around my existing Christmas stocking. I added an extra 2 cm all the way round as this allows plenty of extra fabric for the hems.
For the template simply flatten out a cereal box to use. The card is nice and firm so it is perfect for this kind of project.
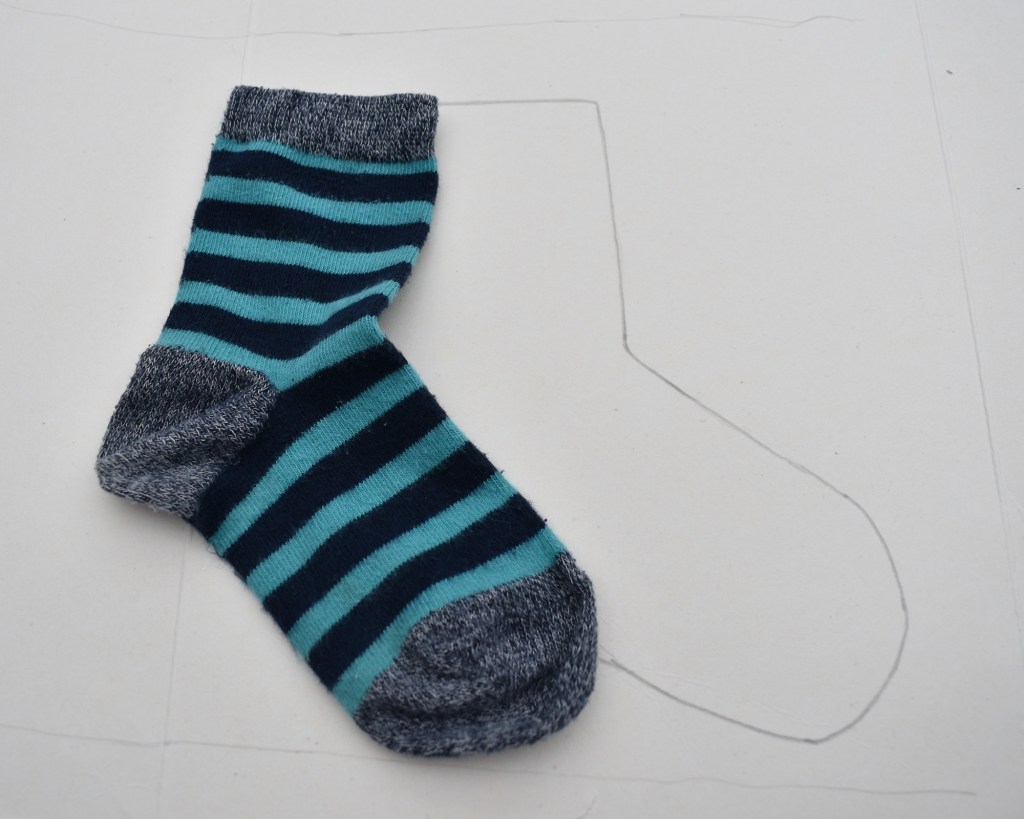
Draw around a sock or existing Christmas stocking 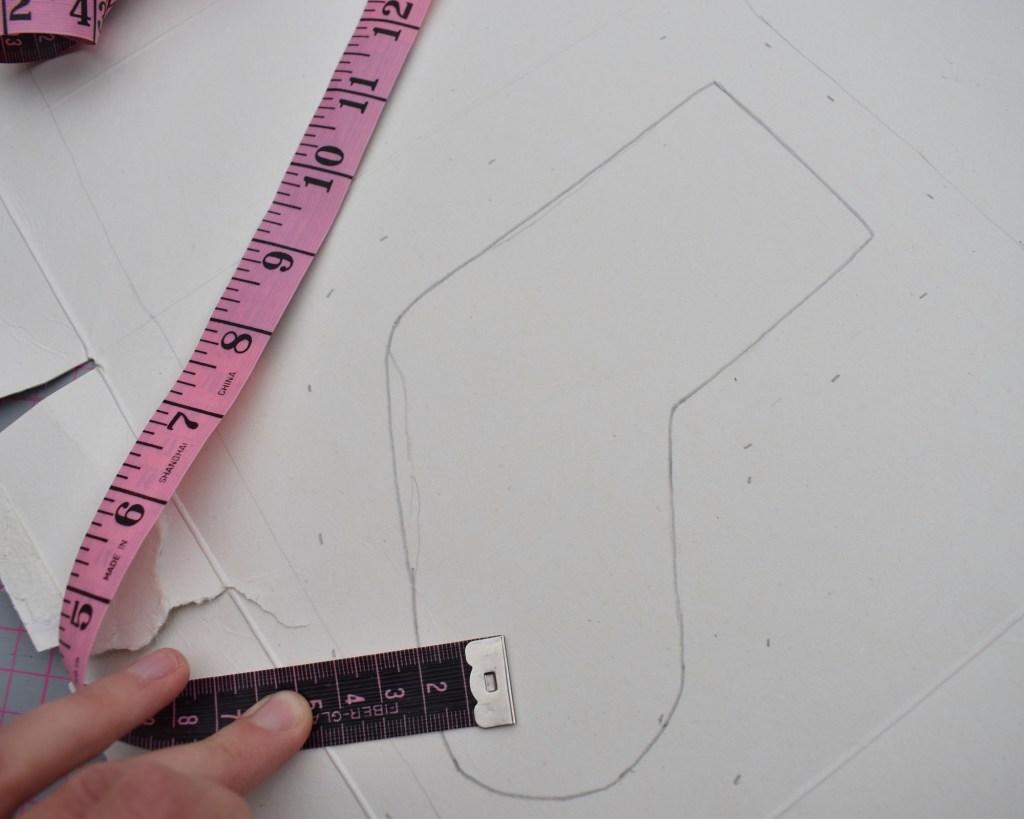
Using a ruler add 2cm or more all the way round 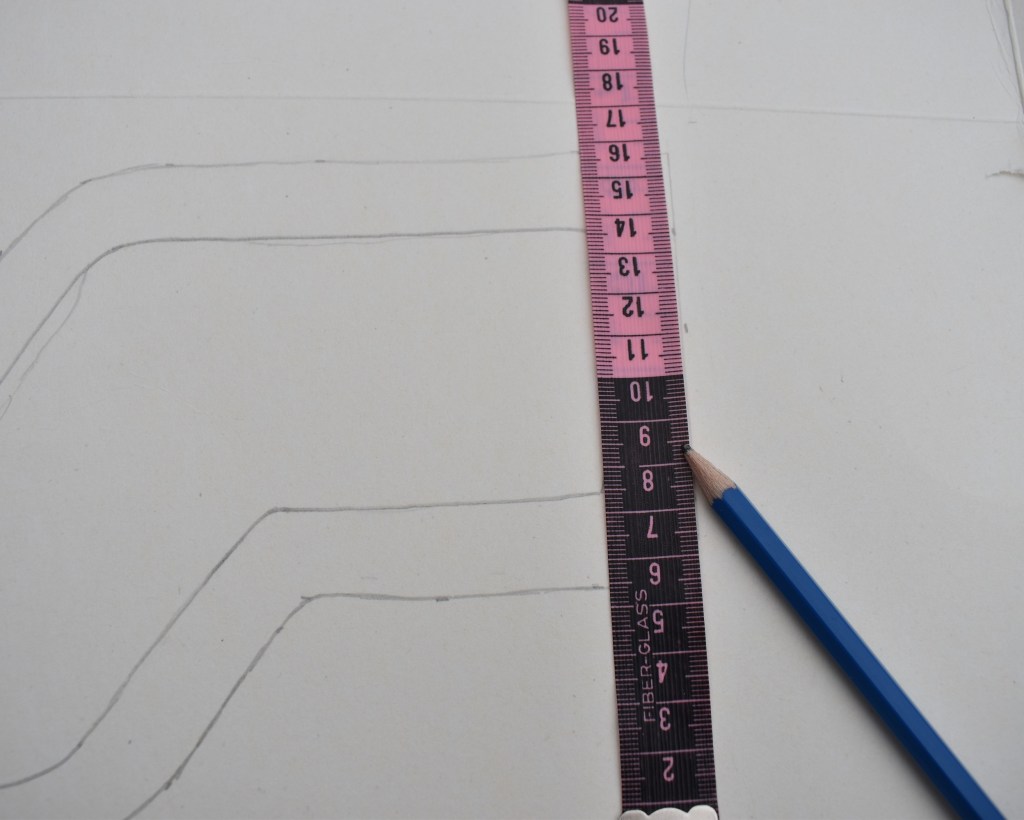
I used a ruler along the top edge to ensure it was straight 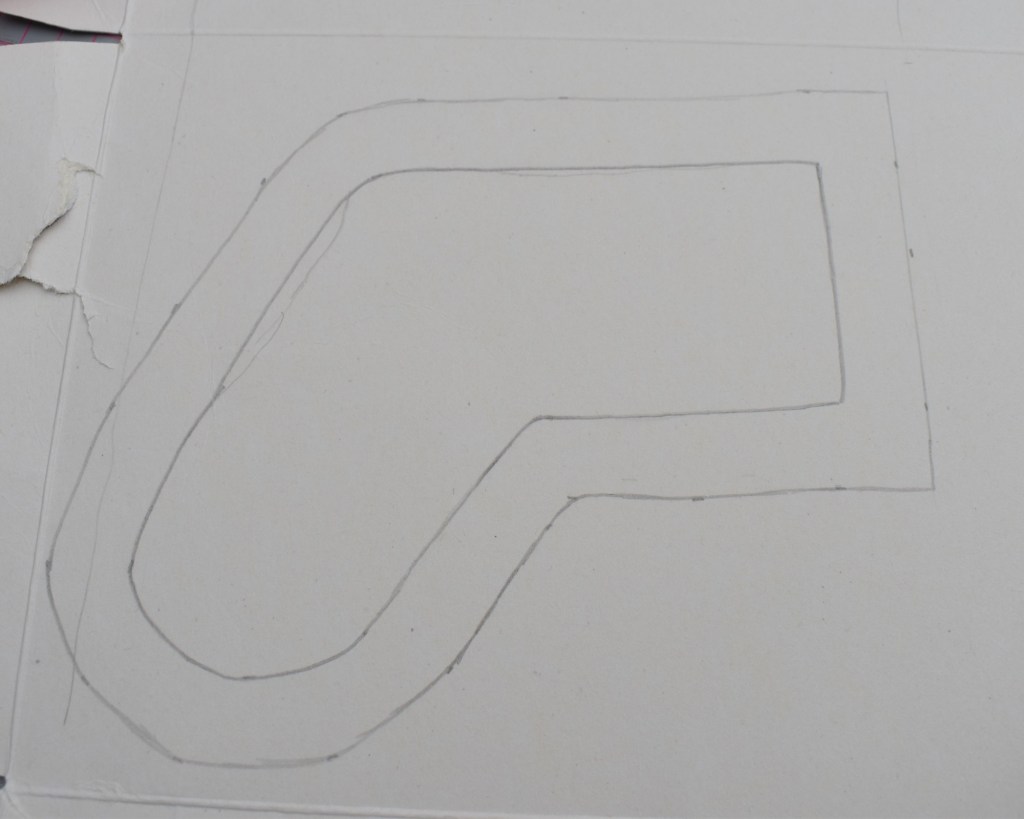
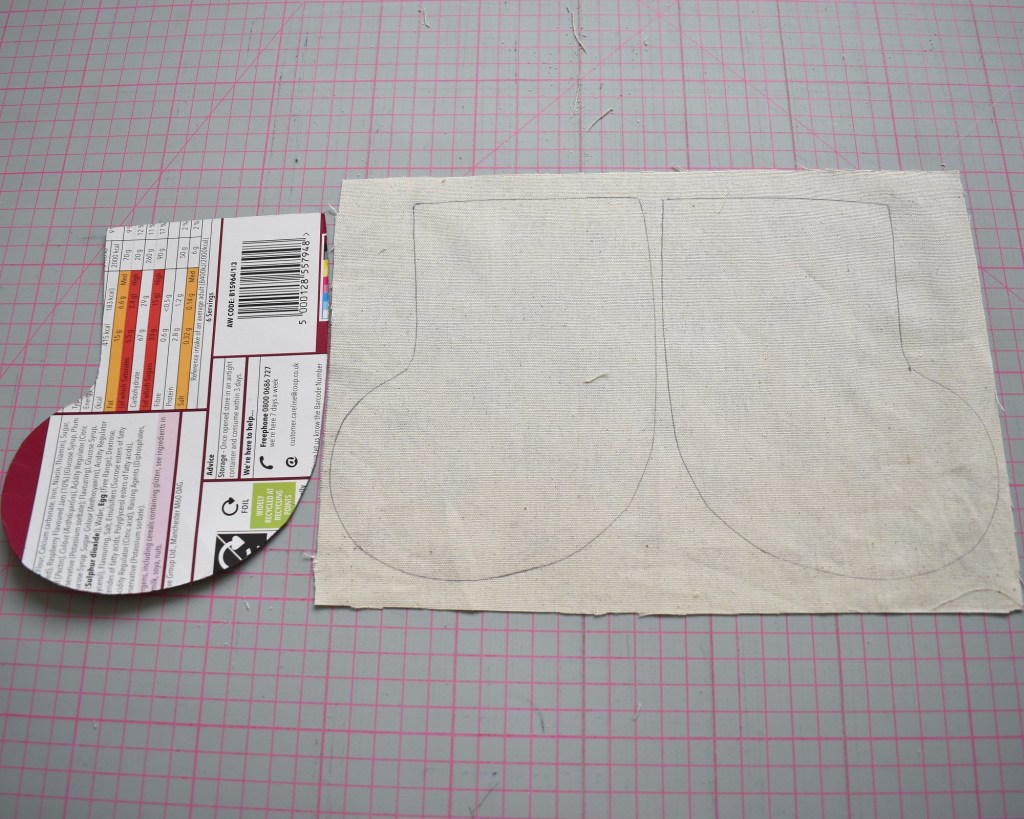
Join the dots and cut out the template 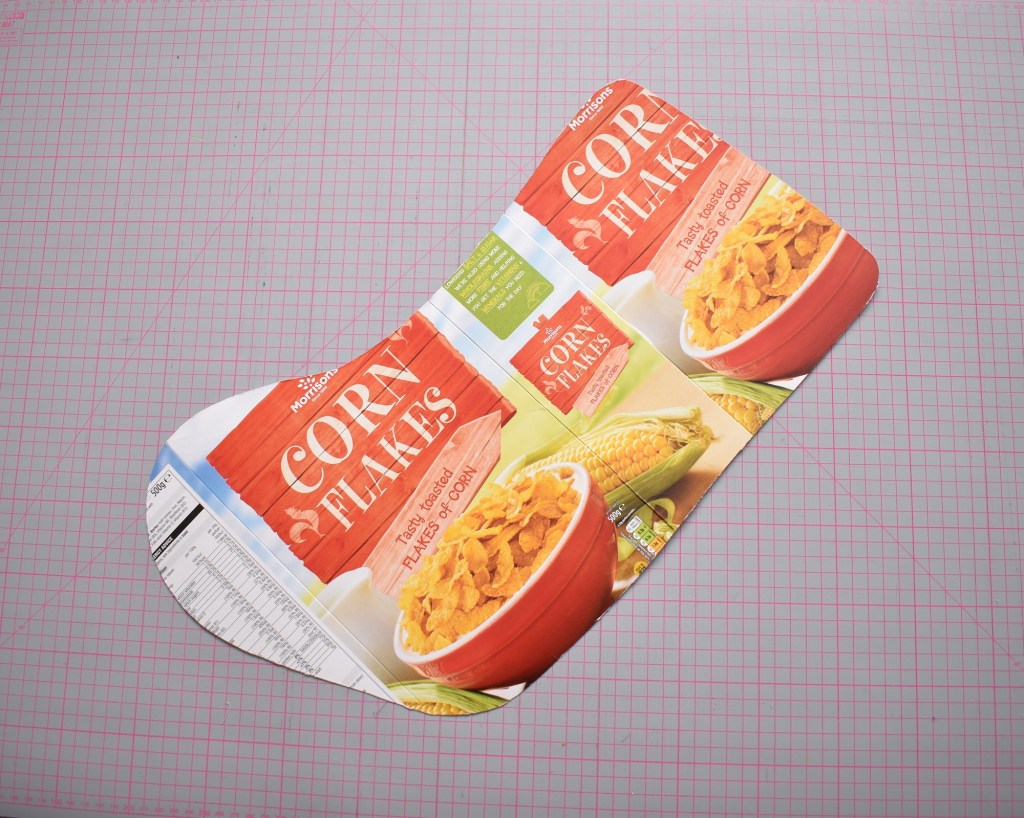
Your template, ready to use

Select your fat quarters or fabric 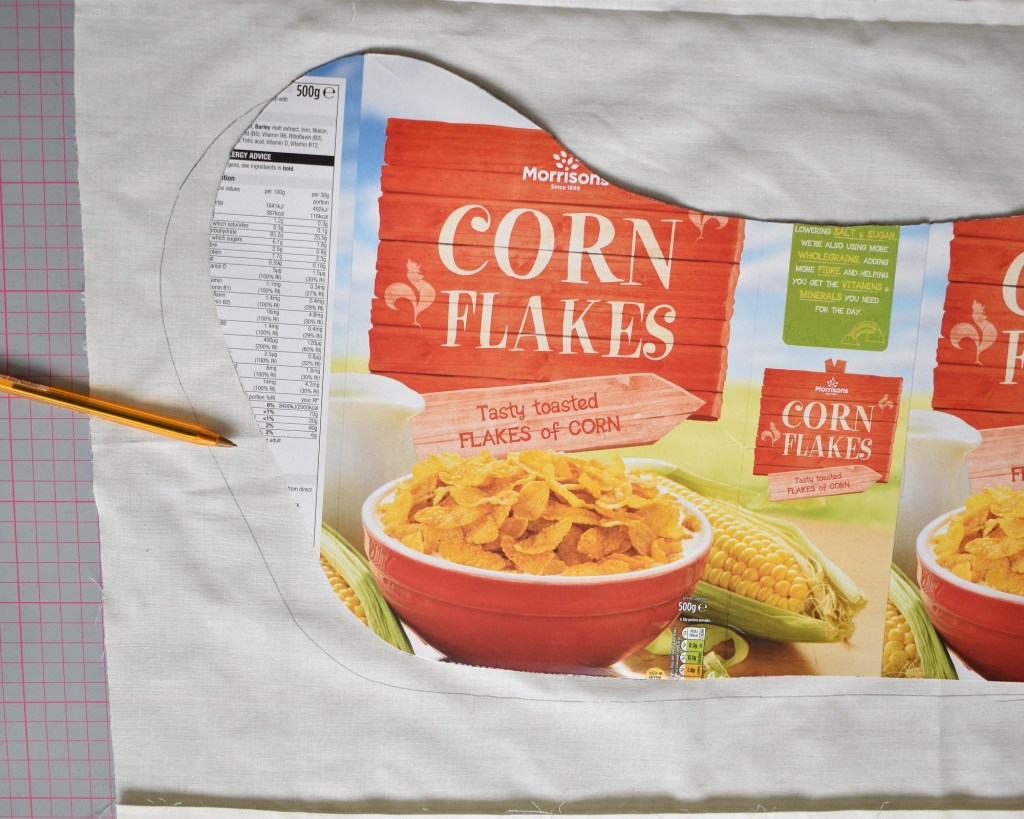
Draw around the stocking template
How to make your Christmas Stocking:
1) Please read all of point number 1 before commencing!
Draw round your template onto your 4 fat quarters, having decided which fabric you are using for your lining and which is your main fabric.
First, if you are using a trim, decide how deep you want it to be as you will want to take this away from the length of the front piece of outer stocking fabric.
Trim
For example, my stocking template measures 45cm from the base of the foot to the top edge.
My piece of felt was 13cm deep of which i required 1.5cm for the hem that would be used to join it to the main fabric.
This means 11.5cm of this fabric could be used in place of the main fabric. Leaving a required length of 33.5cm for my front piece of outer fabric.
Therefore, for your outer fabric, 1 piece will be the full length of your template. The second piece will be 33.5cm long. The lining fabric does not change.
Top Tip
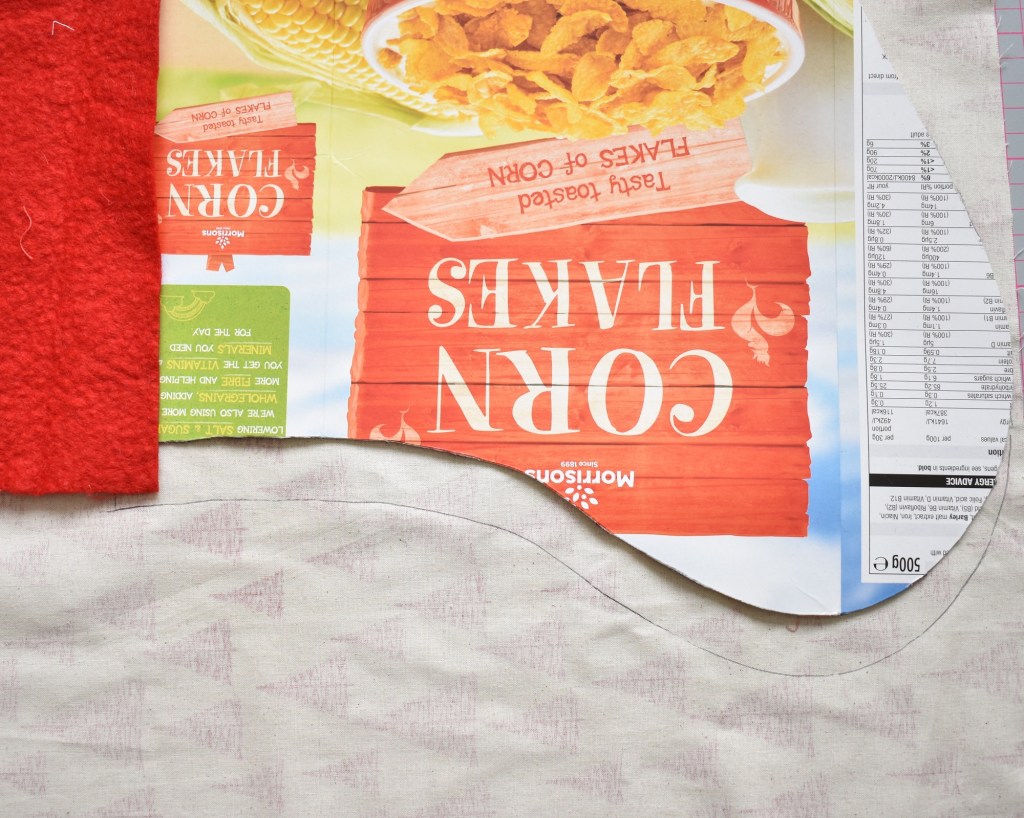
For each fabric, lining and outer, you’ll need to draw round your template twice, once with the toe pointing left and once with the toe pointing right. If you don’t do one of each the stocking won’t fit together, you’ll literally have two left feet!
So you will need a left and a right foot for both the lining and the outer fabric.
2) Now you have 4 stocking templates cut out your 4 stocking pieces.
3) If you are using a trim, pin it to the main fabric along the top edge and sew together 1.5.cm from the edge. Now you have two complete outer stocking pieces.
4) Lay the front piece of main fabric down, face side up, and lay the first piece of lining fabric on top of it, face side down. Pin together and stitch along the top, 1.5cm from the edge. Repeat for the back piece of fabric and lining.
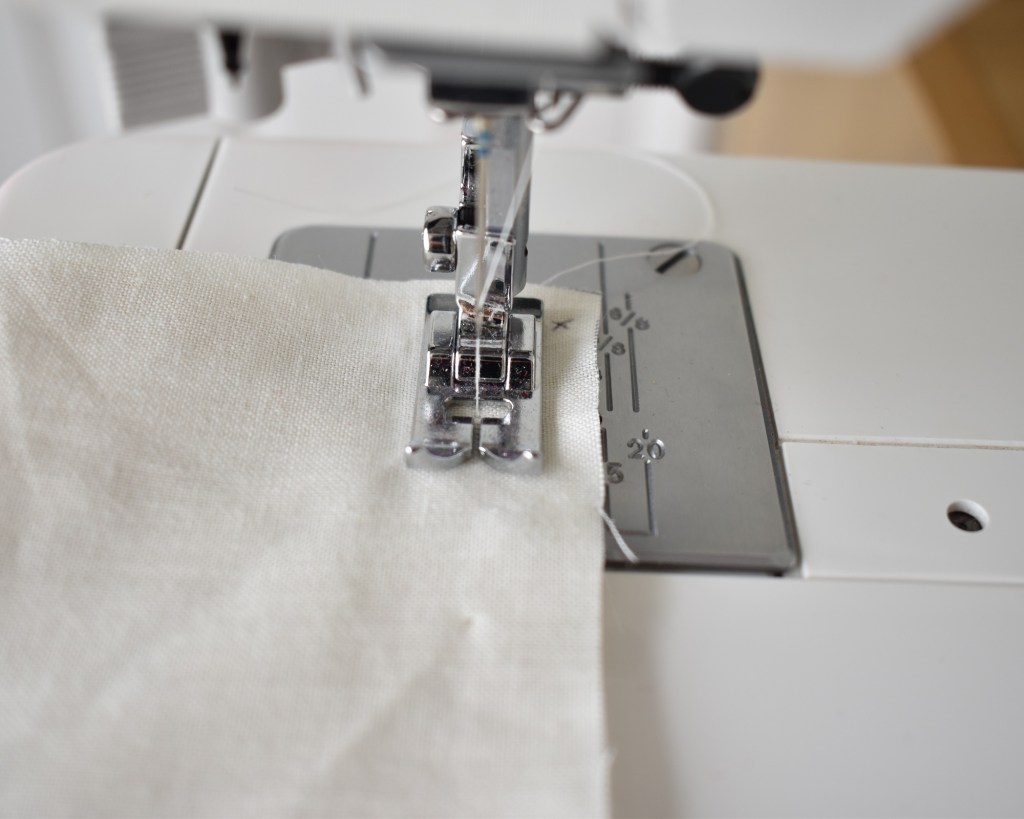
Sew the front piece of lining and the front main fabric together, 1.5cm from top edge. 
Hem across top, attaching outer fabric to lining fabric 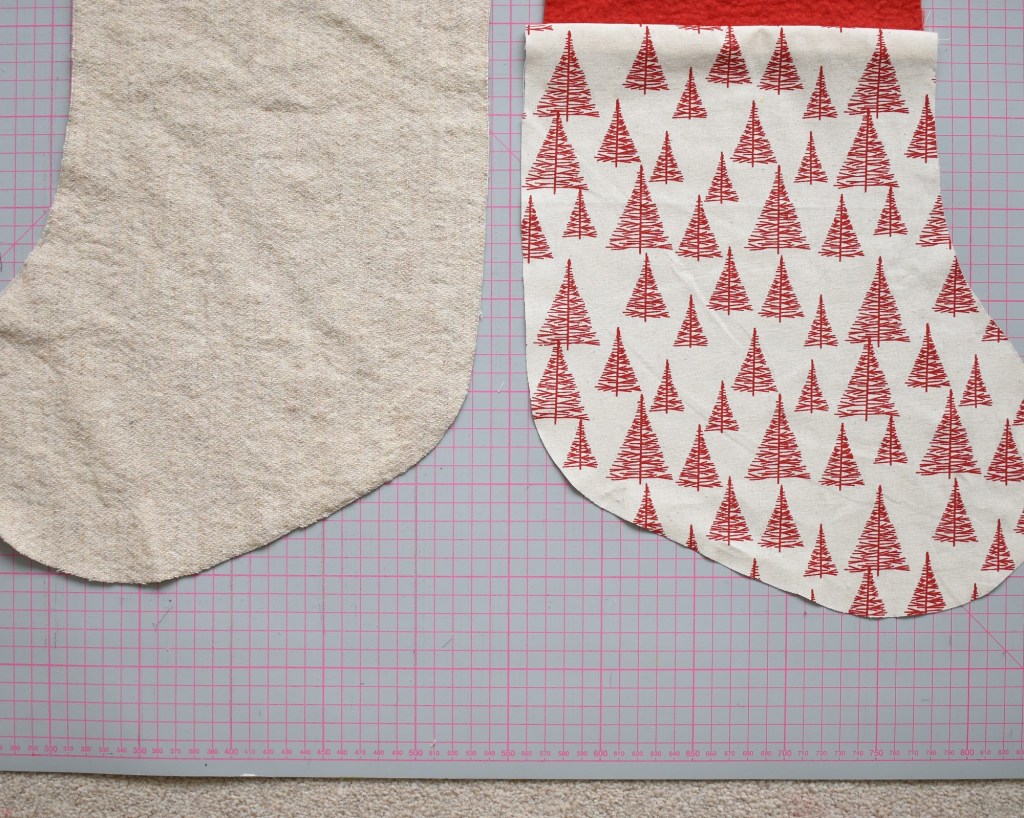
Lay the front piece of stocking face side up, lay the back piece face side down on top of this..
5) Next, lay the front stocking piece face side up and place the back piece on top, face side down. Pin together all the way round leaving a space of about 10 cm along the sole of the lining fabric which will be used for turning. I tend to put these pins in vertically so that it looks like a doorway, then I remember not to sew through it.

Pin all the way round, leaving a gap or ‘doorway’ at the base of teh foot 
Leaving a gap or ‘doorway’ of 10cm at base of foot 
Sew all the way round, 1.5cm from edge. Starting at one side of the ‘doorway’ or gap.
6) Sew the stocking together 1.5cm from the edge of the fabric and starting about one cm from one side of the gap. Start with a few backstitches in order to secure the stitch line and prevent fraying. Remember to do a few backstitches when you arrive at the other side of the gap or doorway too.
7) Using the gap turn the stocking in the right way.
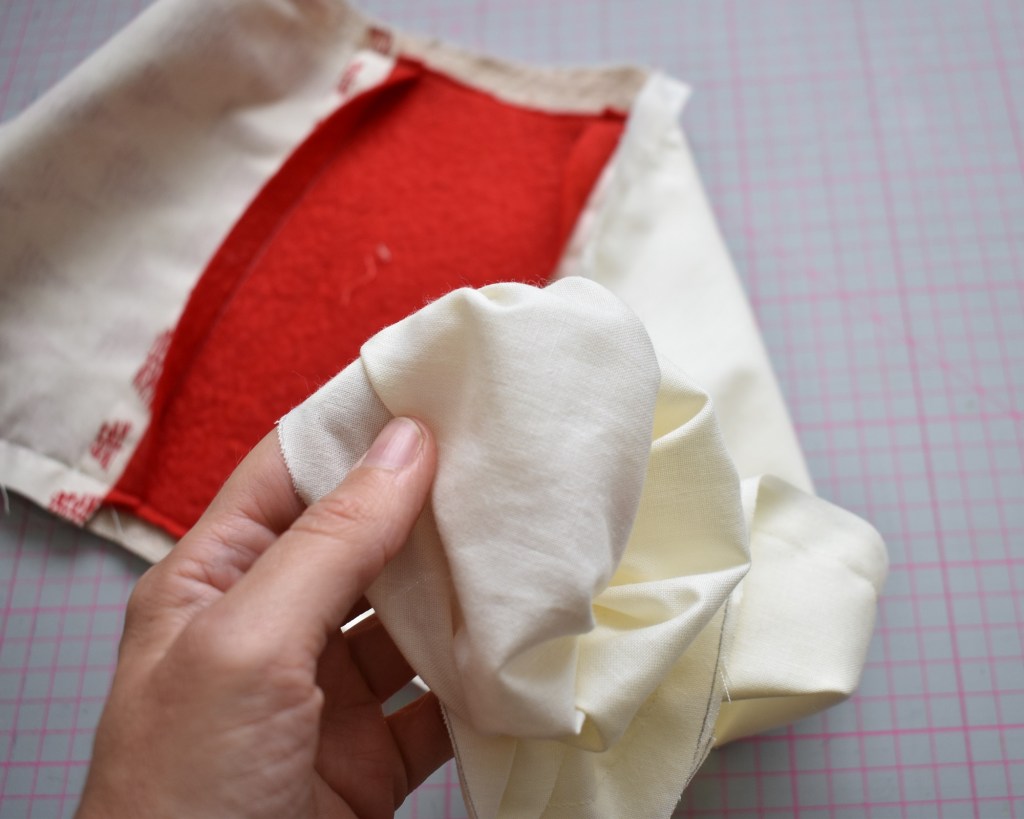
Turn stocking in the right way 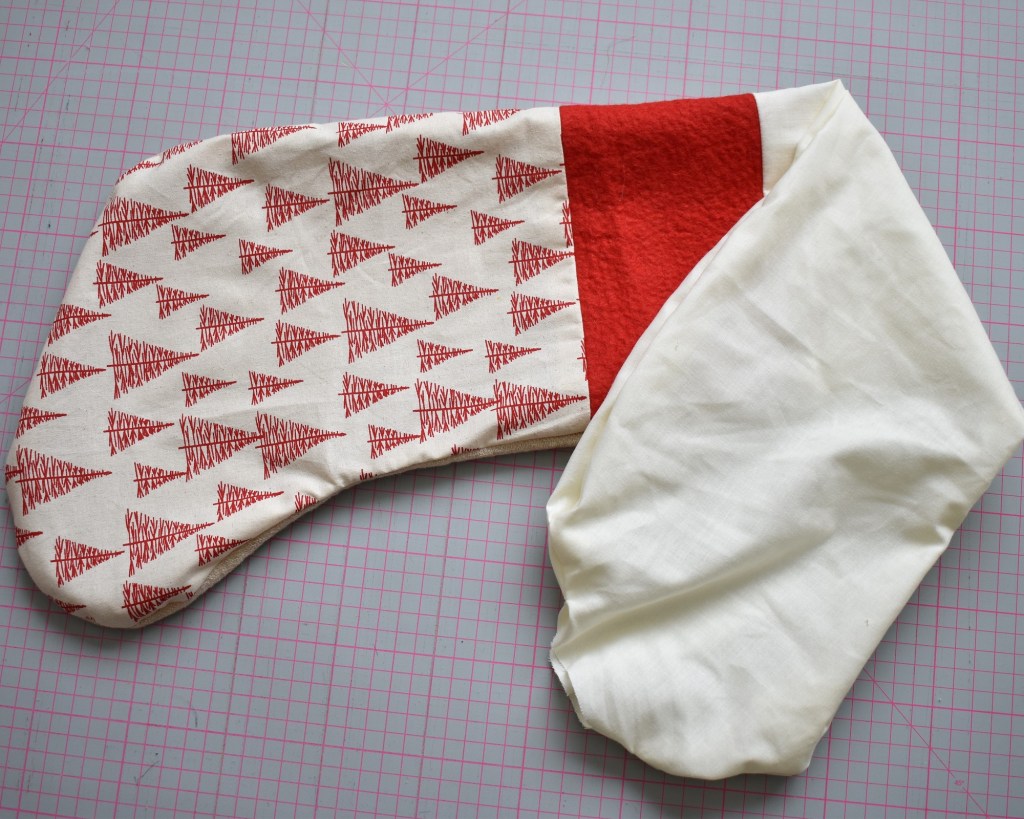
Almost there! 
Flatten the hems of the gap
8) Flatten the hems of the gap down, using an iron if need be, so they are straight and, using a simple ladder stitch, sew up the gap.
Top Tip
If you are unsure of how to do ladder stitch, or slip stitch as it is also known, please watch my youtube video
9) Push the lining fabric down into the foot of the stocking and smooth it round.

Push lining fabric down inside the stocking 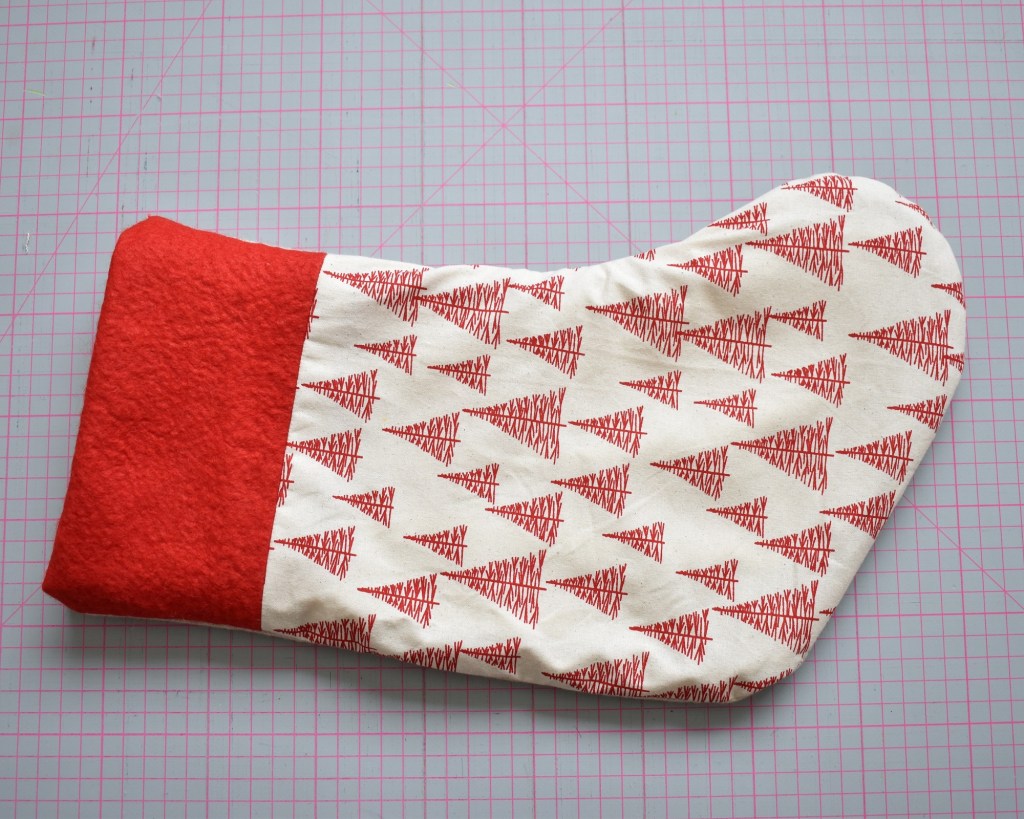
Smooth lining down all the way round so it fits neatly inside the stocking
10) You can add a hanging hook at the top, back side of the stocking if you wish. For this, you can either use a strong ribbon or a piece of leftover fabric.
I used some felt that I had leftover and which measured 15cm x 5cm. You can make the hook as long as you like though.
Fold the fabric in three and stitch along the three sides, doing a couple of backstitches at each end. Place it inside the stocking and stitch it on. As felt is quite thick, I stitched the bottom side on first, around all three sides, stopping just short of the top of the fabric, and then stitched the top side on to this.
If you are using ribbon you can stitch it all on the first time.
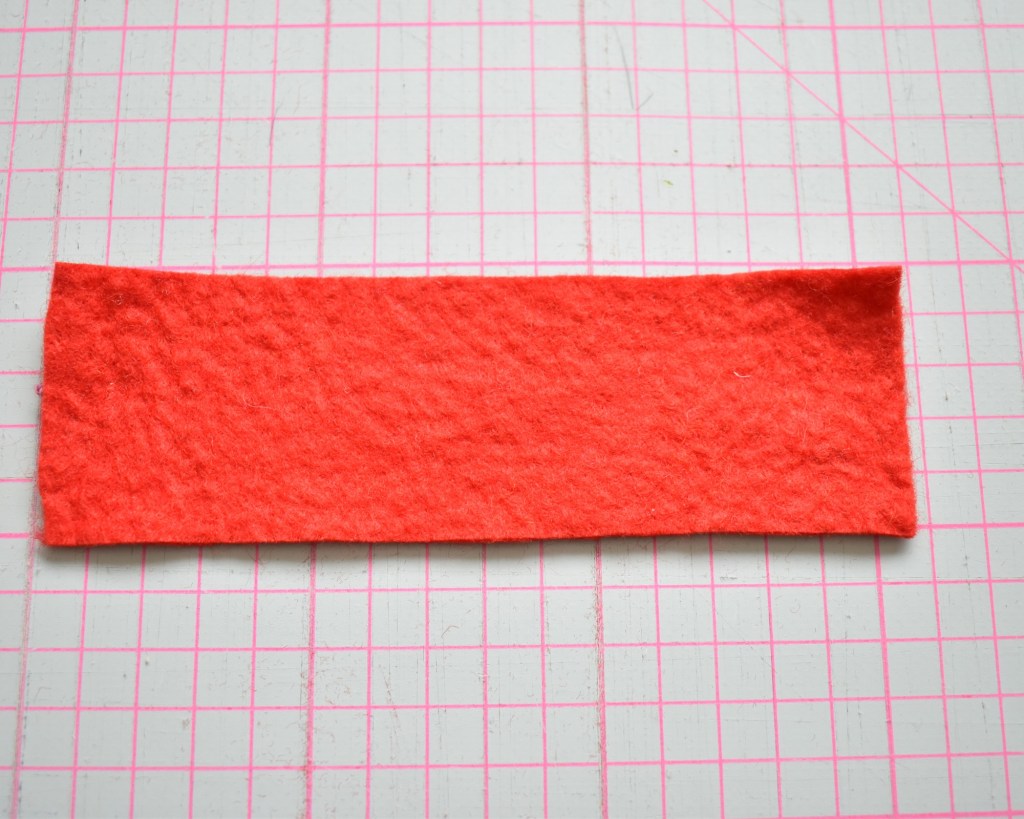
Select your fabric or ribbon 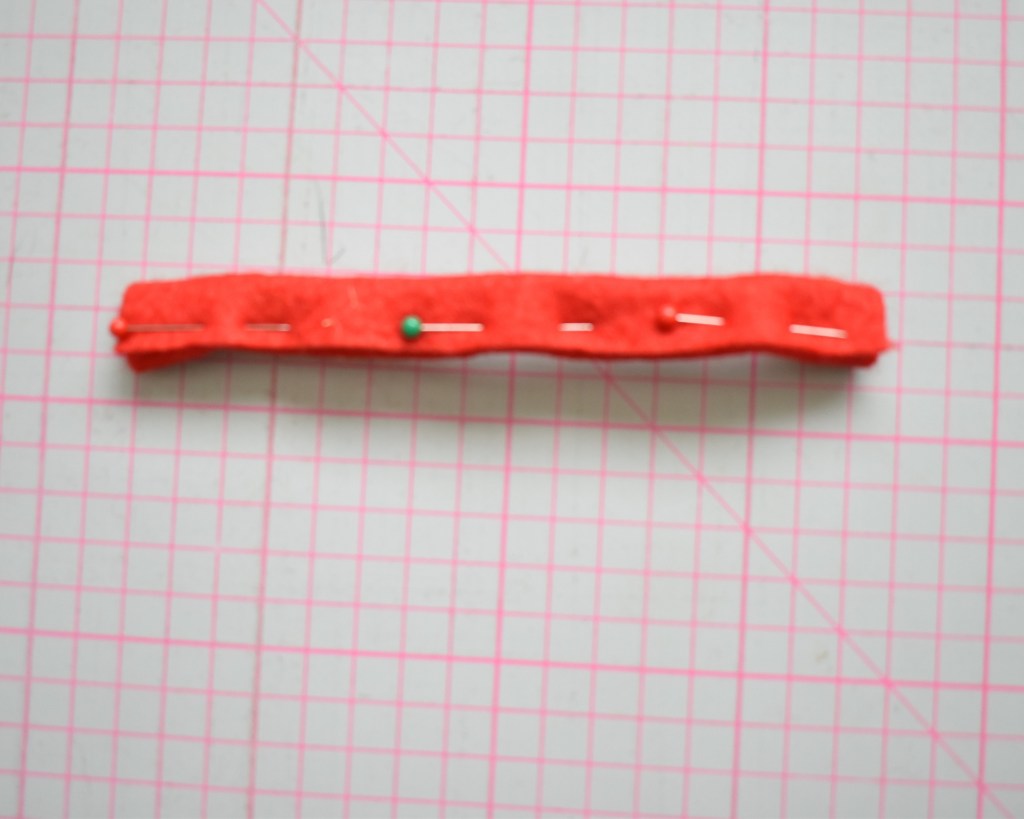
Fold in three and pin 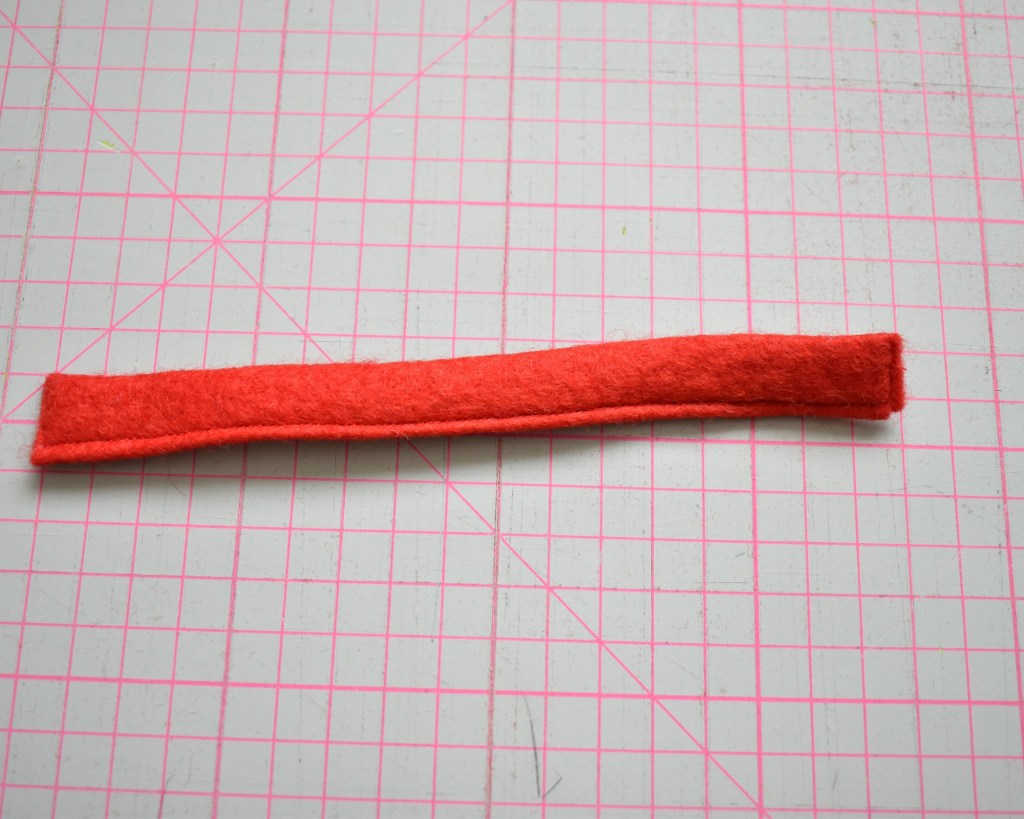
Sewround the 3 unfolded sides 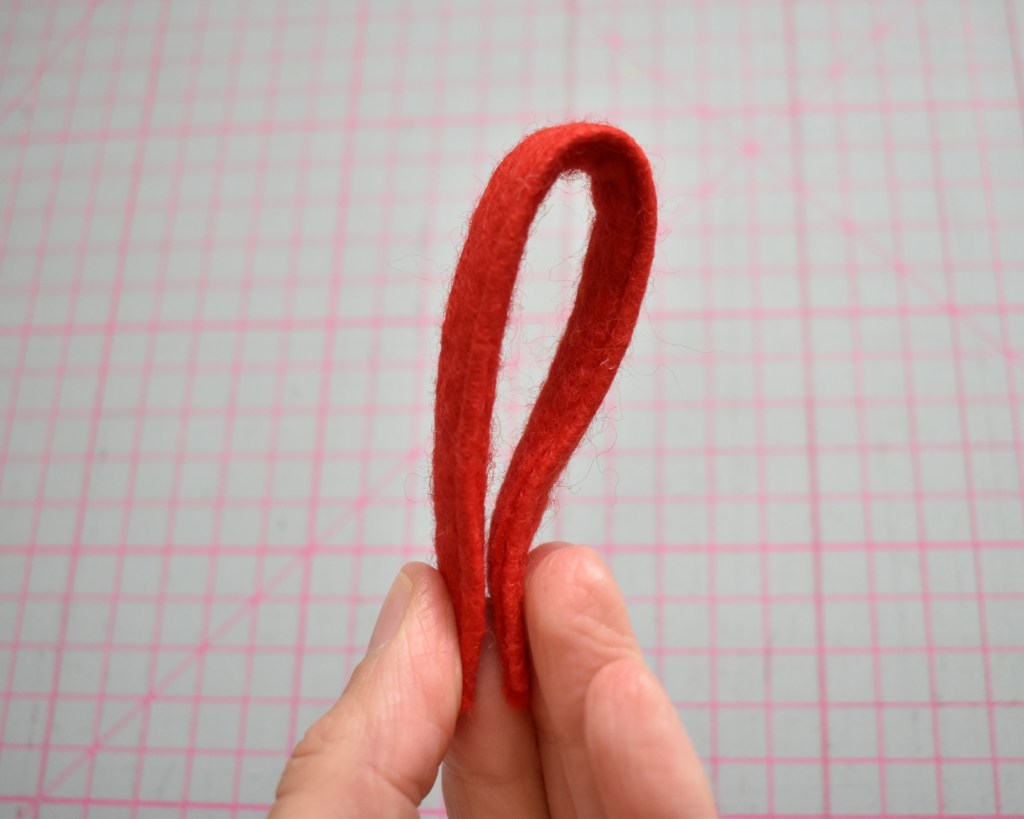
Fold in half 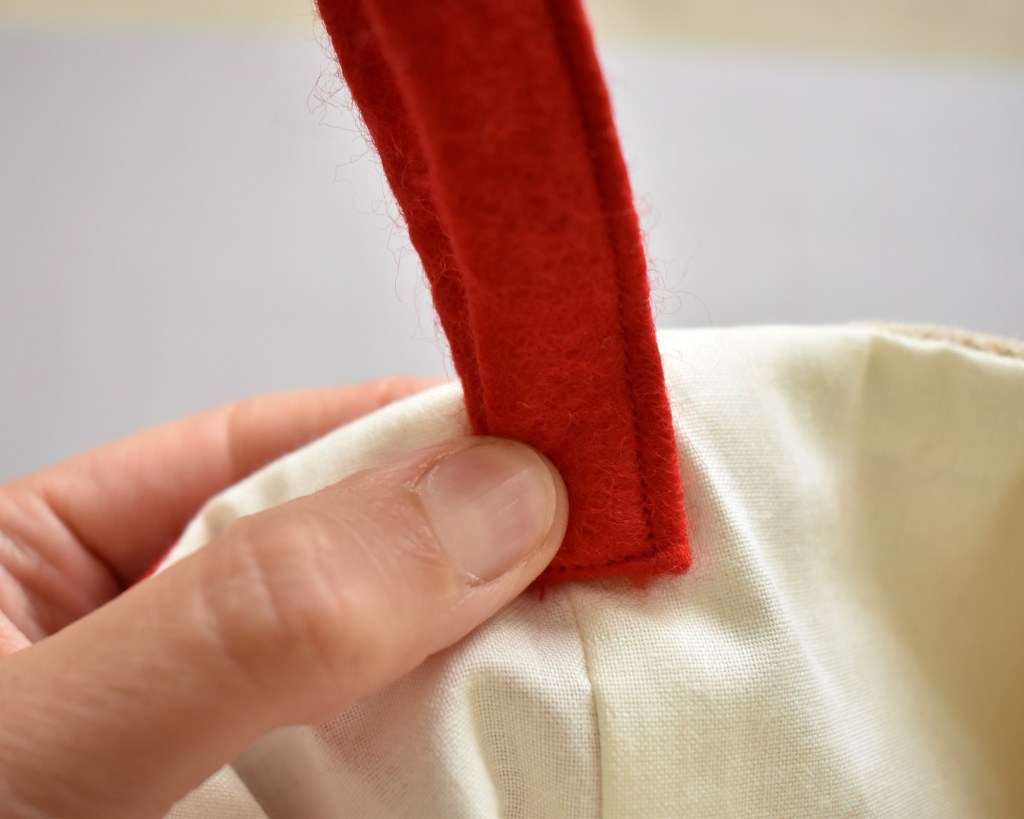
Select where you will place it at back of stocking 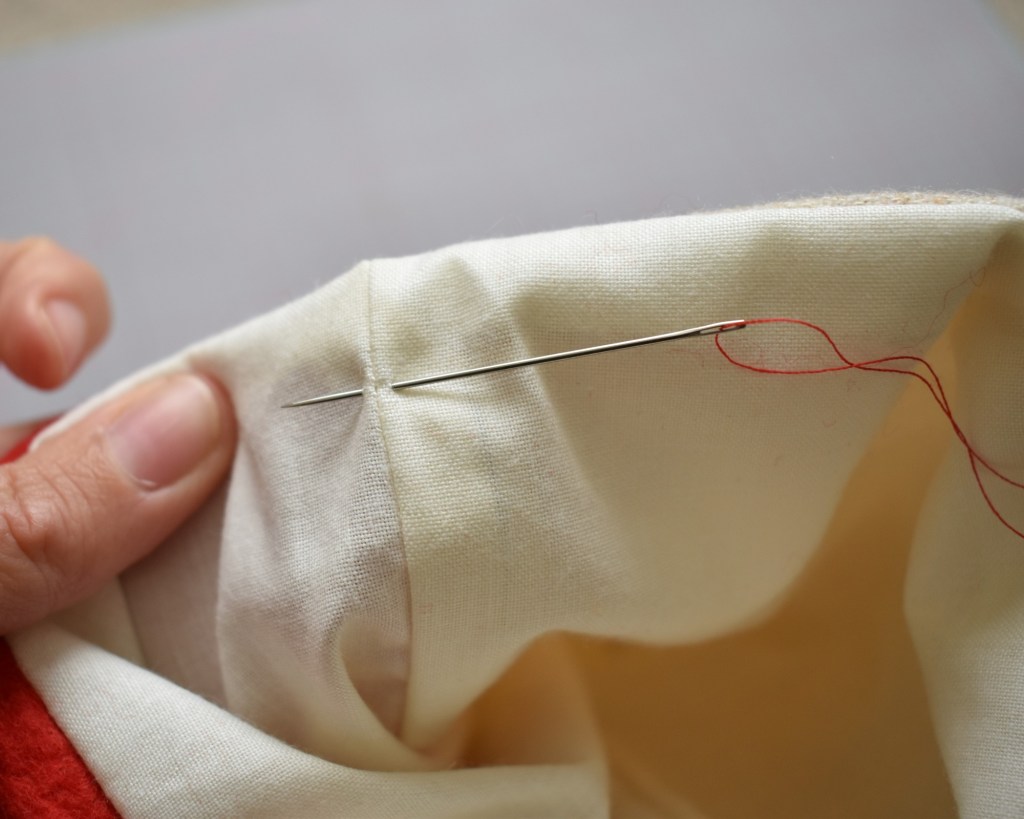
Knot your thread and place in the lining of the fabric only 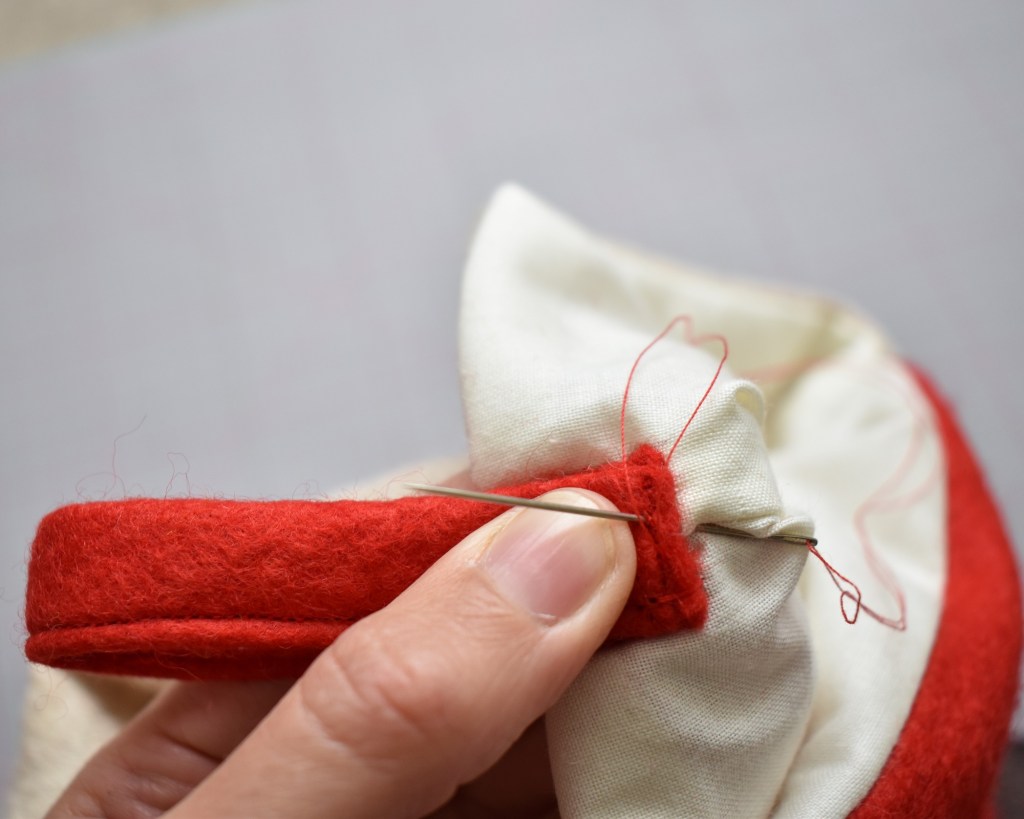
Sew on using small stitches 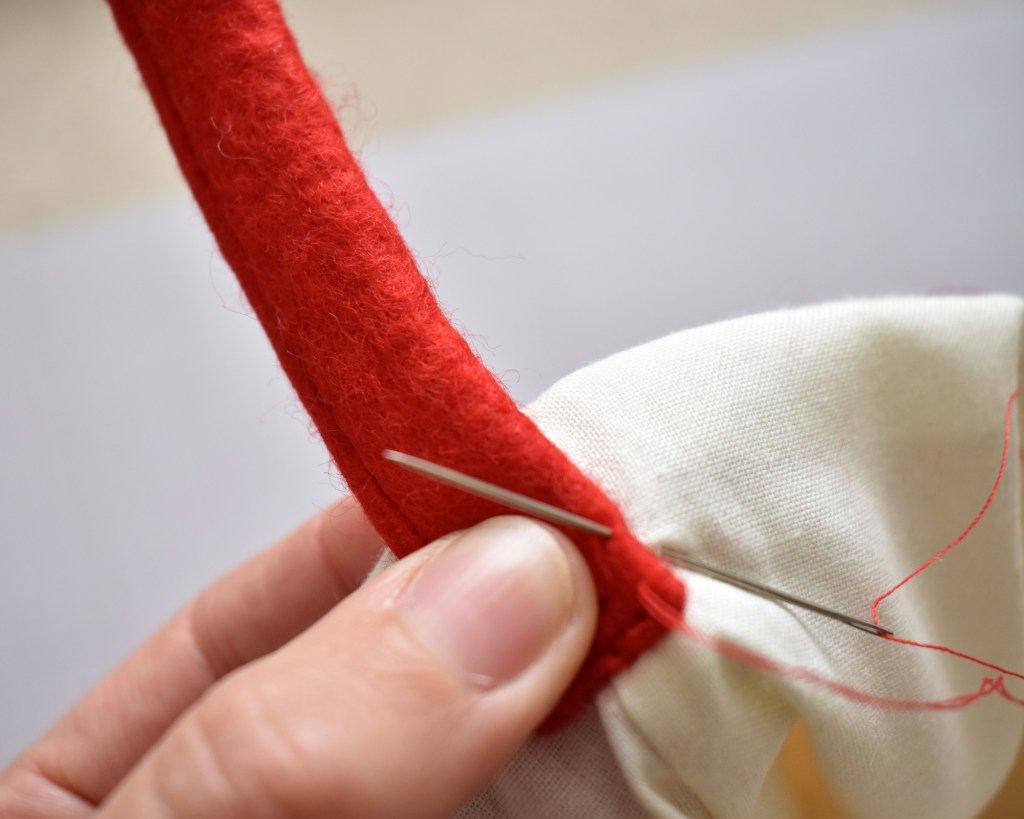
I sewed along the 2 sides and the bottom for strength 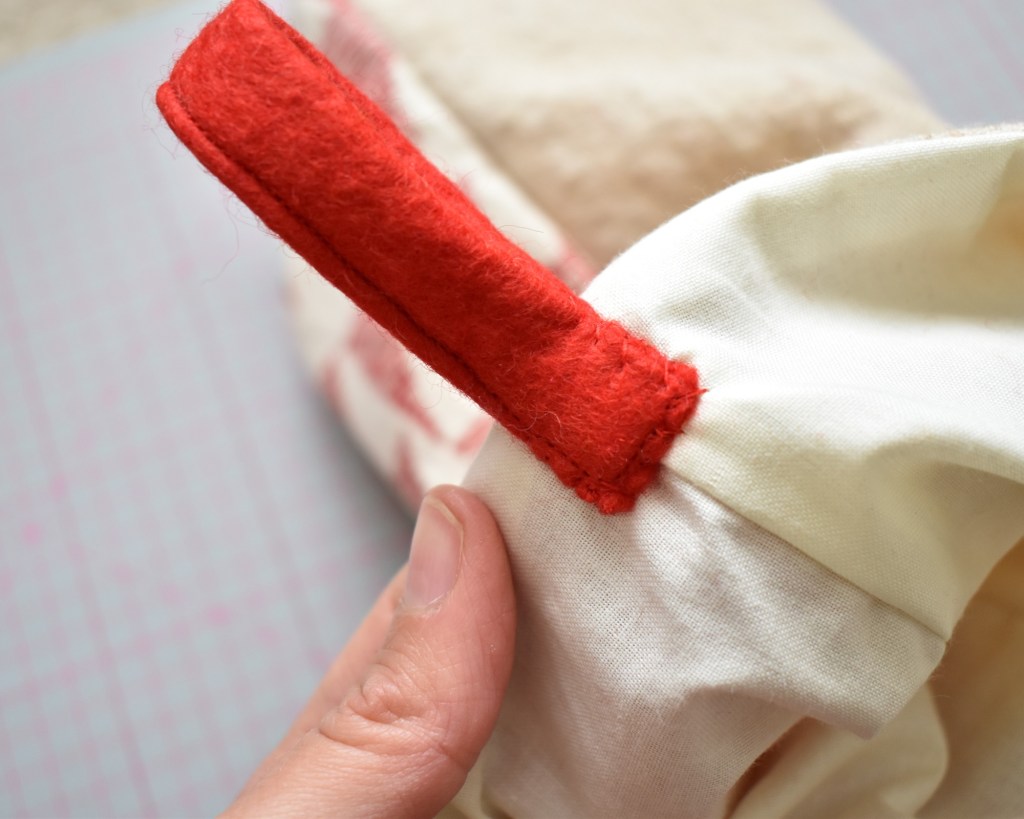
One hanging hook
Top Tip
I knotted my thread and did a couple of stitches in the fabric first for extra strength.
Make sure you only stitch through the lining fabric so you can’t see the stitches on the outside!
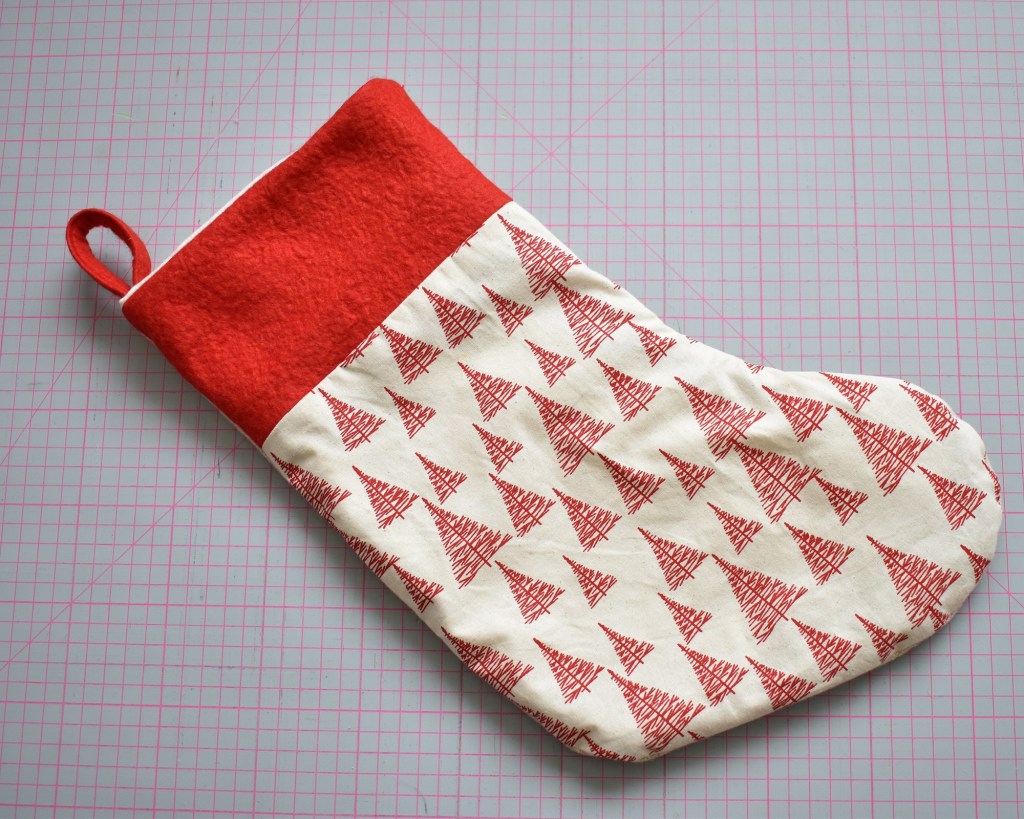
And Voila!! There you have it, a lovely, bespoke Christmas stocking. Now you just need to get out your Christmas Tote Bag, pop off to the shops and find some lovely things to pop in it.
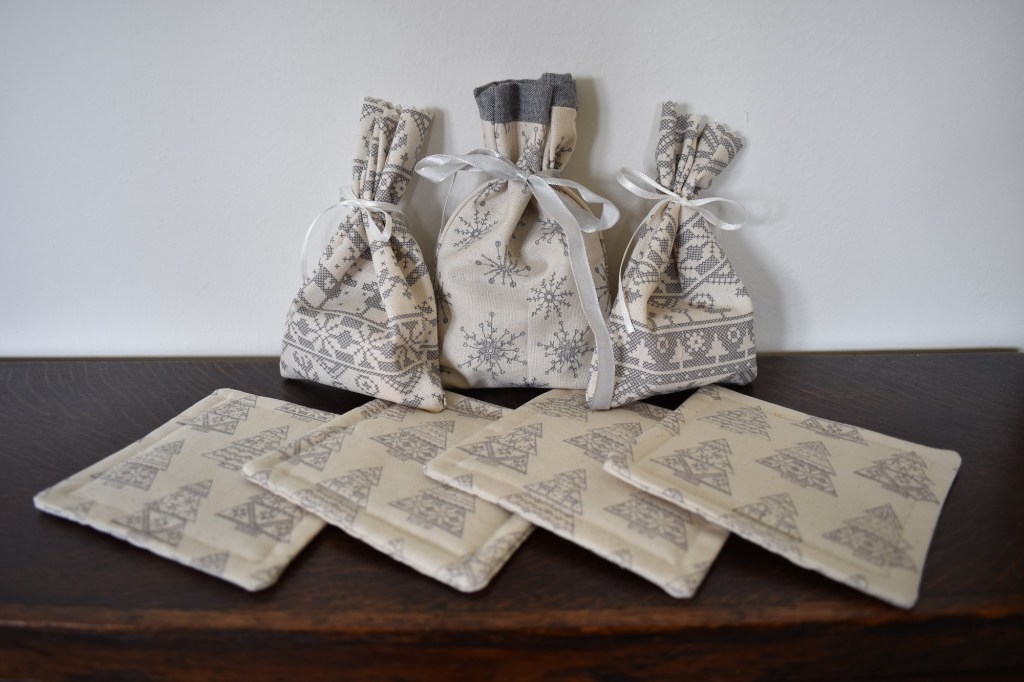
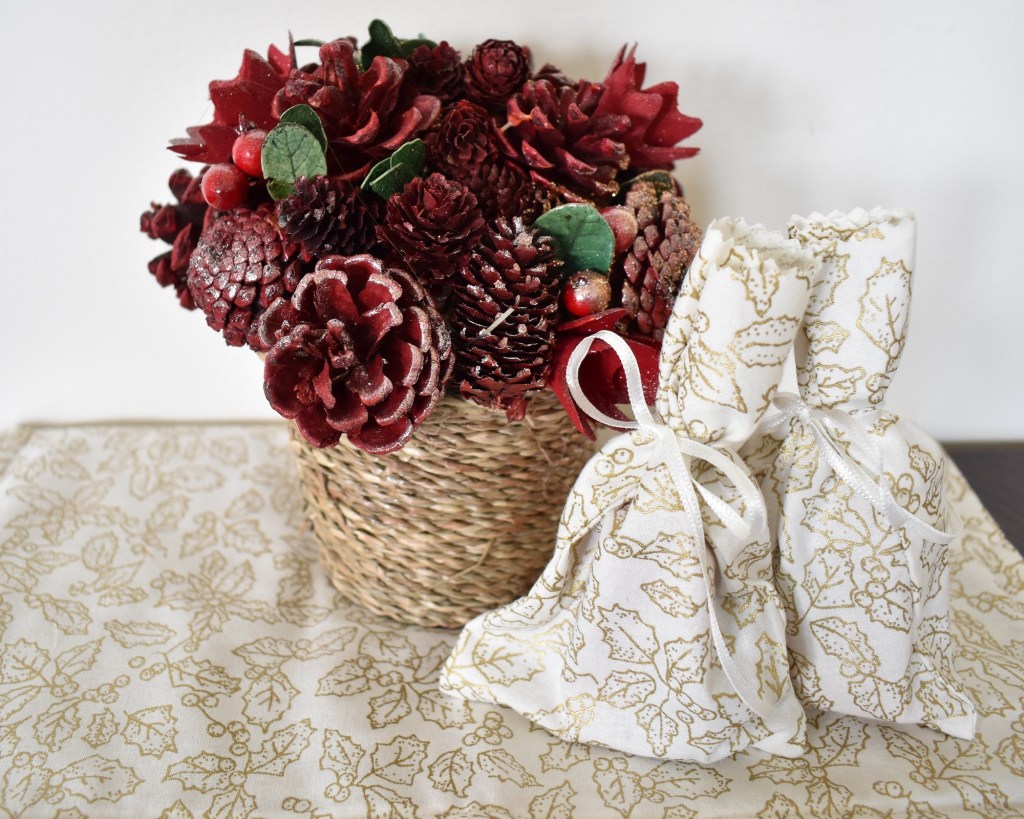
If you liked this Christmas craft project, join me next week when I’ll show you how to make some beuatiful little, reusable gift bags – perfect for adding an extra special touch and, just as good, for diminishing the amount of excess paper lying around!
