
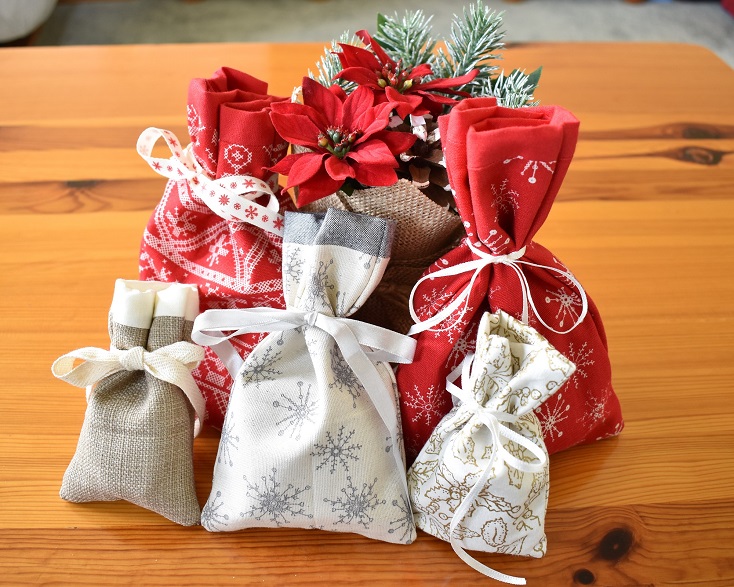

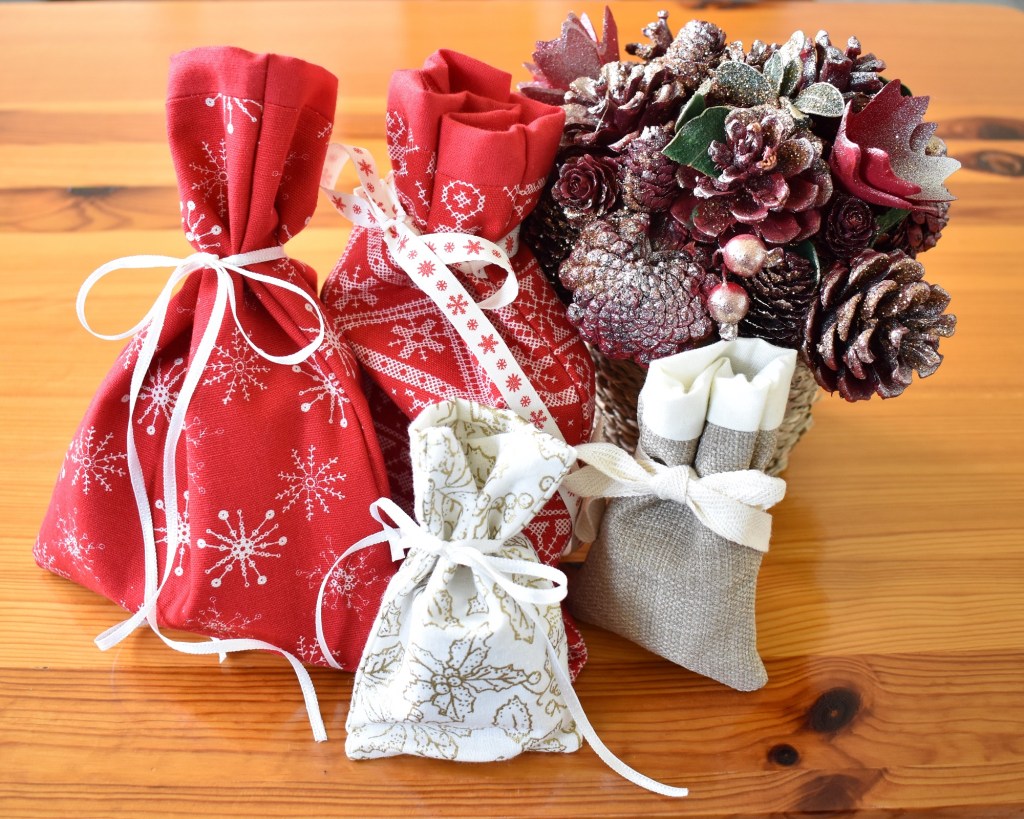
On the fifth day of Christmas Jillian Sharples Design gave to me, some lovely, reusable Christmas gift bags…
If you ever find yourself thinking, like most of us do at some point, that Christmas is just about the most un-environmentally friendly time of the year then you will love these Christmas gift bags. Not only do they add a beautiful, personal touch to the gift you are giving, but they are also reusable and therefore kinder to the environment. What’s not to like right! You could just make them for those extra special gifts, or, as I have inspired my mum to do, you could make them for every single gift you give! My mum has tonnes of excess fabric from a lifetime of collecting and crafting, and since I first showed her these little gift bags she has set to work making them for every gift she’s given since. Amazing right, no more paper in her house! And, an added bonus that I hadn’t thought of, my toddler found them much easier to get into on his recent birthday than getting through layers of cellotape. Everyone’s a winner right!
So if that gets you inspired and you fancy agetting creative today, let’s get going. I’m going to start by giving you the sizing for three different sizes of gift bags. These have stayed fairly small for the purposes of this post simply because I have been aiming to give you fat quarter projects. But you could of course get carried away and make them as big as you like. For example, I’ve almost finished one that’s about 1m square to pop all the little one’s pressies in under the tree!
What you’ll need:
Large bags
2 pieces of outer fabric measuring 18cm x 23cm
2 pieces of inner fabric measuring 18cm x 25cm
Length of ribbon measuring 80 cm
Medium bags
2 pieces of outer fabric measuring 13x 18cm
2 pieces of inner fabric measuring 13cm x 21cm
Length of ribbon measuring 60cm
Small bags (Perfect for small items of jewellery)
2 pieces of outer fabric measuring 10cm x 13cm
2 pieces of inner fabric measuring 10cm x 16cm
Length of ribbon measuring 50cm
Now, depending on what fabric you’re working there are two different options. One with a contrasting lining where the lining acts as a trim at the top of the bag and one that has matching lining.
Important point – the making of them differs in one way only.
Bag with contrasting lining: The lining is the longer piece of fabric.
Bag with matching lining: The lining is the shorter piece of fabric.
What else you’ll need:
Cutting board (if you have one)
Cutting ruler (if you have one)
Roller cutter or scissors
Tape measure
Sewing machine
Matching thread
Needle and pins
How to make your Christmas gift bags:
So, we’re going to start off by making a large gift bag with contrasting lining.
1) Cut your fabric pieces to size: 2 outer pieces of 18cm x 23cm, 2 lining pieces of 18cm x 25cm. (As above, simply swop the sizes over if you are using the same fabric to line the bag).
2) Lay your first piece of lining fabric down, face side up. Place the first piece of outer fabric on top, face side down with top edges together. Pin together along the top edge and stitch along this edge, 1cm from the edge of the fabric. Repeat for the second piece of lining and main fabric.
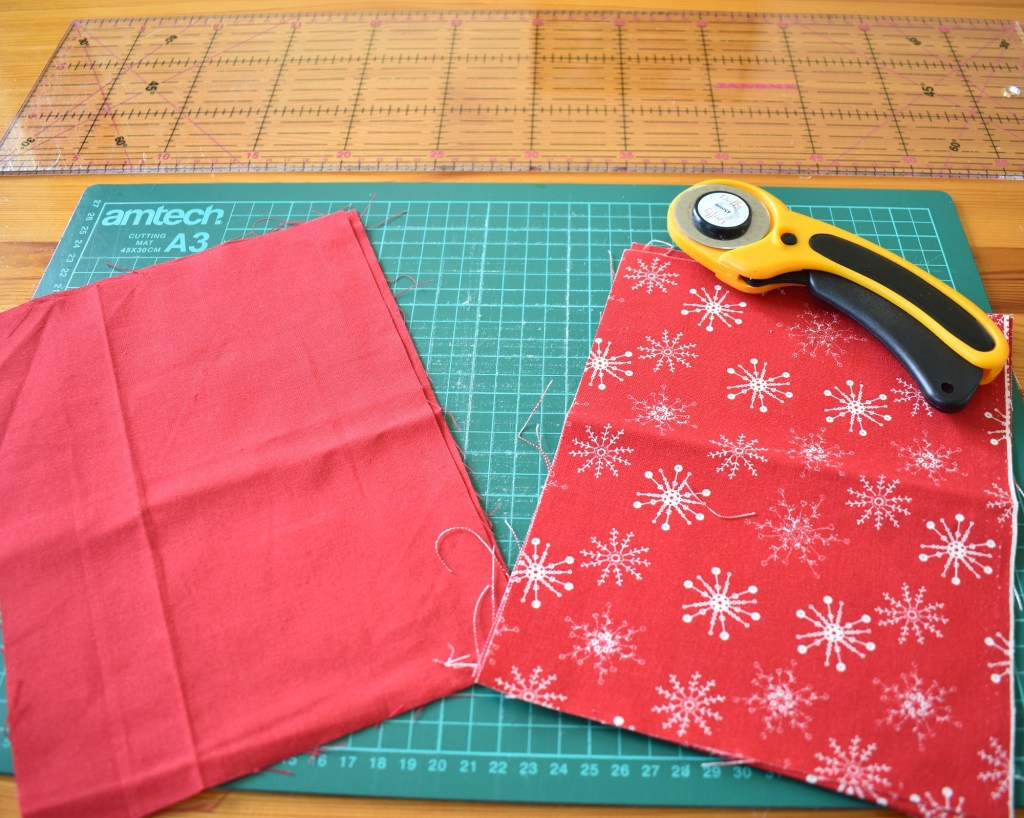
Cut out your fabric 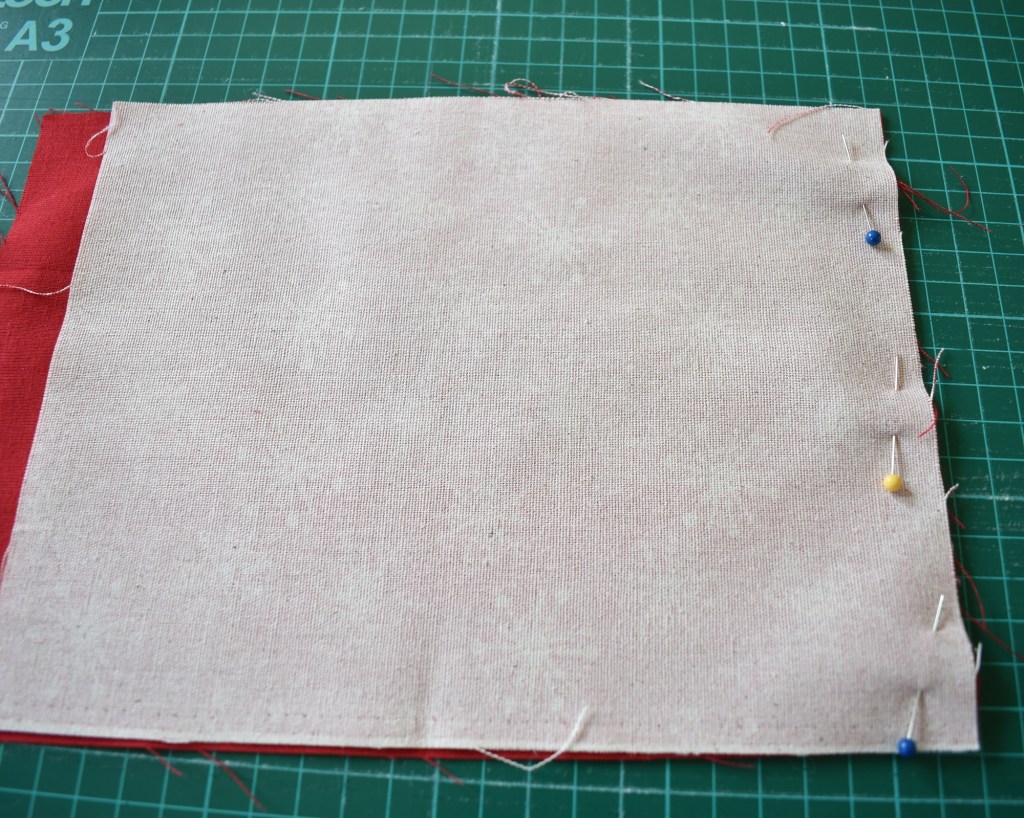
Pin the first two pieces together 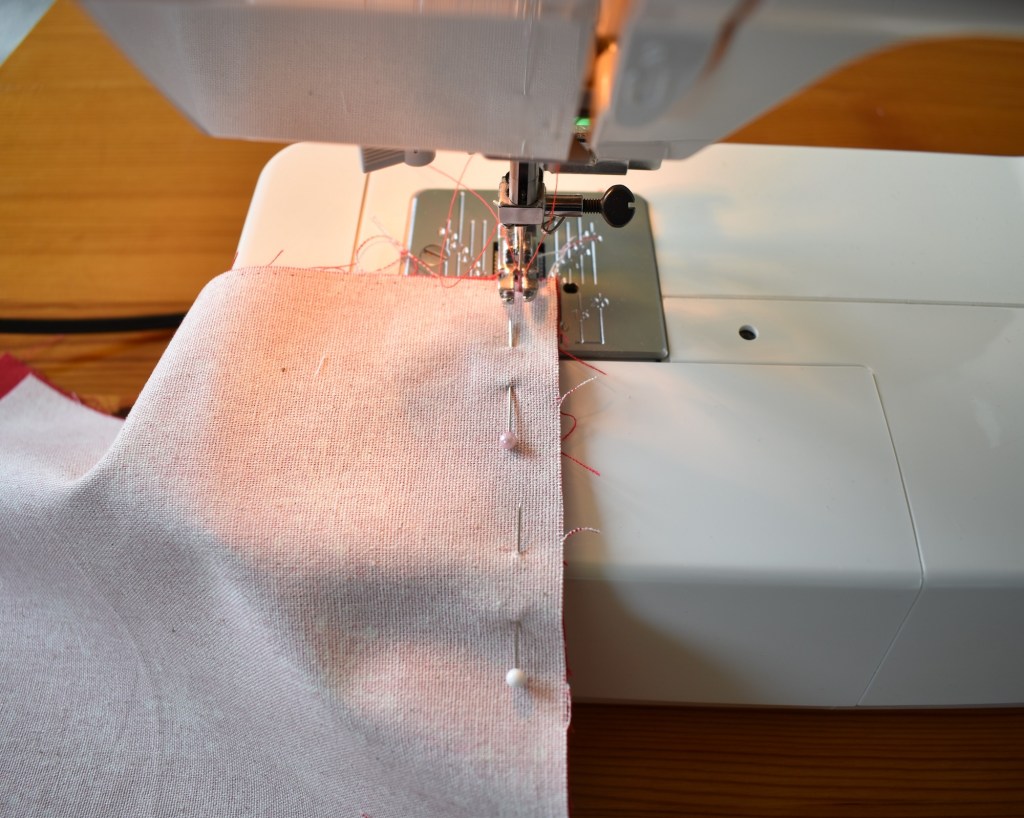
Sew a line across the top, 1cm from the edge
3) Iron your hems flat for neatness and to avoid bunching.
4) Lay your first side of your bag down, face side up. Place the second side on top, face side down. The two face sides should be together on the inside.

Iron your hems flat 
Pin the two side of the bag together 
Ensuring the fabrics match by starting in the middle
5) Pin together all the way round leaving a space of about 8cm along the bottom of the lining fabric which will be used for turning. I tend to put these pins in vertically so that it looks like a doorway, then I remember not to sew through it.
Top Tip
I always start pinning in the middle of one of the long sides. This is the easiest way of ensuring that the fabrics match up neatly. i.e. the lining of one matches to the lining of the other and the same for the outer fabric. It’s not the worst thing in the world if they don’t match precsiely but if you like to be a perfectionist starting here will prevent them slipping.
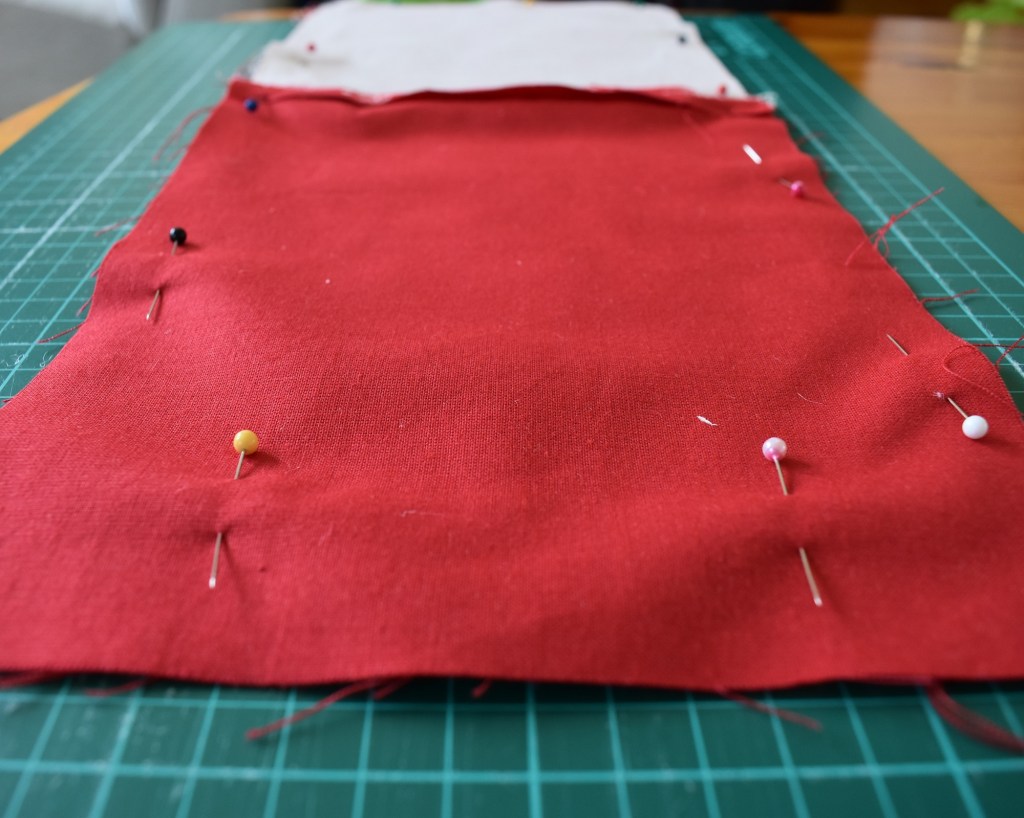
Leave a gap or ‘doorway’ of 8cm at the base of the lining 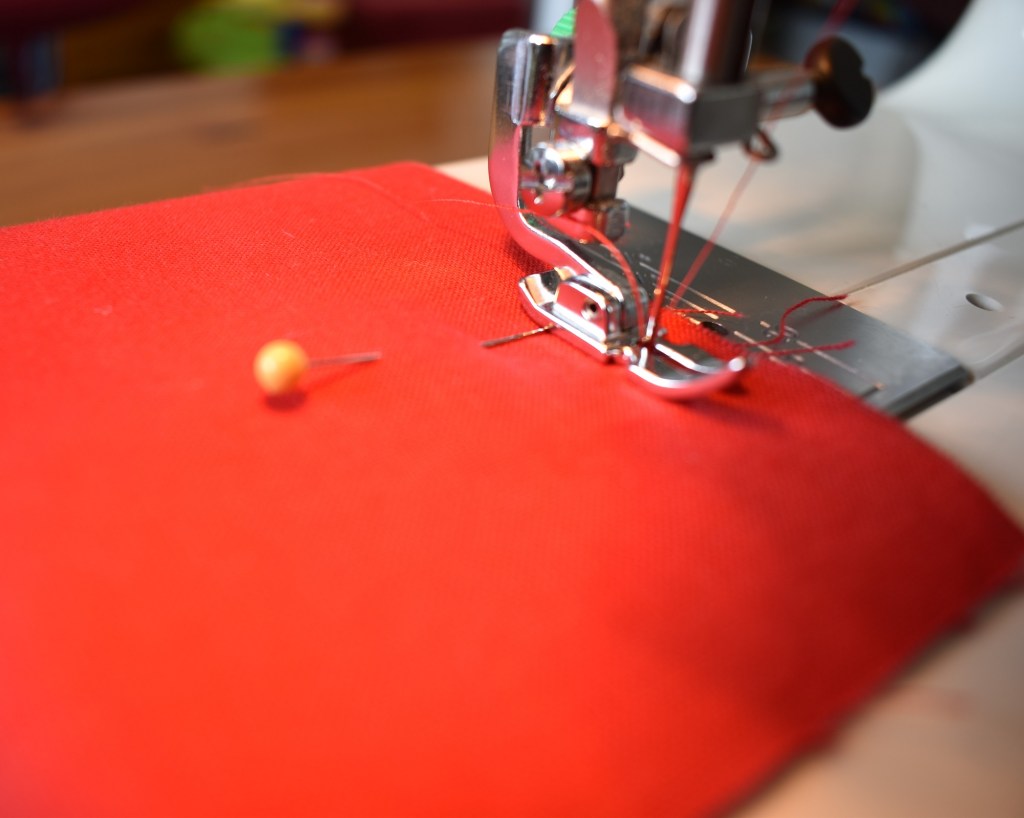
Sew around the bag, 1cm from edge 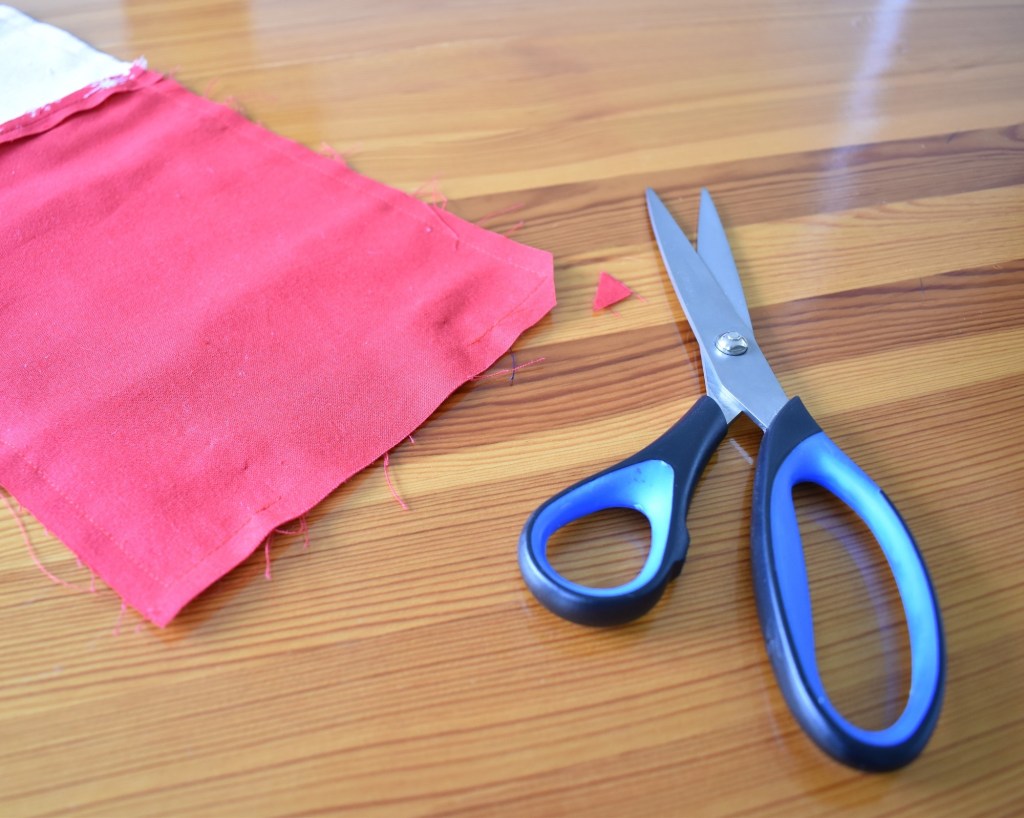
Cut off the corners
6) Sew around the bag 1cm from the edge of the fabric. Start about one cm from one side of the gap and do a few backstitches in order to secure the stitch line and prevent fraying. Remember to do a few backstitches when you arrive at the other side of the gap too.
7) Using scissors cut triangles off each of the 4 corners, being careful to leave a couple of milimetres between the cut and the stitch line. Turn the bag in the right way. Smooth down the two sides of your gap, ironing flat if you wish and pin together.
8) Using a simple ladder stitch sew up the gap and push the lining down inside the main bag. Make sure you smooth round all the edges and push the corners of the lining fully into the corners of the main fabric for neatness. If necessary, use a pin to nudge the corners out fully.
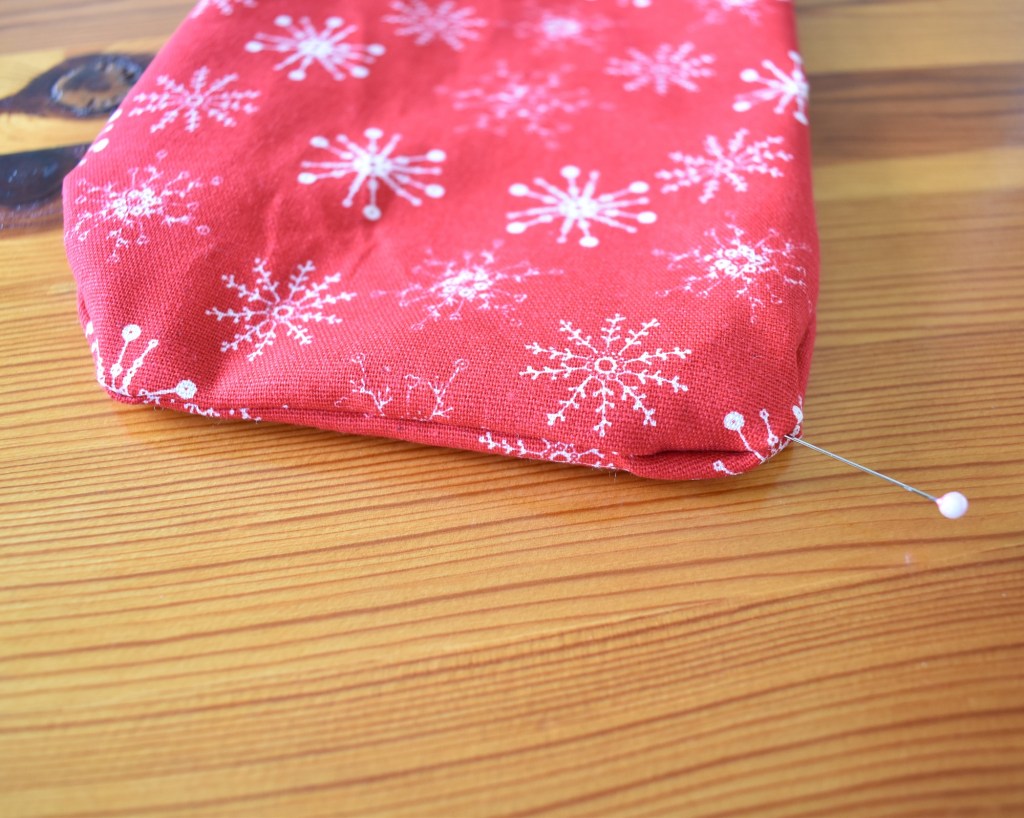
Use a pin to nudge out the corners 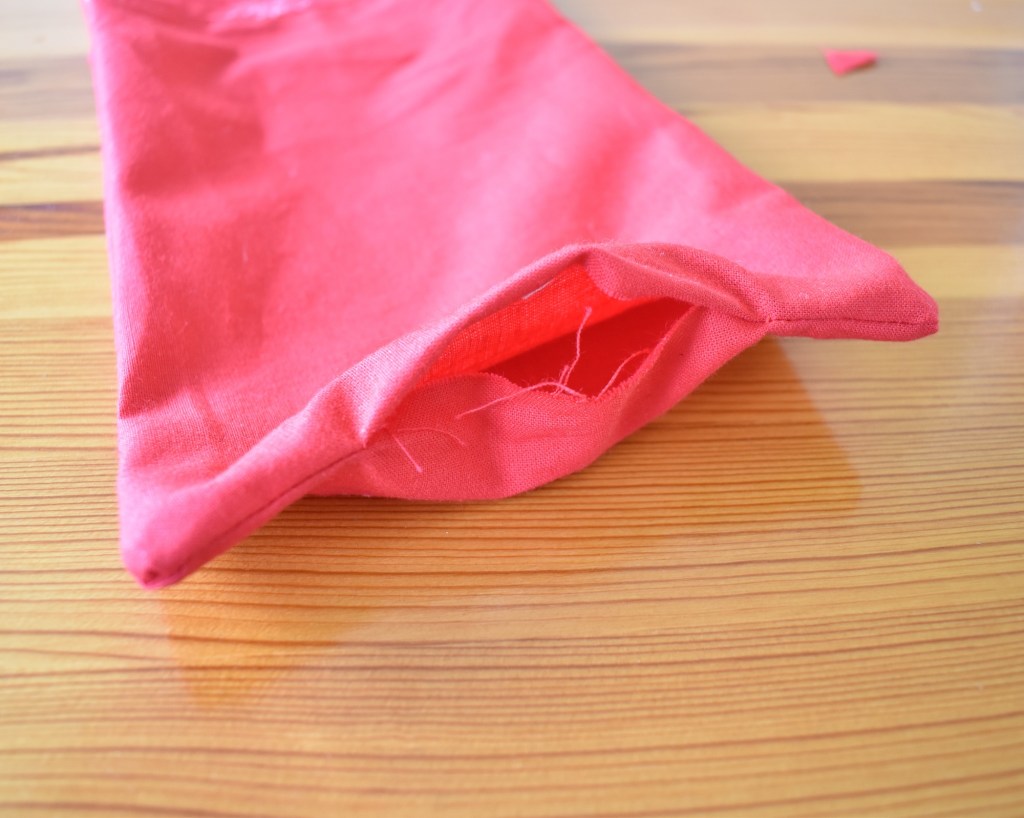
Smooth down the side of your gap 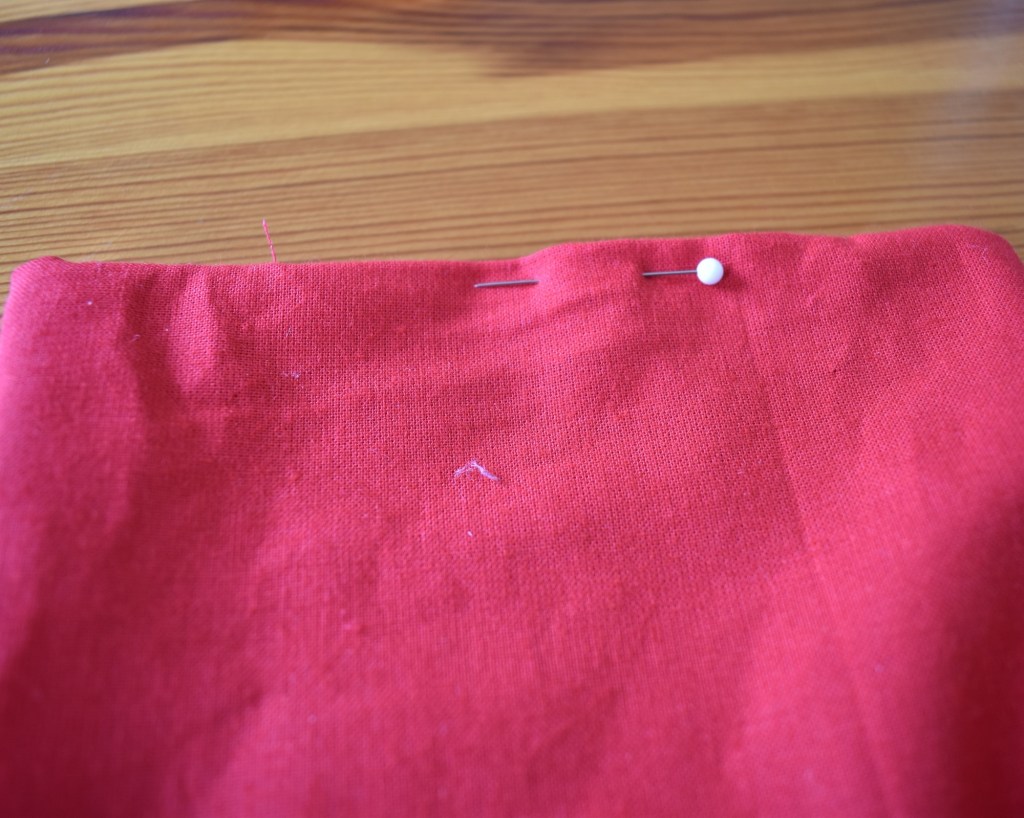
Pin together
Top Tip
If you are unsure of how to do ladder stitch, or slip stitch as it is also known, please watch my youtube video

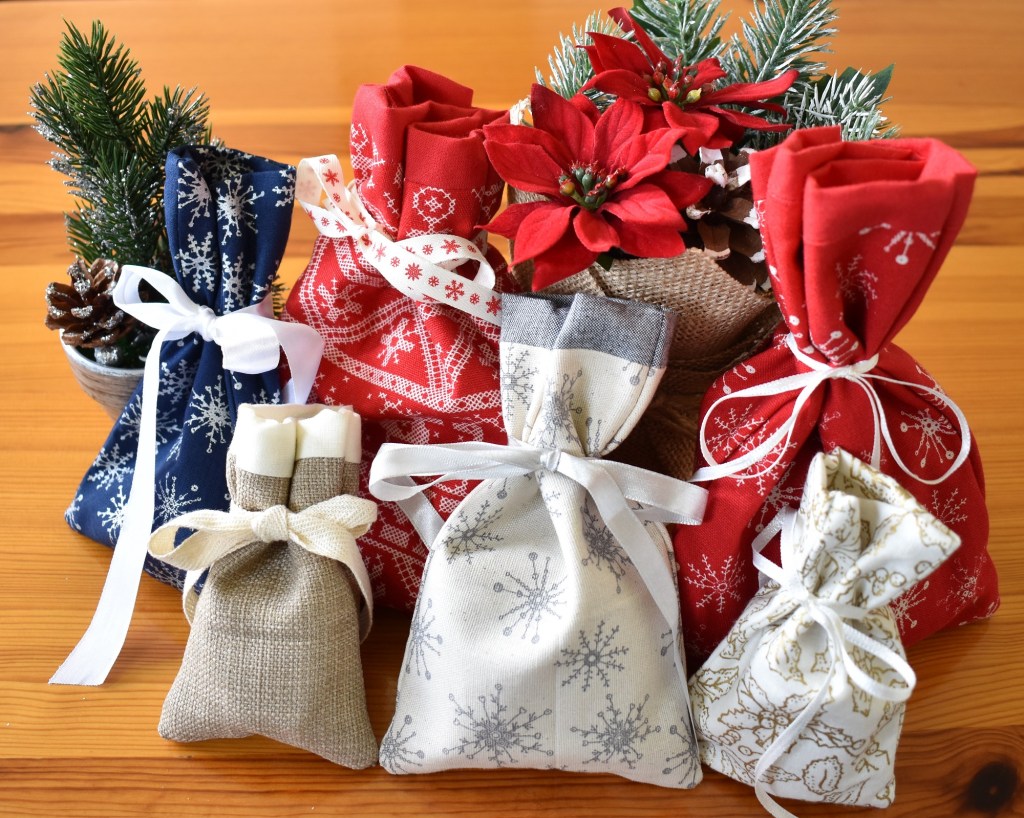
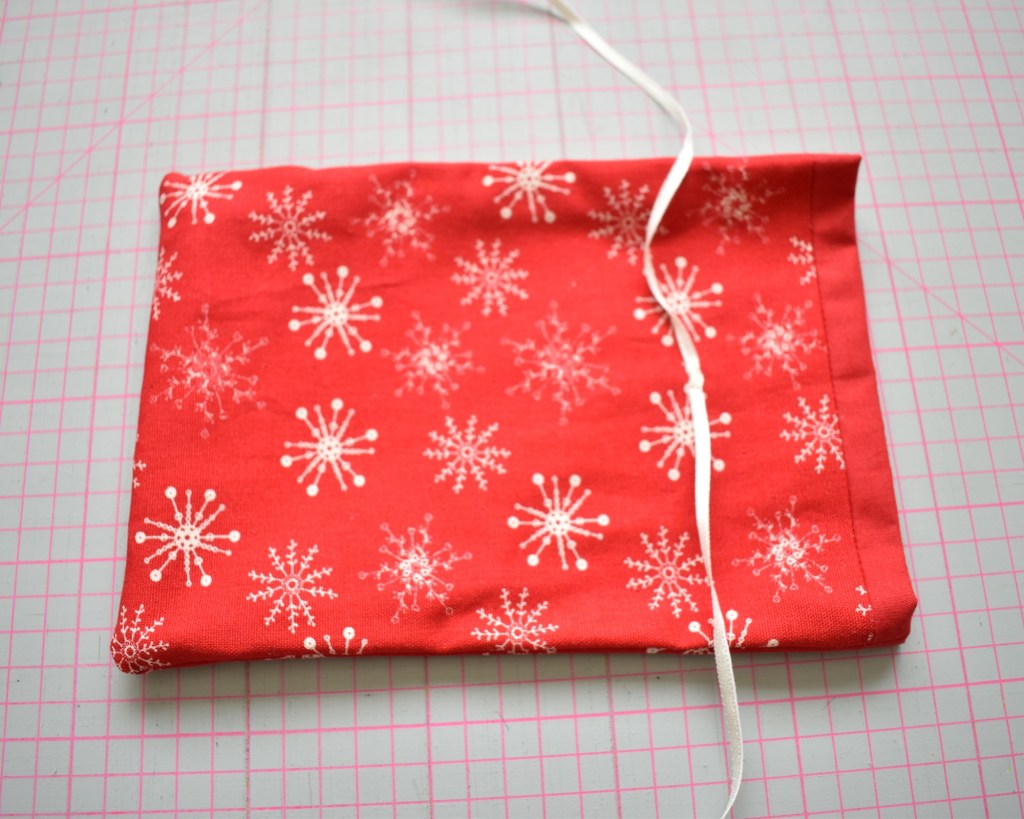
If making a gift bag with a contrasting trim, there will be about 1cm of trim showing at the top of the bag.
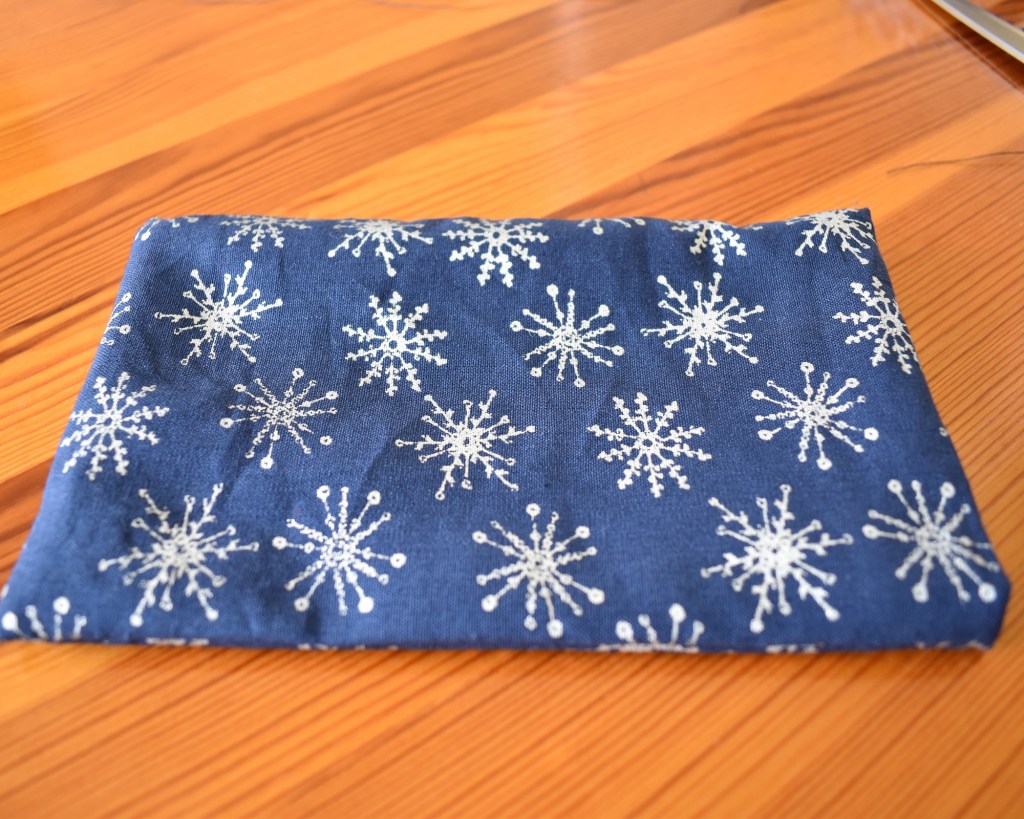
For a gift bag that has matching lining, as the lining was the shorter piece of fabric, the join is inside the bag and cannot be seen.
So all that shouldn’t have taken you too long right? Fingers crossed anyway, these are supposed to be quick projects after all! You almost have your finished festive gift bag, we just need to add the ribbon.
Adding the ribbon:
Fold your length of ribbon in two to find the middle. Pin it on the back of the bag, 5cm from the top and using a matching thread sew it onto the back of the bag. Knot the thread and draw it up underneath the ribbon so it can’t be seen. I tend to double up my thread so it is nice and strong for this step and requires less stitches. Using just a few stitches, secure the ribbon in place.
There are two choices for how to do this:
- Make a cross stitch in the middle of the ribbon and repeat this three times before knotting and cutting off the thread. This is what I did for my ribbon here as it is very thin.
- Sew a few slip stitches along the two edges of the ribbon about 1.5cm along.
For this very narrow ribbon i did a few cross stitches over the centre point of the ribbon. The thread was exactly the same colour so can barely be seen.

For this wider ribbon i did a few stitches on both the top and bottom edge of the ribbon, about 1.5cm along each.

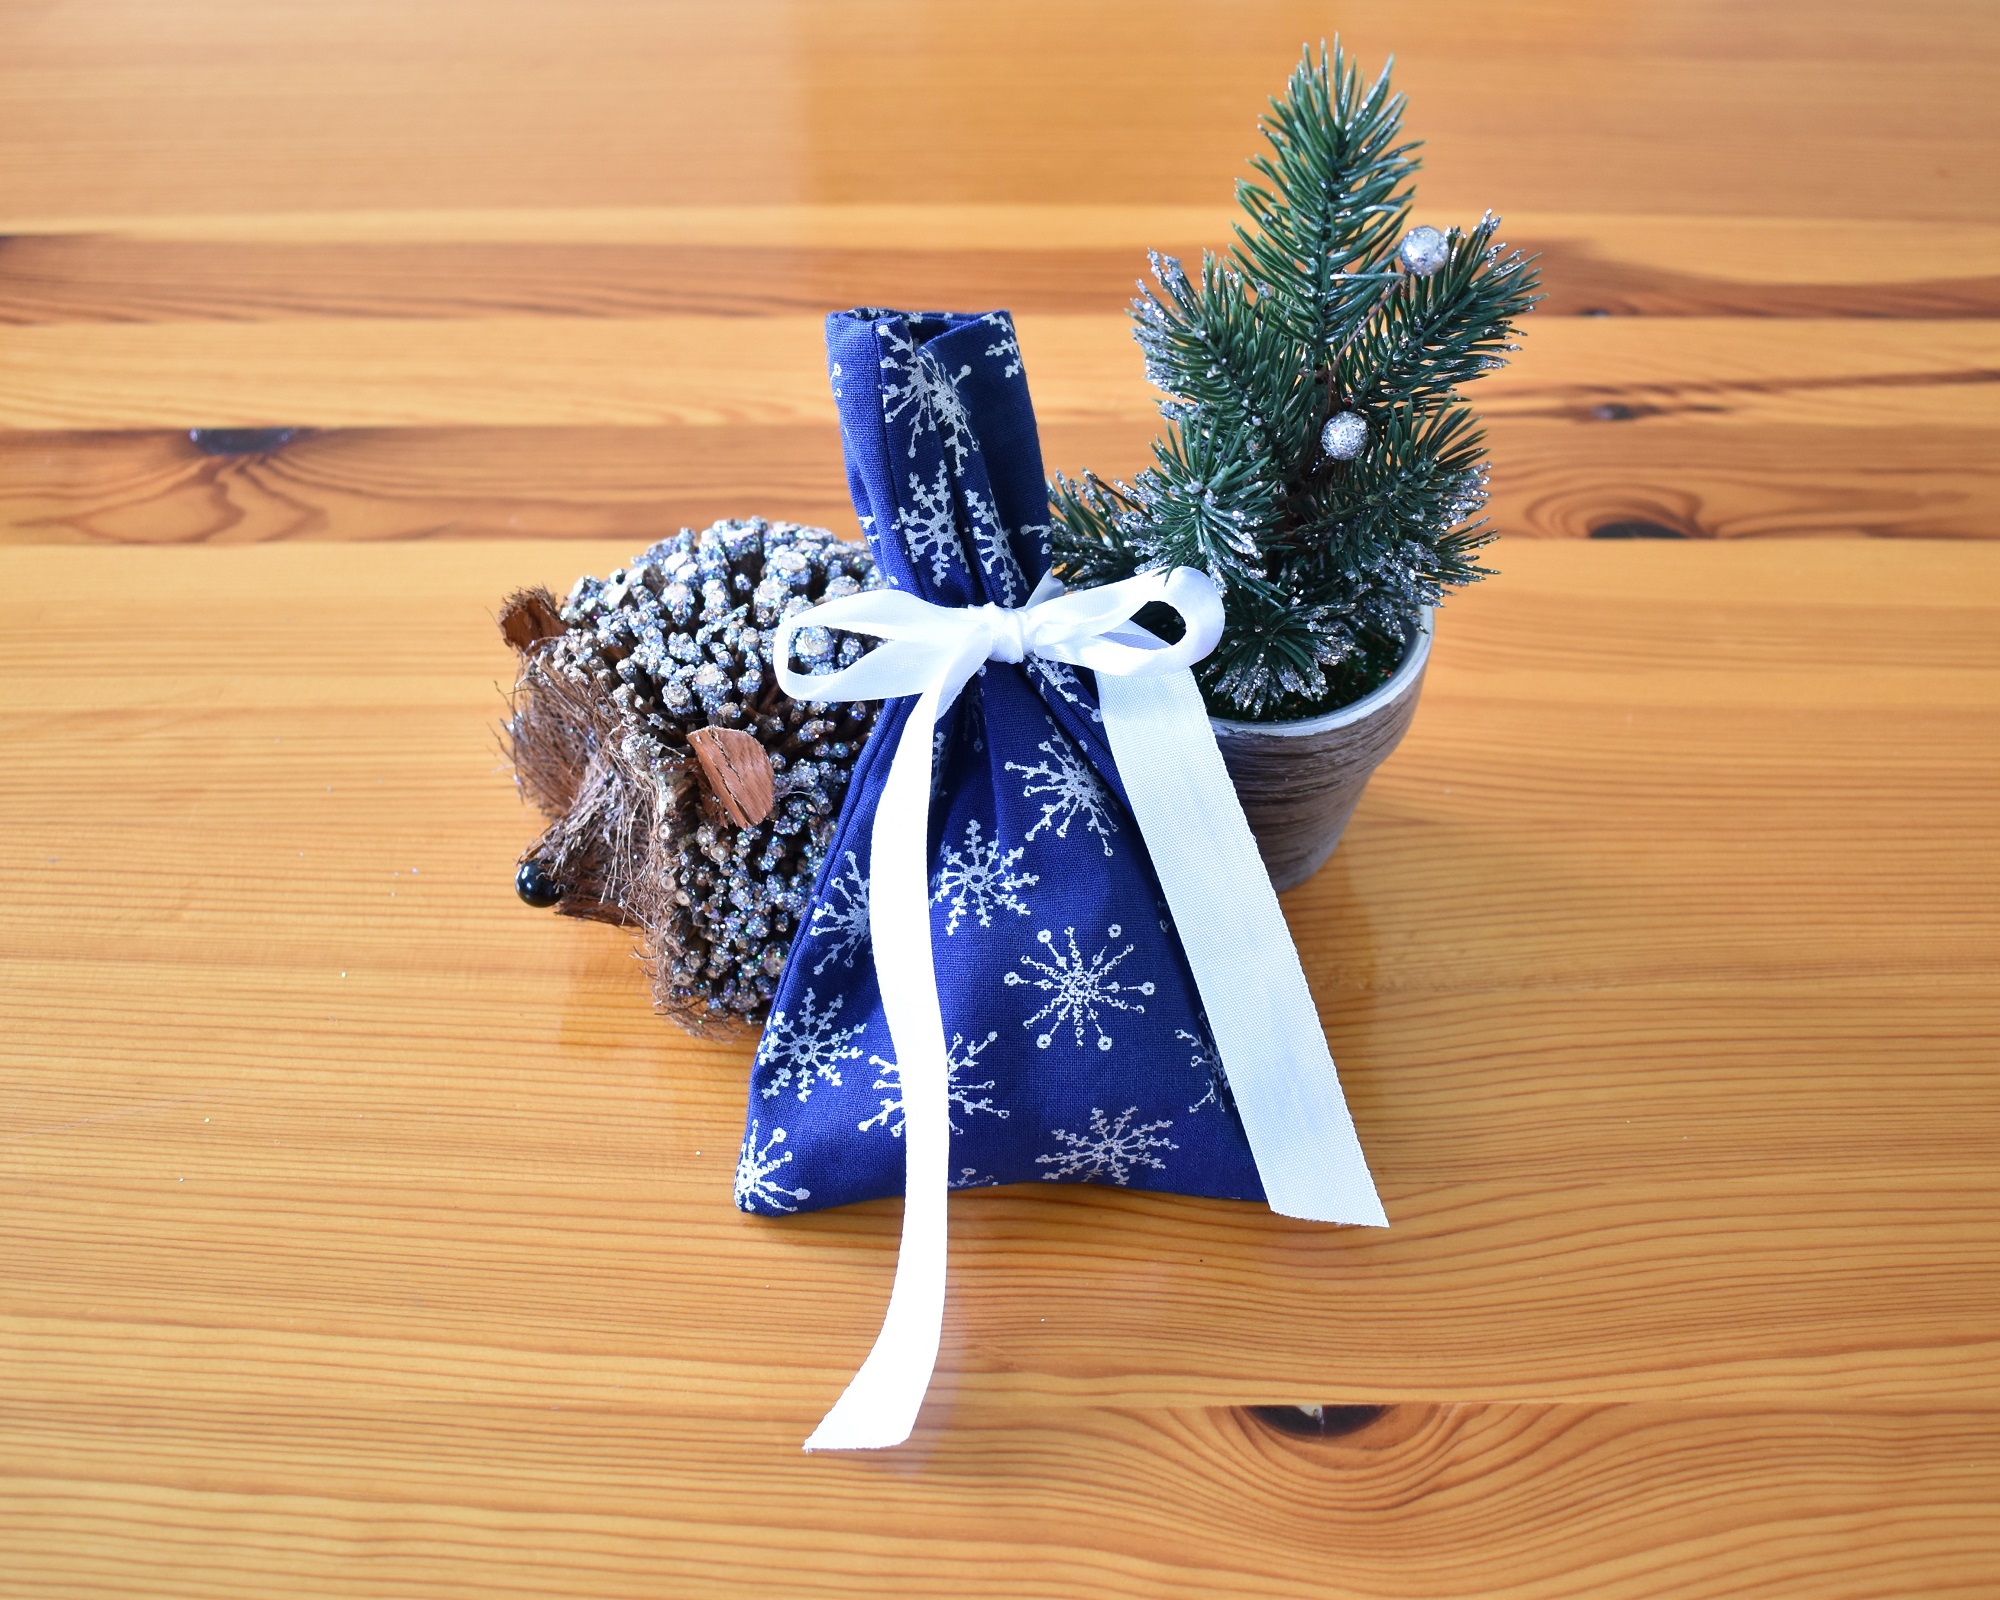
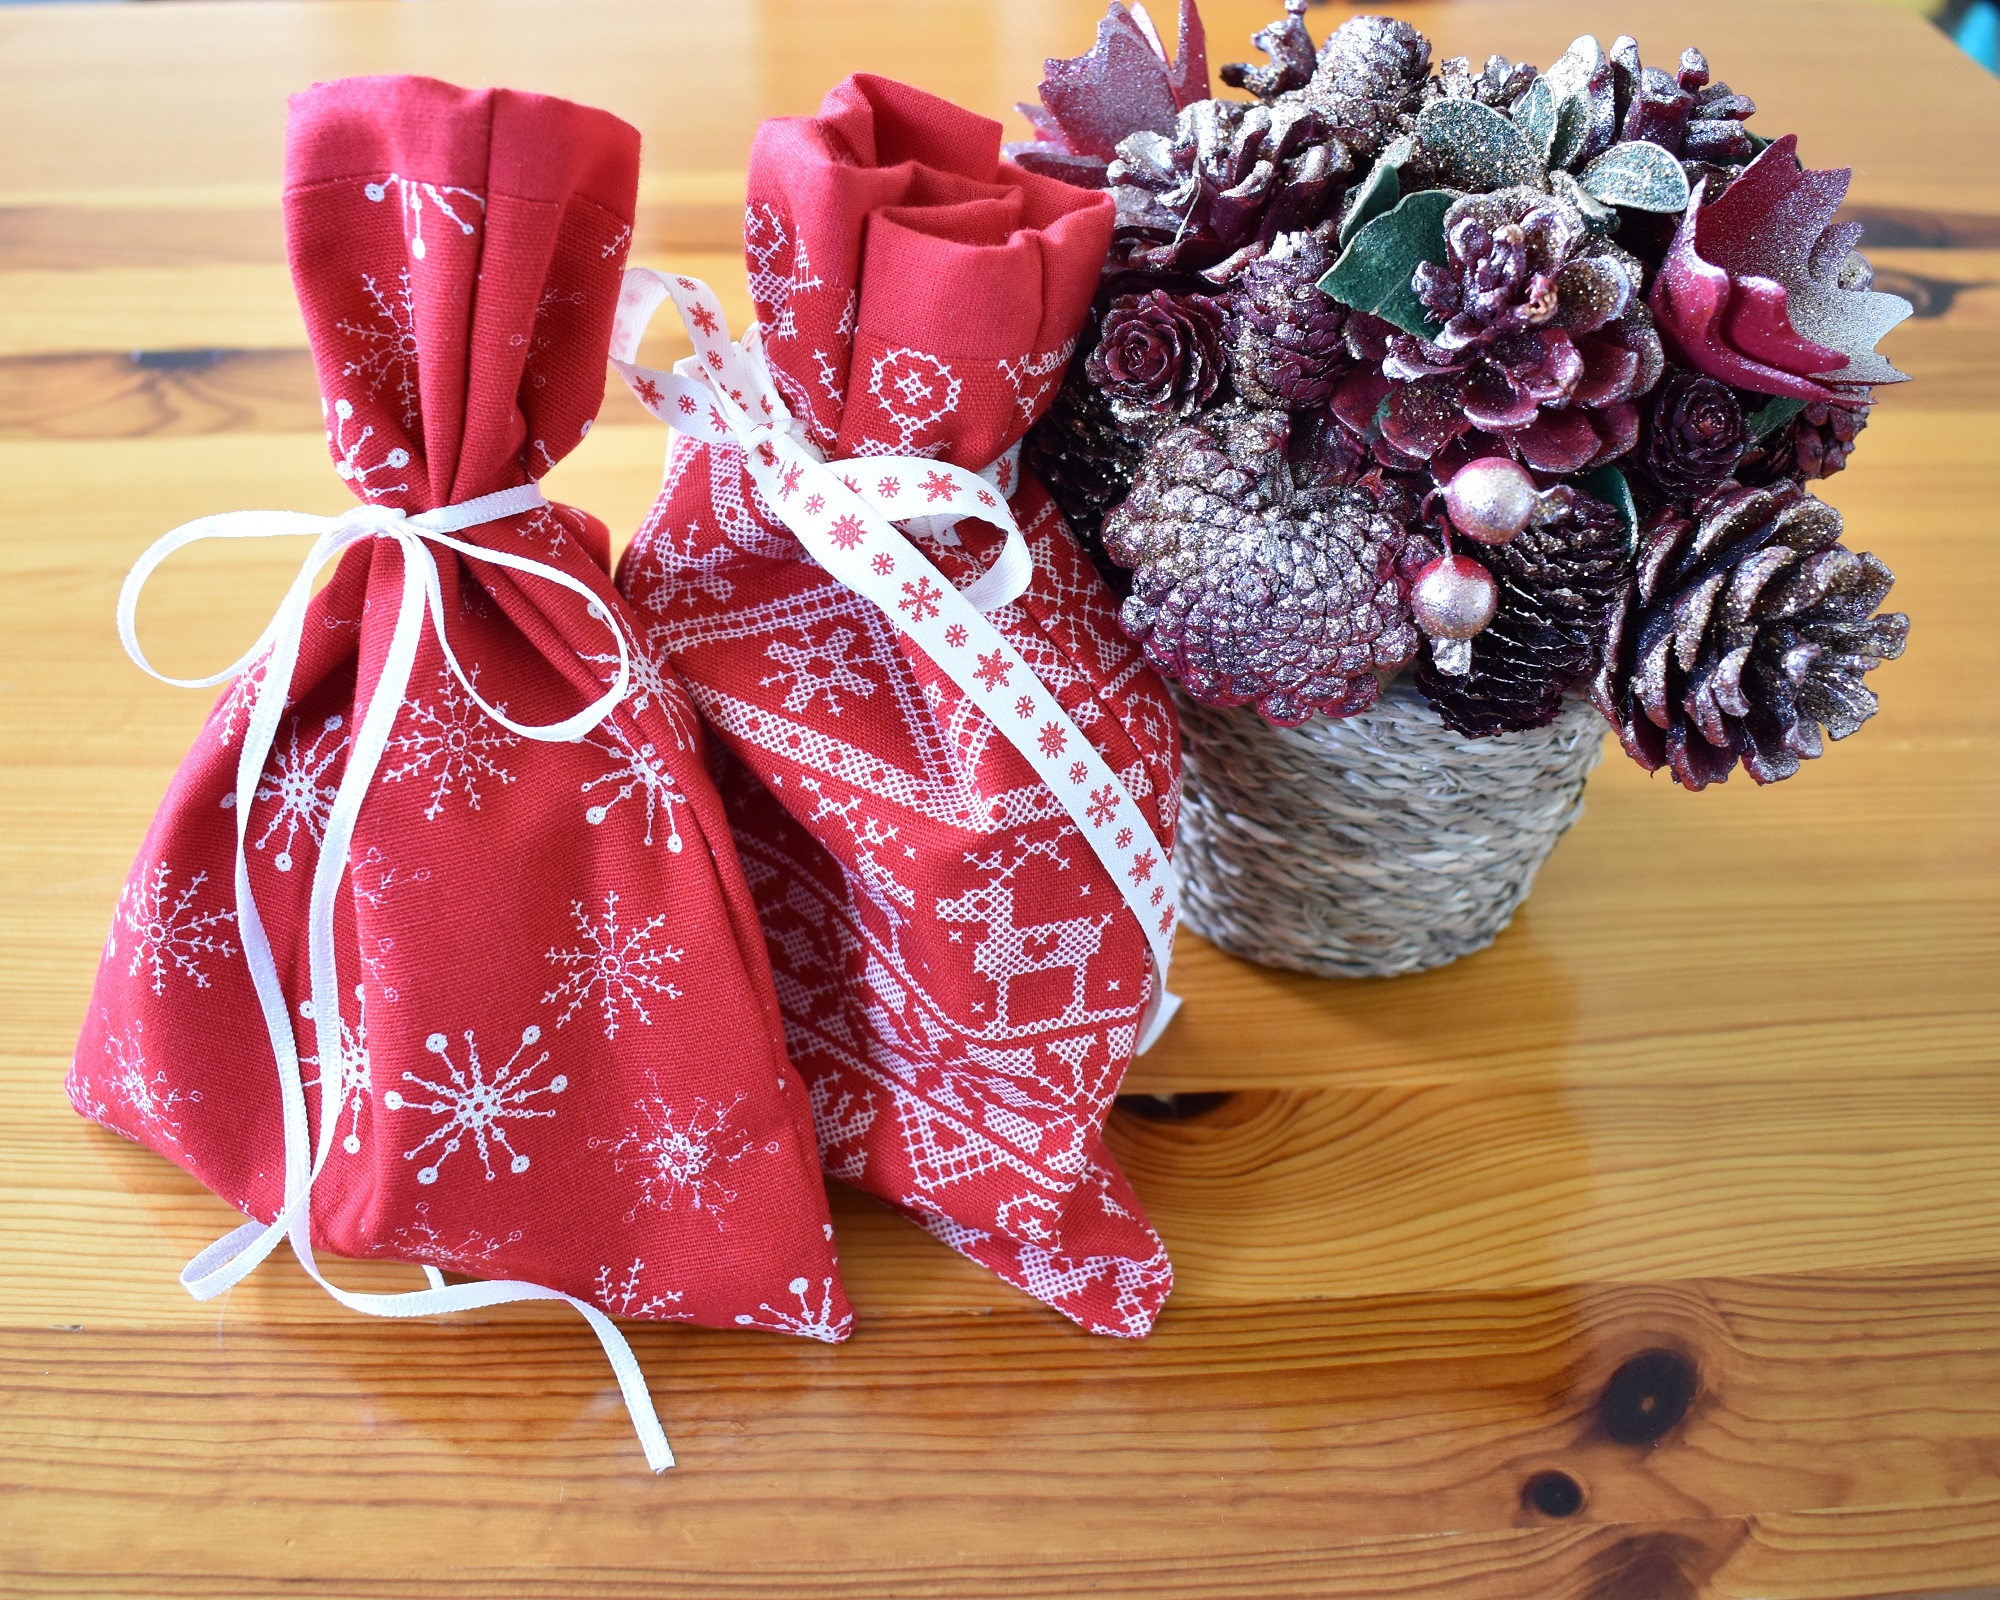
And, Voila! Before you know it you have a lovely set of Christmas gift bags to add that personal touch to your festive celebrations.
Well, that’s us for today! I hope you’ve enjoyed making these lovely little gift bags. It really is a pleasure to give someone a gift in one of these instead of wasting yet more paper! Happy sewing, and if you liked this little project, join me next week when we’ll be making some Christmas coasters, perfect to brighten up your coffee table with an extra personalised festive touch.
