

On the sixth day of Christmas Jillian Sharples Design gave to me, some little Christmas Coasters for my coffee table…
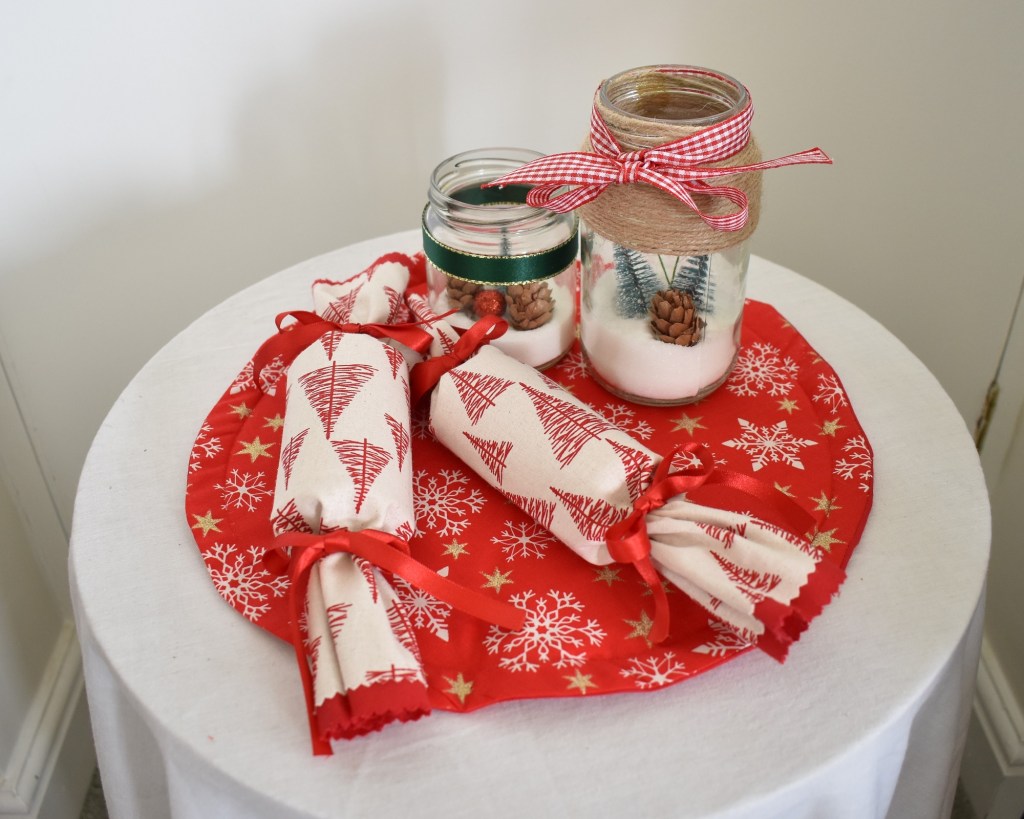
Hi there! Welcome back for week 6 of my ‘Twelve Crafts of Christmas’ festive craft projects. To have a little recap, so far we’ve covered a couple of craft projects to get us started with our Christmas shopping, as well as a few different ways of presenting the gifts that we might be buying on those shopping trips. Now, it’s time to move our attention to the home and think about adding some handmade touches to our Christmas decorations.

This is perfect for 2020 actually. In the face of everything that has been happening, many of us have been turning our attention inwards more than ever and focusing on our families to an even greater degree, so why not try to make this Christmas the best ever by adding some thoughtful, homemade touches to our decorations and our gifts. Maybe it will work out that this year some of us, sadly, won’t get to visit families over the festive period, but that doesn’t mean we aren’t thinking of them. Any of the projects we have covered so far would make lovely Christmas or Advent gifts for friends and family and today’s is no exception. So let’s get started and look at how we are going to make these, super simple, Christmas coasters that could even just be popped in an envelope with a Christmas card for a little pre-Christmas treat.
What you’ll need:
8 pieces of fabric 15cm x 15cm
4 pieces of wadding fabric 15cm x 15cm
Cutting board (if you have one)
Roller cutter or scissors
Cutting ruler (if you have one)
Pins, needle, matching thread, sewing machine

How to make your Christmas Coasters:
1) Place two pieces of fabric on top of each other, face sides together.
Place the wadding on top of them.
Pin all three pieces together leaving a 7cm gap along one edge for turning in the right way.
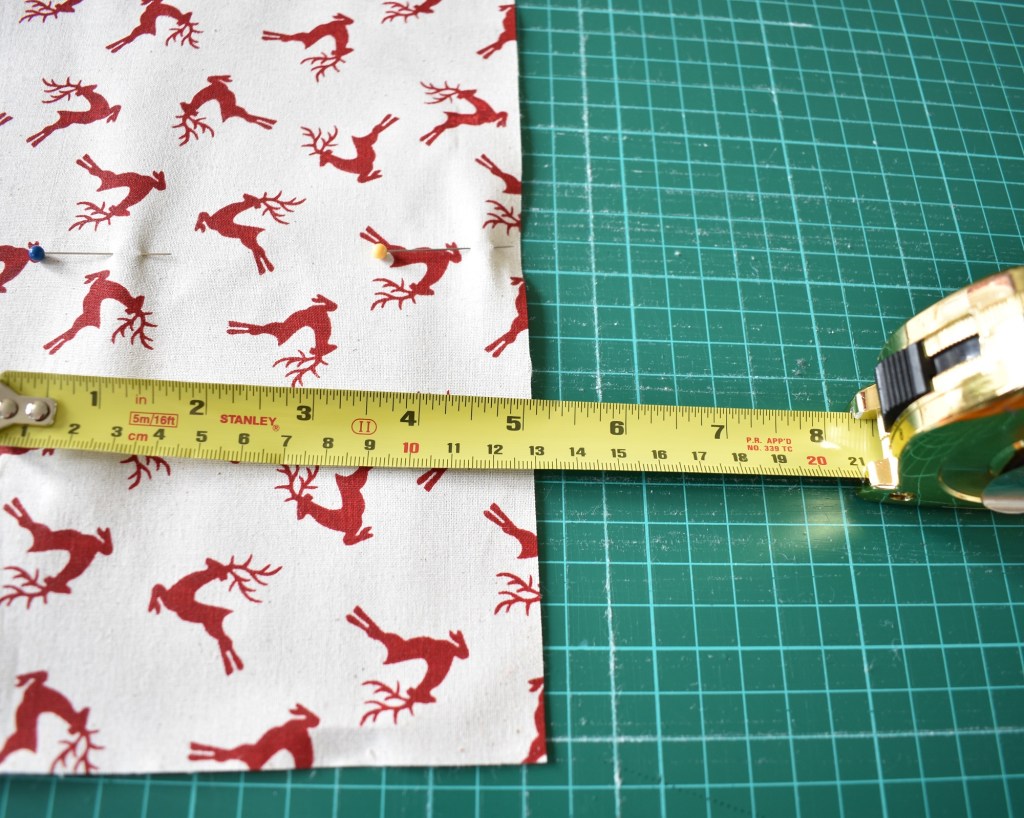
Cut fabric to 15cm x 15cm squares 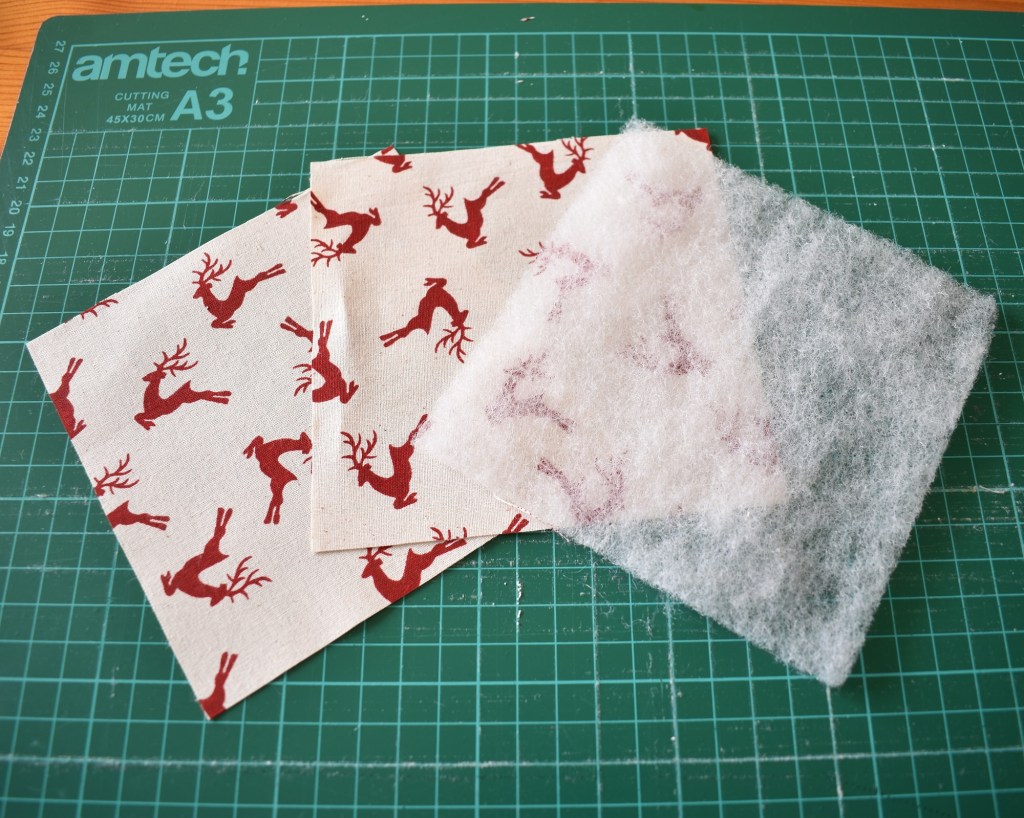
You’ll need 4 pieces of wadding also 15cm x 15cm 
Place 2 pieces of fabric face sides together
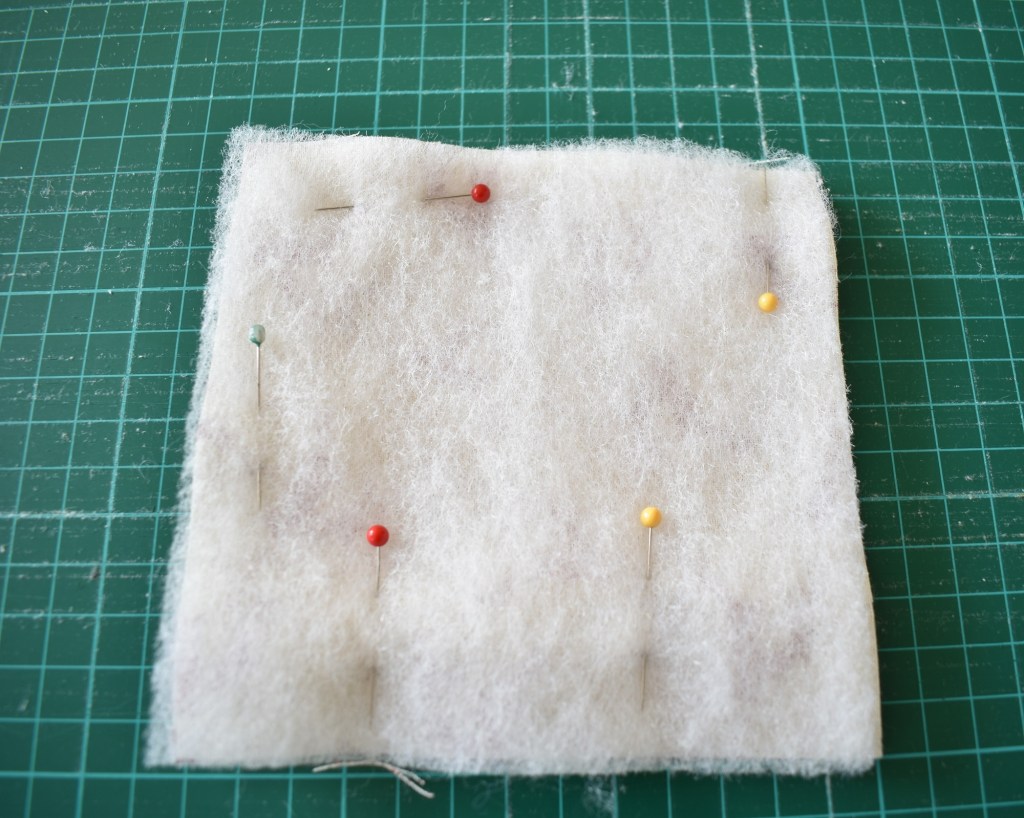
Place a square of wadding on top and pin together. 
Stitch all the way round

Top Tip
As I’ve mentioned before, I always put vertical pins at either side of the gap – so it kind of looks like a doorway – as this reminds me not to sew over this section.
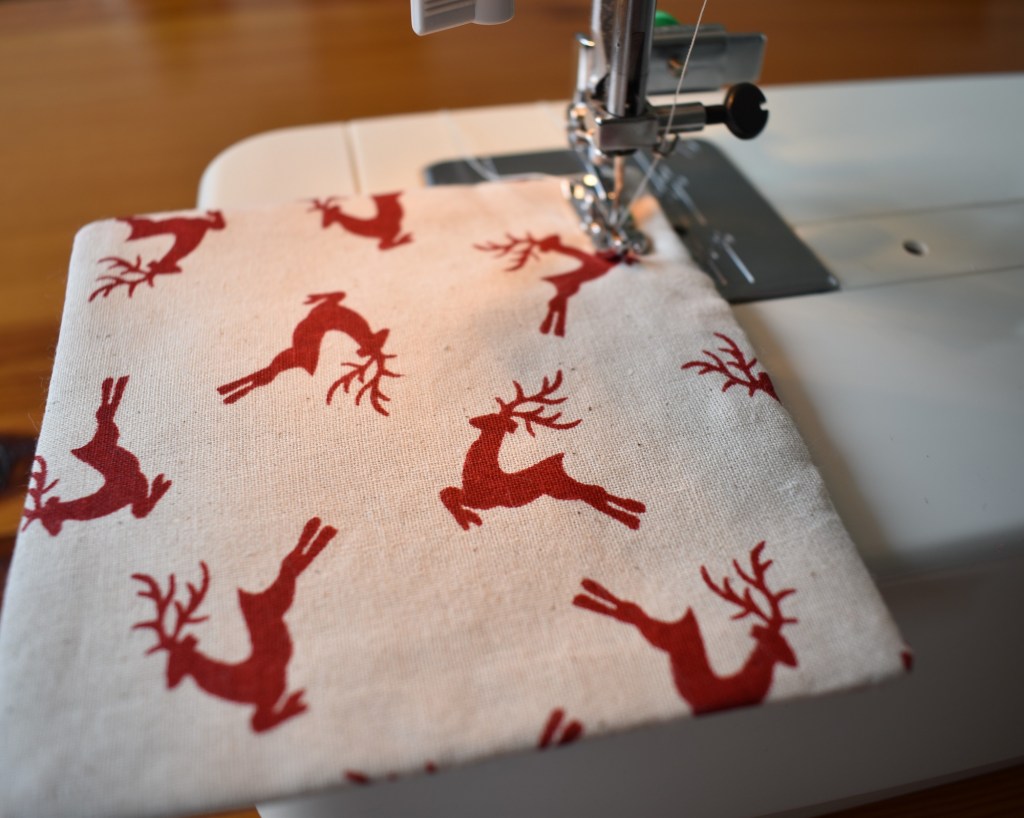
2) Starting at one side of the gap / doorway, sew a stitch line all the way round, 1cm from the edge of the fabric. Remember to do a few backstitches at the beginning and end to secure the stitch line and prevent fraying.
3) Cut off the four corners, leaving a couple of millimeters between the cut and the stitch line. This helps the corners to be turned neatly with no bunching.
Trim off any excess wadding, again leaving a couple of millimeters between the cut and the stitch line so as to prevent cutting the fabric!
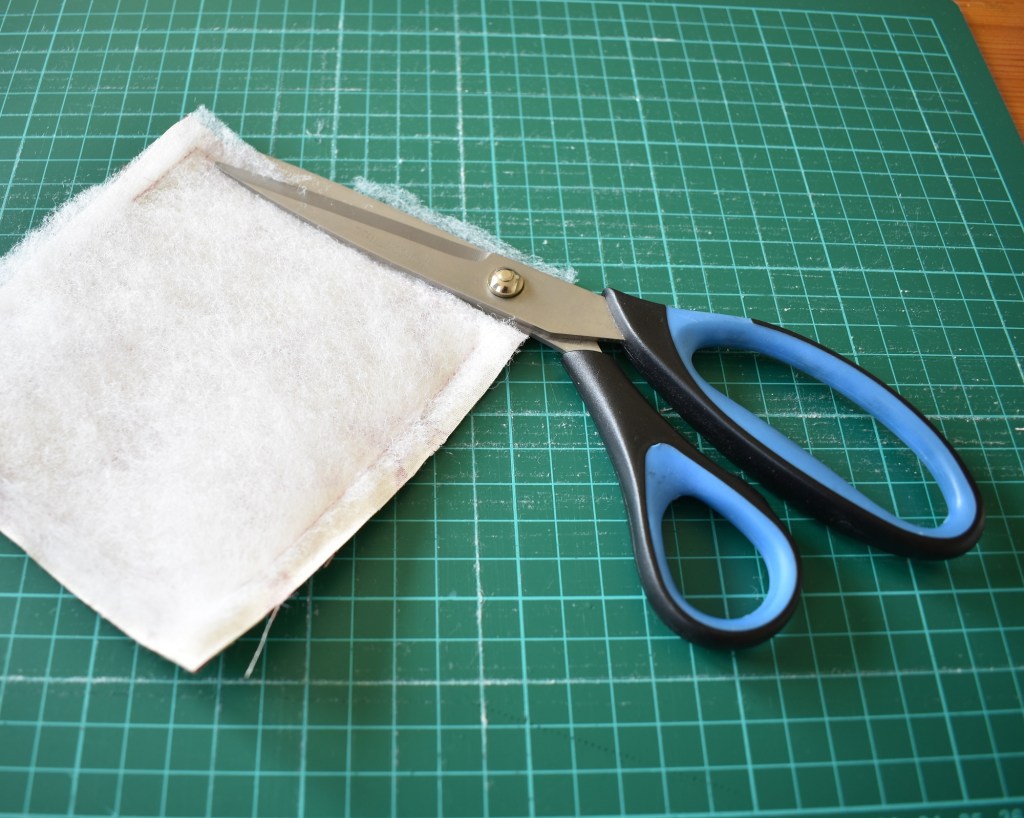
Carefully cut off any excess wadding 
Carefully cut off the 4 corners 
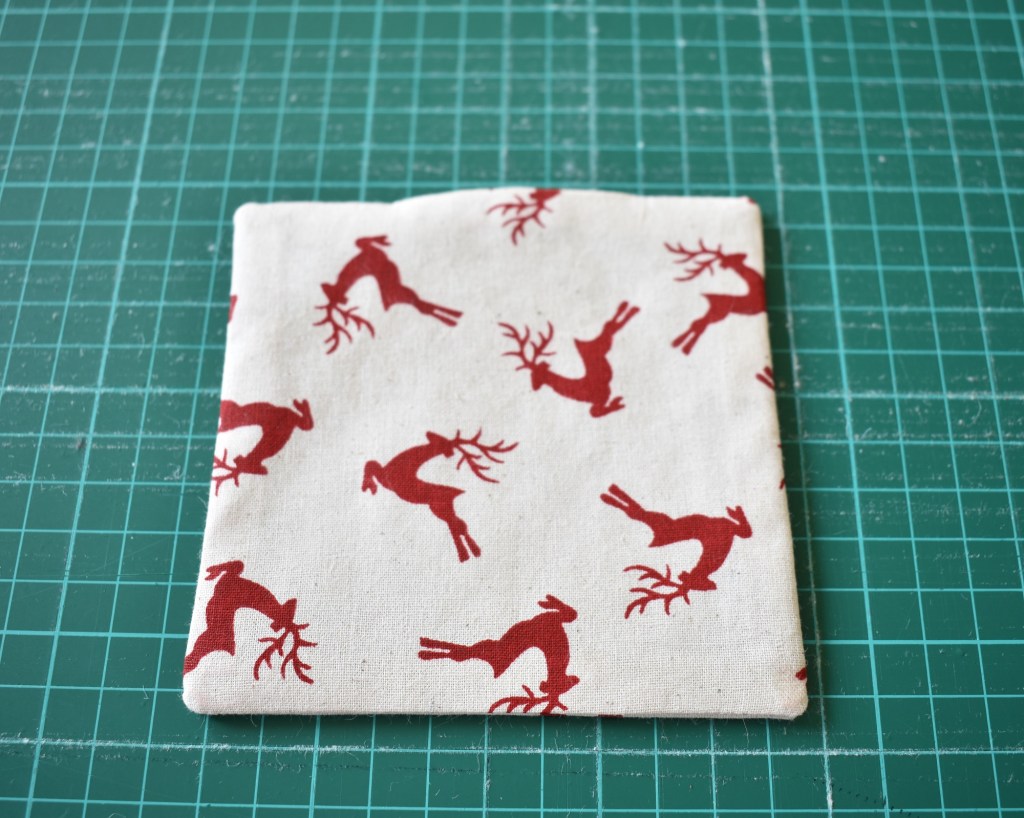
Turn in the right way and use a pin to nudge out the corners
4) Using the gap turn in the right way, pushing the corners out with your fingers. If need be, use a pin from the outside to nudge the corners out fully.
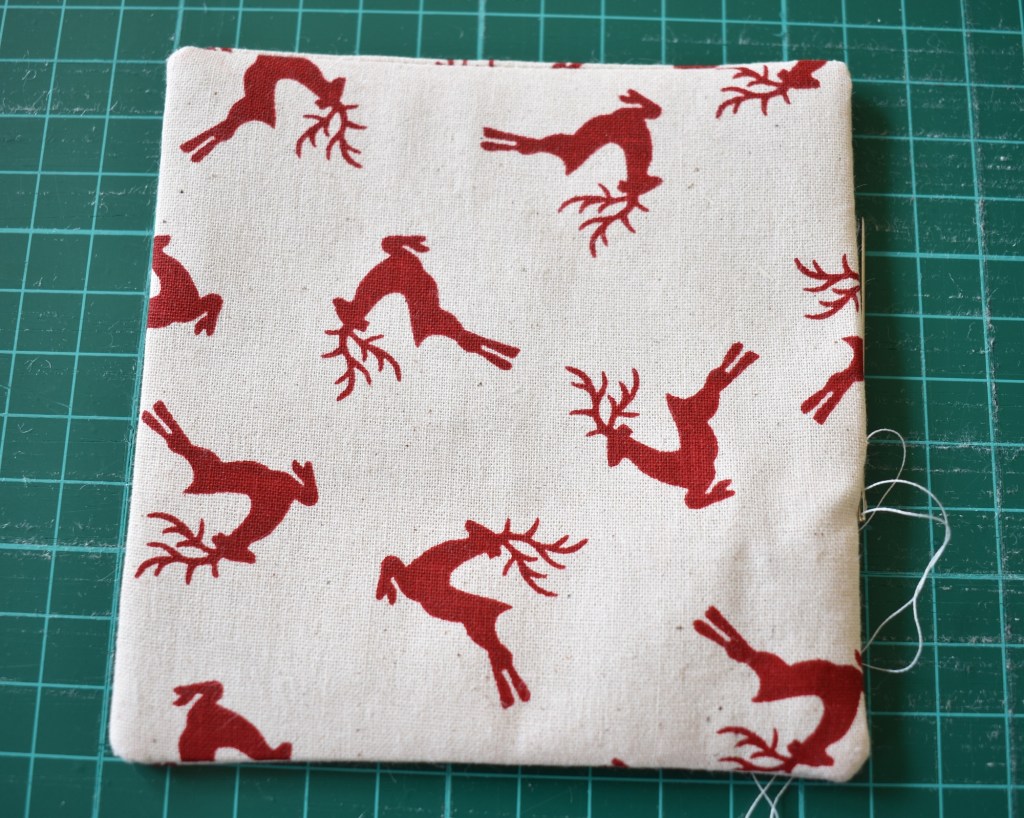
5) Use a simple ladder stitch to close the gap. You may wish to iron the hems flat first.
Top Tip
If you are unsure of how to do ladder stitch, or slip stitch as it is also known, please watch my youtube video
6) Finally, sew a stitch line all the way round the front of the coaster, 1cm from the edge of the fabric. Remember to sew a few extra stitches at the end over the start of the line to secure the stitches and prevent fraying. This extra stitch line finishes off the coasters, giving them a little more stability and shape.
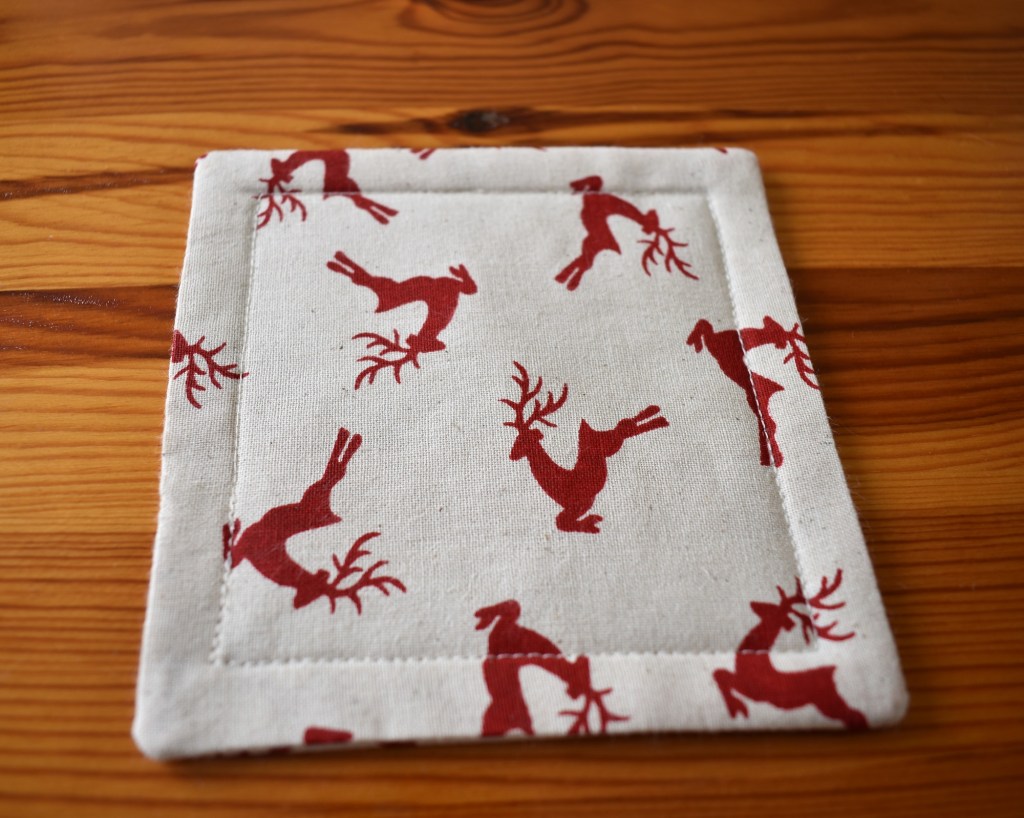
And, Voila! You have a lovely Christmas Coaster to brighten your coffee table this Christmas.
So if this little project has given your festive planning some food for thought, join me next week when we’ll be making some Christmas placemats to add a further homemade touch to your Christmas table this year.
