

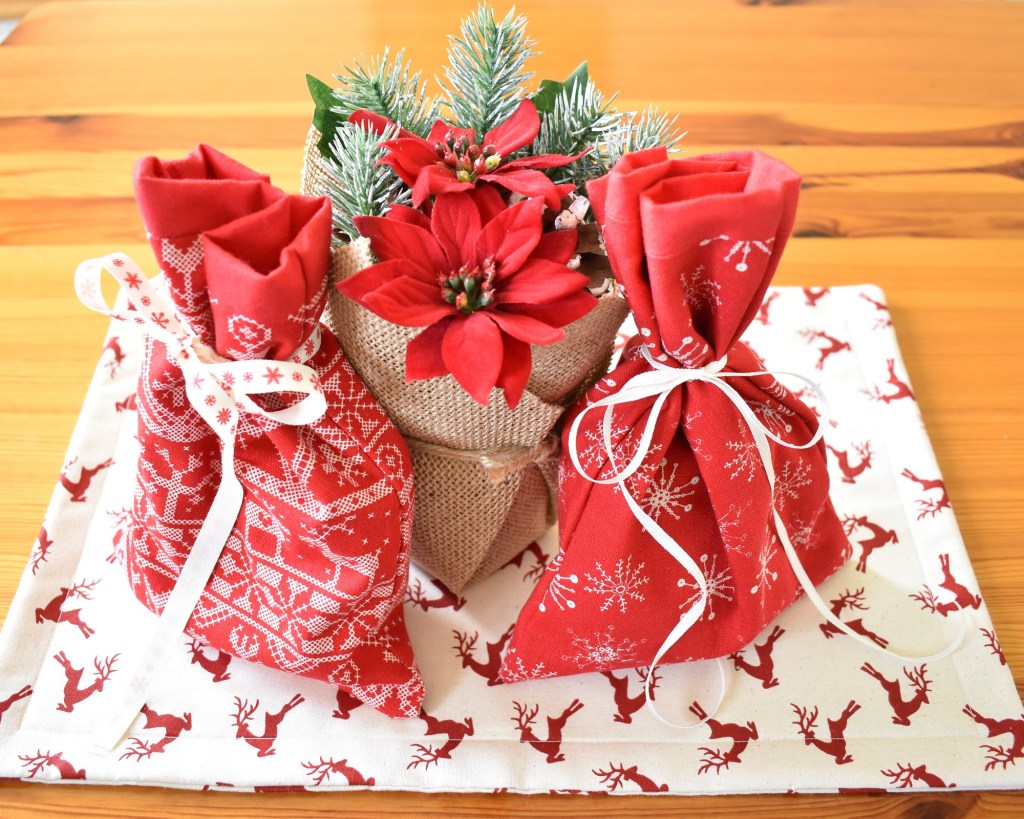
On the seventh day of Christmas Jillian Sharples Design gave to me, some lovely, festive placemats for my Christmas table…
Ok, so how have we got to week seven already? This year is certainly flying by! Although, actually, that always seems to be the case when we are heading towards Christmas. In this house at least my Christmas shopping is in full flow and I have pressies hidden all over the place! Although, it seems that sometimes they’re not very well hidden to be honest! My toddler managed to find one of his, a lovely yellow car that he naturally fell in love with straight away. Well, I couldn’t take that off him again could I so, note to self, find better hiding places in future!!!
Anyway, where are we at for our seventh craft of Christmas? Well, we’re going to build on the Christmas coasters we made last week and add some festive table mats to add to the decoration of our Christmas table.
I have a few variations for you for this craft so it completely depends on what kind of look you are after. To give you some options I’m going to show you a rectangular placemat, a circular placemat and a double sided placemat in case you fancy having a different look for Boxing Day or New Year’s Eve.
What you’ll need for the rectangular placemat:
For the rectangular placemat you will need
2 pieces of fabric measuring 40cm x 28cm (both the same or in two different designs if you would like a second option)
1 piece of wadding measuring 40cm x 28cm
Cutting board (if you have one)
Roller cutter or scissors
Cutting ruler
Pins, needle, matching thread, sewing machine
Making your festive table mats
1) Place the two pieces of fabric on top of each other, face side together.
Place the wadding on top of them.
Pin all three together leaving a 12cm gap along the middle of one edge for turning in the right way.
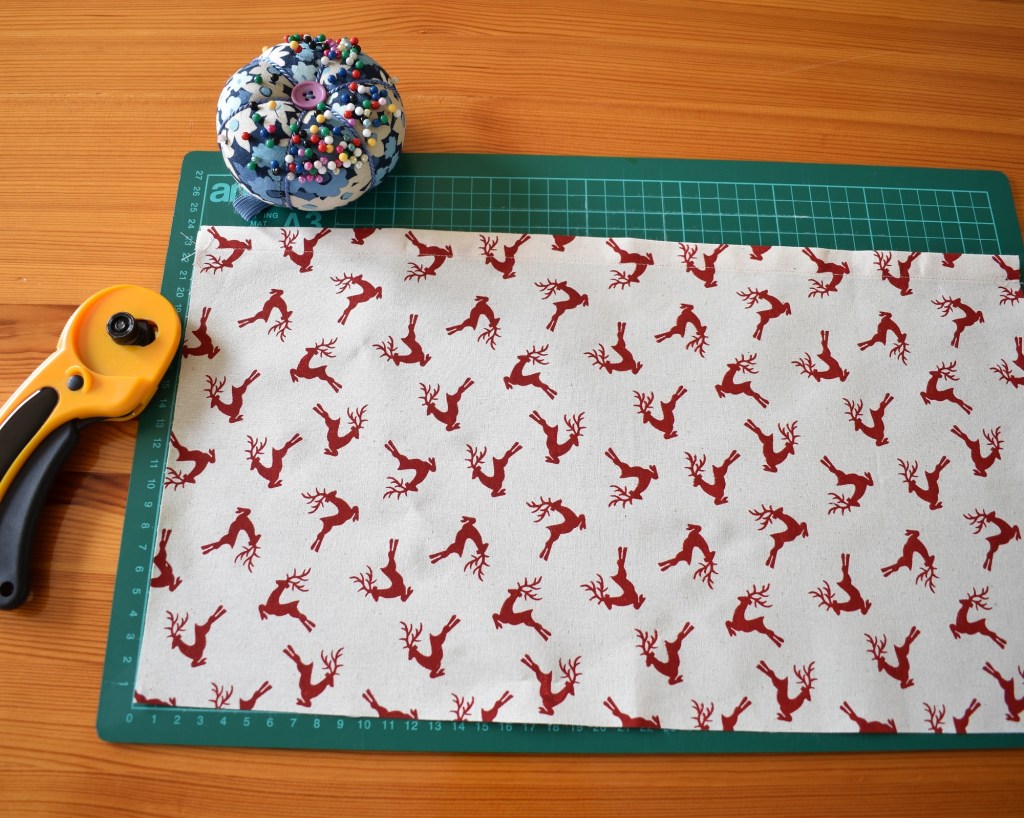
Cut out your fabric and wadding 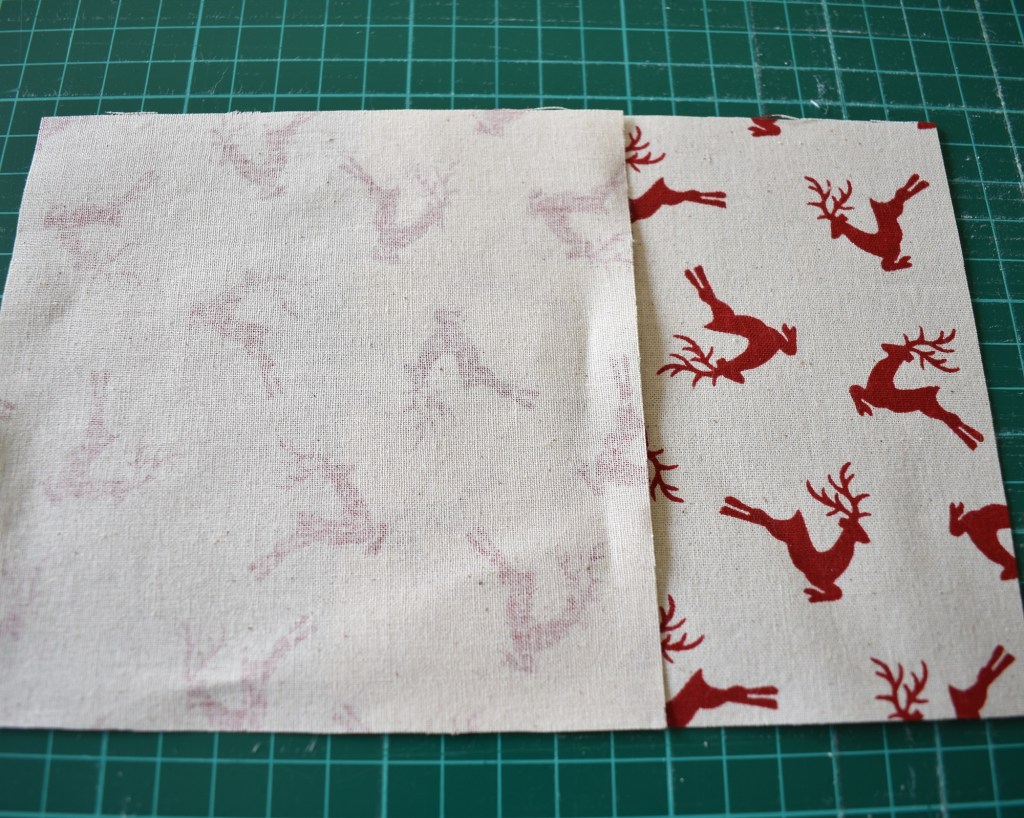
Place the two pieces of fabric together, face sides together. Place wadding on top. 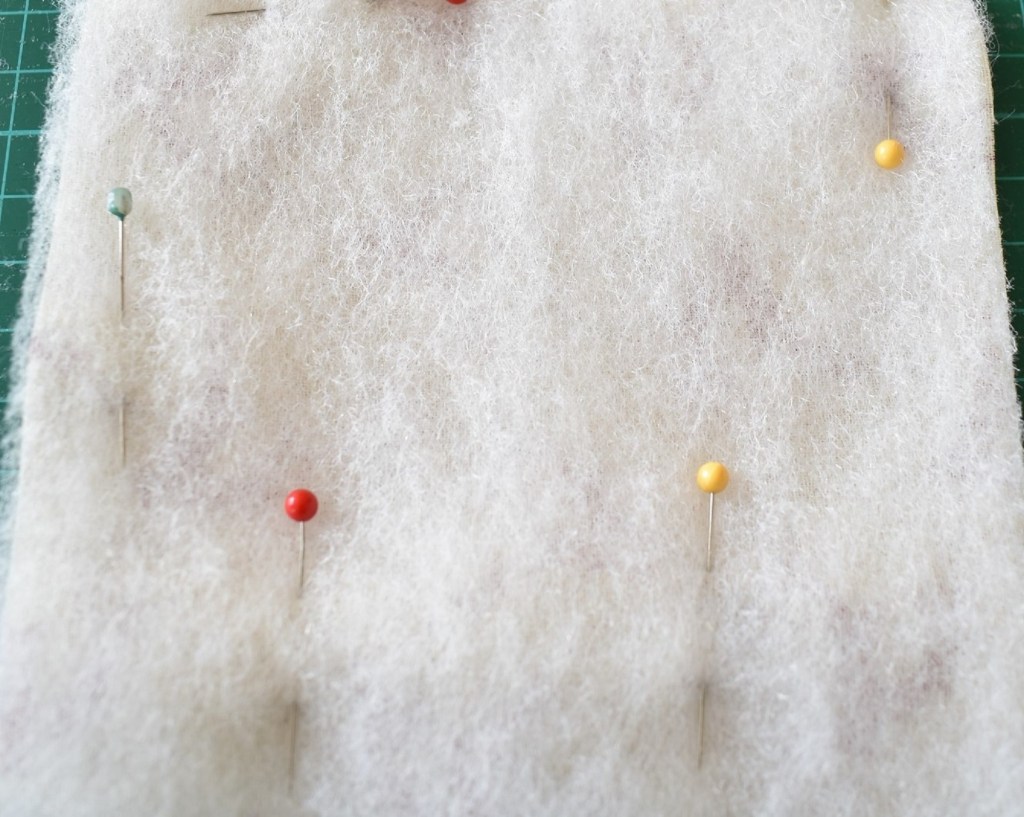
Pin all three pieces together leaving gap of 12cm
Top Tip
I always put vertical pins at either side of the gap – so it kind of looks like a doorway – as this reminds me not to sew over this section.
5) Starting at one side of the gap / doorway, sew a stitch line all the way round, 1cm from the edge of the fabric. Remember to do a few backstitches at the beginning and end to secure the stitch line and prevent fraying.
6) Cut off the four corners, leaving a couple of millimeters between the cut and the stitch line. This helps the corners to be turned neatly with no bunching.
Trim off any excess wadding, being sure not to cut the fabric!
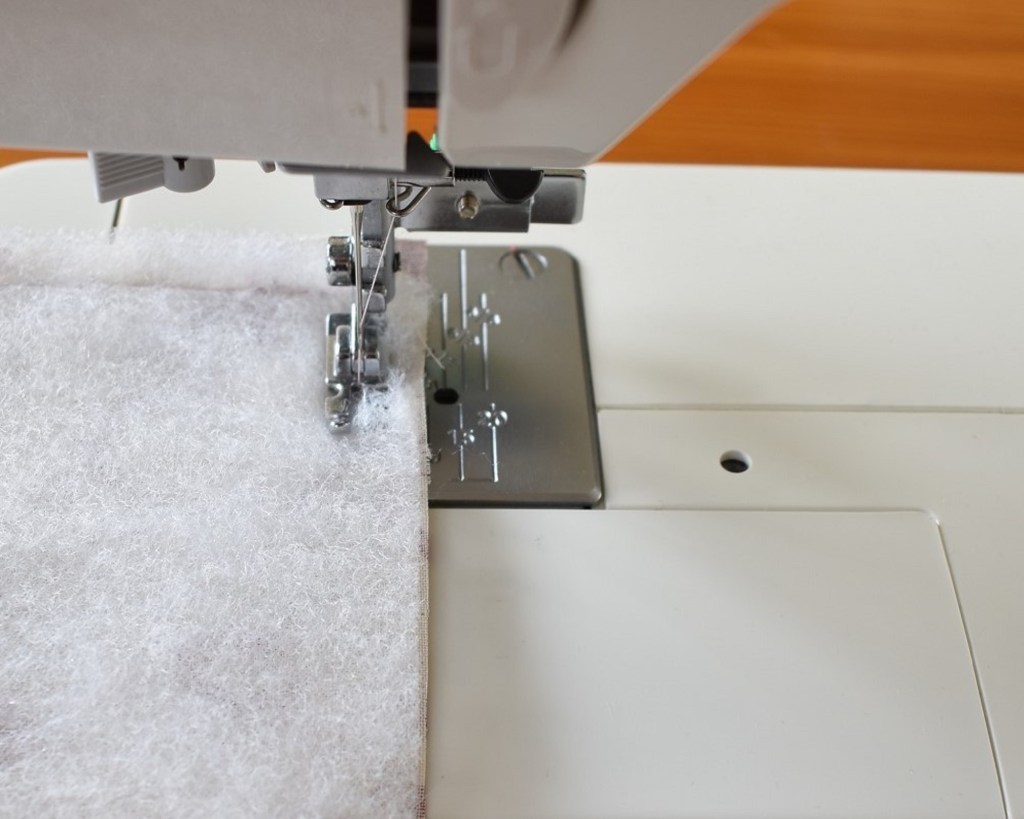
Sew a stitch line 1cm from the edge all the way round, leaving the gap open 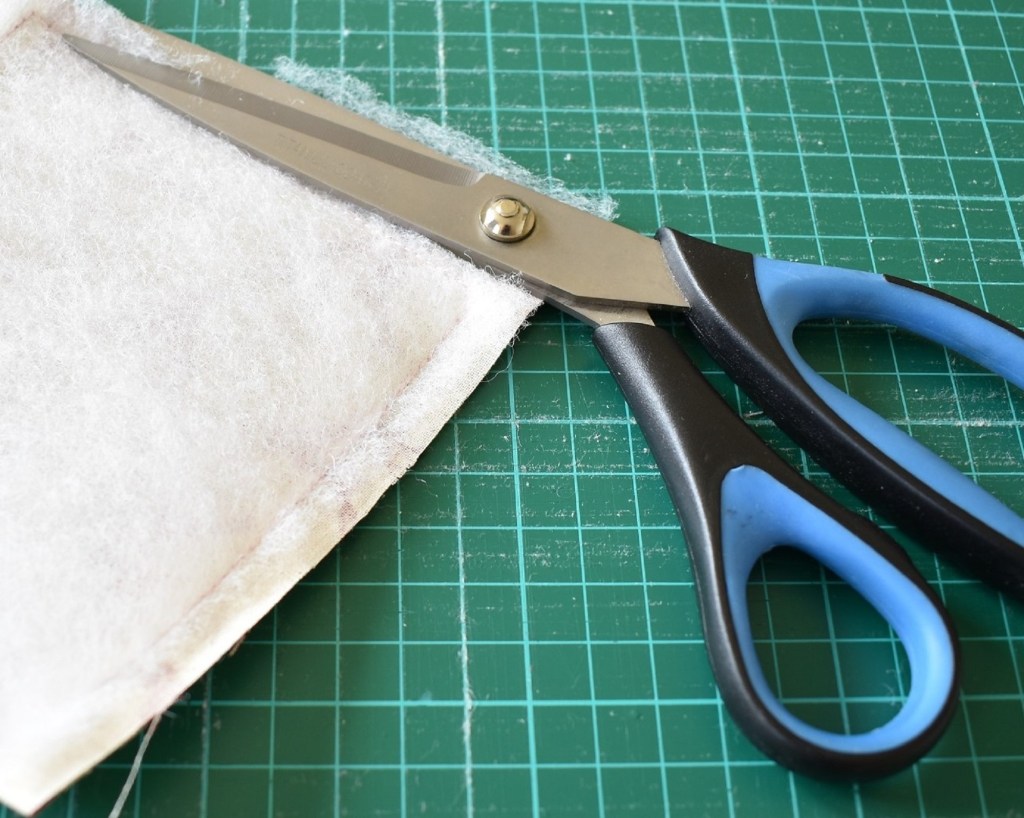
Trim off excess wadding round the edges 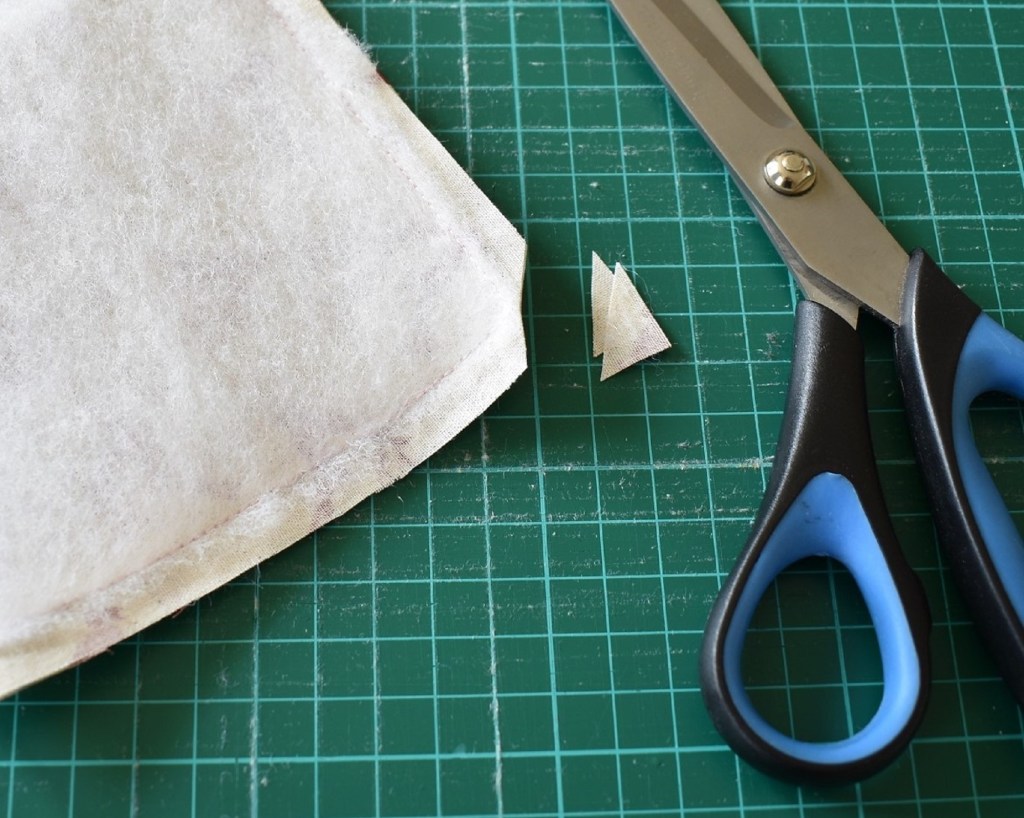
Trim off the corners
7) Using the gap turn in the right way, pushing the corners out with your fingers. If need be, use a pin from the outside to nudge the corners out fully.
8) Use a simple ladder stitch to close the gap.
Top Tip
If you are unsure of how to do ladder stitch, or slip stitch as it is also known, please watch my youtube video
9) Finally, sew a stitch line all the way round the front of the placemate, 2cm from the edge of the fabric. Remember to sew a few extra stitches at the end over the start of the line to secure the stitches and prevent fraying. This extra stitch line gives the placemat a little more stability and shape.
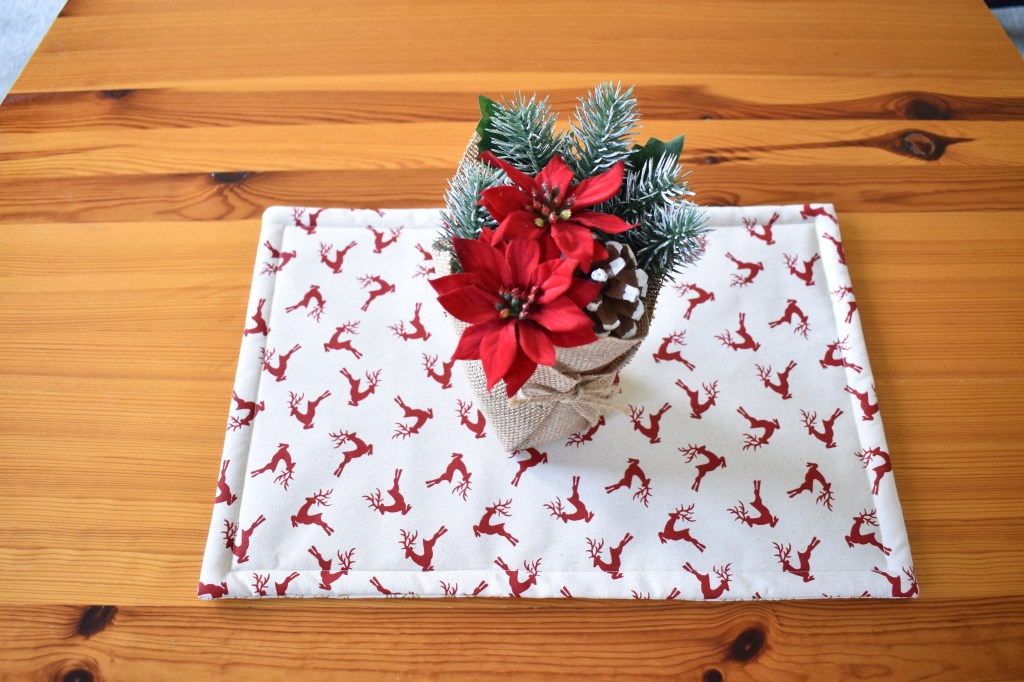
And, Voila! You have a lovely Christmas placemat for your dining table.
But wait, there’s more…
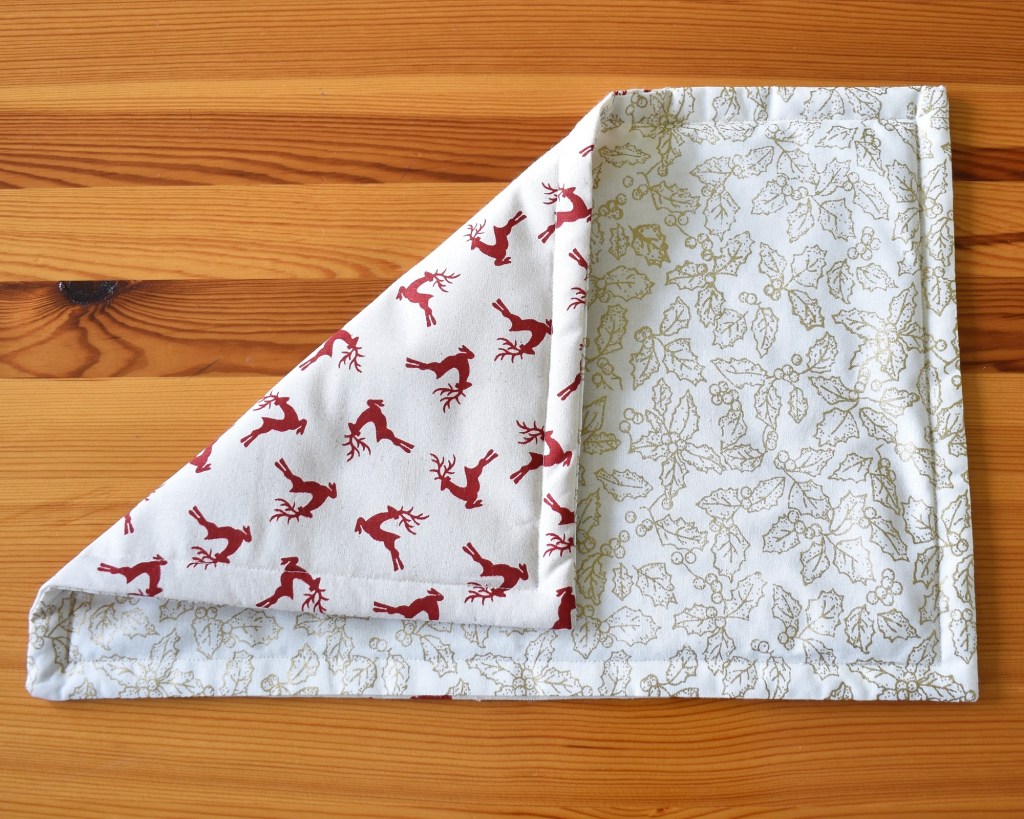
Your reversible placemat is ready for two festive occasions!
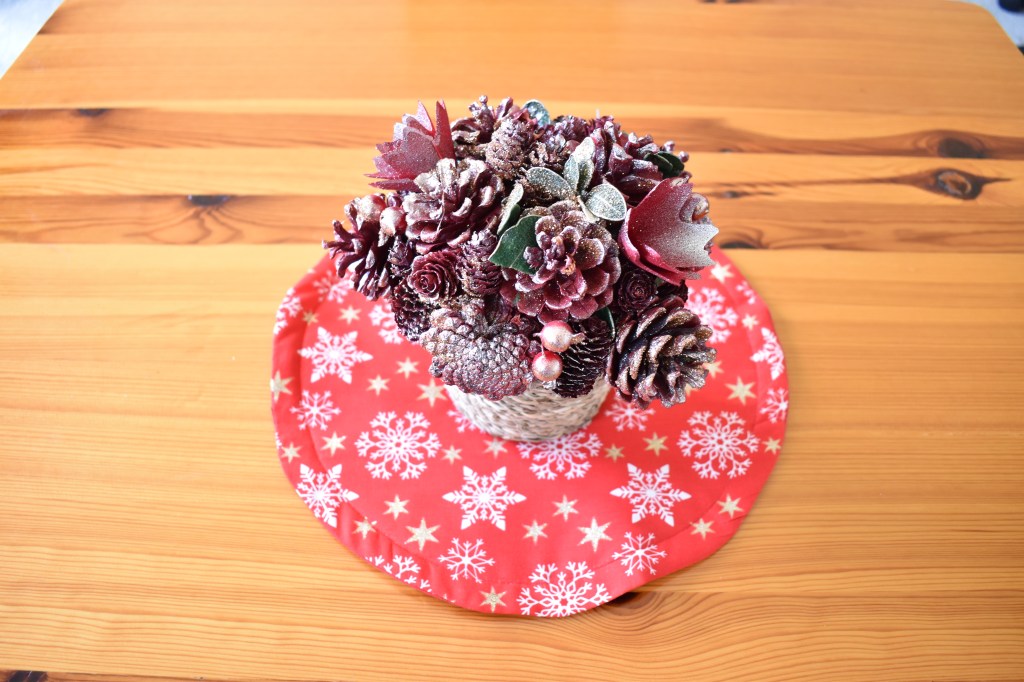
But, one more thing before you go, what about mixing it up with a circular placemat! Keep reading to find out how.
What you’ll need for the circular placemat:
2 fat quarters or equivalent pieces for 2 x circles of 33cm in diameter, or your desired size. My placemate just happens to be 33cm in diameter as this is the size of the serving plate that I drew around.
1 piece of wadding measuring 33cm in diameter (or your desired size)
A large plate to trace around
Cutting board (if you have one)
Scissors
Cutting ruler
Pins, needle, matching thread, sewing machine
1) Cutting your fabric
To get my circle I drew around a large Christmas serving plate. Place it on the back of the fabric and simply draw round with a fabric pencil, or simply a pen or pencil, whatever you have to hand, you won’t see the line.
Do the same on the wadding.
Top Tip
If you don’t have a large enough plate I would recommend making a template on card or paper. The easiest way to scale up is to draw around a regular dining plate then, using a ruler, measure, for example, 2cm (or as big as you like) at regular intervals all the way round. Connect the dots with a line and you have a larger template to draw around on the fabric.
2) Place the 2 pieces of fabric on top of each other, face sides together. Place the wadding on top of this and pin all 3 together leaving a 10cm gap along one part of the edge for turning in the right way.
Top Tip
I always put vertical pins at either side of the gap – so it kind of looks like a doorway – as this reminds me not to sew over this section.
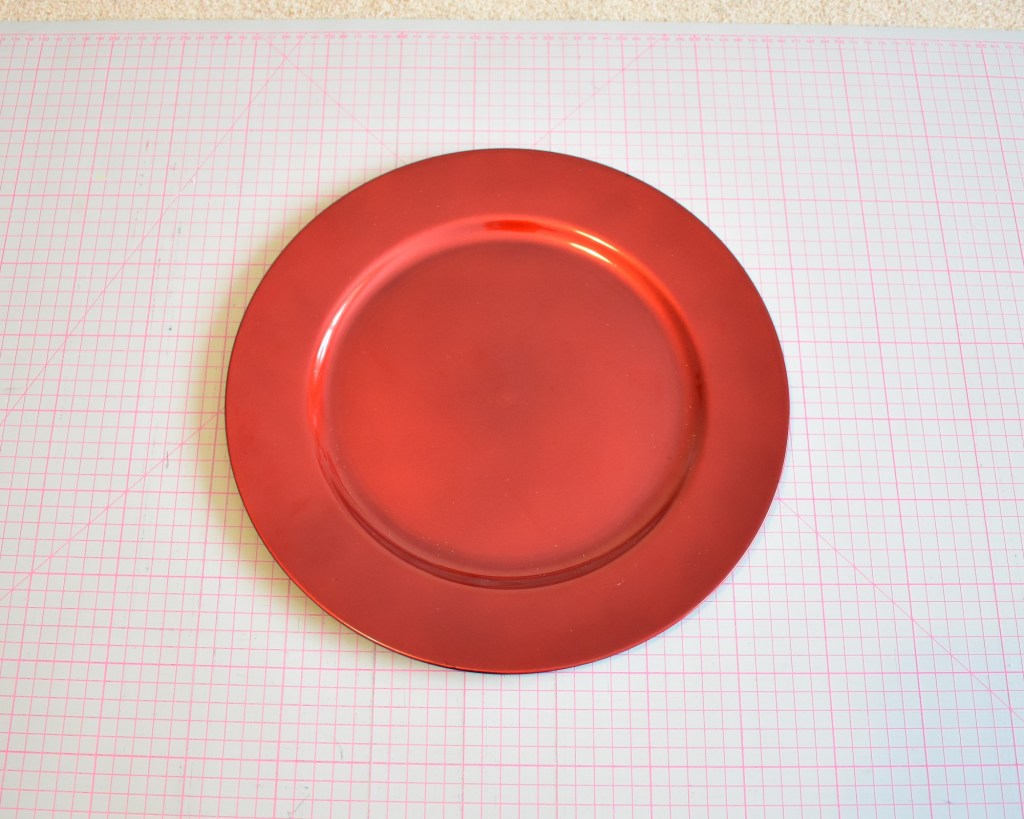
Select an approproately sized plate to draw round 
Front, back and wadding fabric 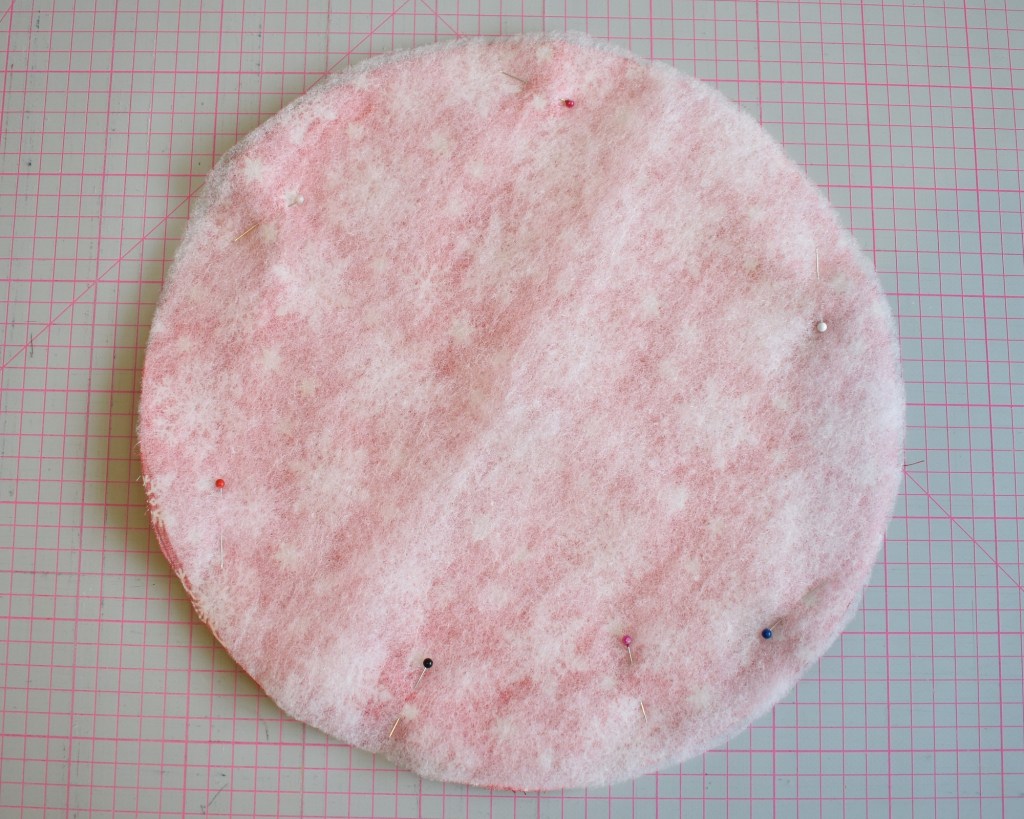
Place front and back fabric face sides together, place wadding on top 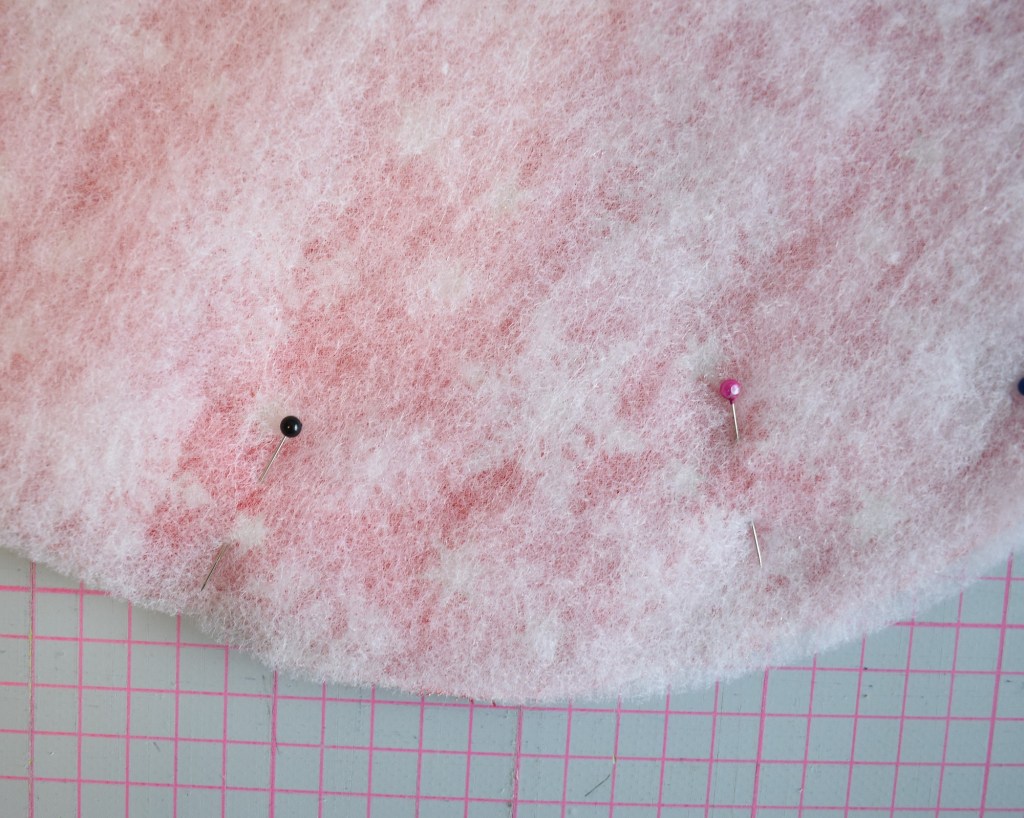
Pin all the way round leaving a gap of 12cm for turning 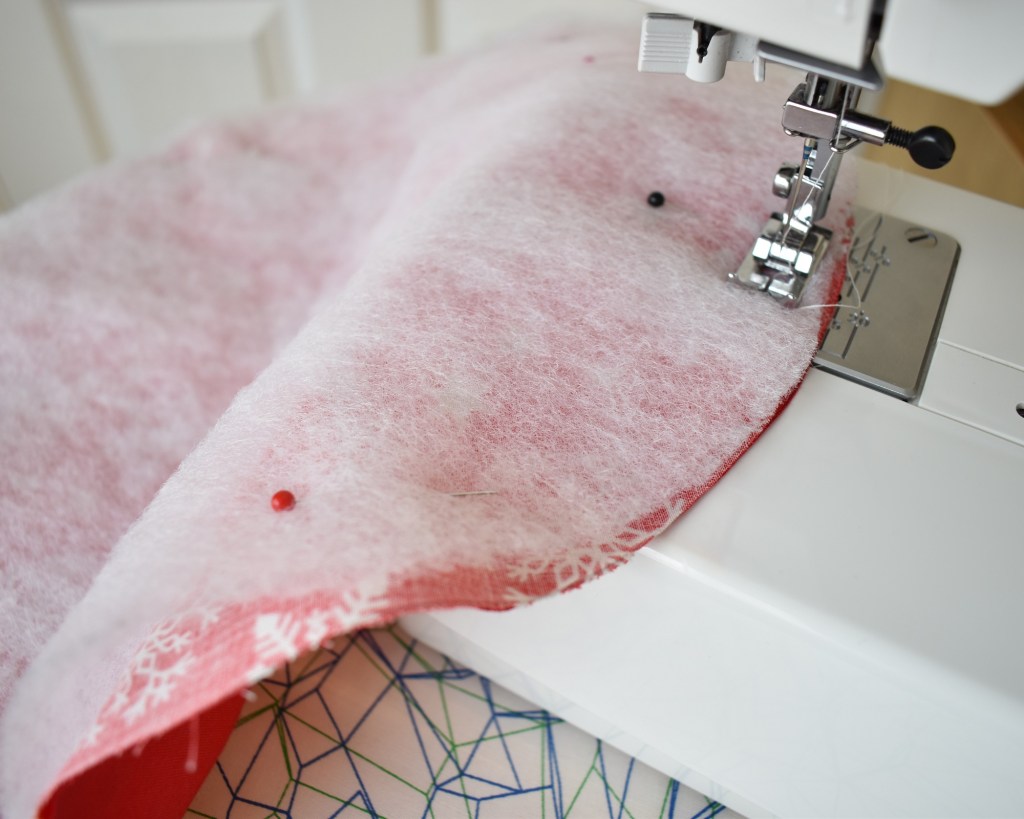
Stitch around the placemat 1cm from edge of fabric 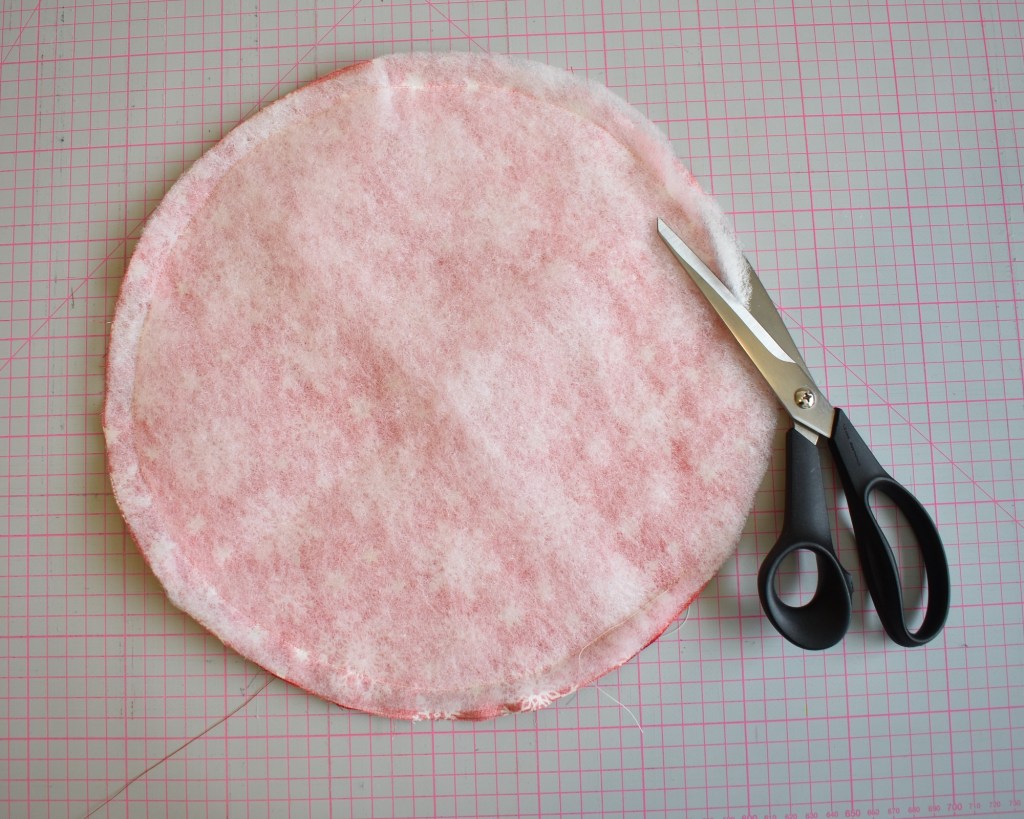
Carefully cut off any excess wadding
3) Starting at one side of the gap / doorway, sew a stitch line all the way round, 1cm from the edge of the fabric. Remember to do a few backstitches at the beginning and end to secure the stitch line and prevent fraying.
Top Tip
I’d recommend sewing this line more slowly than usual, especially if you are not confident sewing in a circle.
4) Using the gap turn in the right way, pushing the corners out with your fingers. If need be, use a pin from the outside to nudge the corners out fully.
5) Use a simple ladder stitch to close the gap. See the video mentioned above if you are unsure how to do this.
6) Finally, sew a stitch line all the way round the front of the placemat, 2cm from the edge of the fabric. Remember to sew a few extra stitches at the end over the start of the line to secure the stitches and prevent fraying. This extra stitch line gives the placemat a little more stability and shape.

Use the gap… 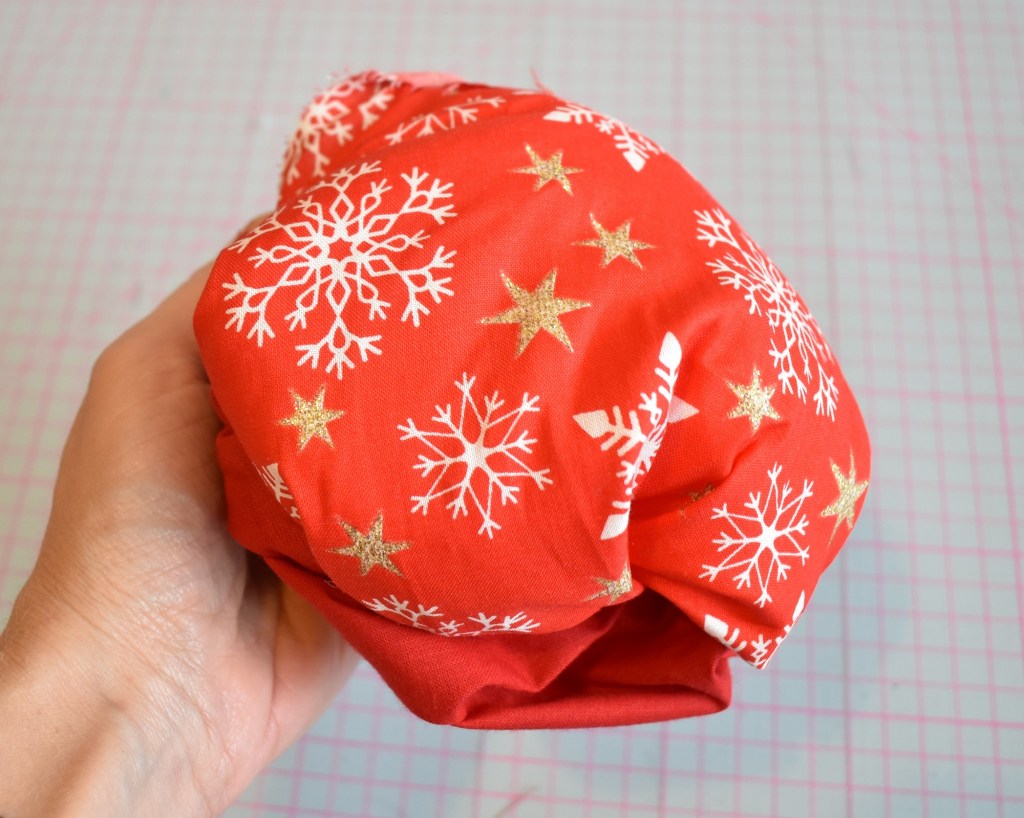
…to turn the placemant in the right way 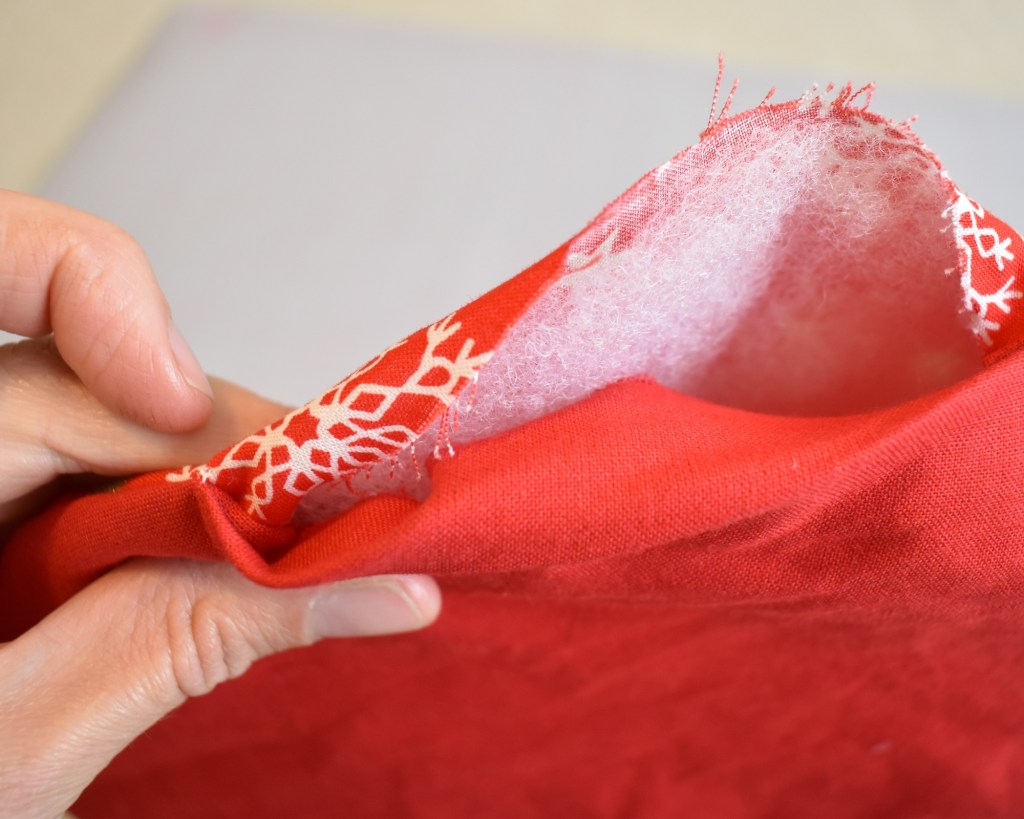
Oron remaining hems flat if required 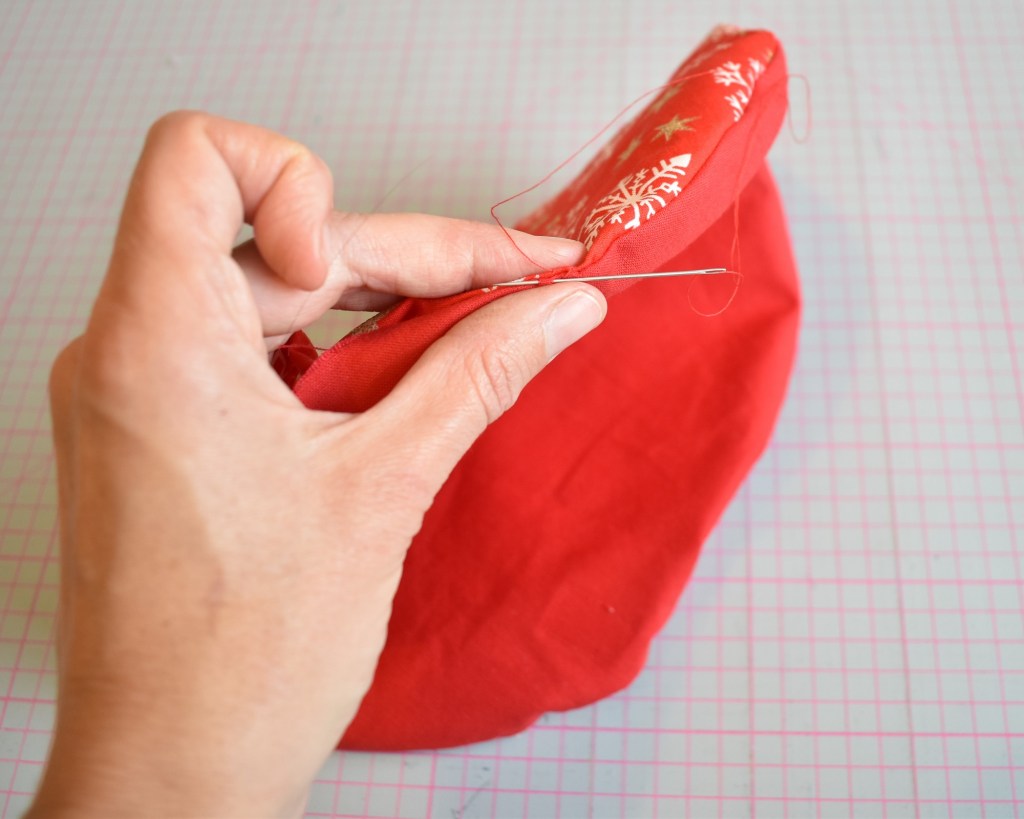
Using ladder stitch sew up the gap 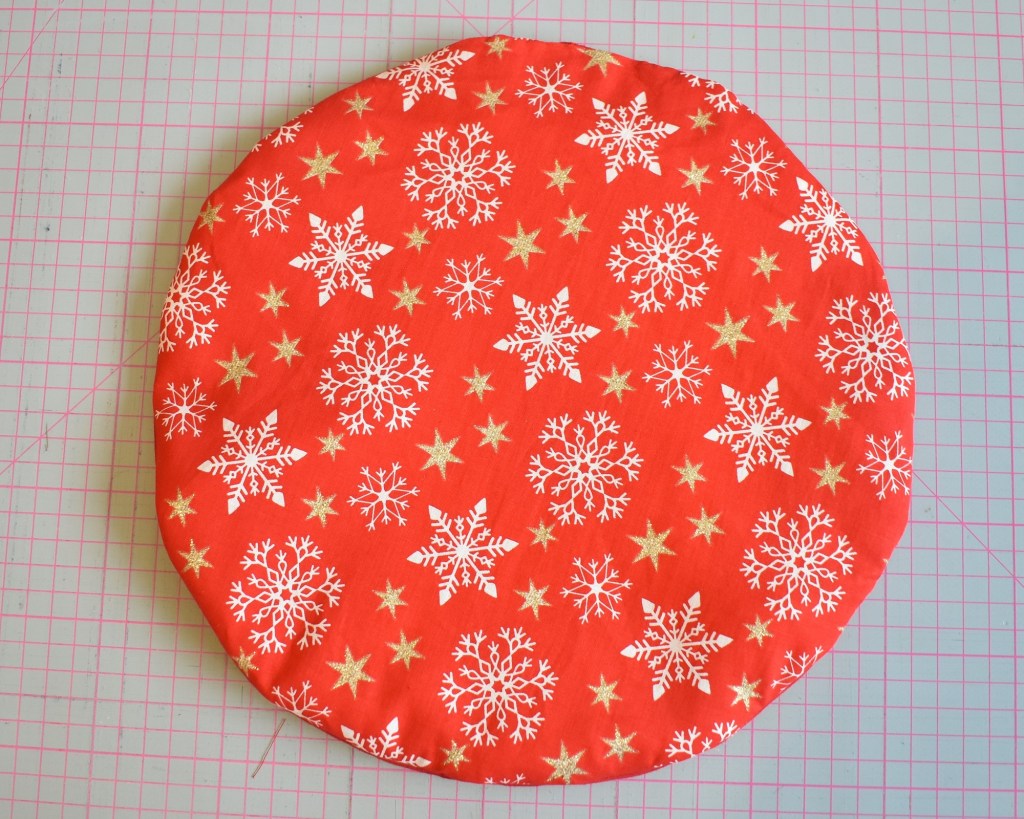
Almost there 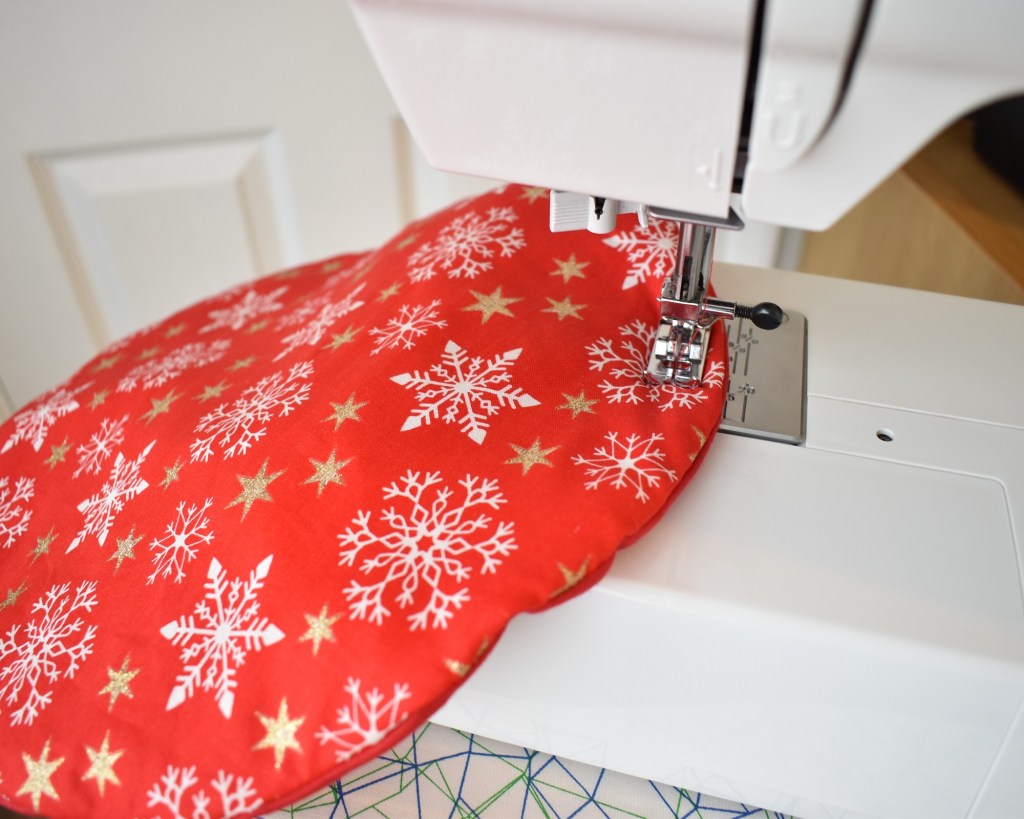
Sew a stitch line all the way round the front of the placemat, 2cm from the edge

And, Voila! You have a lovely circular mat for your dining table.
And that’s it! Now we’ve covered festive coasters and festive placemats your Christmas table is really starting to take shape. But there’s one more thing i would love to share with you which will really add the most beuatiful finishing touch to your handmade table decorations. Join me next week when I’ll be showing you how to make reusable fabric crackers. See you then!

Omg, how beautiful those tablecloths are!apart from that slightly padded texture makes perfect play with the Christmas weather!I also think you could make some halloween ones by changing the fabrics a little bit and you’d look beautiful.I also have a craft and craft blog in case you like to visit it.Love- Gala- https://handicraft.market/
LikeLike
Hey Gala, thank you so much for your comment! Good point about Halloween, that would be super cute! I’ve only done Christmas so far as I started my business with a Christmas range but definitely food for thought for next year, cheers! Will definitely come along and check out your crafty makes too Jillian
LikeLike