

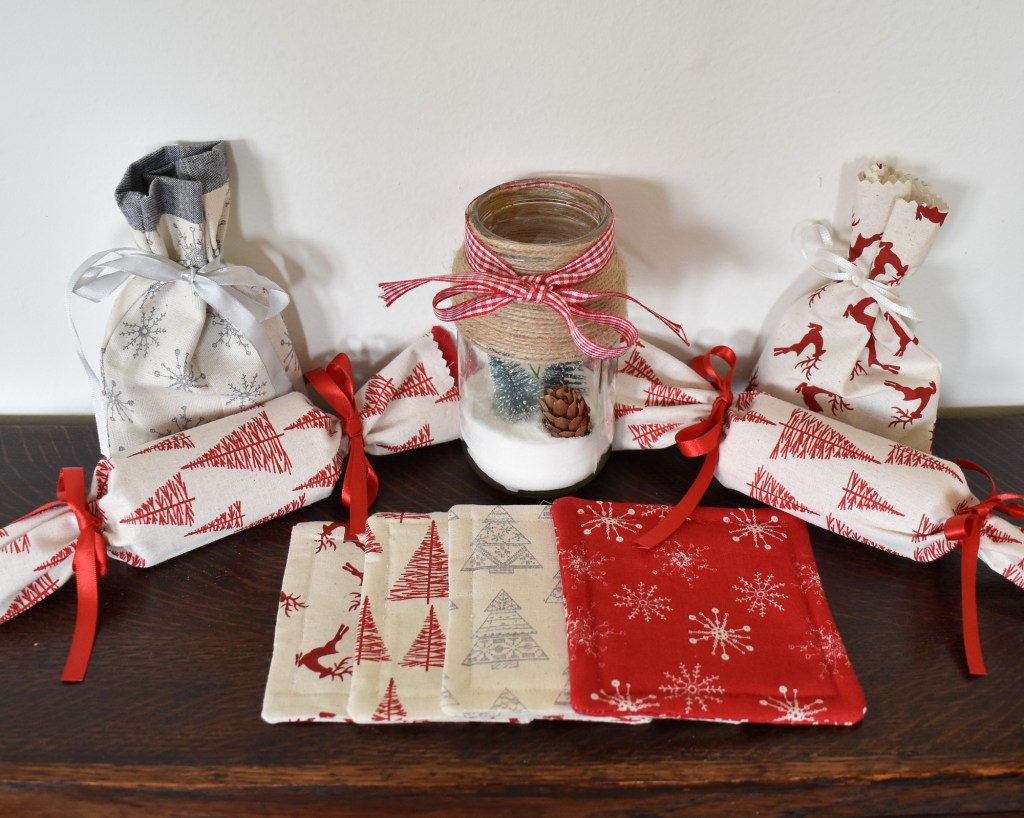

On the eighth day of Christmas Jillian Sharples Design gave to me, some reusable Christmas Crackers to fill with lovely goodies for Christmas day…
Wow, the eighth day of christmas! Well, kind of, thankfully for our Christmas preparations there are actually a few more days to go than that! Fifty one to be precise, but hey who’s counting! Thankfully, for anyone out there keen on completing as many festive crafts as possible for the creation of a truly handmade Christmas you still have plenty of time! There’s still time to think about exactly what look you are going for this Christmas, how to hone it and how to make this Christmas as perfect as possible.
That is to say, as perfect as possible within the current situation. It’s been said before and I’m sure will be said many times again this year, but it’s been a tough, tough year. Whichever way we look at it Christmas 2020 just isn’t going to be what it usually is. And, sadly, with only 51 days to go we can’t even begin to imagine what it will bring. Maybe we won’t get to celebrate with all our friends and family in one place, maybe we won’t get to go out to Christmas markets and other festivities like we normally would. Maybe we won’t get to go to church, to sing carols and watch the nativity, or drink mulled wine around a Christmas tree. And no matter how positive some of us try to feel, there is no getting away from the fact that this Christmas will be different. But, that’s not to say we shouldn’t make the most of what is on offer and make our homes as beautiful and thoughtfully decorated as possible so our nearest and dearest feel extra special this year.
And, of course, that’s where I come in! This week I’m going to show you how to make some beautiful and reusable Christmas crackers. The true beauty of these is, of course, that they are reusable and therefore kinder to the environment and less wasteful. Plus of course they add that extra special handmade, thoughful touch, around your festive dinner table. What’s not to like! In fact I just love these! Probably my favourite of these Twelve Crafts of Christmas. They look stunning and are so simple to make. So let’s get going…
What you’ll need for a set of 4 crackers:
4 pieces of fabric measuring 29cm x 17cm
8 lengths of ribbon measuring 40cm each
Cutting board (if you have one)
Roller cutter or scissors
Pinking shears
Cutting ruler
Pins, needle, matching thread, sewing machine
Piece of A4 card
Glass jar (the size doesn’t matter, I used a honey jar)
Making your Christmas Crackers
1) Having cut your 4 pieces of fabric to size using either your roller cutter or scissors, use the pinking shears to trim the shorter edges of each piece. Cut as close to the edge as possible so that you don’t lose too much of the fabric length but can see the pinked triangles neatly along the edges.
If you wanted you could of course sew hems along each of the shorter edges, but I like the effect of the pinked edges and of course it saves time!
2) Fold the first piece of fabric in half lengthways. Fold inwards so that the face side of the fabric is inside. Pin in place.
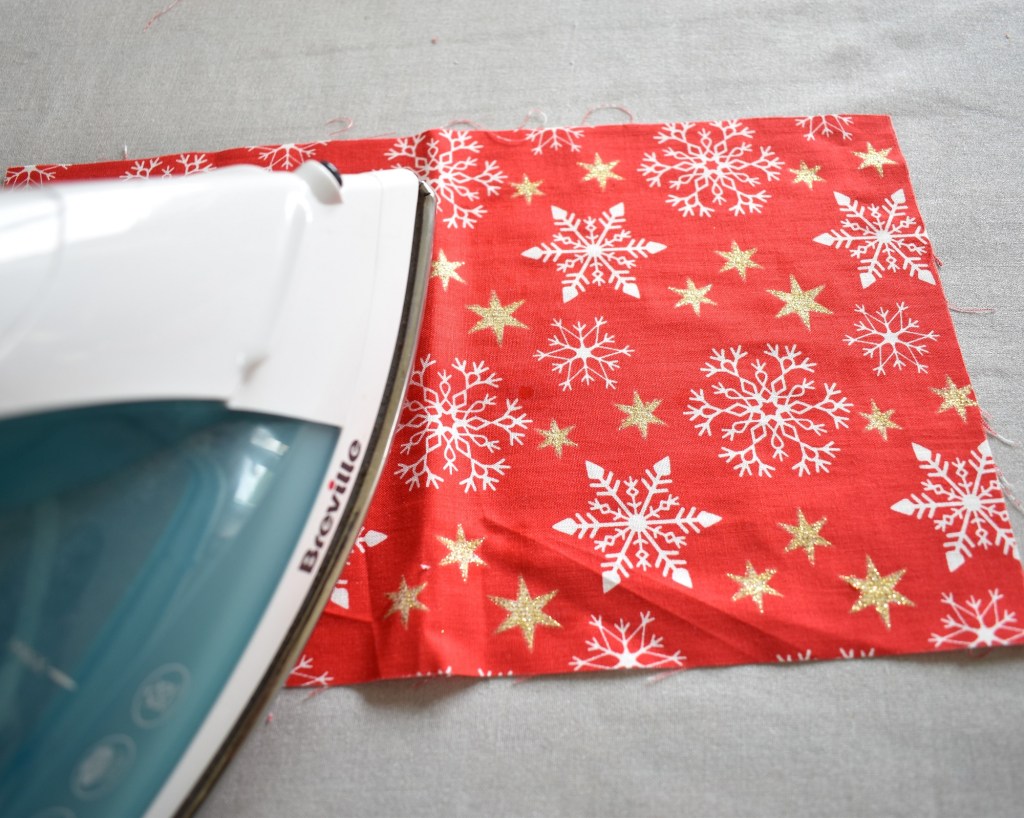
Iron fabric flat if necessary 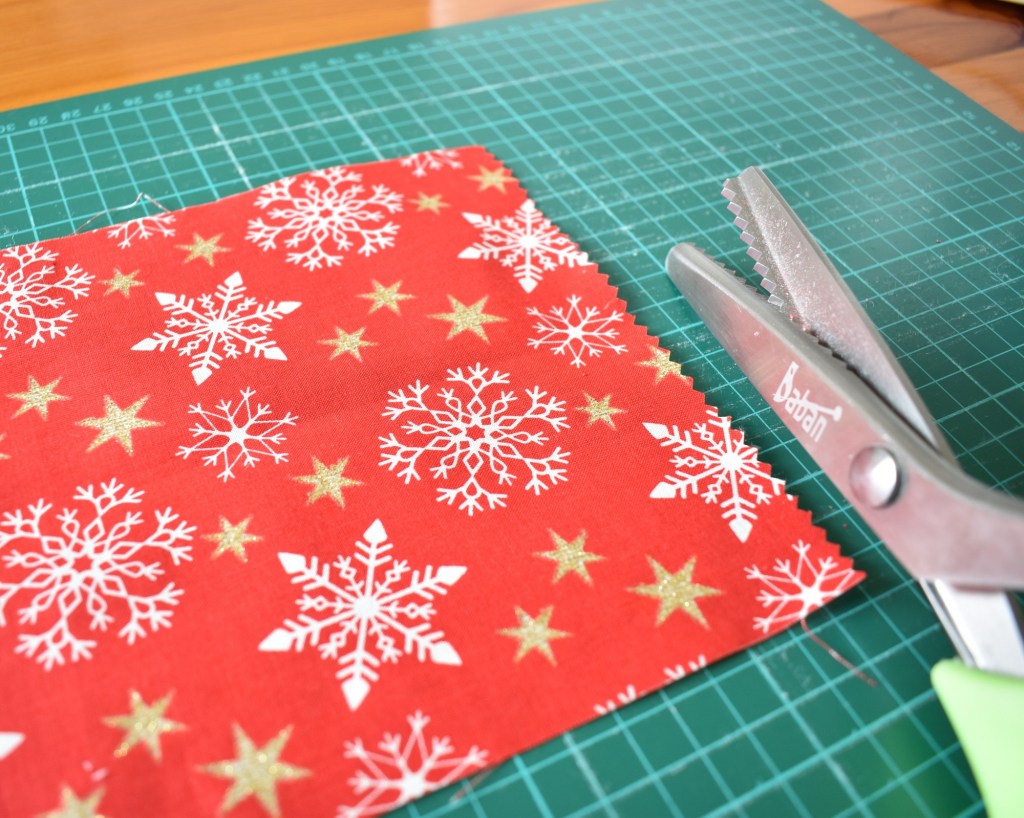
Trim the short edges with pinking shears 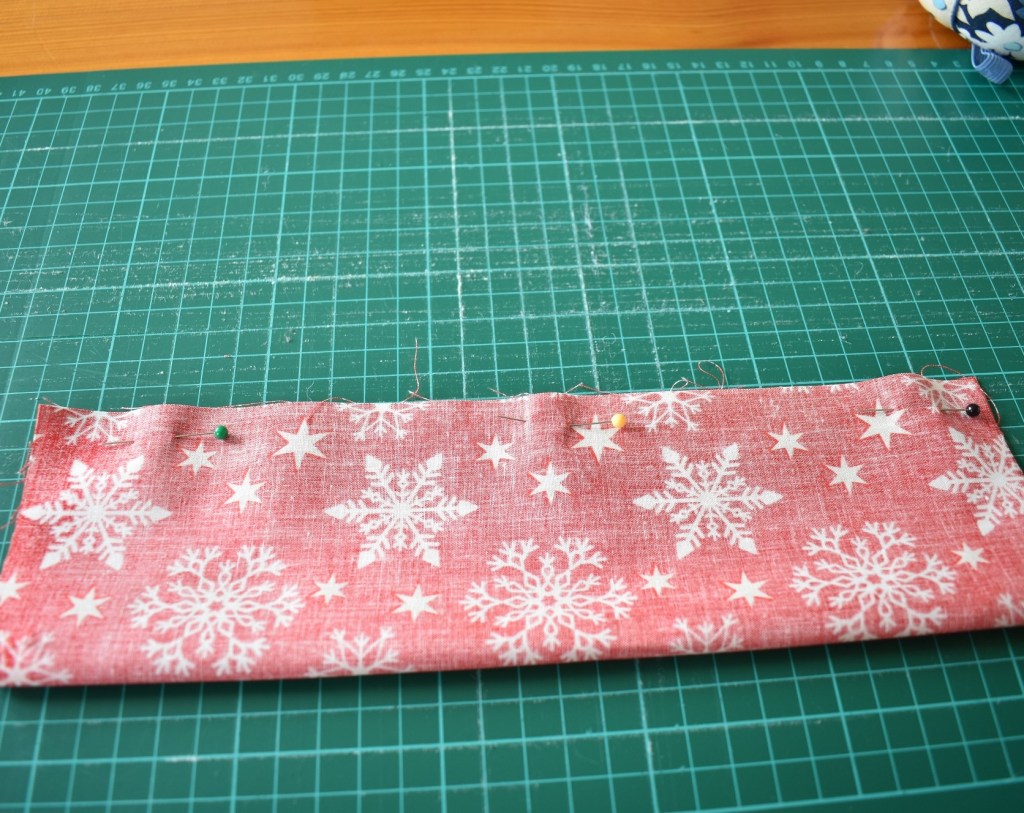
Fold in half, face side inside, pin
3) Sew a stitch line along the length of the fabric 1 cm from the edge. Start about 1 cm from the end of the fabric and do a few backstitches first. Repeat this at the end before casting off. This secures the stitches to prevent fraying. Stitch as close to each end of the fabric as possible leaving just a milimeter or two at each end.
4) Turn the fabric in the right way. Iron flat if need be.

Stitch along the length of the fabric 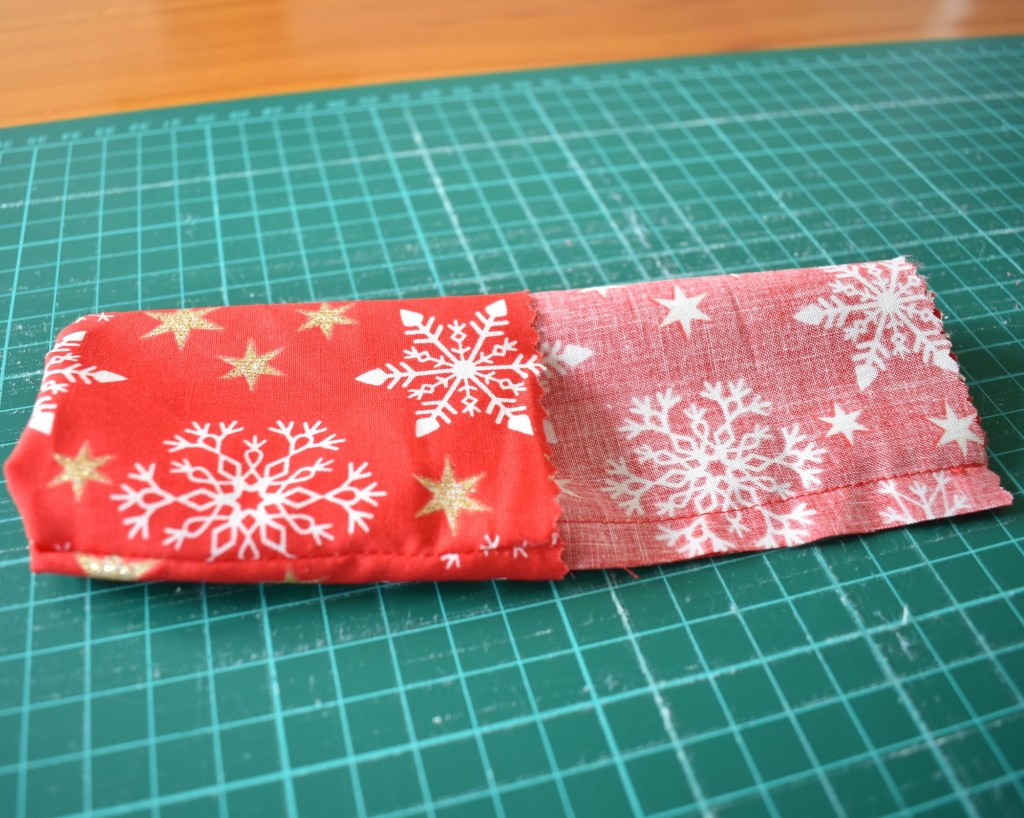
Turn cracker in teh right way 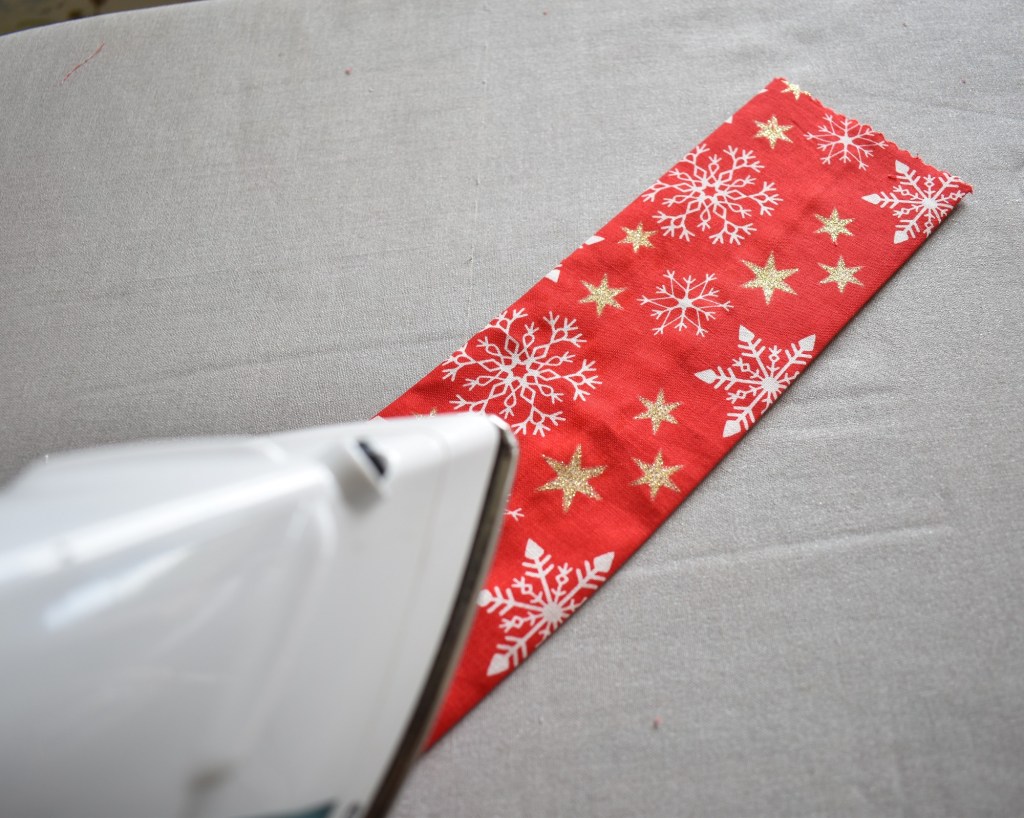
Iron flat if necessary
5) Take your piece of A4 card and cut lengthways into 4 widths of 8cm. Place a rolled piece of card into each cracker.
Top Tip
Take each length of card and roll it around the glass jar, hold it in place for a few seconds, then place it inside the cracker.
If you try to use card that is already circular, for example a kitchen roll, you will not be able to adapt the size of the cylinder. By using a jar, which is larger than the cracker, you encourage the card to roll but can then tighten it to fit inside the fabric. Trust me, this works!
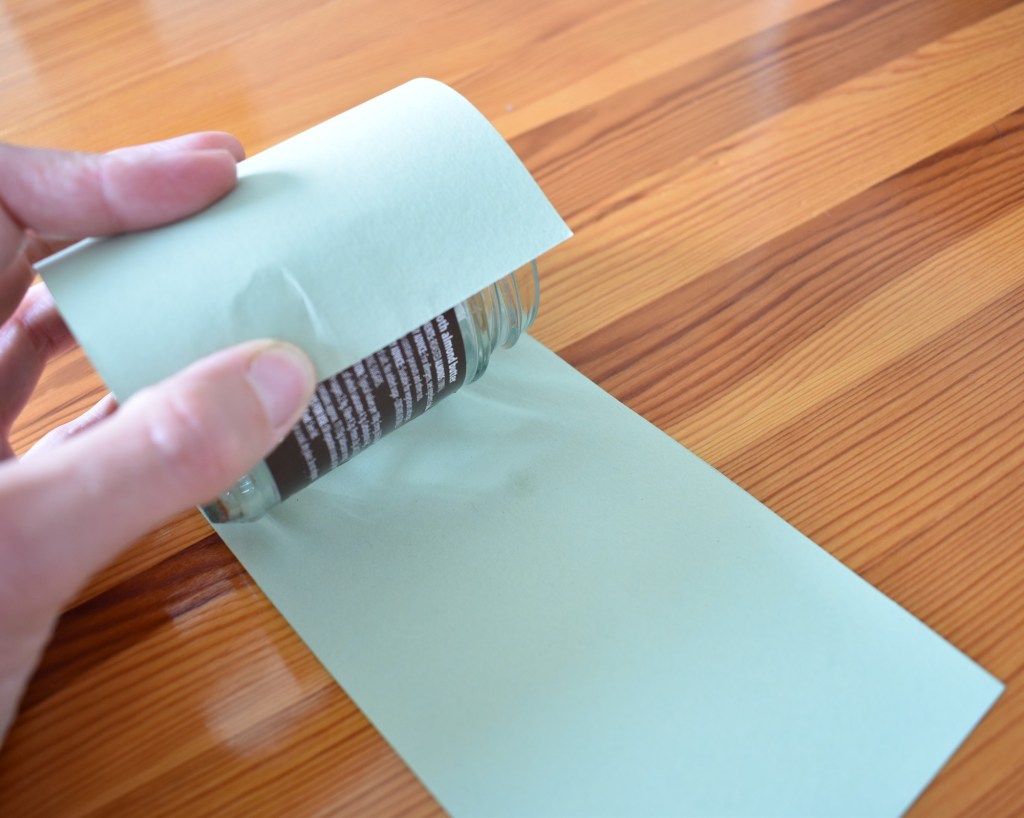
Roll your card around the glass jar 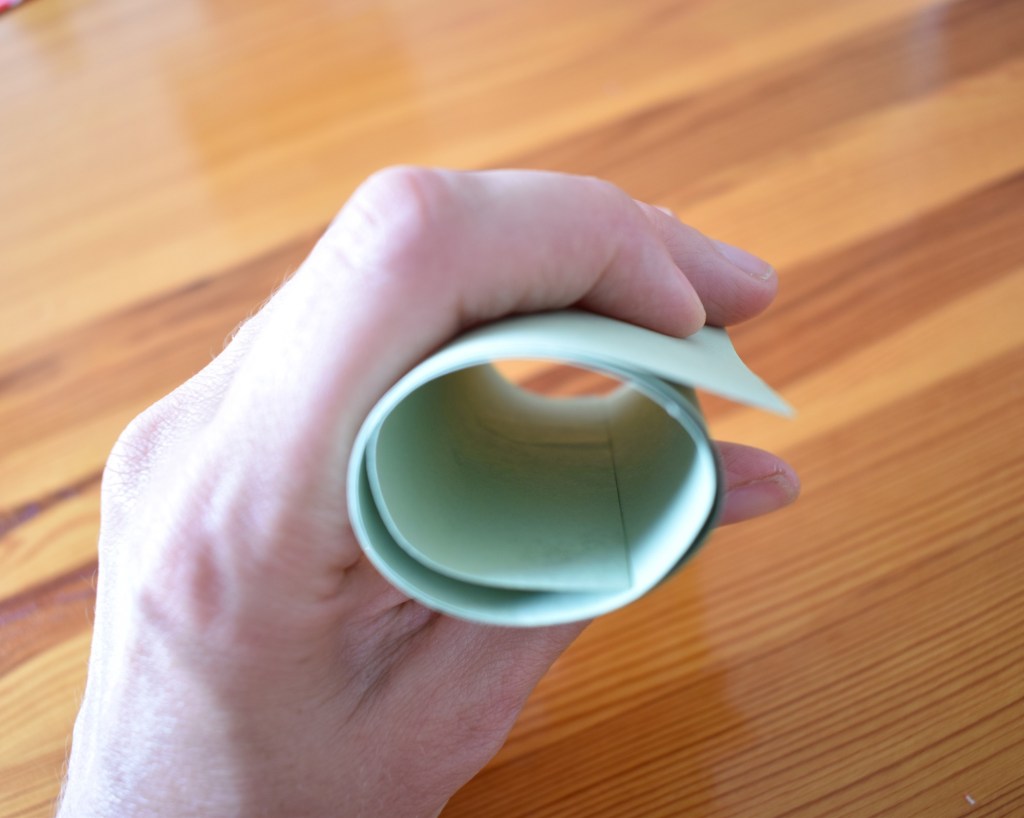
You’ll get a nice maleable cylindrical shape 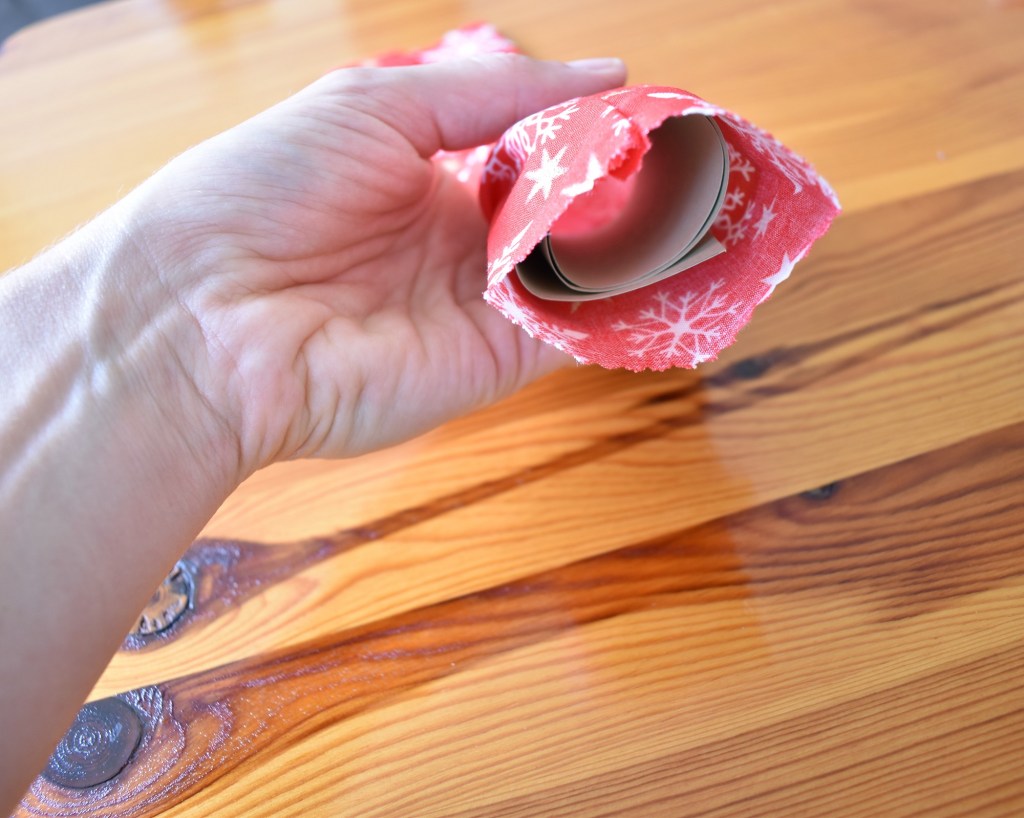
Pop it inside the cracker
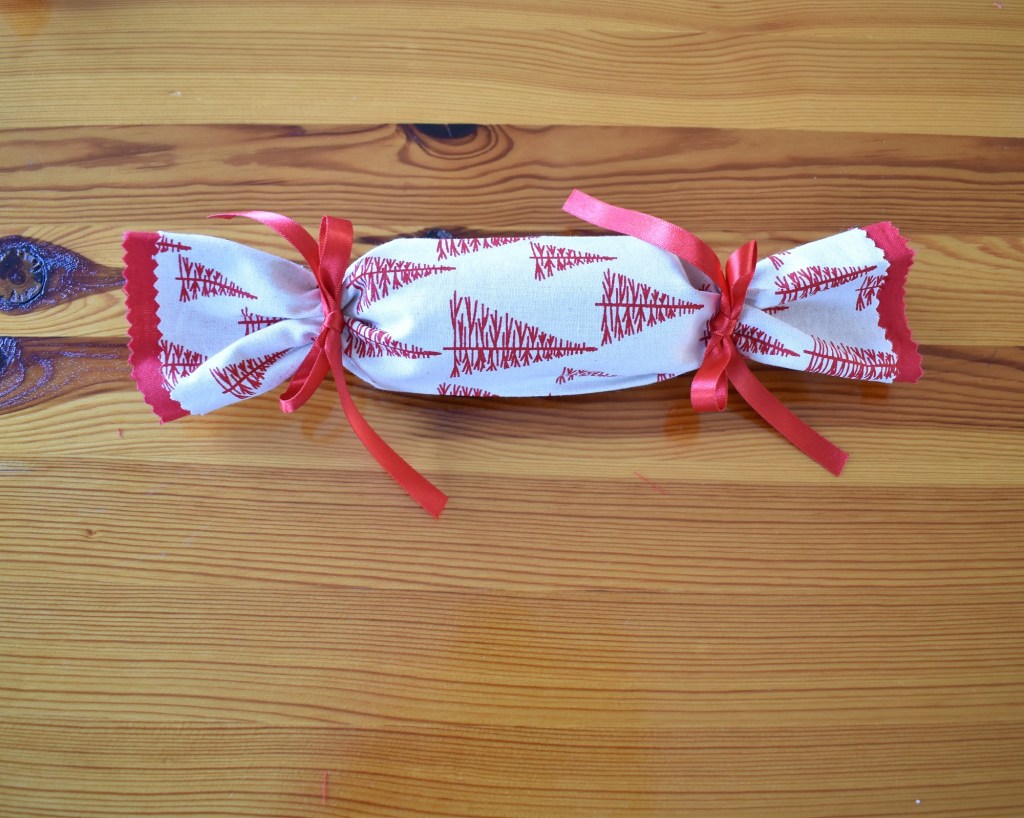
6) Cut the ribbon into lengths of 40 cm if you’ve not already done so. Tie a bow around each end of the cracker, pushing them as close to the cardboard as possible.

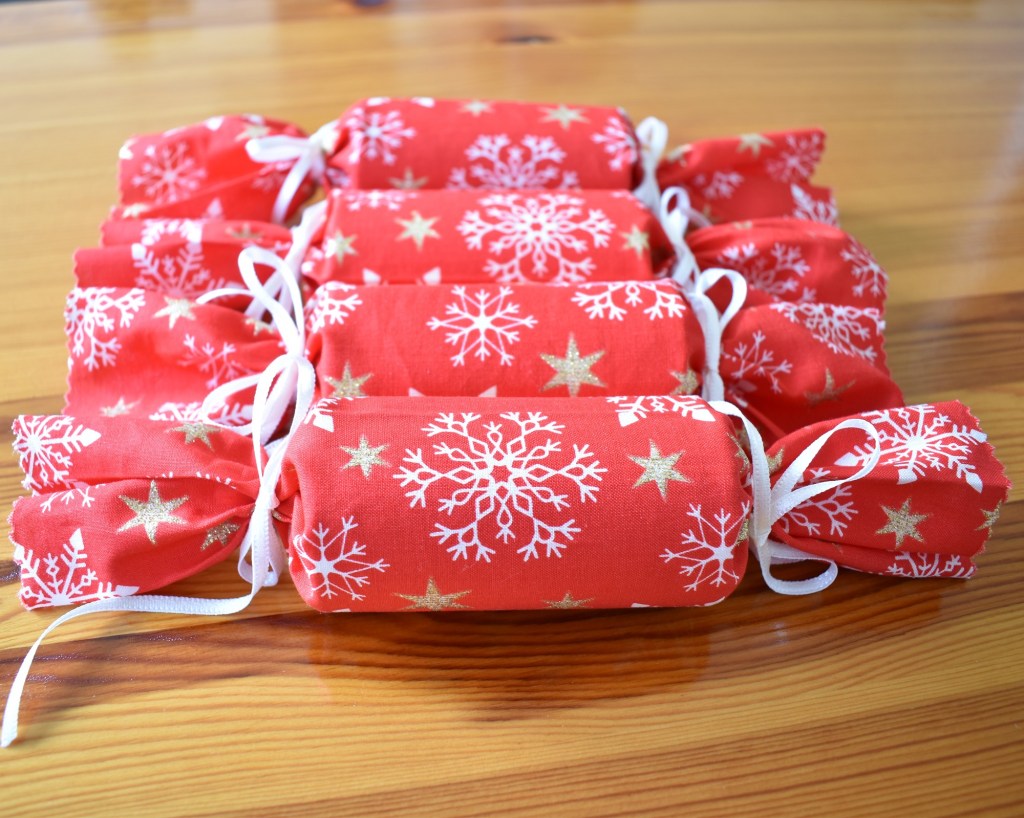
And, Voila! You have a set of delightful, reusable, crackers. Now all you have to do is decide what you’re going to place inside!
But that’s not all, I have another variation for you if you’re interested!
If you fancy adding an extra decorative twist to your cracker consider adding a lining fabric to create an extra trim.
For this, you will need:
4 pieces of fabric measuring 28cm x 17cm and 4 pieces of lining fabric measuring 30cm x 17cm.
Follow the same steps as previously and use pinking shears on both the lining and the main fabric. The only extra step is…
When sewing the fabric together, place the main fabric on top of the lining, leaving 1cm at each end. Fold the fabric as previously and simply sew the two pieces together at the same time. Simple!
And, Voila! Another delightful cracker, this time with an extra decorative trim!
So that’s it for now but if you’re thinking we’ve covered everything we need for our festive table you’d be wrong! Not quite! Next week I’ll be showing you how to make some simple, festive table napkins. Another super simple Christmas craft that will add more homemade joy to your dining table during the festive period! So, until then, happy crafting!
