

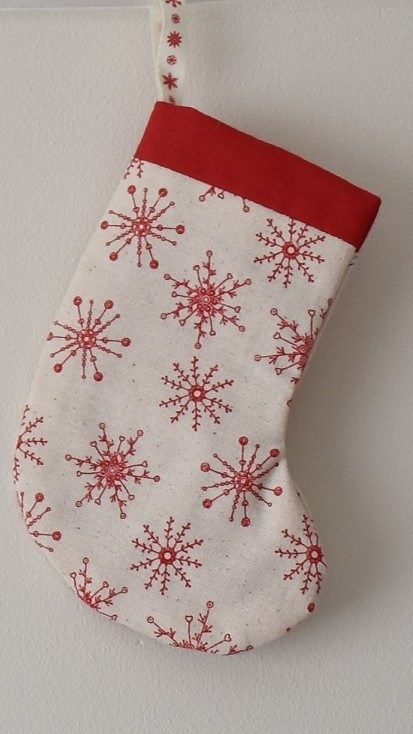

On the tenth day of Christmas Jillian Sharples Design gave to me, a Christmas stocking tree decoration…
Hey, wow, so we’re on the tenth of our ‘Twelve crafts of Christmas’, how did that happen I wonder!? When I started these it was way back in September, Christmas was definitely a long, long, way away and to be honest it did seem a bit early. At least it seemed early to people who do all their planning and shopping at the last minute. Not my style, no way, seriously I tend to start thinking about Christmas by the end of Summer. And, I have to admit, I do wonder if it’s because of a job I once had. When I was a student I spent my university holidays working in the furnishing fabric department in Harrods. Yes, that’s definitely where my love of fabric came from and, yes, it really was a great place to work, I loved it, although it seems like a very long time ago now! Anyway, whenever I worked there in the summer they would always officially open their Christmas department around August 4th. Ok, that seems kind of early but of course it’s a shop and there’s a tourist market to capture! Well it really seems to have had a lasting effect on me as ever since I have genuinely felt as if before July is definitely too early, but any time after the start of August is a green light to start thinking about and planning Christmas! Why not, it’s all about spreading the love and joy, right?
If you add into the mix the desire to get crafty and start planning a handmade Christmas, well, really, you can never start too soon right? Not if you want to get all your handmade touches just right to show off your home at it’s best. Which leads me to bring up what we are making today. I’m going to be showing you how to make these cute little Christmas stockings for your Christmas tree. Or, if you like, you could use them instead of bunting to hang round the house, or even use them as an advent calendar if you fancy making 24 of them!
I decided to include these as they always bring up lovely Christmas memories for me. When I was a kid my mum had little tree decoration stockings and would always put a wee gift or some chocolates in them. One each for me and my sister. Now I have to admit, while they still hang on her tree, they haven’t had gifts in them for many years! But she always used to like doing it and it’s a nice little tradition I’d like to continue with my son. He just loves presents so these little extras, no doubt with small cars in, will definitely be a hit this year!
So let’s get making…
What you’ll need for one Christmas Stocking Tree Decoration:
2 fat quarters (one for the main fabric and a contrasting one for the lining fabric and trim)
Stocking template (see note below)
Sewing machine
Needle, pins, matching thread
Cutting board, cutting ruler and roller cutter if you have them
OR
Scissors and a tape measure
For the template
For the template you can simply draw around a sock of the size that you would like to use. Remember to add one 1cm all the way round for the hems.
Top Tip
It is very simple to make a template larger. Once you have the original template drawn, use a ruler to add 1cm (or as much as you like) all the way round and then join the dots.
For the template you can simply use a cereal box. The card is nice and firm so it is perfect for this kind of project.

Draw around your sock 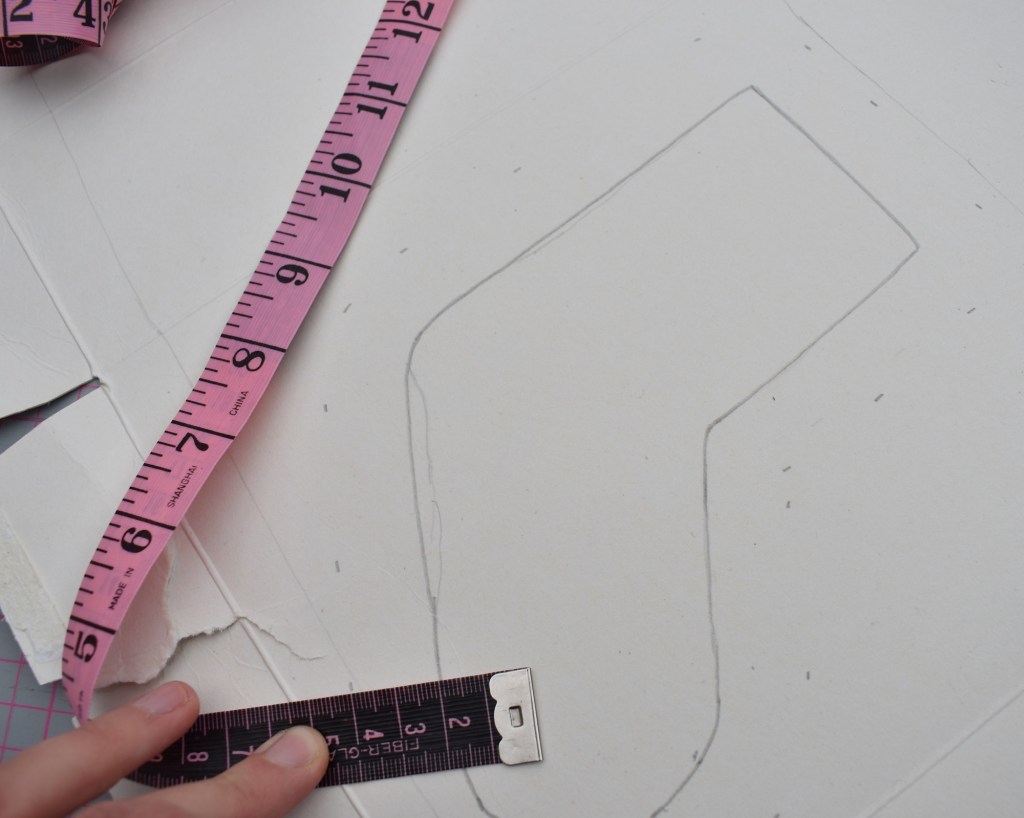
Using a ruler measure out 2cm at regular intervals around the outline 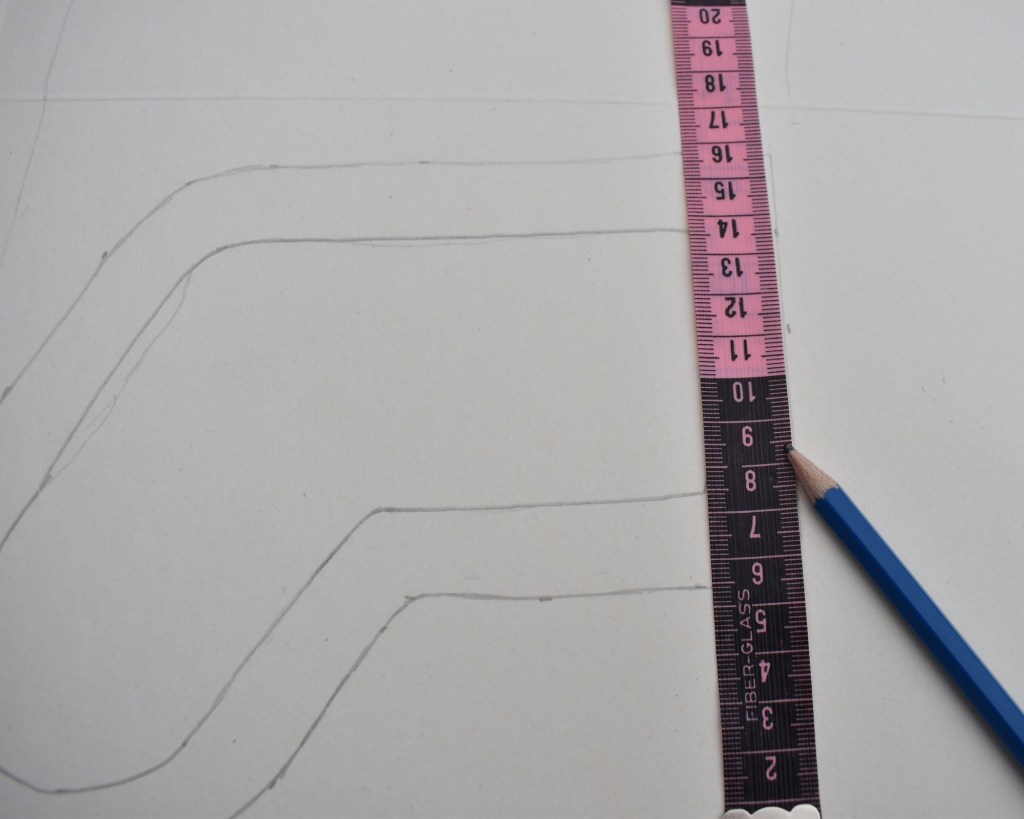
Join the dots 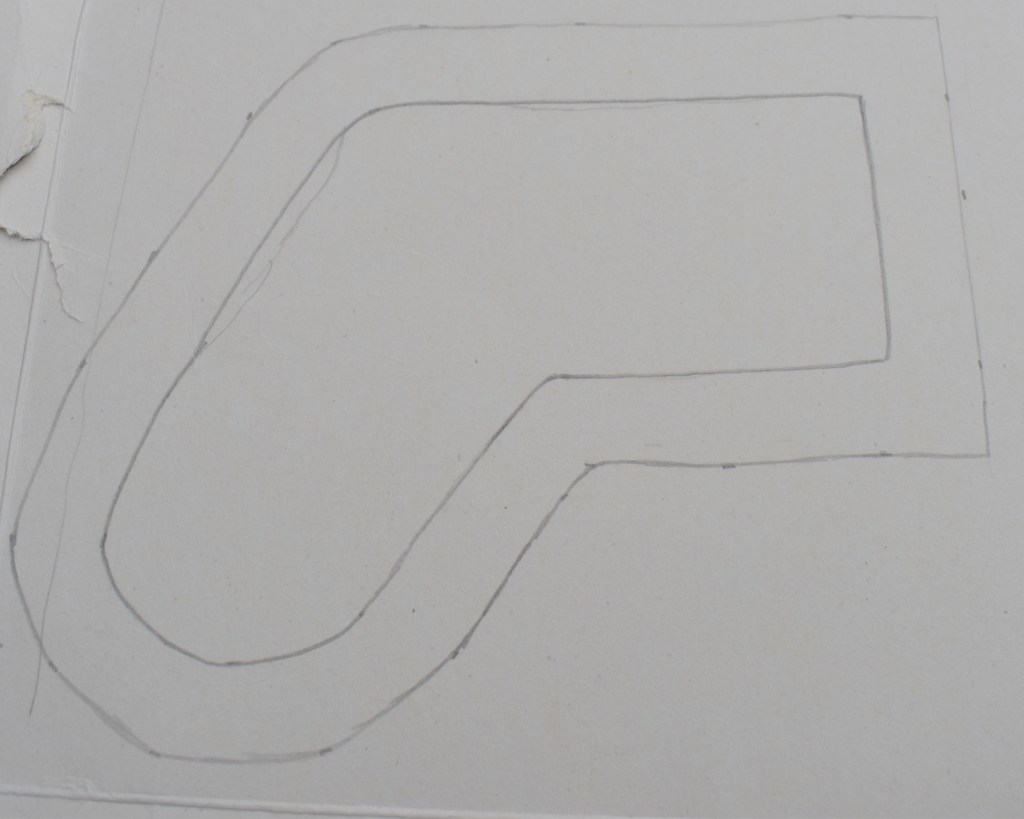
Draw all the way round 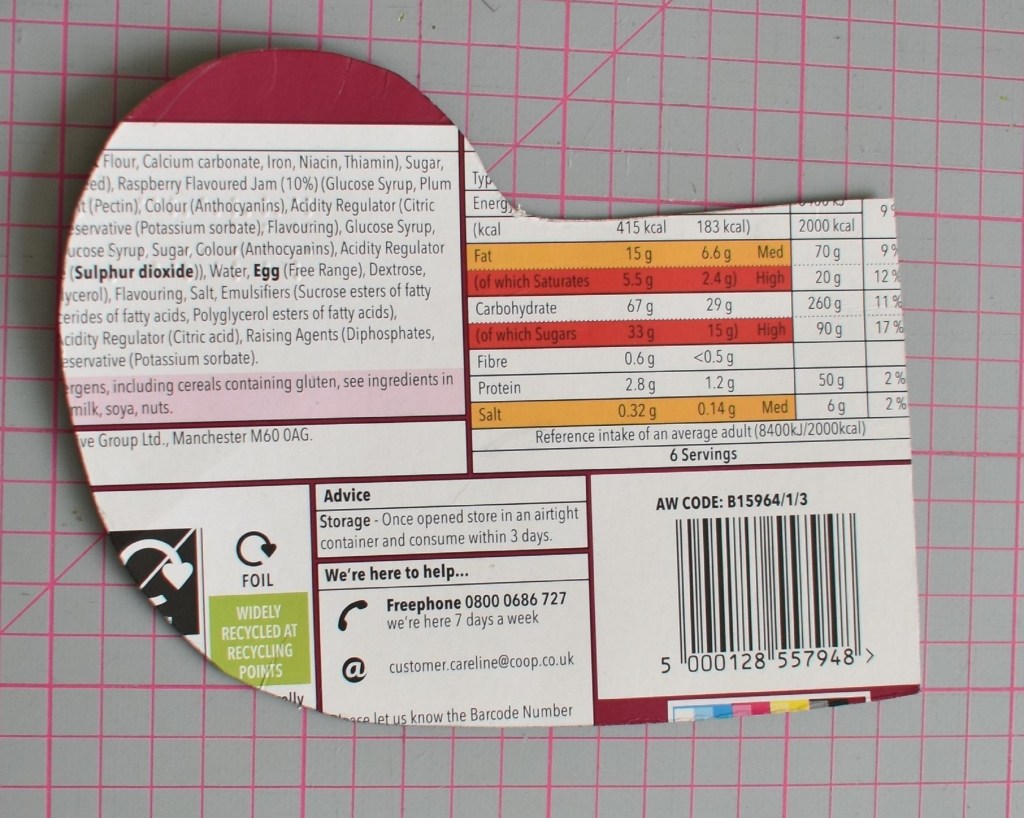
One completed template
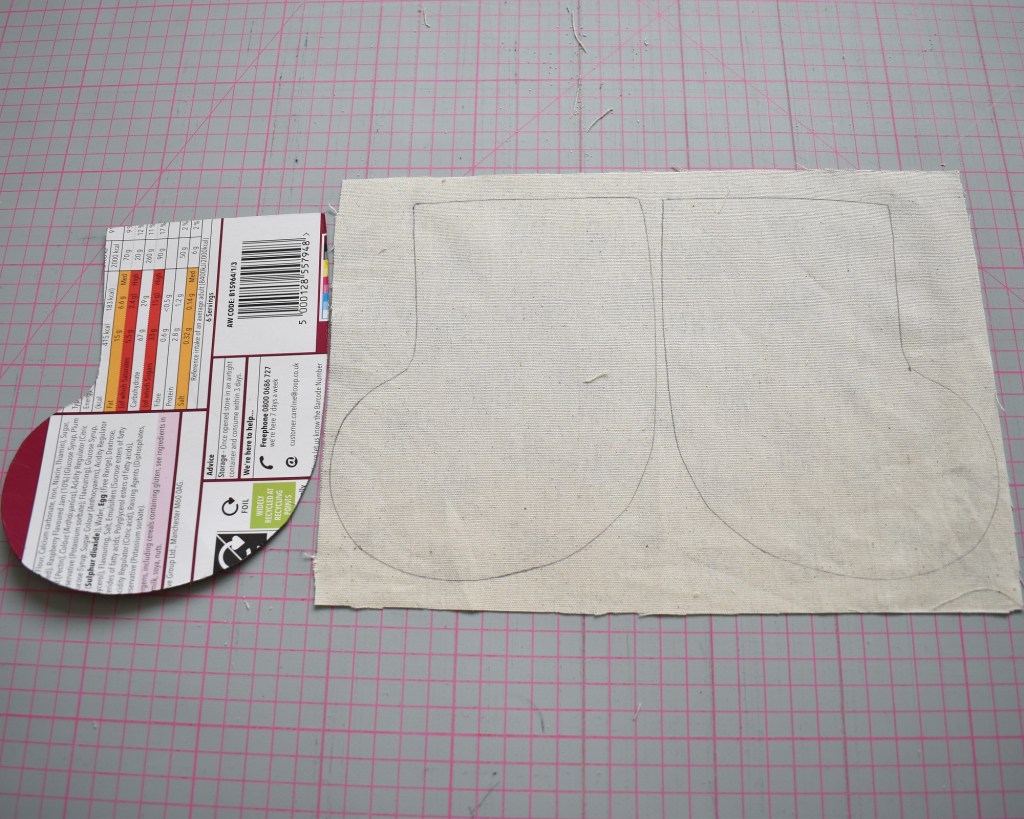
1) Once you’ve made your template, draw round it twice on the main fabric you are using and twice on the lining fabric.
Top Tip
To make sure your stocking fits together, you will want the toe of the front and back piece of main fabric to be facing in different directions.
You’ll see in the photos below that the toe of one foot (the front) is facing to the right while the toe of the second (the back) is facing to the left.
You will want to make sure the lining pieces do likewise but before cutting your lining, take time to note that it wants to be 2cm longer than the main fabric. This is because it will form a trim around the top edge of the stocking.
To achieve this, draw around the template but don’t complete the top horizontal line. Measure up 2cm on each side to extend the length of the stocking and then join them across the top.
Alternatively, you can make two templates if you prefer but I wouldn’t think it is necessary.
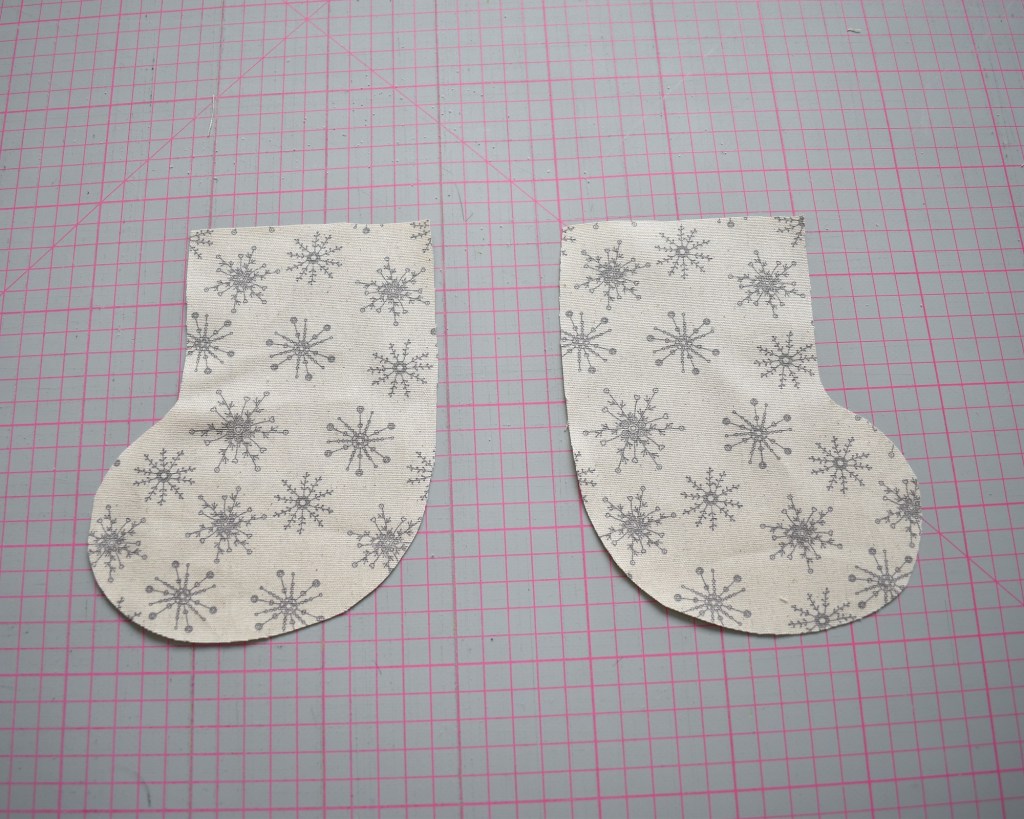
2) Cut out your 4 stocking pieces.
3) Lay the front piece of main fabric down, face side up, and lay the first piece of lining fabric on top of it, face side down. Pin together and stitch along the top, 1.5cm from the edge. Repeat for the back piece of fabric and lining.

Cut out your stocking pieces 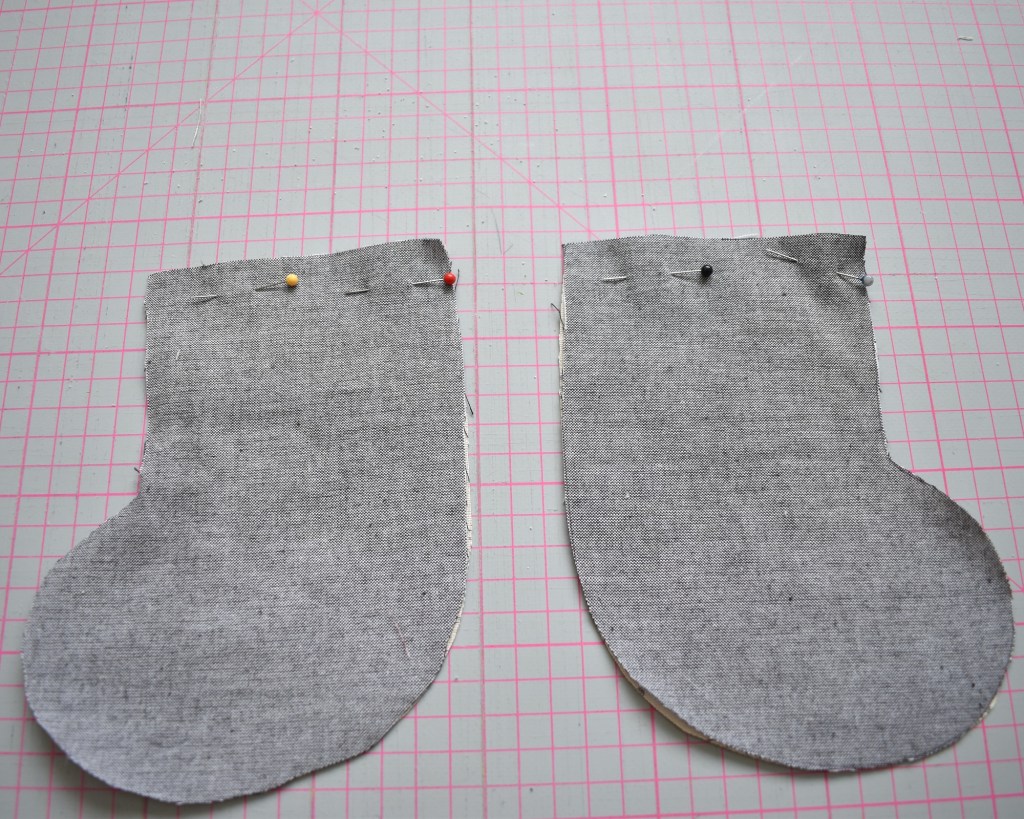
Lay lining on top of main fabric and pin along the top 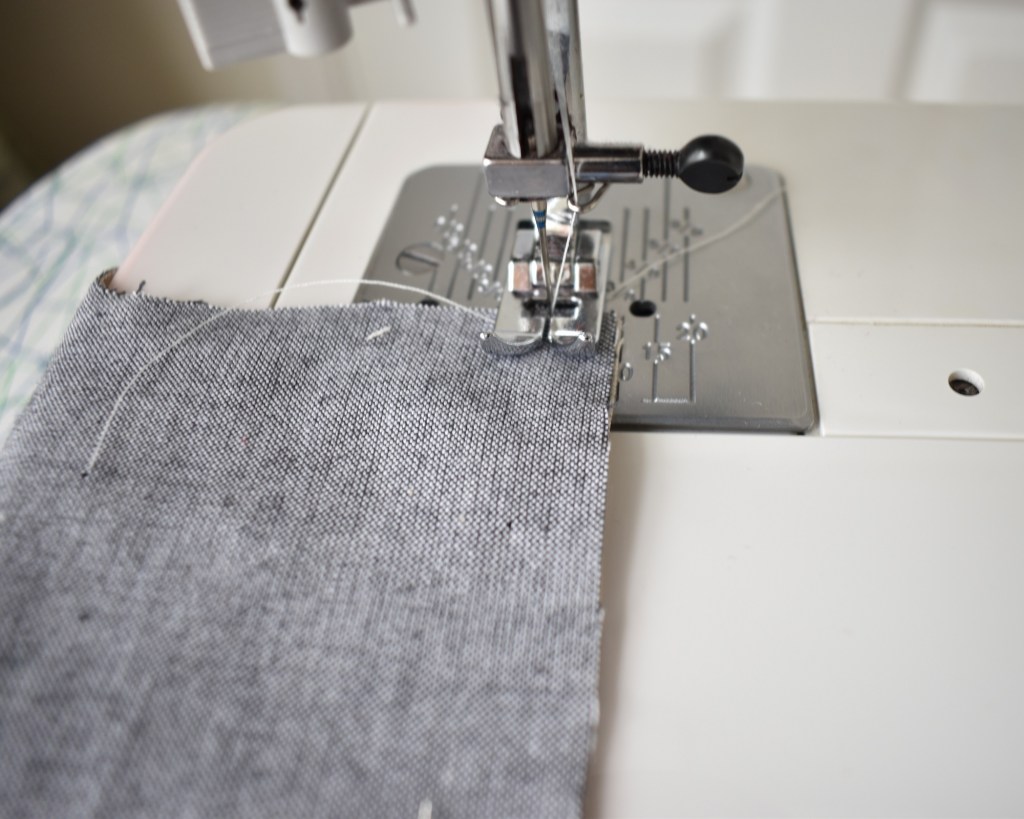
Sew along top edge, 1cm from edge
4) Next, lay the front main piece of fabric and lining down, face side up, and place the back piece on top, face side down. Pin together all the way round leaving a space of about 5cm along the sole of the lining fabric which will be used for turning. I tend to put these pins in vertically so that it looks like a doorway, then I remember not to sew through it.
6) Sew the stocking together 1cm from the edge of the fabric and starting about 1cm from one side of the gap. Start with a few backstitches here in order to secure the stitch line and prevent fraying. Remember to do a few backstitches when you arrive at the other side of the gap or doorway too.
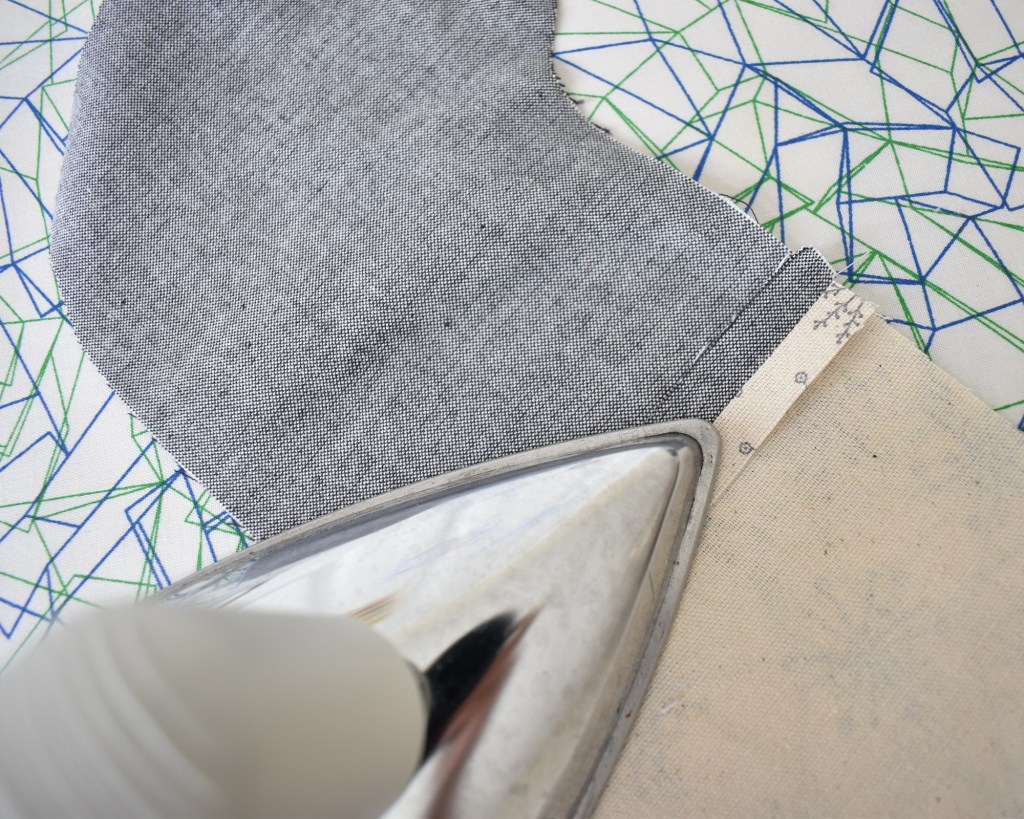
You may wish to iron the inside hems flat first 
Lay the front stocking piece on top of the back piece 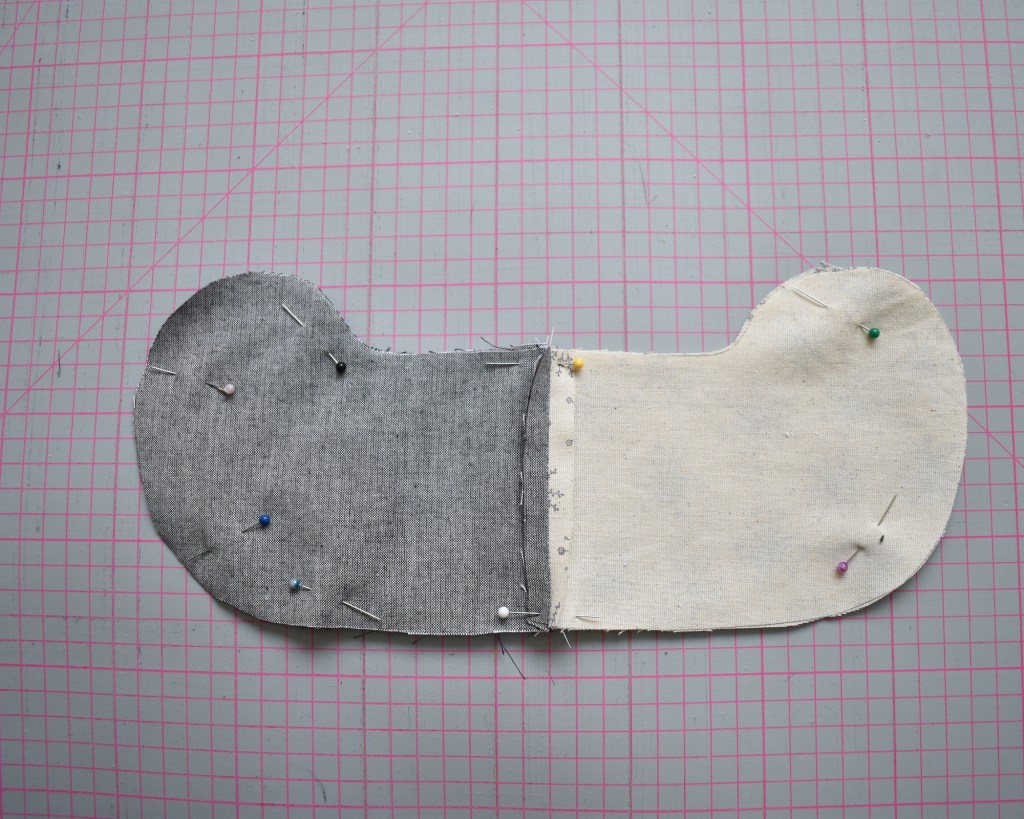
Pin all the way round, leave a gap of 5cm along sole of foot
7) Using the gap turn the stocking in the right way.
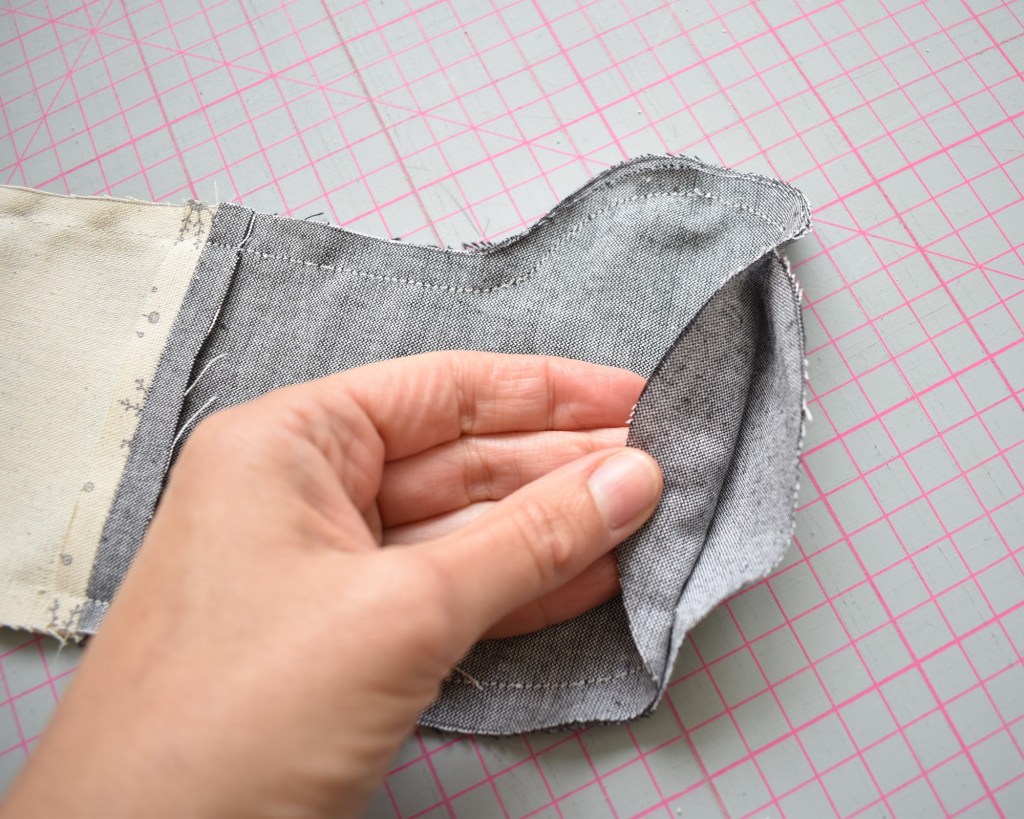
Using the gap you have left… 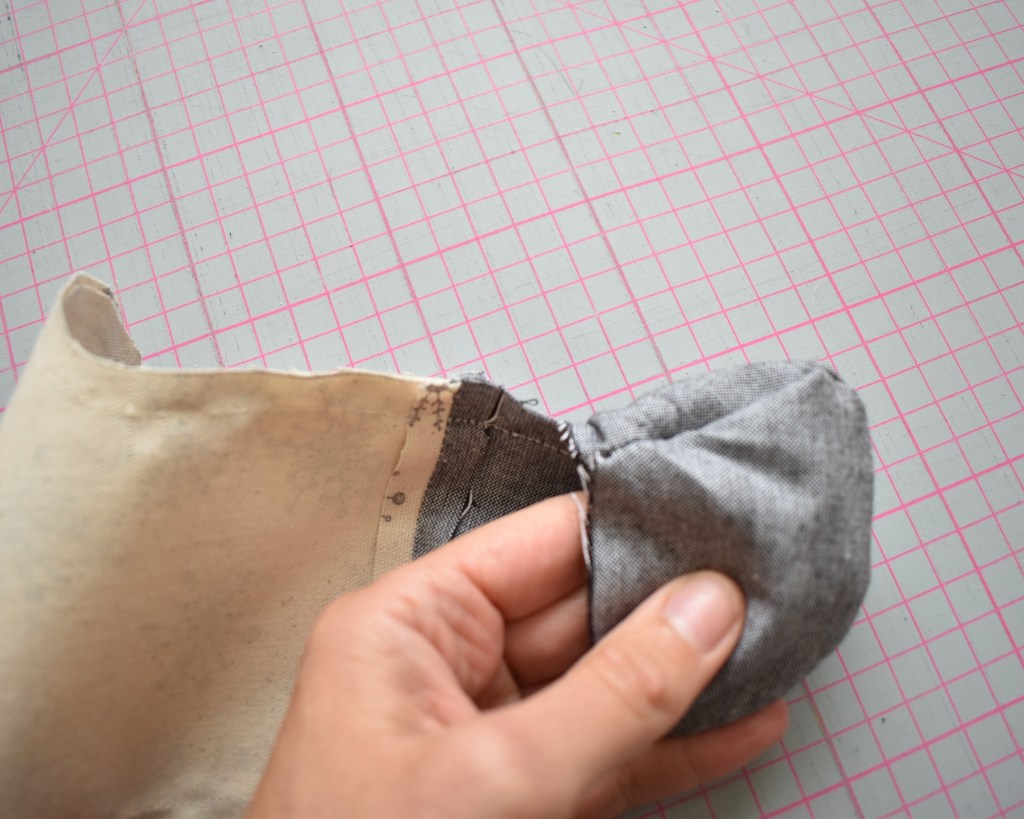
Turn stocking in the right way 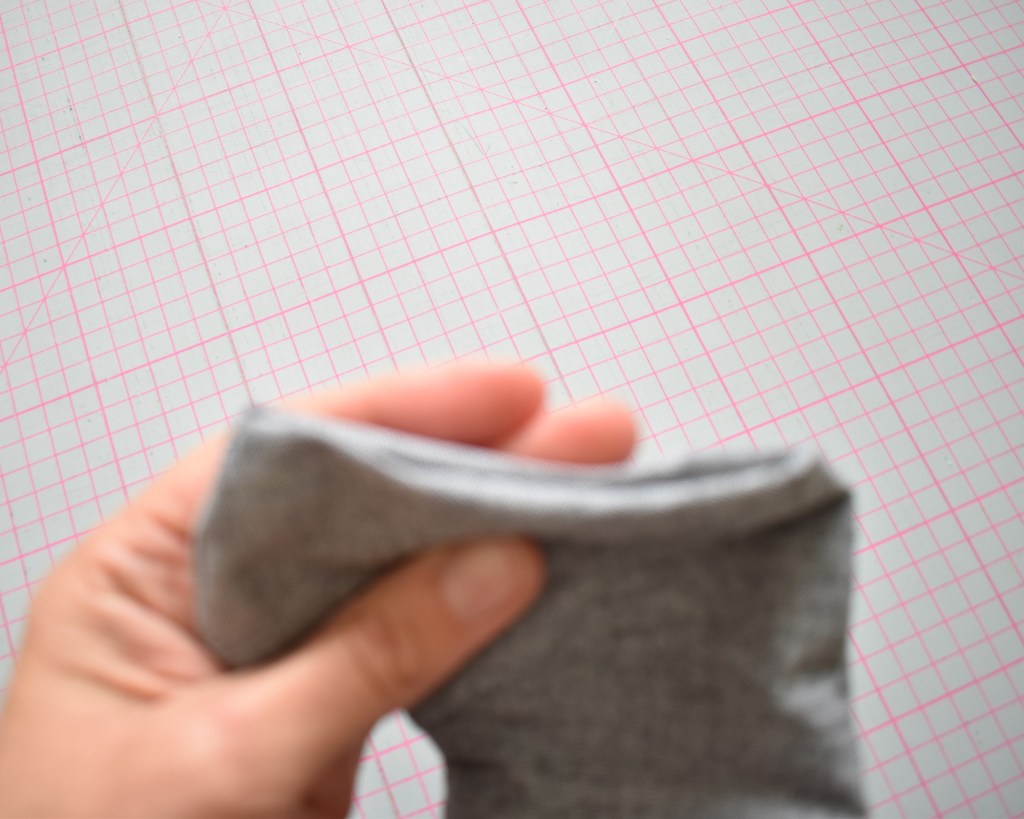
Flatten the hems of the opening
8) Flatten the hems of the gap down, using an iron if need be, so they are straight and, using a simple ladder stitch sew up the gap.
Top Tip
If you are unsure of how to do ladder stitch, or slip stitch as it is also known, please watch my youtube video
9) Once you have sewn up the gap, push the lining fabric down into the foot of the stocking and smooth it round.
10) Use your ribbon to add a hanging hook at the top, back side of the stocking. Fold the ribbon in two and place the bottom end about 1cm down from the top on the back of the stocking. Hand sew with neat, small, stitches around the 3 sides to secure it.

Fold the ribbon in two 
Place inside back of stocking, attach 1cm from the top edge

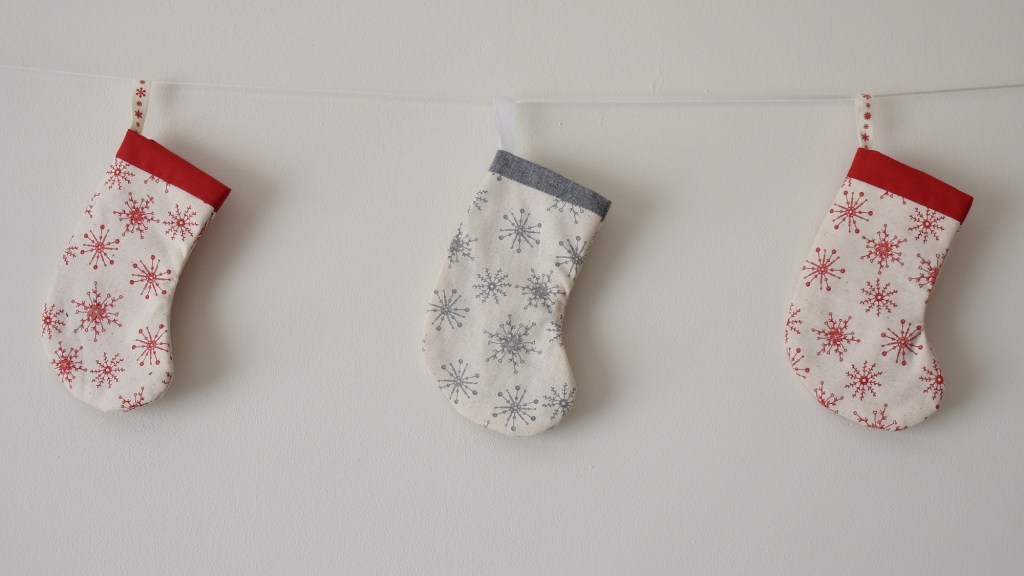
And, Voila! You have a lovely little stocking to hang on the tree. Or, you could make several to hang on a ribbon as an alternative to traditional bunting.
So, isn’t that just super cute? Now all you need to do is find a nice little gift to pop in it as an extra surprise for someone you love! Join me again next week, for our eleventh craft of Christmas when I’m going to show you how to make some lovely festive bunting.
