

On the eleventh day of Christmas Jillian Sharples Design gave to me, some lovely Christmas bunting . . .
Hi there, so here we are inching closer and closer to Christmas now! Maybe you’re starting to think about putting up the Christmas tree and finalising your Christmas decorations. Maybe there’s just a few odd presents you still want to buy, or maybe you’re the kind of person who leaves it all till December so you’re just starting to think about it. Whichever way you approach the festive season it is definitely on it’s way. But, not to worry, there’s still time for me to show you a couple more Christmas crafts so that you can add a little bit more of the handmade to Christmas 2020.
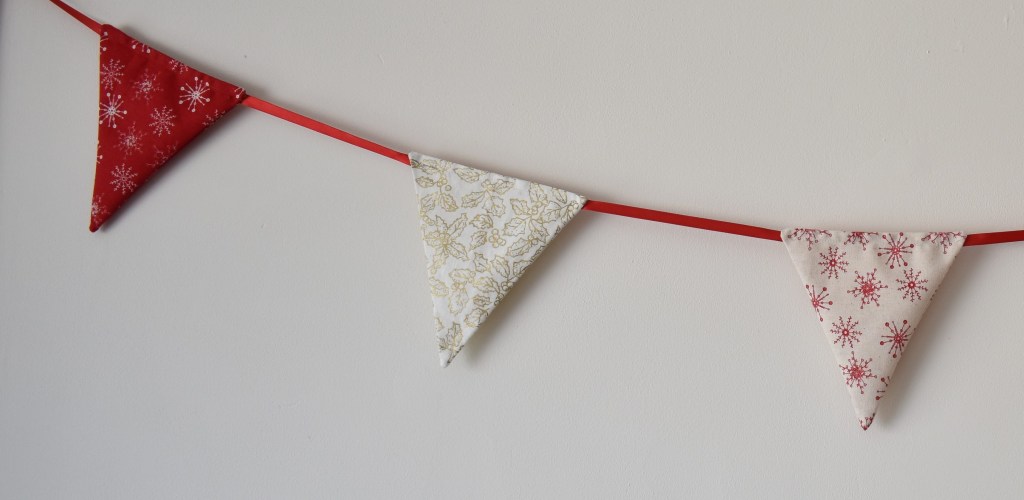
And this week we’re going to be looking at an old and firm favourite, bunting! Always popular for special events and holidays, or even for just decorating your own house. It is nice and simple to make and shouldn’t take up too much of your precious time!
What you’ll need for your Christmas bunting:
Fabric or fat quarters (the template measures 18 cm x 20 cm so you’ll be able to get 4 triangles, or 2 pieces of bunting when sewn, out of each fat quarter)
Card to make your bunting template (see note below), pencil, ruler and scissors
Sewing machine
Needle, pins, matching thread
Cutting board, cutting ruler and roller cutter if you have them
OR
Scissors and a tape measure
Ribbon to hang the bunting from (the length of this is entirely your choice depending on how long you want your bunting to be)
First things first…
Making your template
Using the card make a simple triangle template, the top edge should measure 17 cm, the two side edges should measure 21cm each.
Top Tip
Draw your top line, find the middle point and a draw a line straight down 19 cm (measure in from the edge of the card at the top and bottom to make sure this line is straight). Draw your two side lines so they join the main line at the 19cm point. This will give you two sides of 21 cm.

Make your template out of card 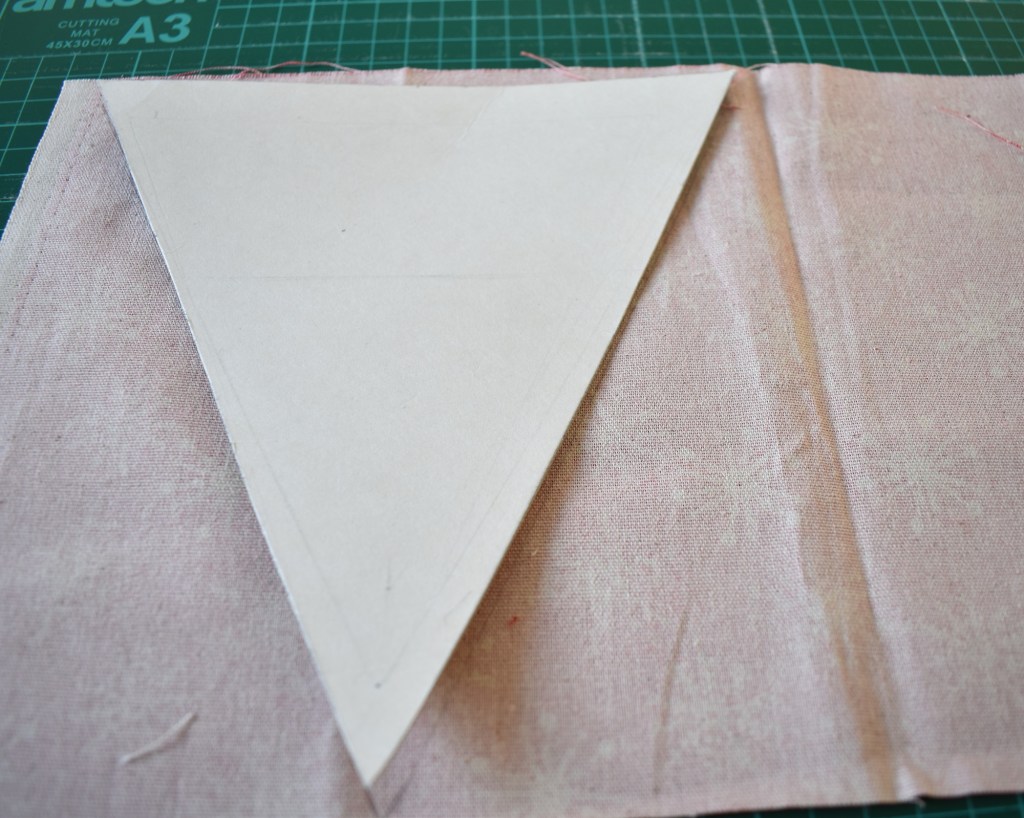
Draw around your template twice for each bunting triangle 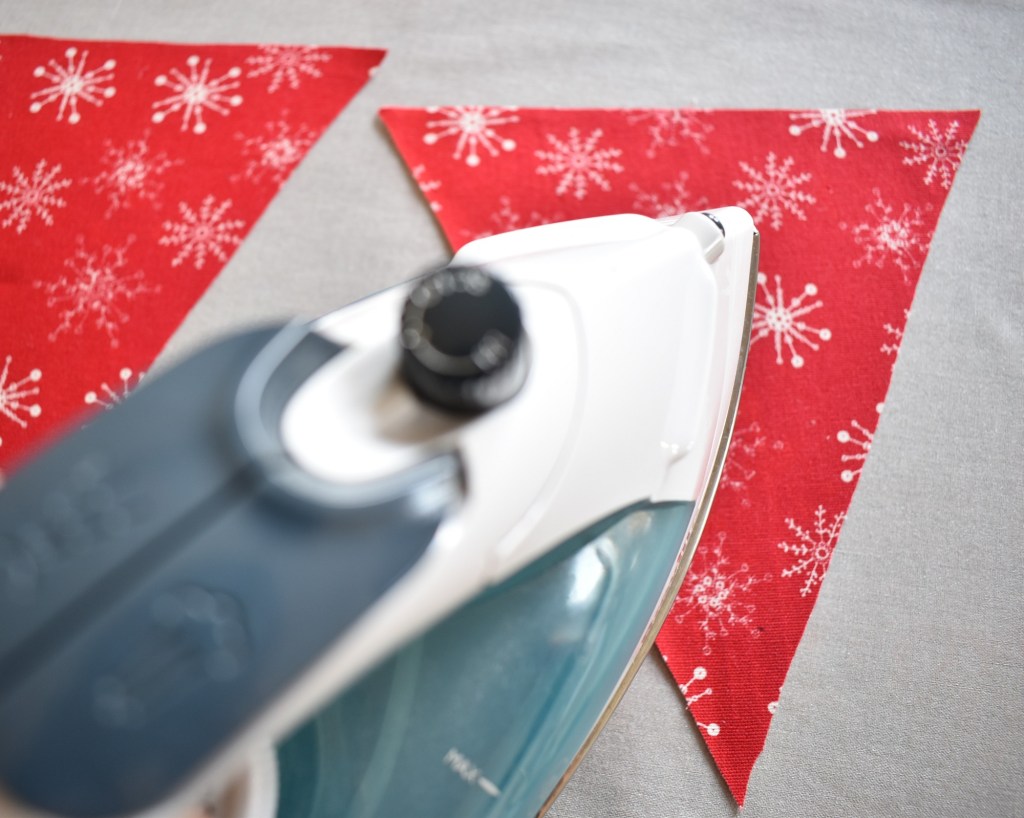
Iron flat again if necessary
Making your bunting
1) If necessary iron your fabric to remove any creases. Place the template on the back side of the fabric and draw round it twice. For the second triangle, turn the template upside down and place it alongside the long edge of the first. This will result in less fabric wastage that you may wish to use for something else. Cut out your triangles.
2) Place the first two triangles on top of each other face sides together and pin together leaving a gap of 8-10 cm along the top edge.
3) Start on one side of the gap, 1 cm from the edge of the fabric and 1 cm from the gap and do a few backstitches at the start and end of your stitch line. This will secure the stitches and prevent fraying.
Quick note
Please be aware that while, along the sides, the gap from the stitch line to the edge of the fabric should be 1cm, the gap into the triangular corners will be larger around 1.5-2 cm. What you want to check is that when you turn the triangle each time you are still 1cm from the edge on the next straight.
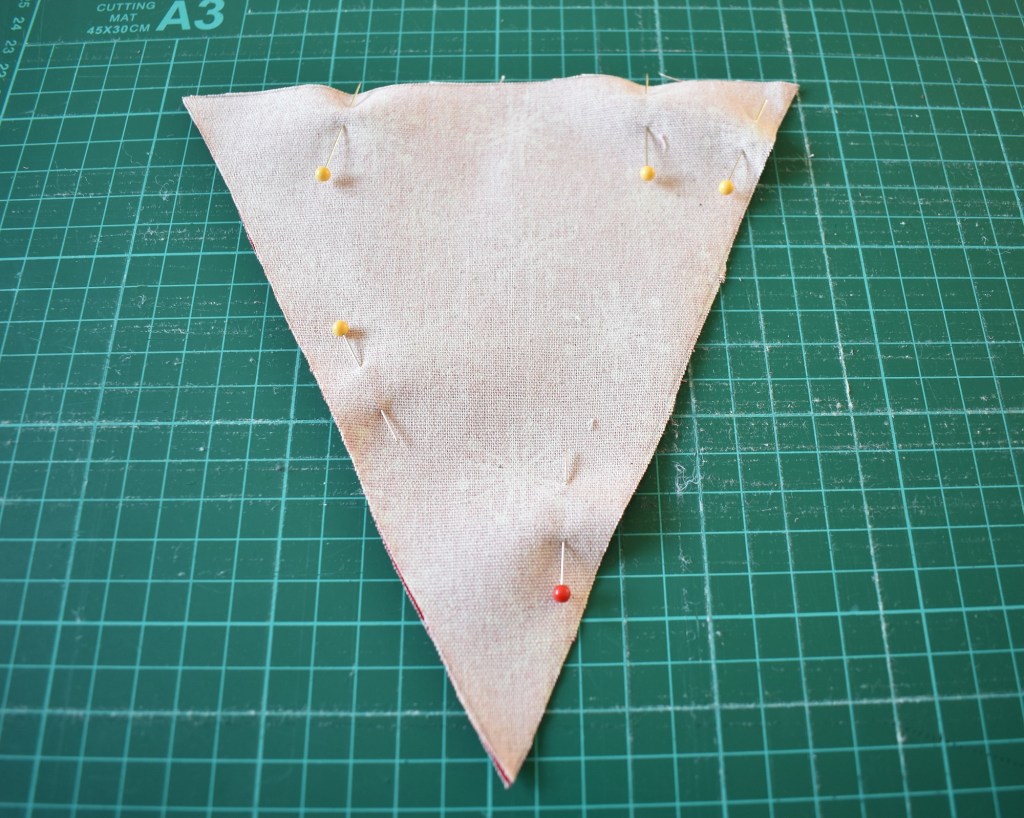
Place two pieces together, face to face, and pin round leaving a gap along top edge 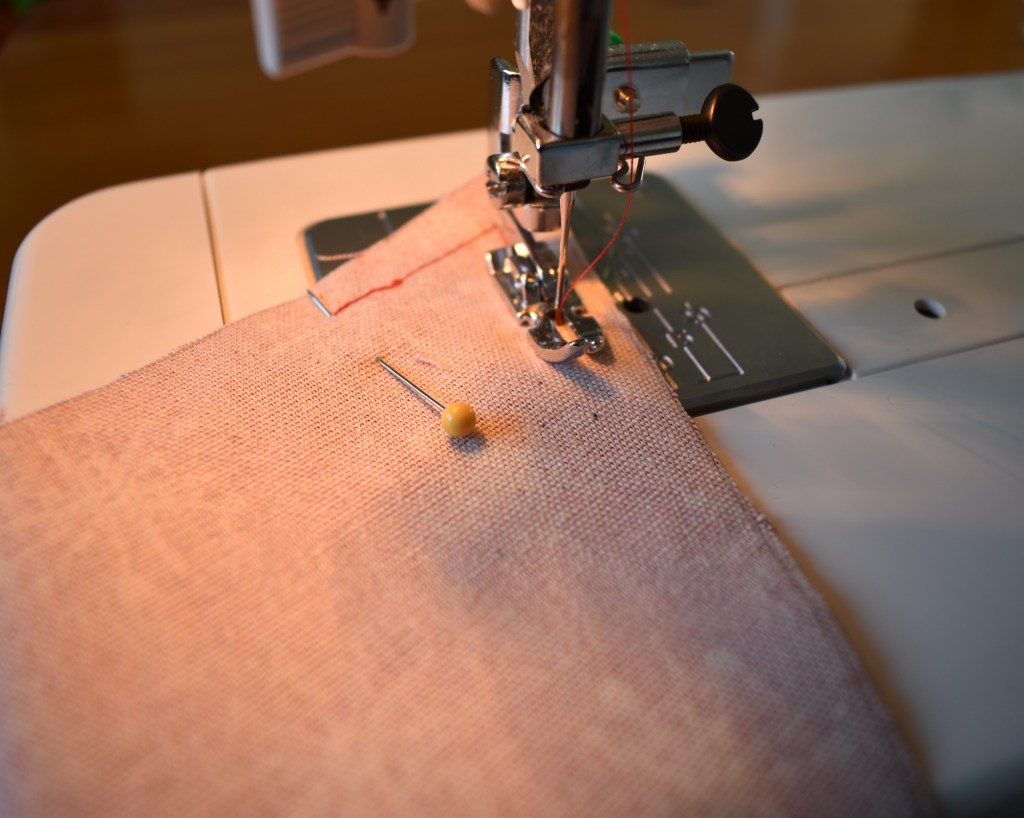
Sew around, 1cm from edge 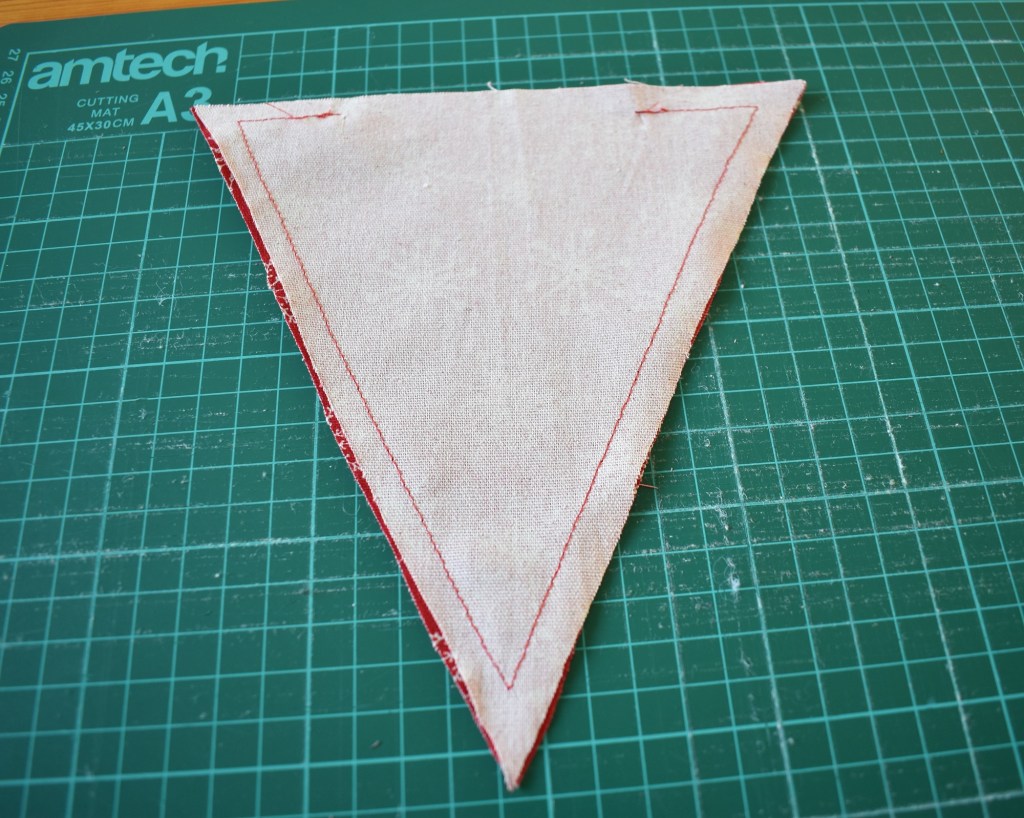
Note the gap left at the top for tunring
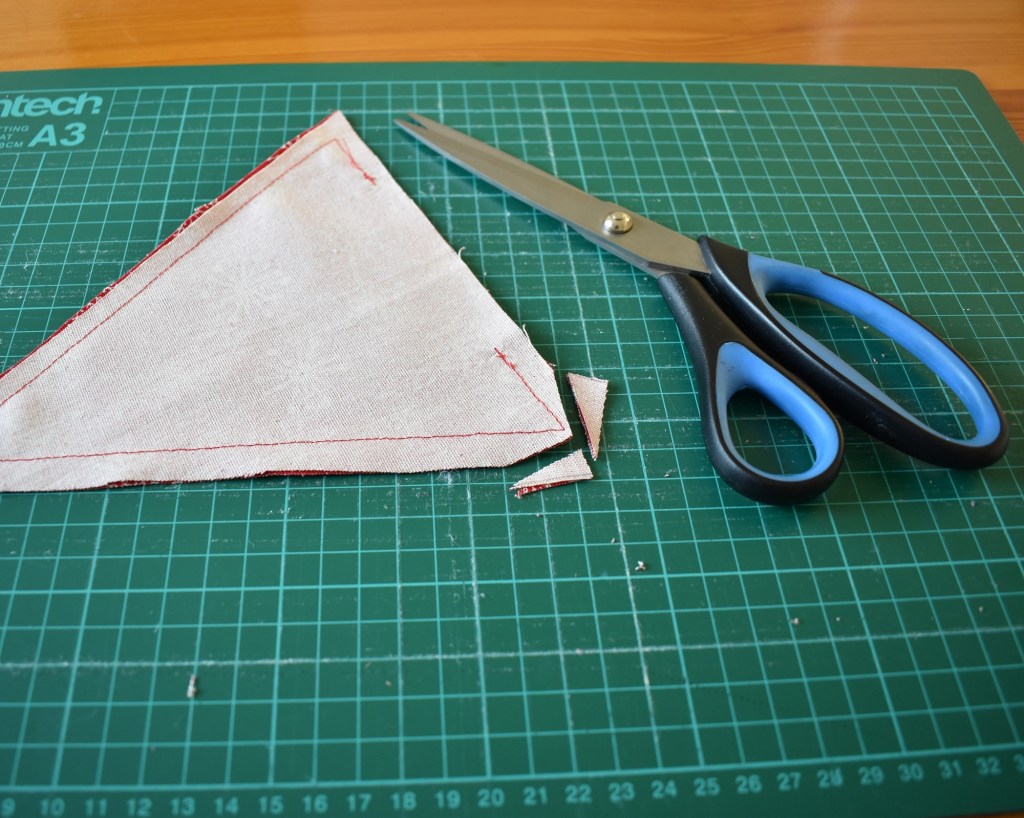
4) Cut away a point at each of the three corners, this will make the corners stand out better. But, be careful not to cut into the stitches.
5) Using your gap, turn the triangle in the right way and, using a simple ladder stitch, sew up the gap.
Top Tip
If you are unsure of how to do ladder stitch, or slip stitch as it is also known, please watch my youtube video
Place along the ribbon and attach with pins 
Attach to the ribbon using a matching thread
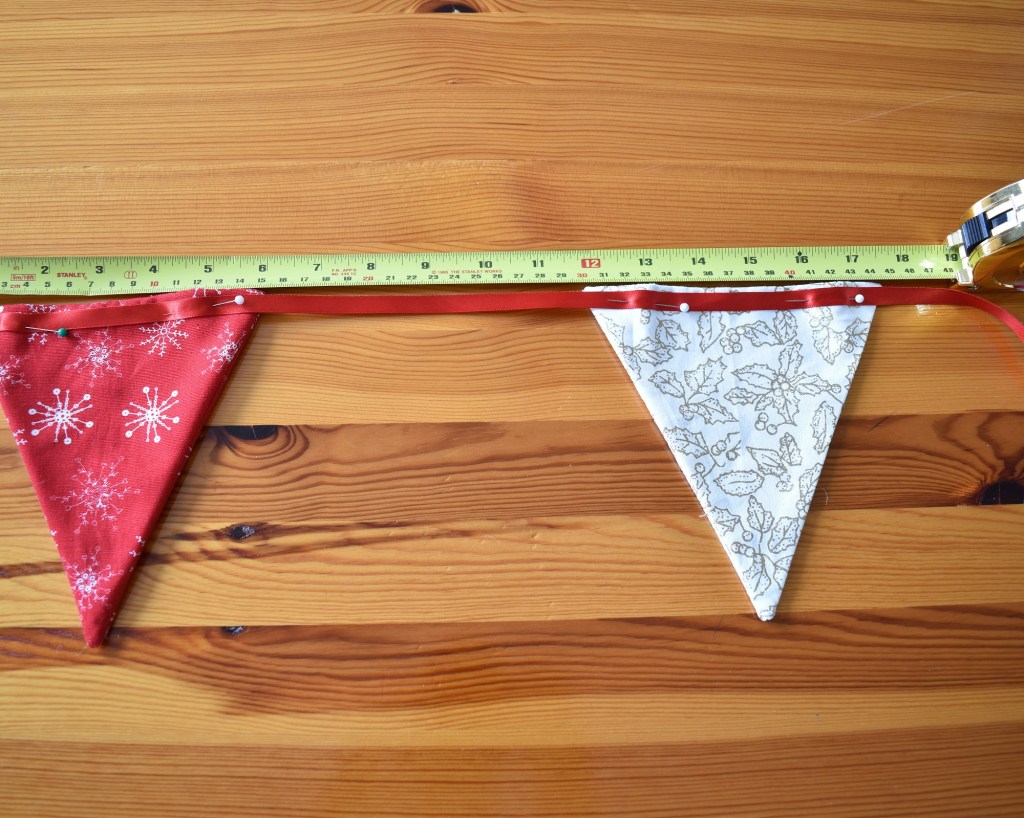
6) Once you’ve made as many triangles as you’d like, lay them out along your ribbon to decide how far apart you need to place them. First, fold the ribbon in half to find the centre point and then work outwards from there so that they are placed equally. Please note that whether you place a triangle across the centre point or start your measuring from there will depend on whether you have an equal number of triangles. For example, here I used 5 triangles so i placed my first one over the centre point. I also placed my triangles 15cm apart.
Once you have the triangles equally positioned, place them behind the ribbon and pin on.
7) Sew each triangle on the ribbon individually, doing a few backstitches at the beginning and end of each to secure the stitches.
As I was using up different scraps of fabric for this project, I had to use different colour thread for the different triangles so that it wouldn’t be visible.
Time Saver
If your triangles and your ribbon are all matching in colour, or close enough, you could simply sew one continuous line all the way along the length of the ribbon. Although the stitches would be visible on the ribbon if you looked closely, as it will be hung this really won’t be seen.
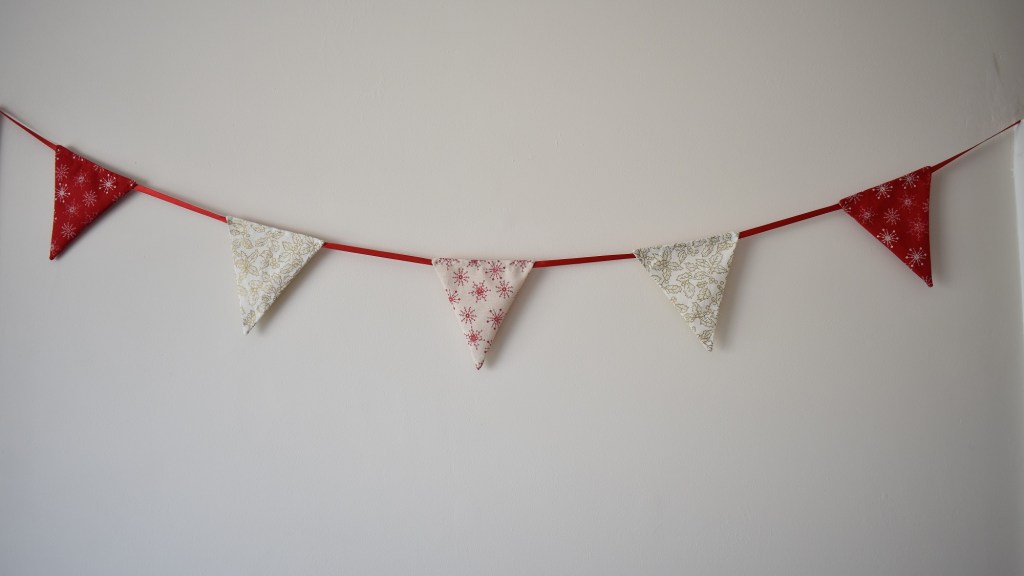
And Voila! You have a lovely set of bunting to hang round your house
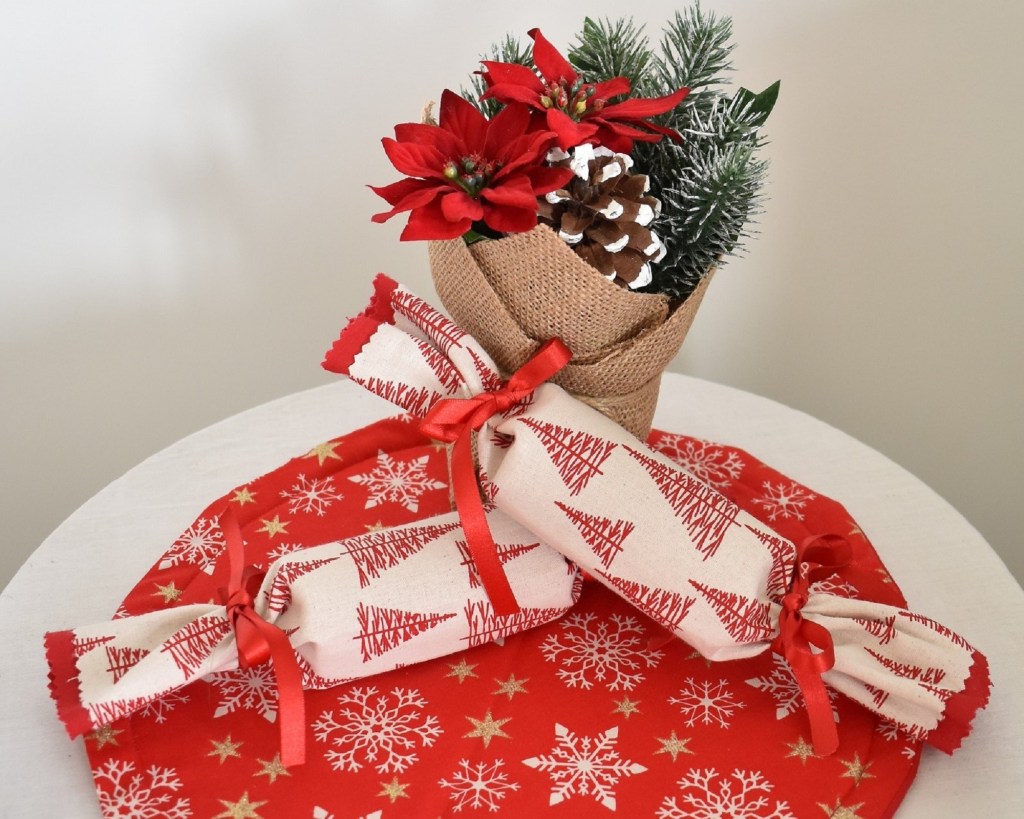
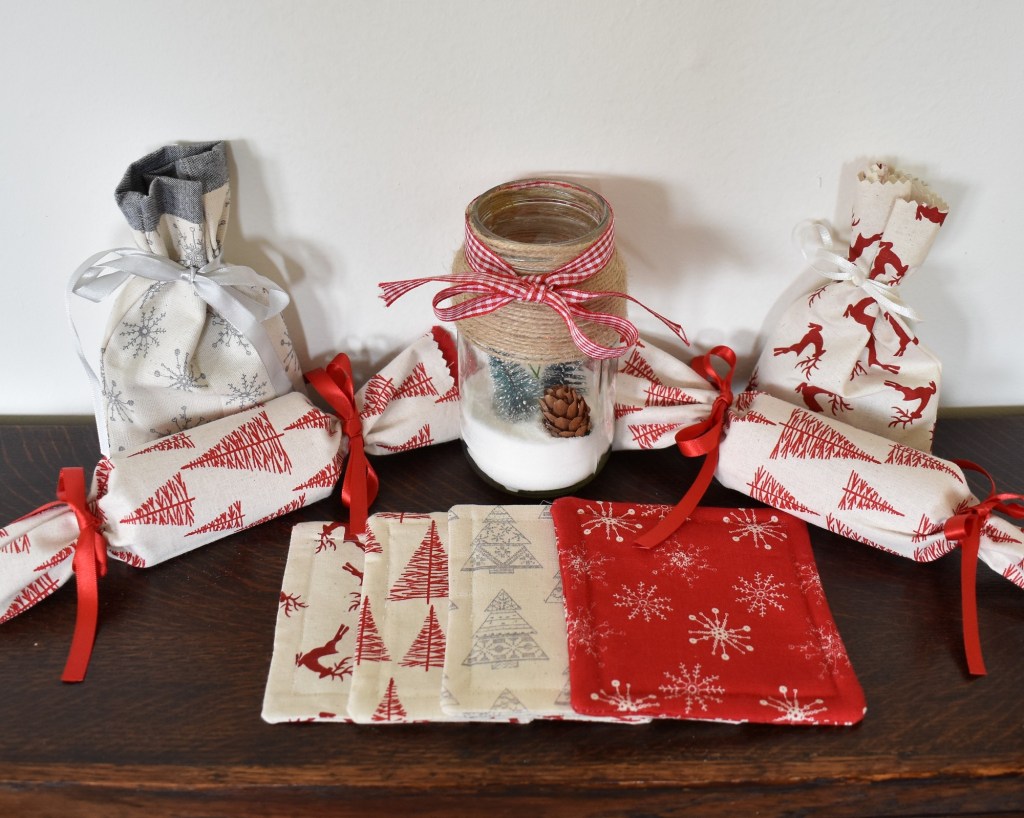
Well, that’s it for this week, join me next week for our twelfth and final craft of Chrismas when I’ll be showing you a couple of different craft ideas that you can use to finish up some of those leftover pieces of fabric or ribbon as well as anything else you may have lying around the house! And, best of all, the suggestions I’ll be giving you will be great not just to add an extra bit of festive cheer to your own house, but can also be used to help decorate gifts for those hard to please individuals who may appreciate a handmade touch!
