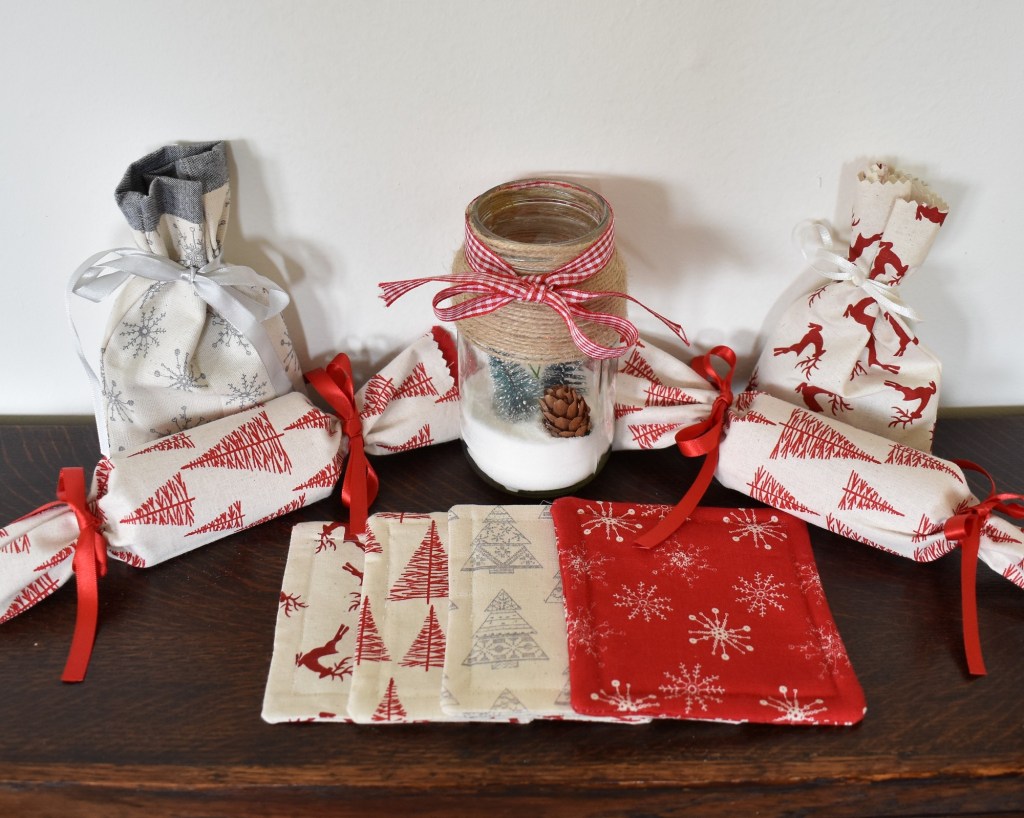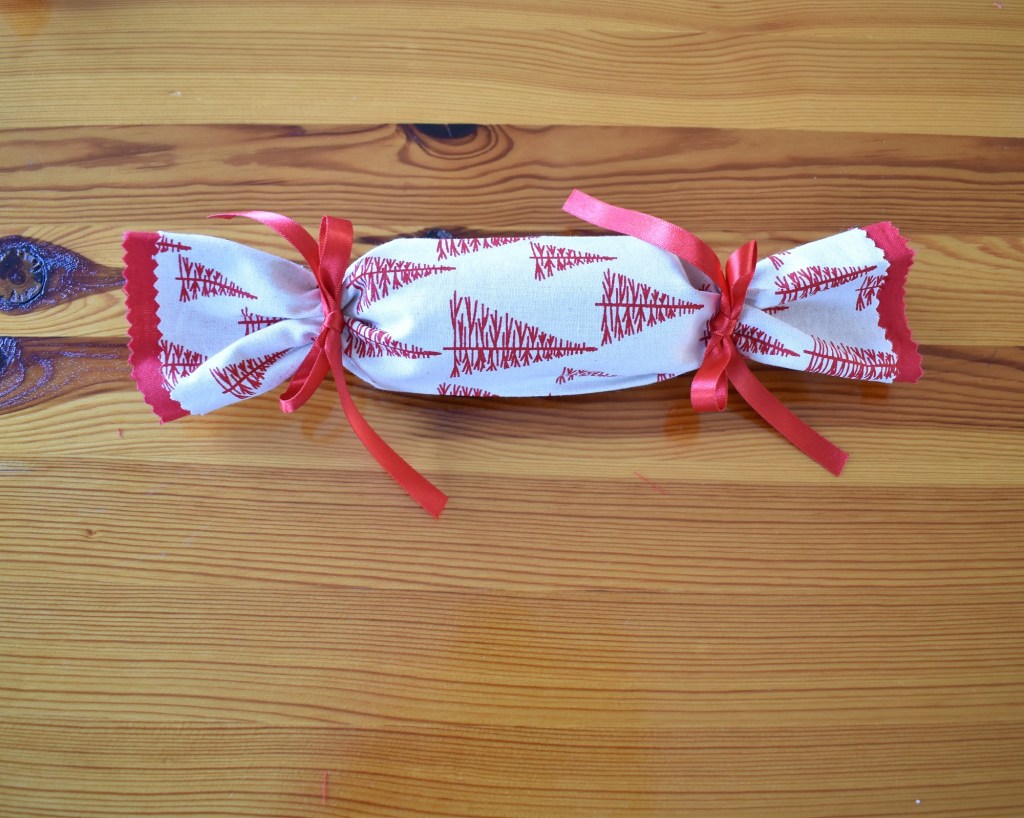
On the twelfth day of Christmas Jillian Sharples Design gave to me, some extra little touches for my handmade Christmas . . .
So here we are, the twelfth week of my Twelve Crafts of Christmas and we really are well and truly into the festive season now. It might be an odd kind of Christmas this year, but it is certainly one that is making many people really want to make the most of it. And that includes furnishing our houses more than ever before, buying more presents than ever to show those we love how much we’ve missed them, and putting up more light displays than ever before, which is certainly the case for the village in which I live, and they definitely went up earlier than ever this year. It’s all about spreading the joy of Christmas in every which way we can to make up for a year that has often been tough, sometimes been scary, and nearly always been frustrating. But there’s no stopping Christmas and there is always plenty to celebrate.
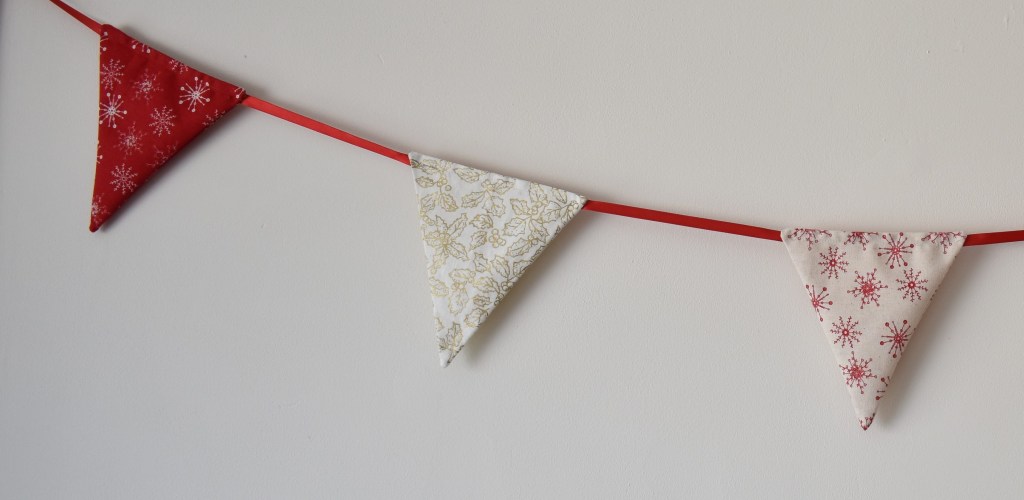
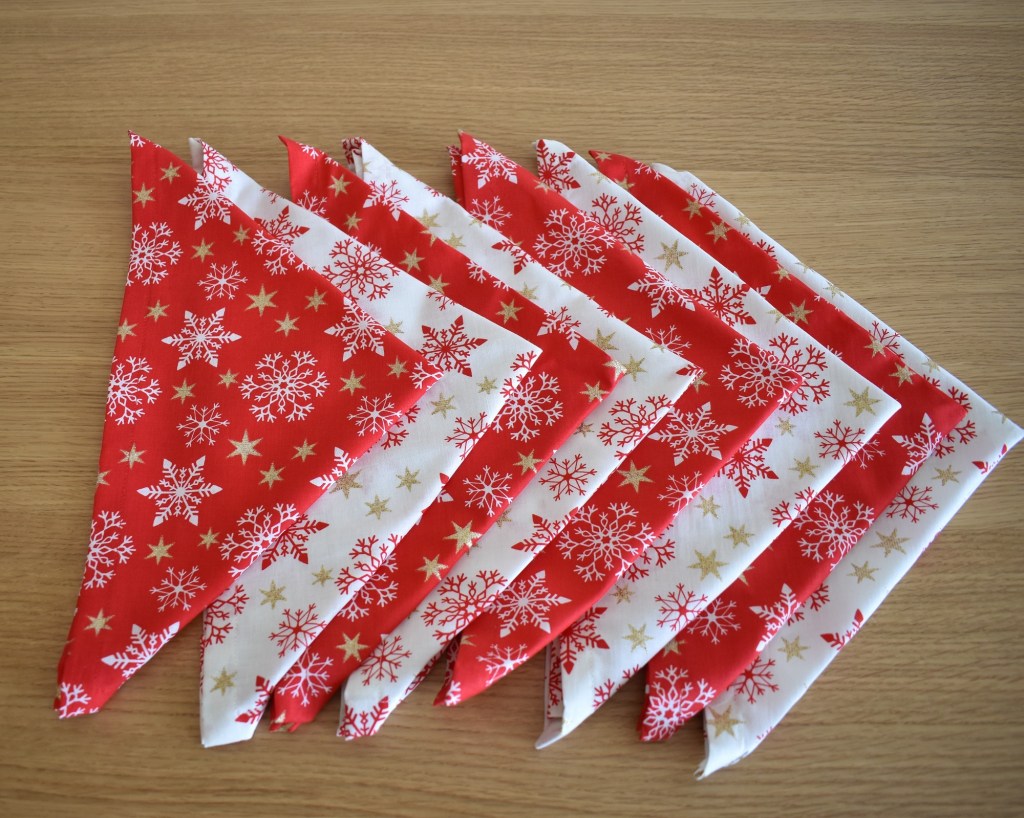
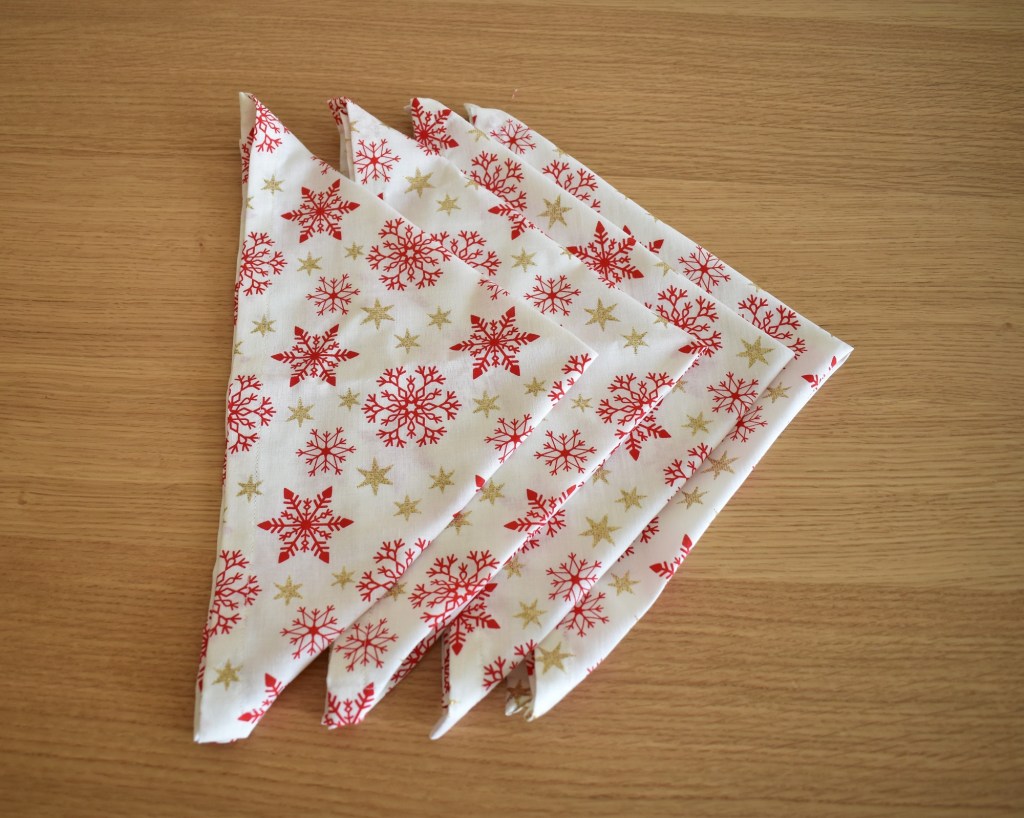
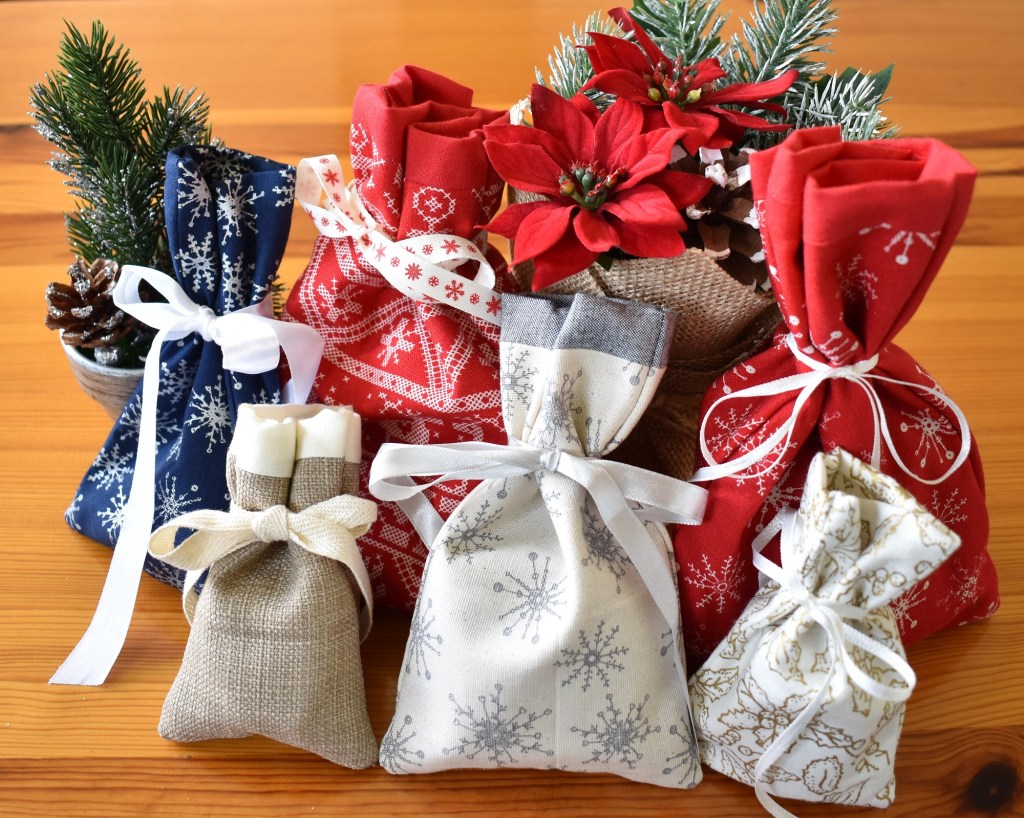
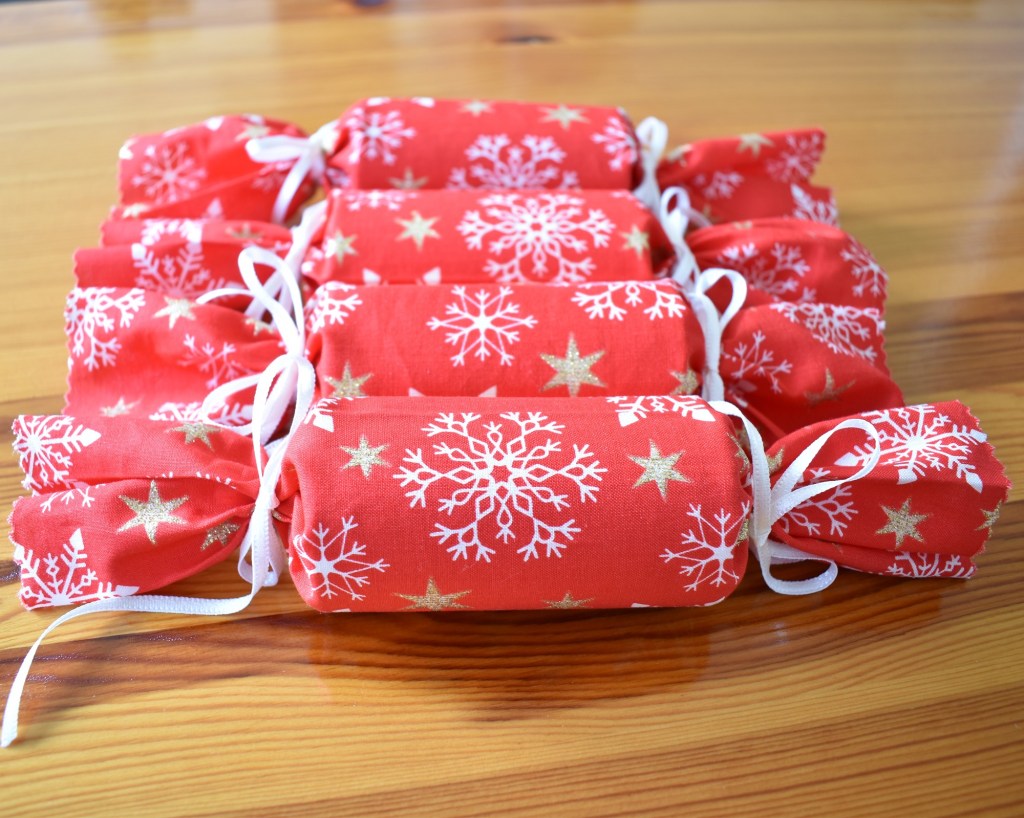
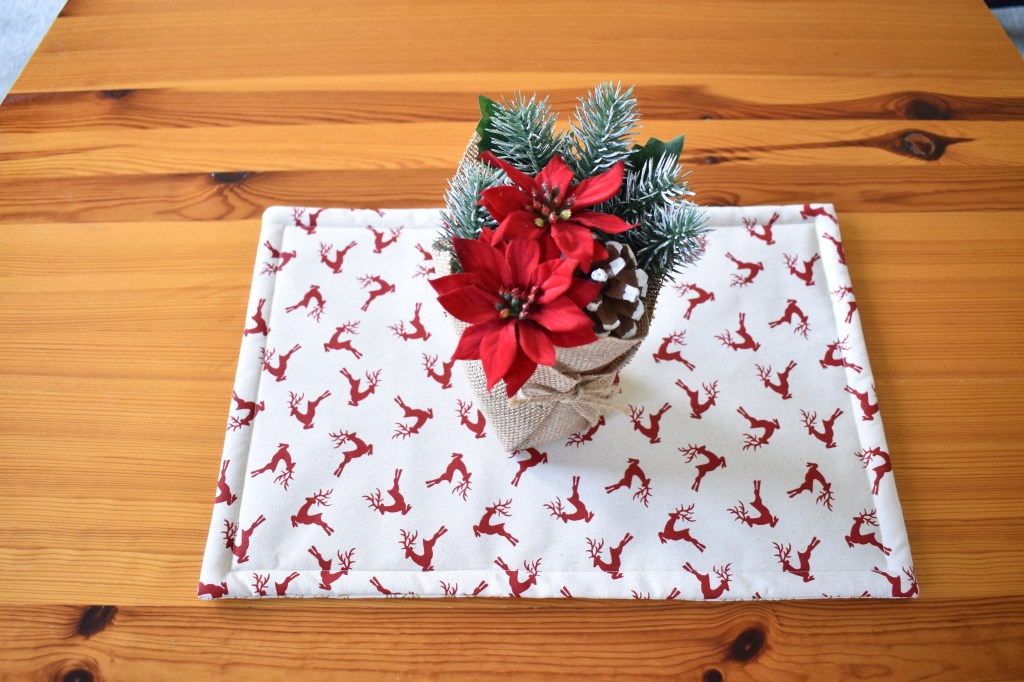
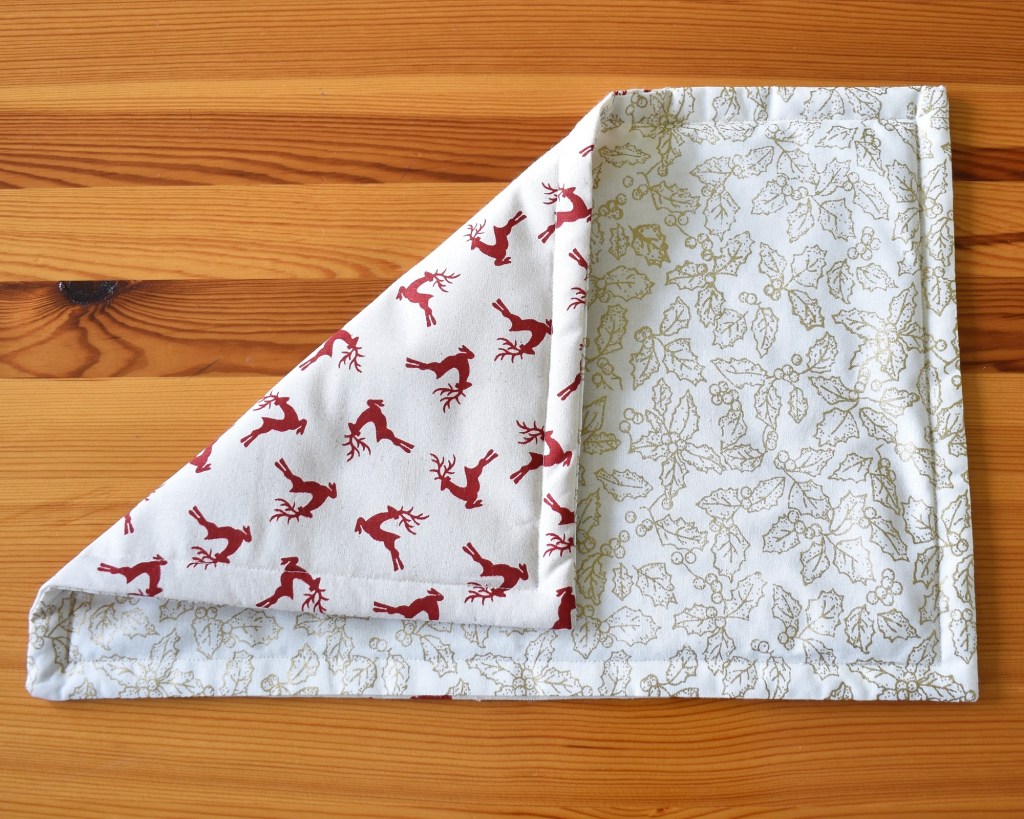
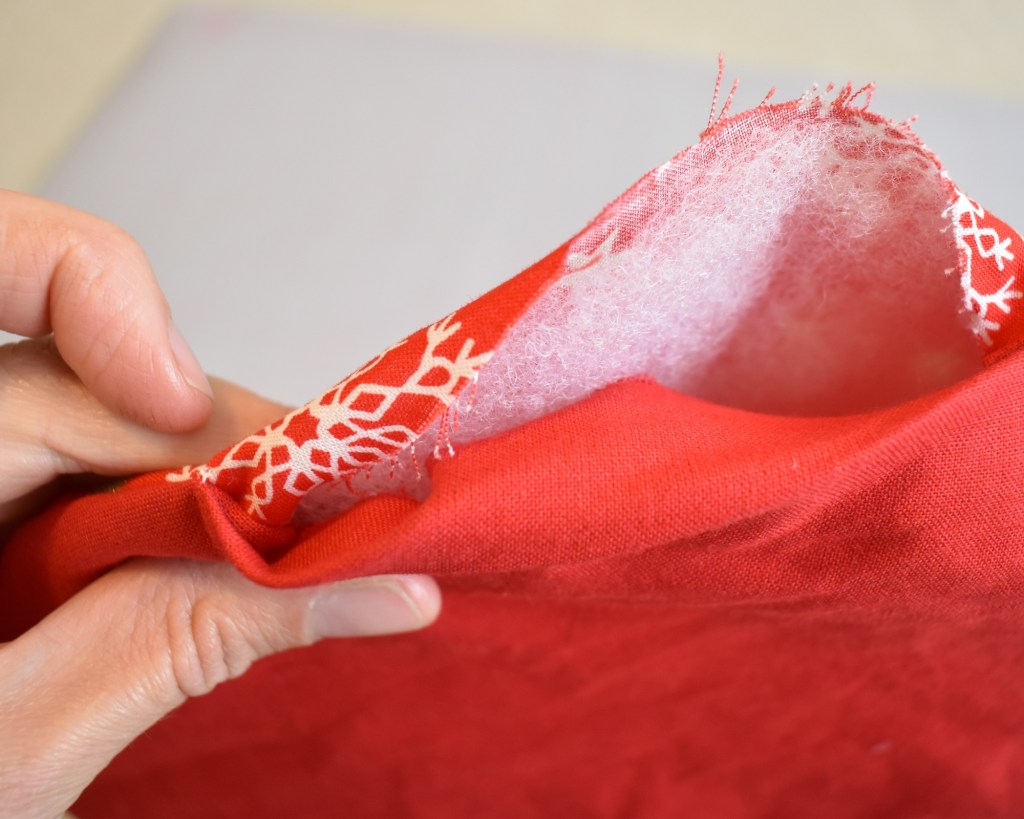
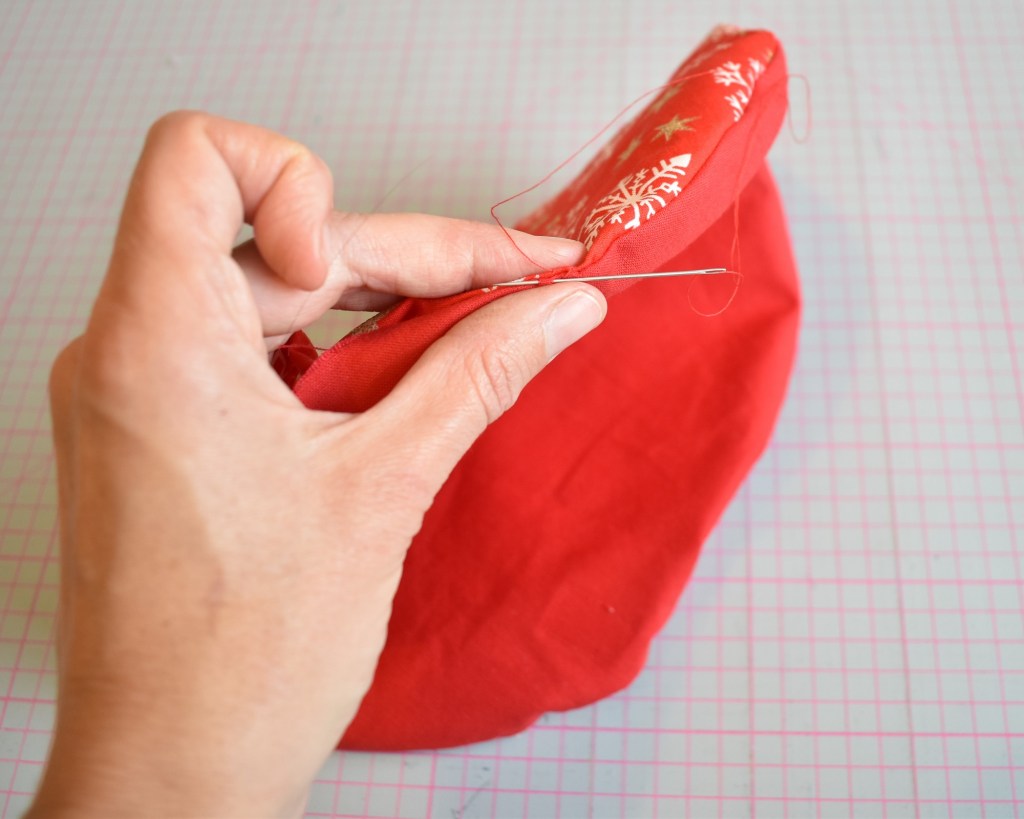
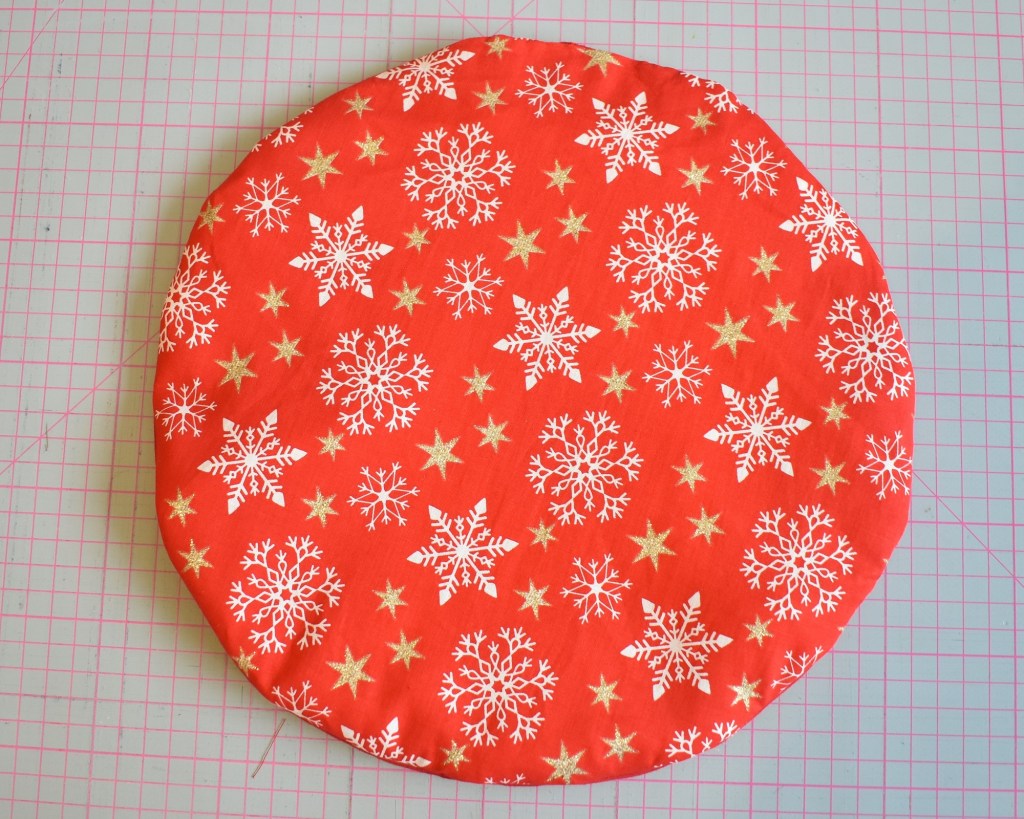
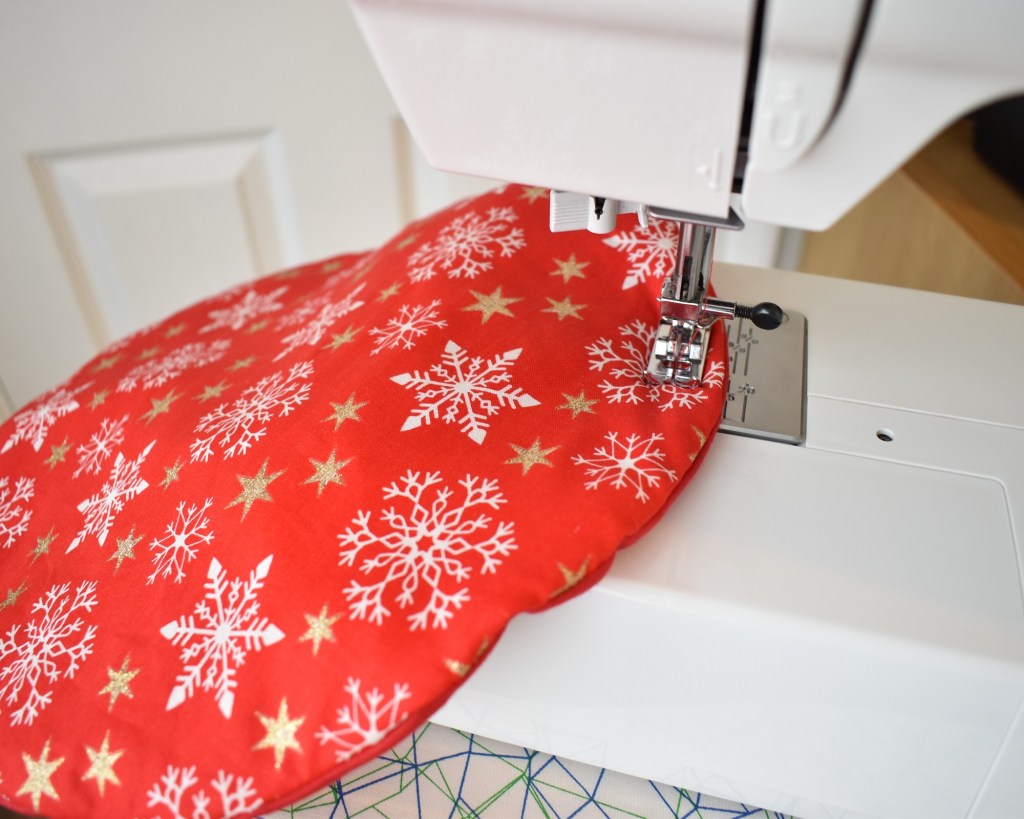
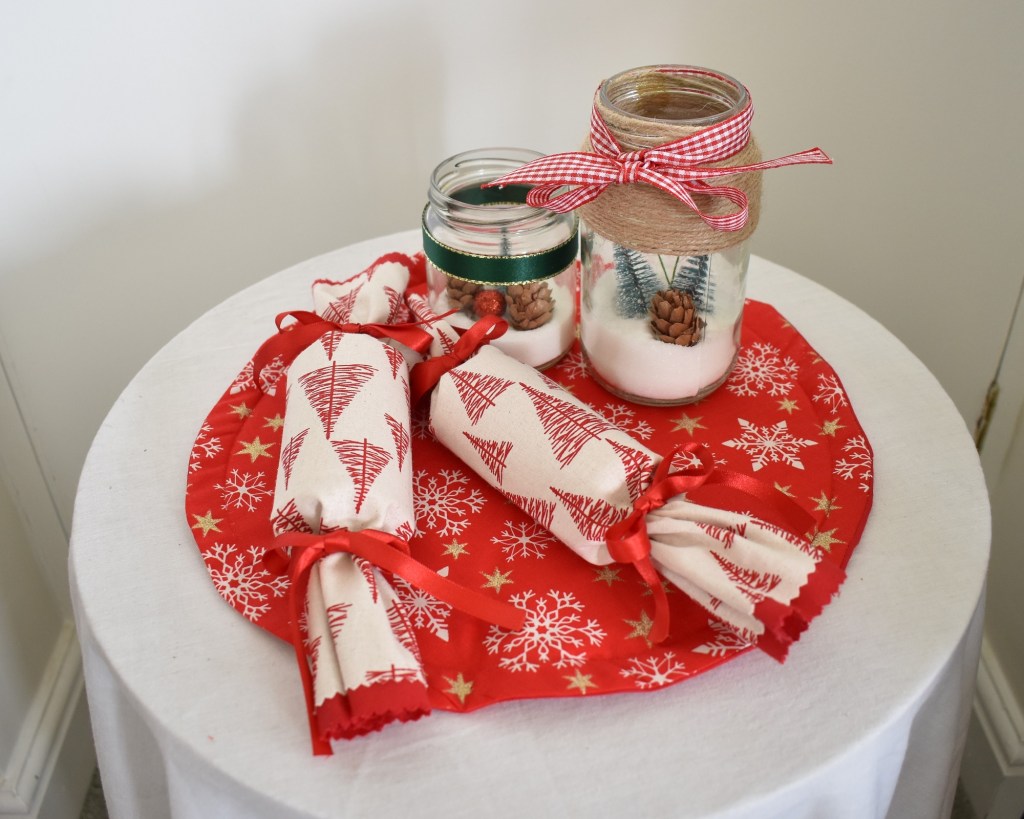
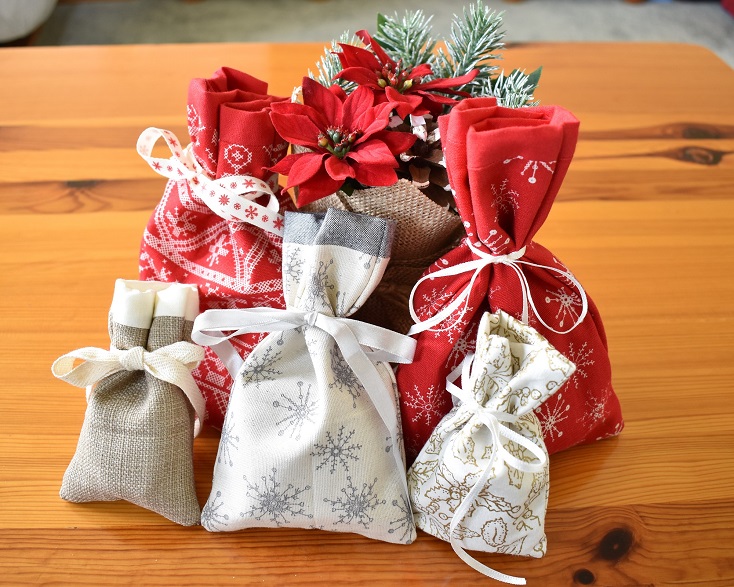
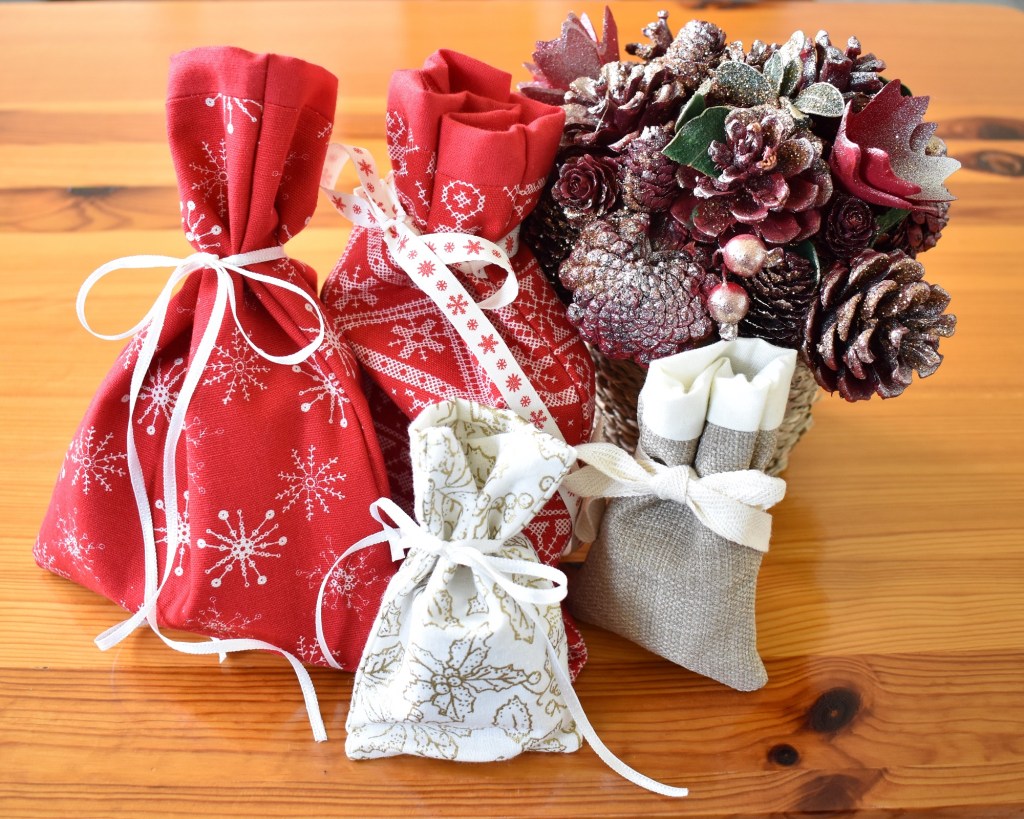
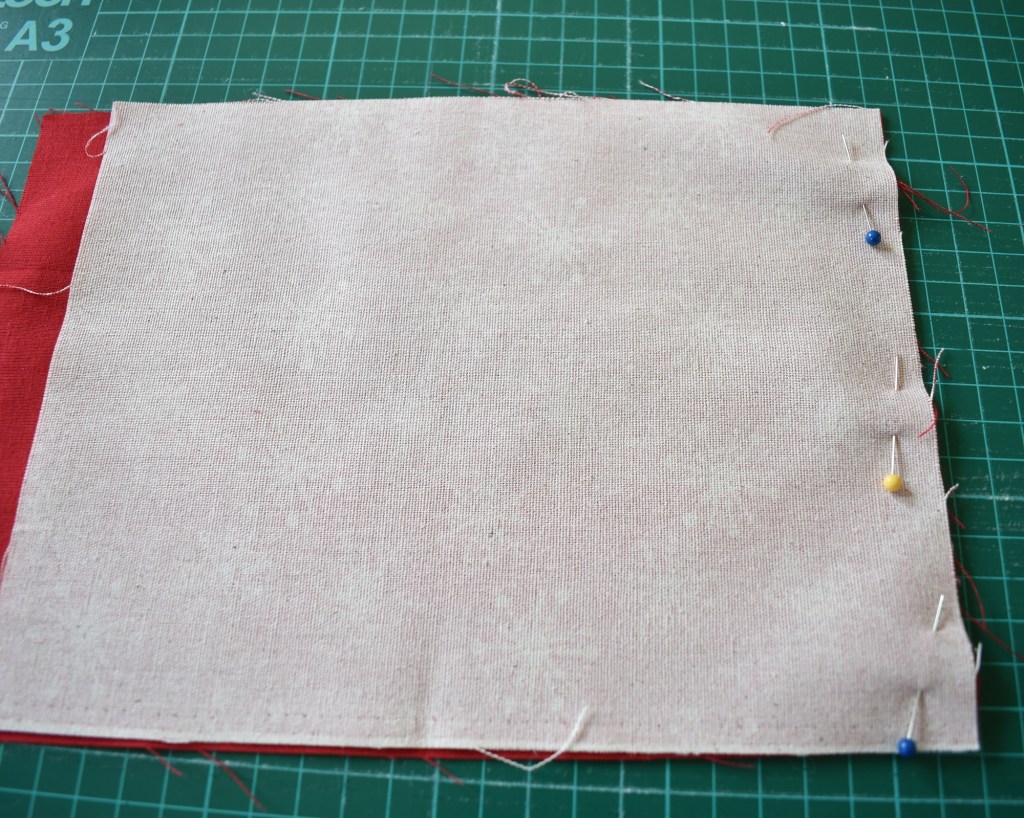
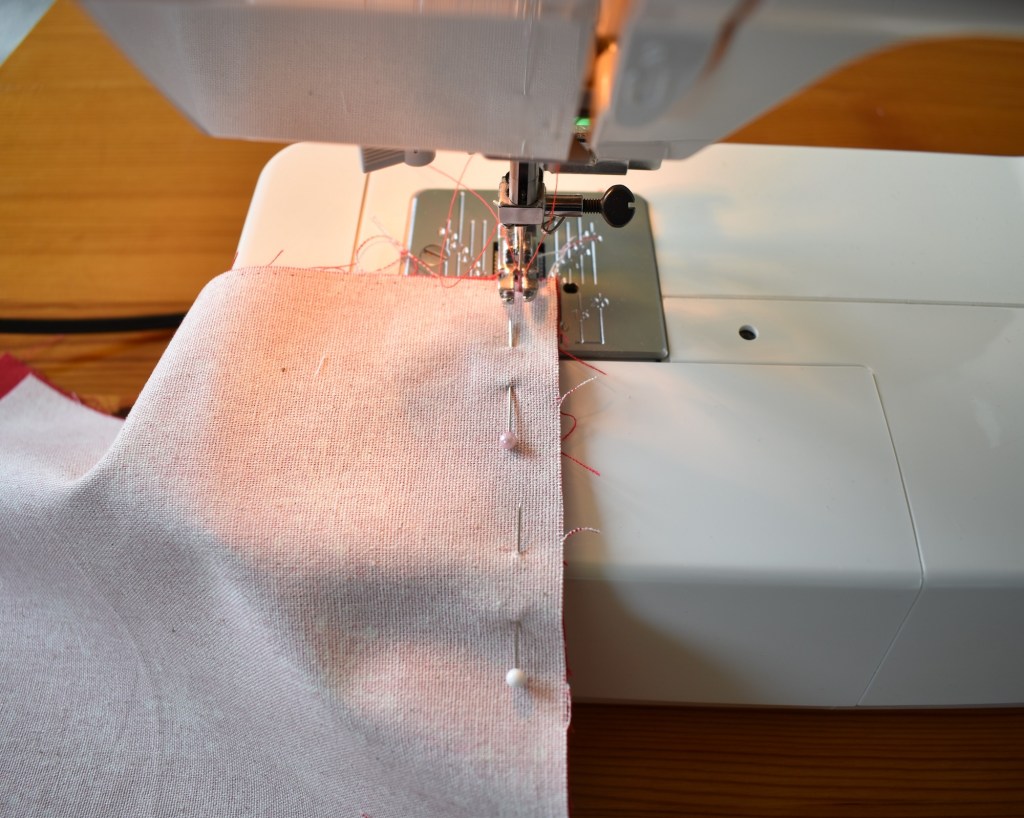
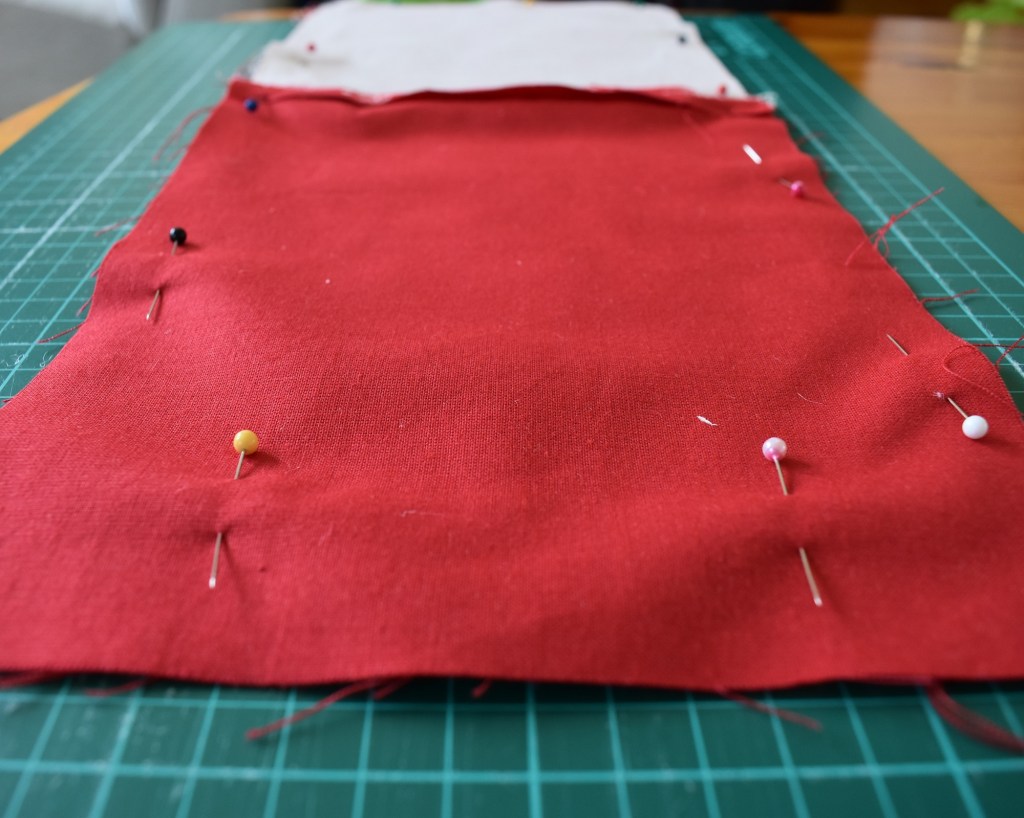
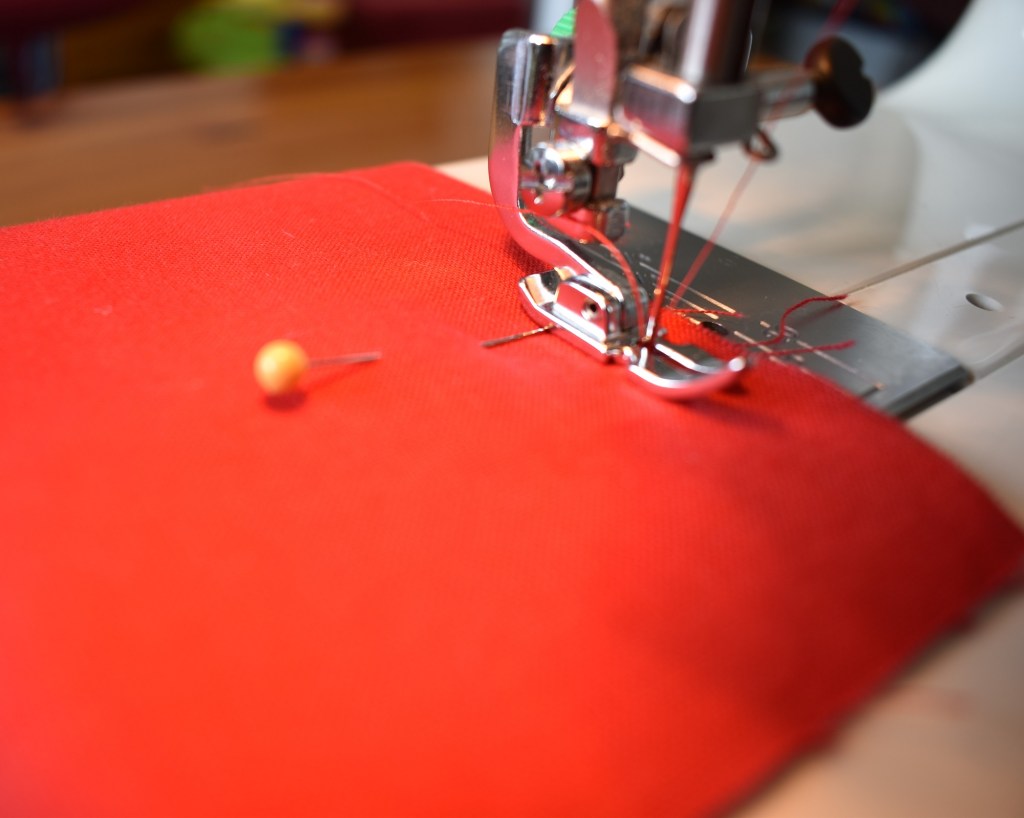
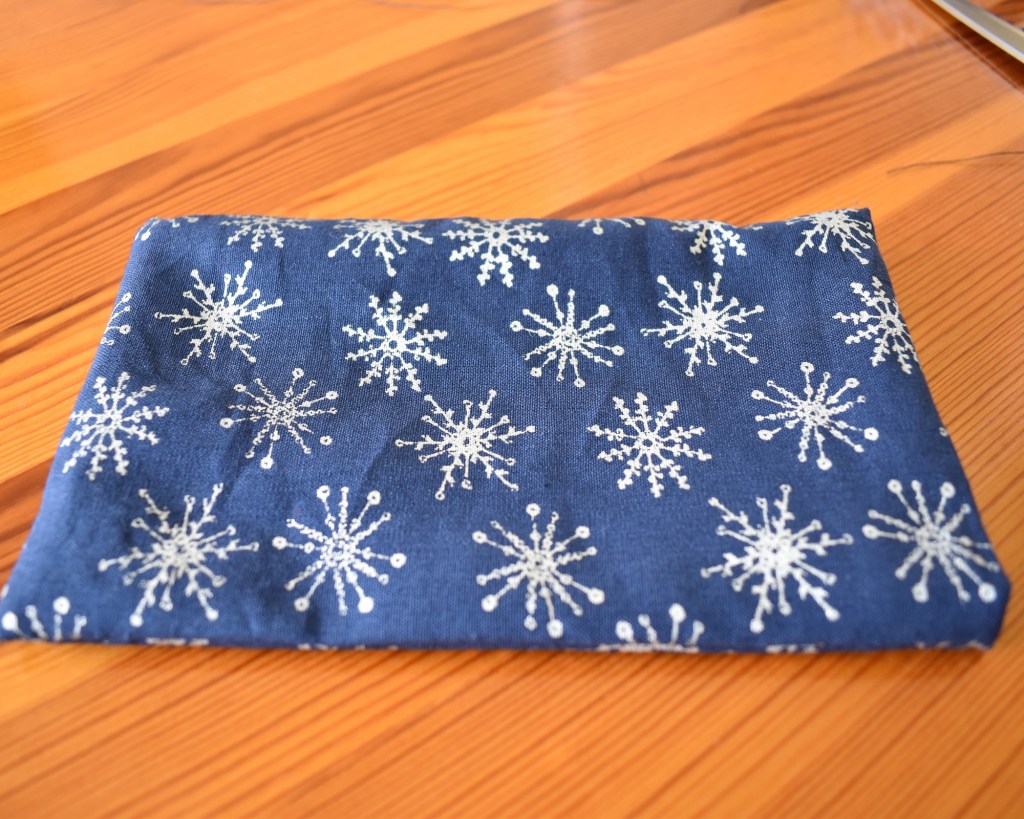
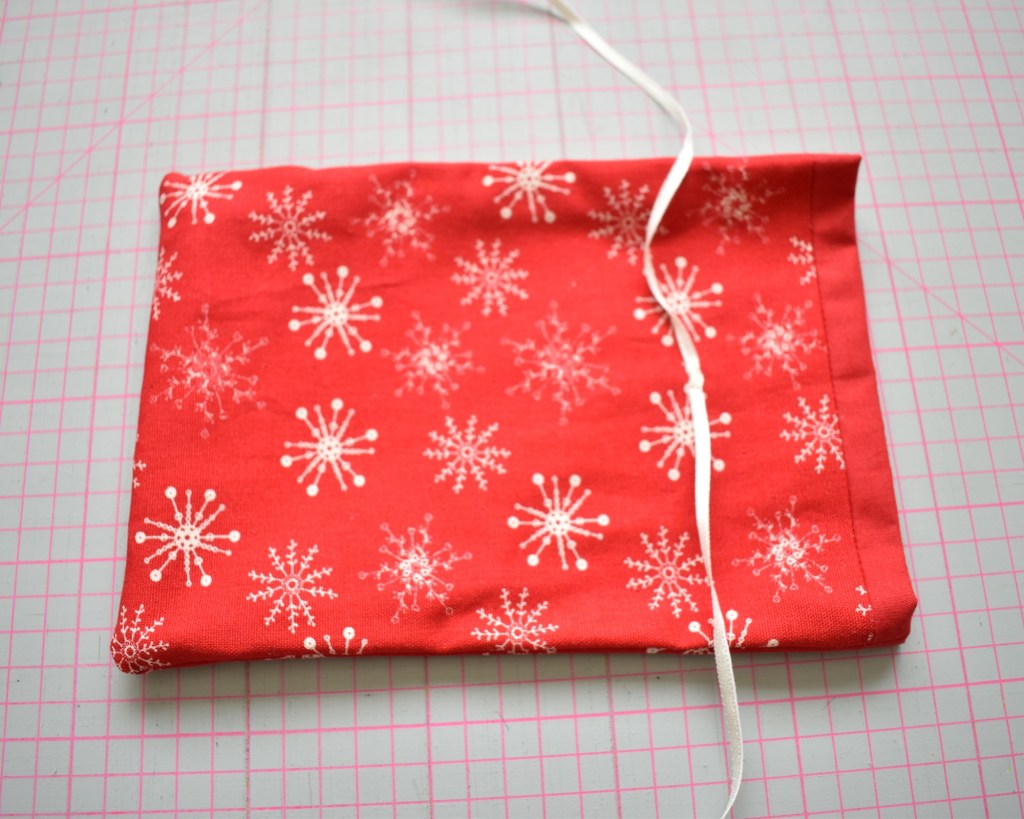
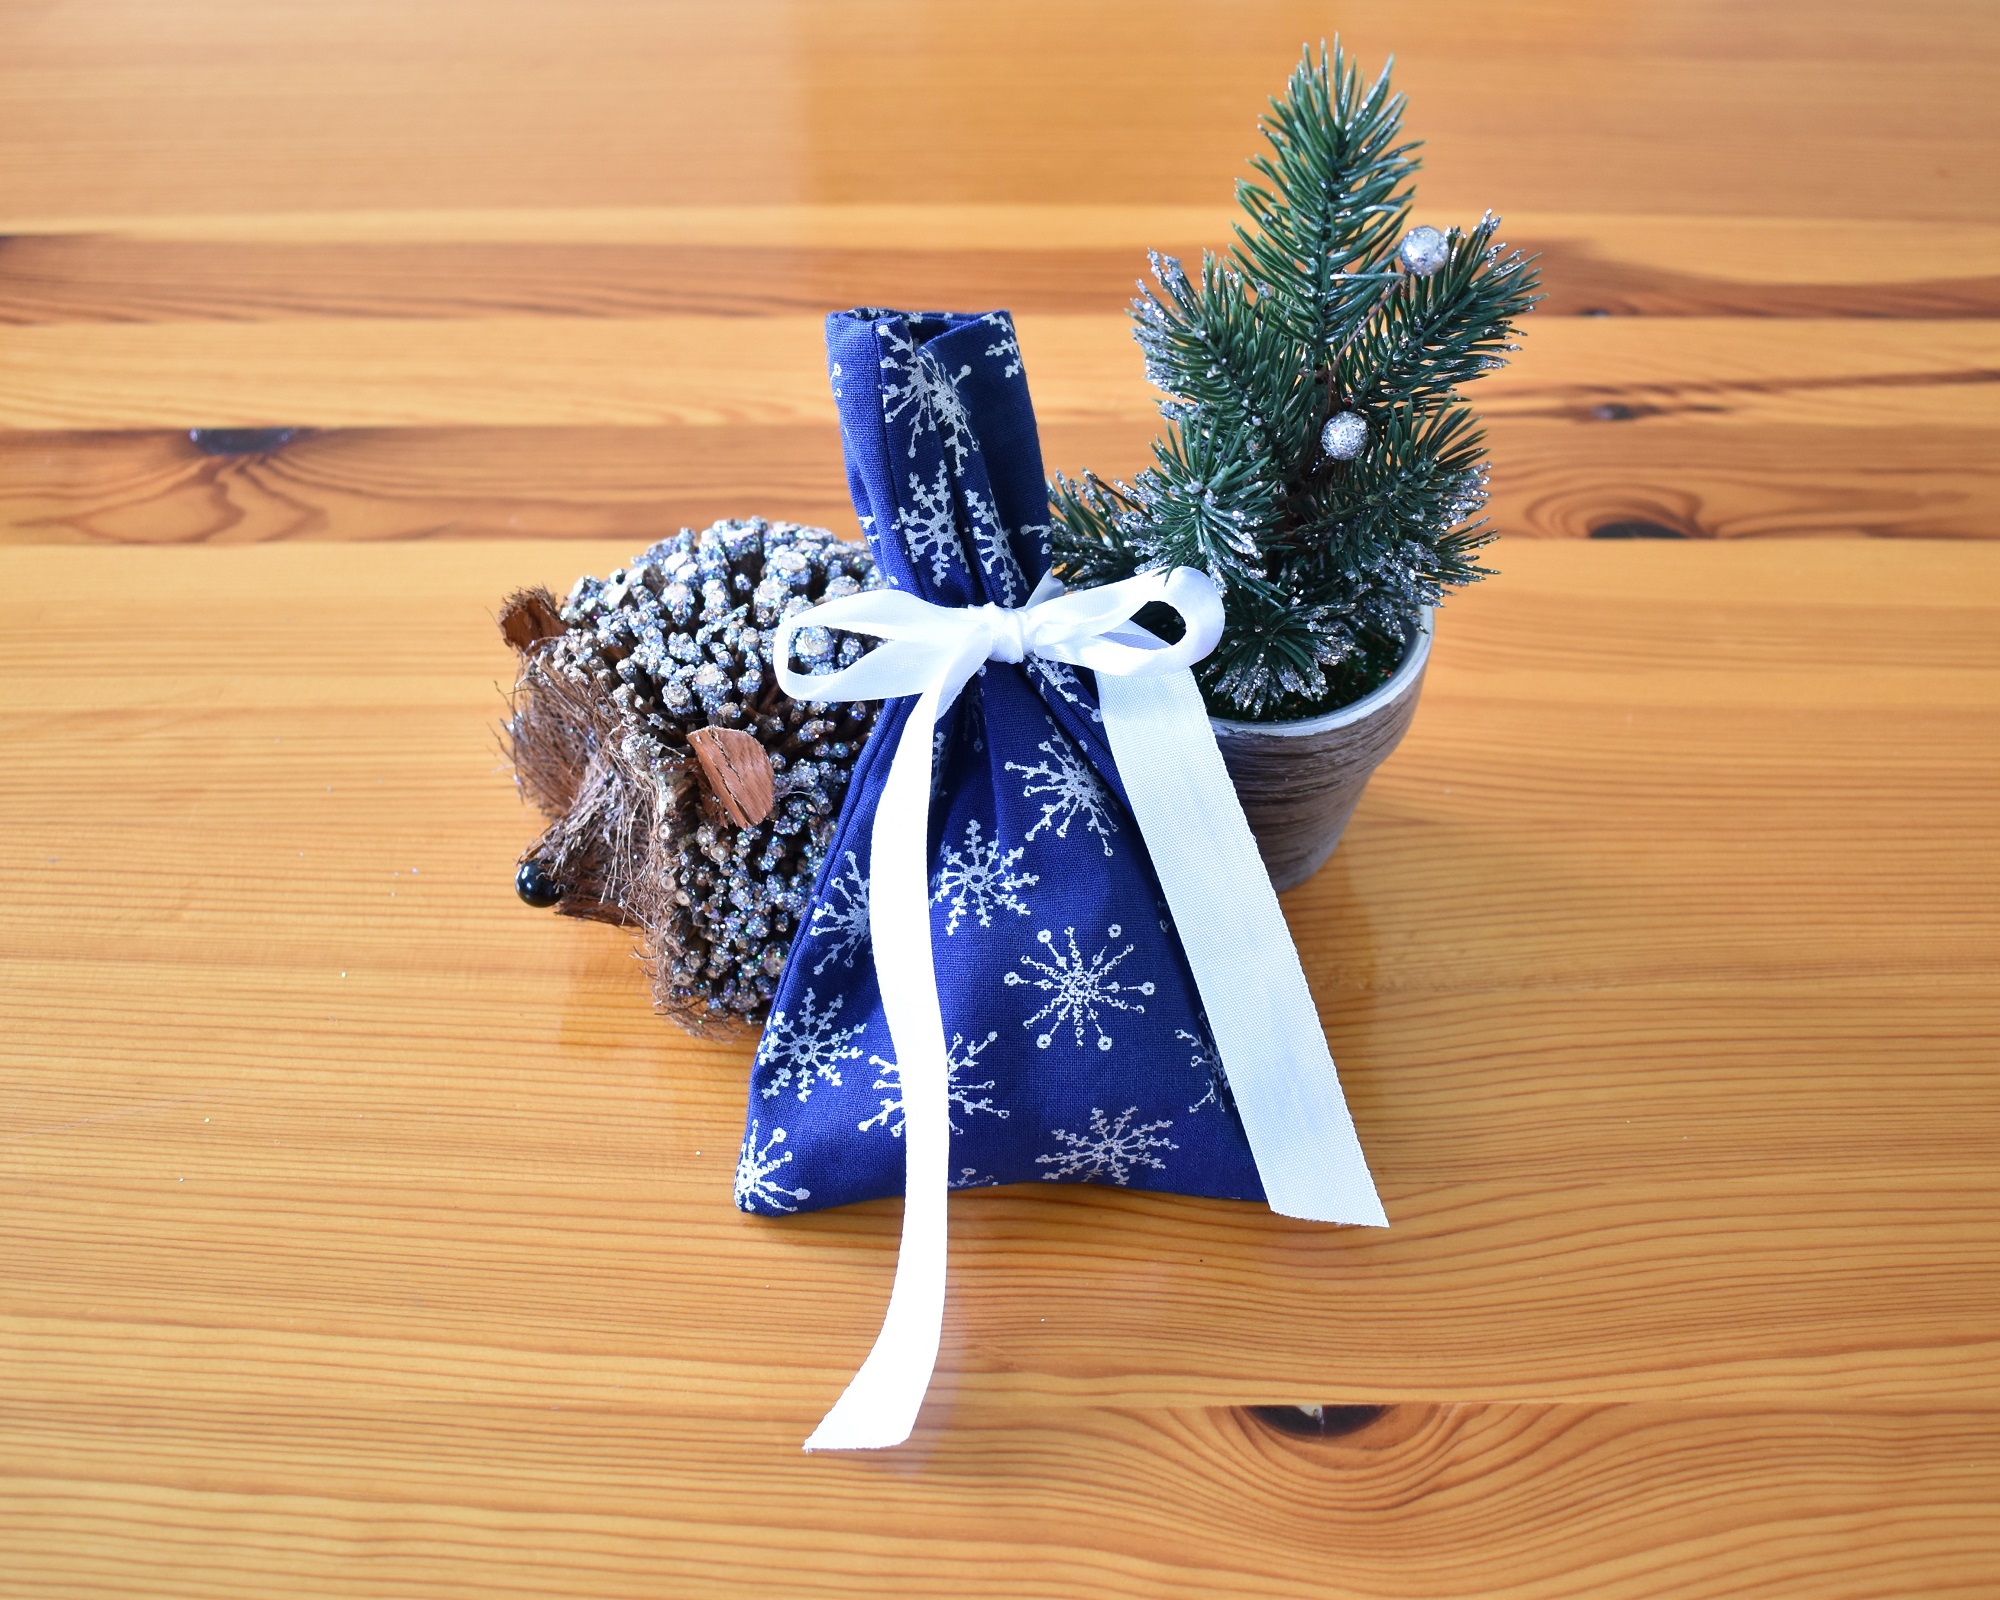
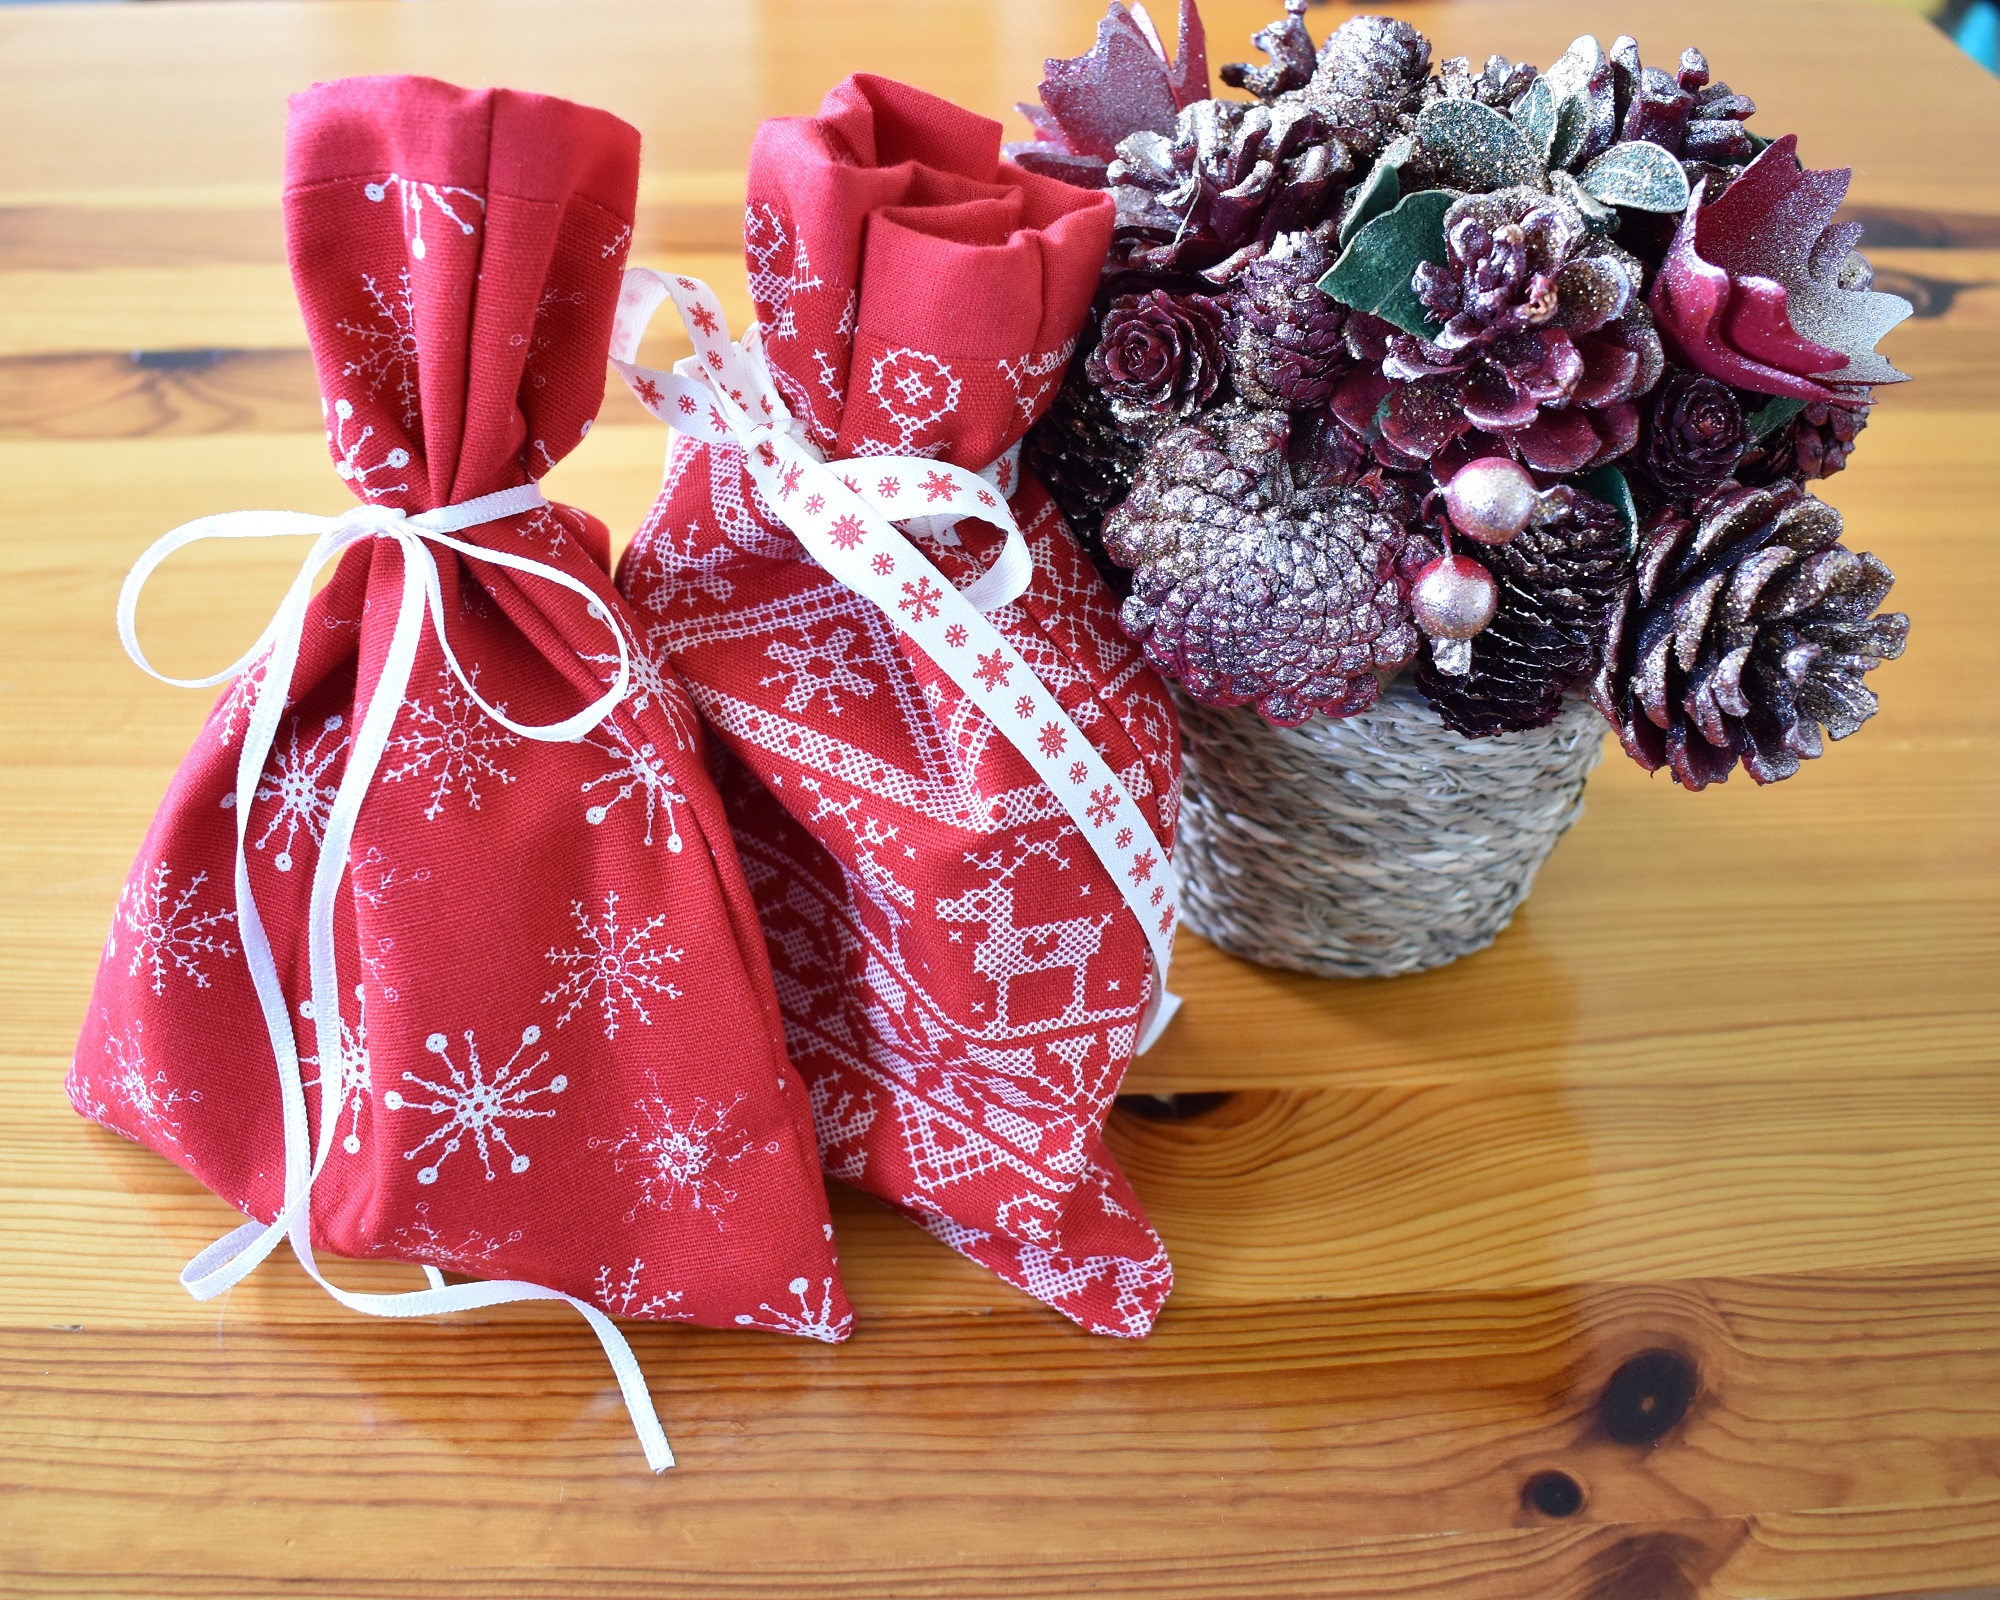
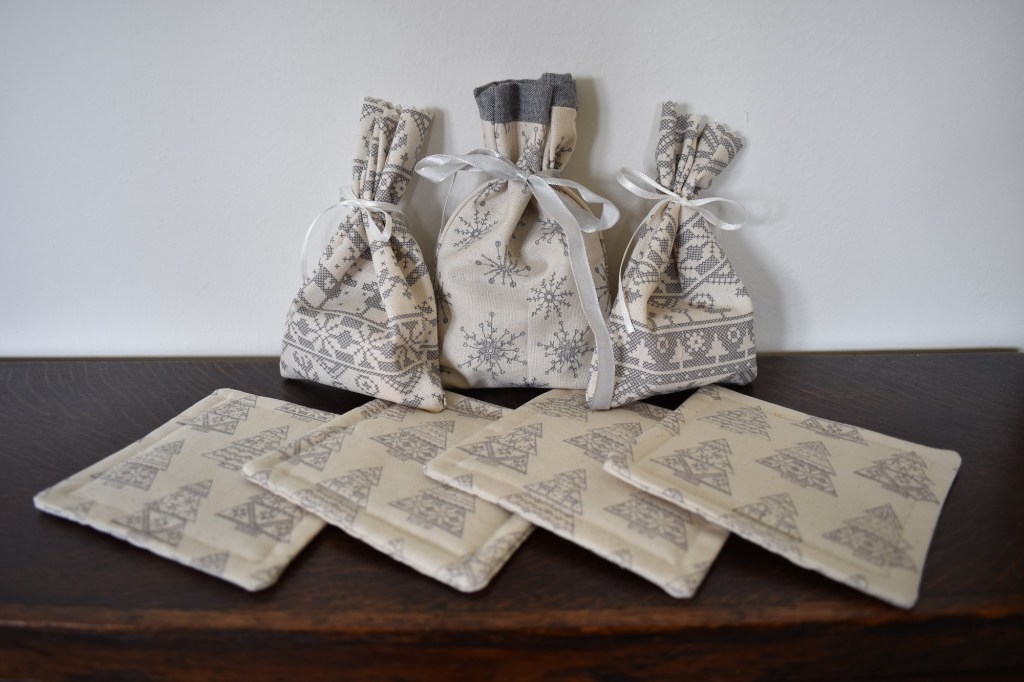
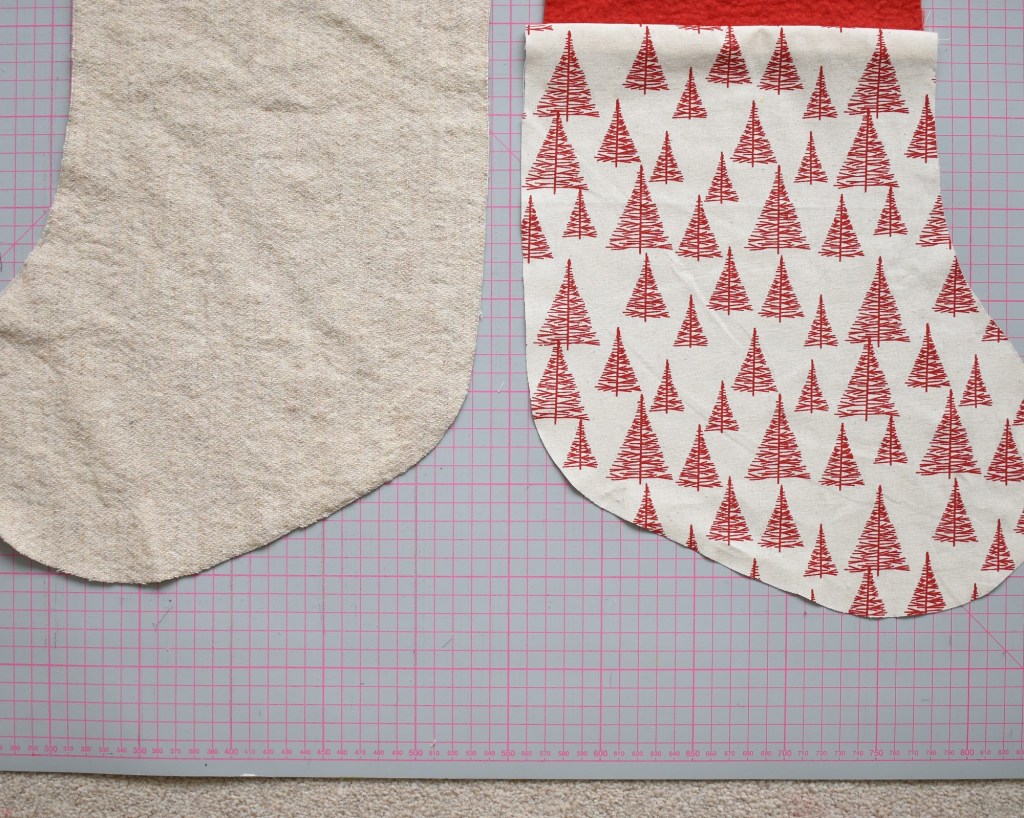
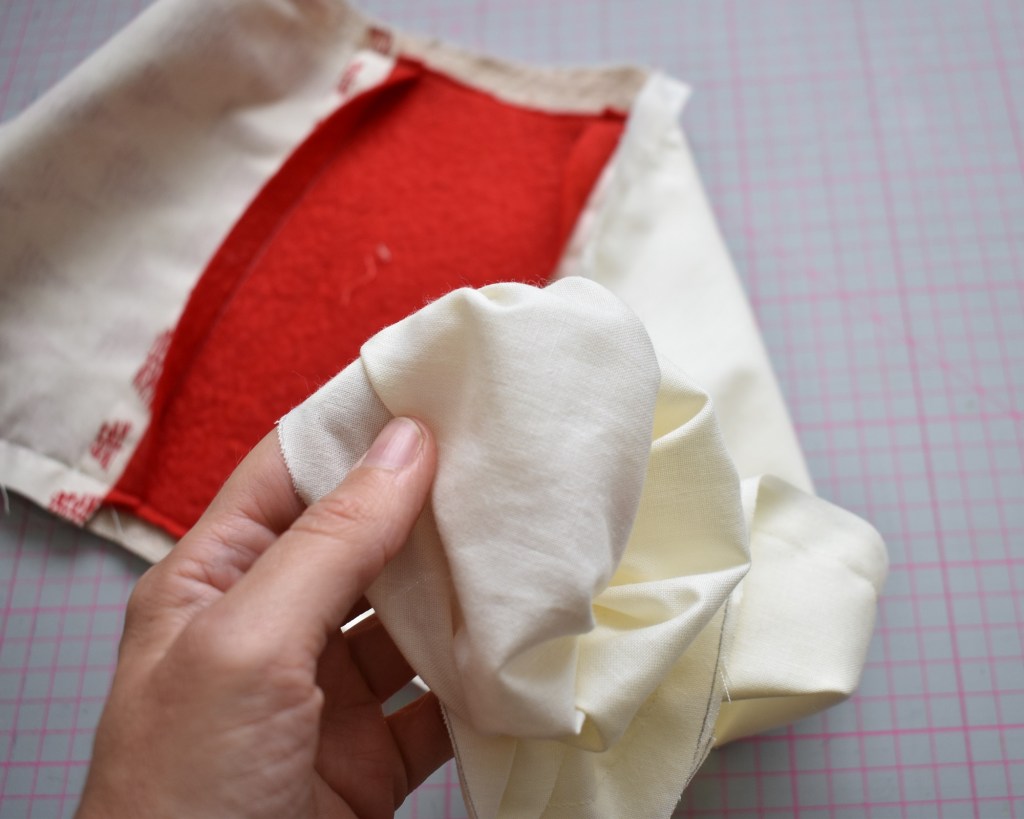
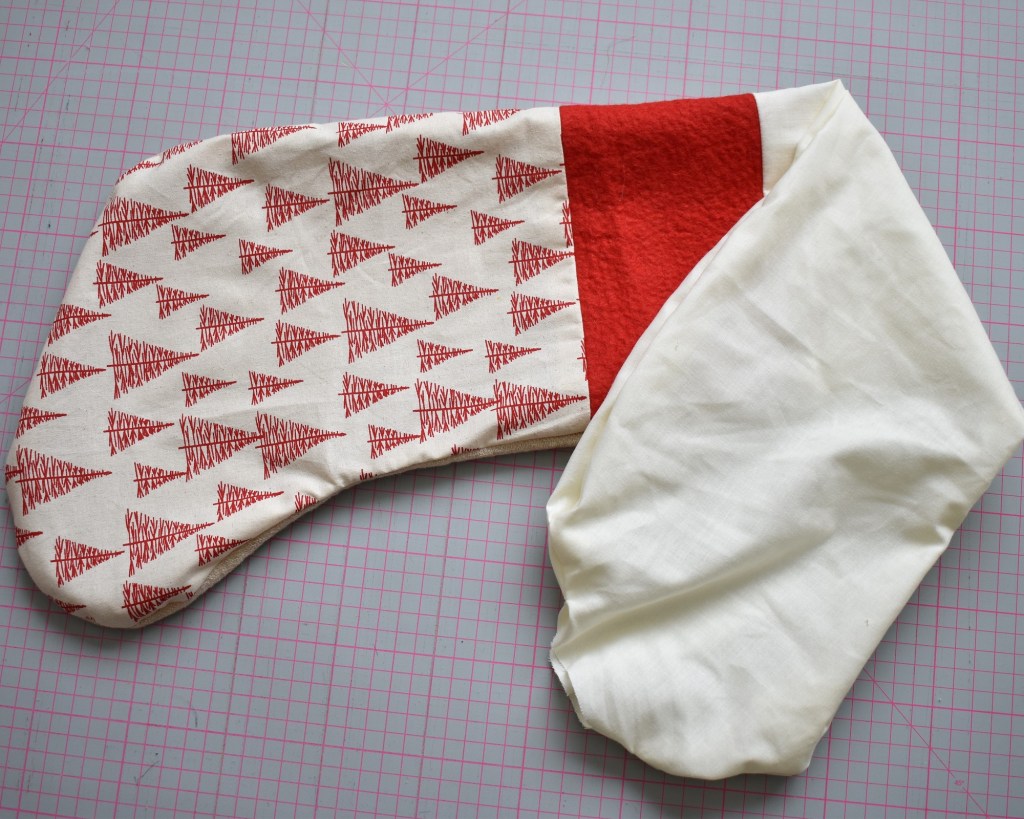
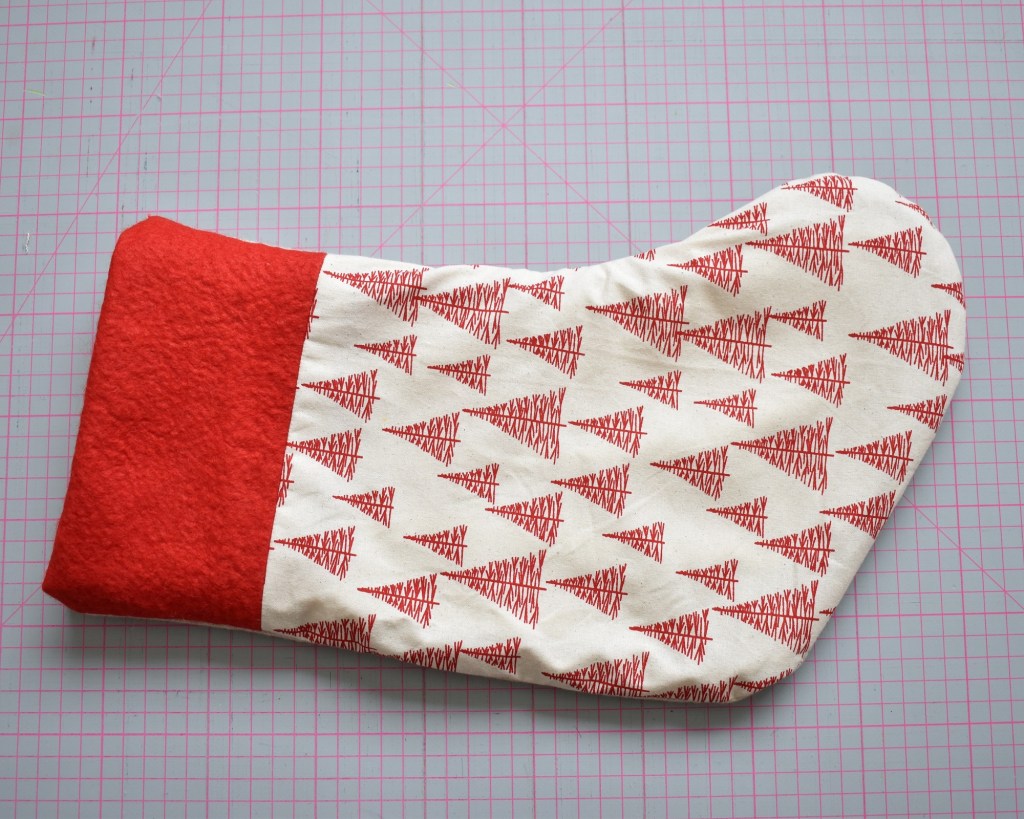
Throughout these Twelve Crafts of Christmas I have tried to incorporate a little bit of everything. To cover every corner of the house so that those of you feeling crafty and festive can bring your very own beautiful, handmade touches to every part of your home and life. And to finish up I am going to show you three different ways to use up some of those leftover pieces of fabric, ribbon, and other crafty bits and pieces that some of us always seem to have hanging around.
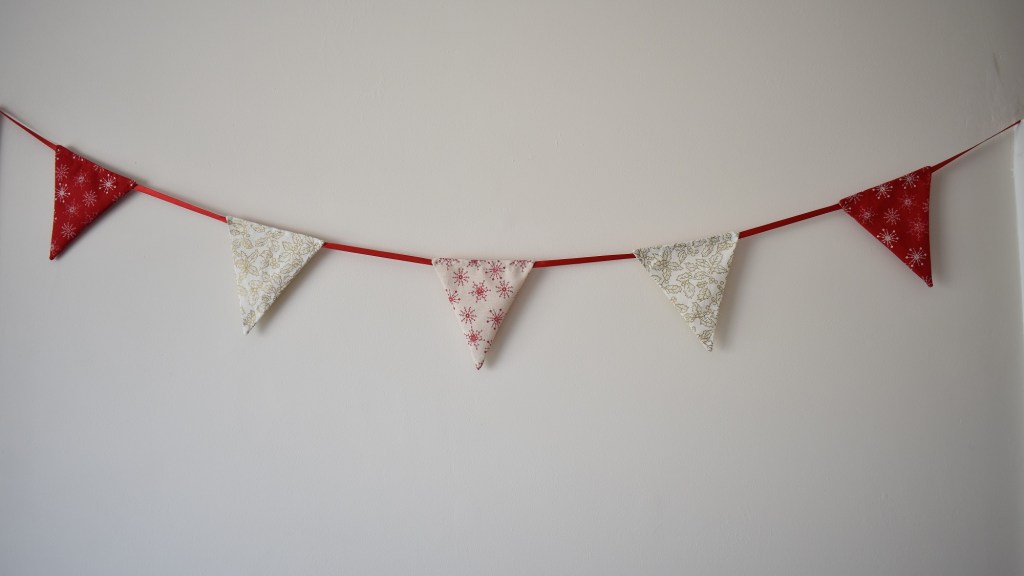
No-sew bunting
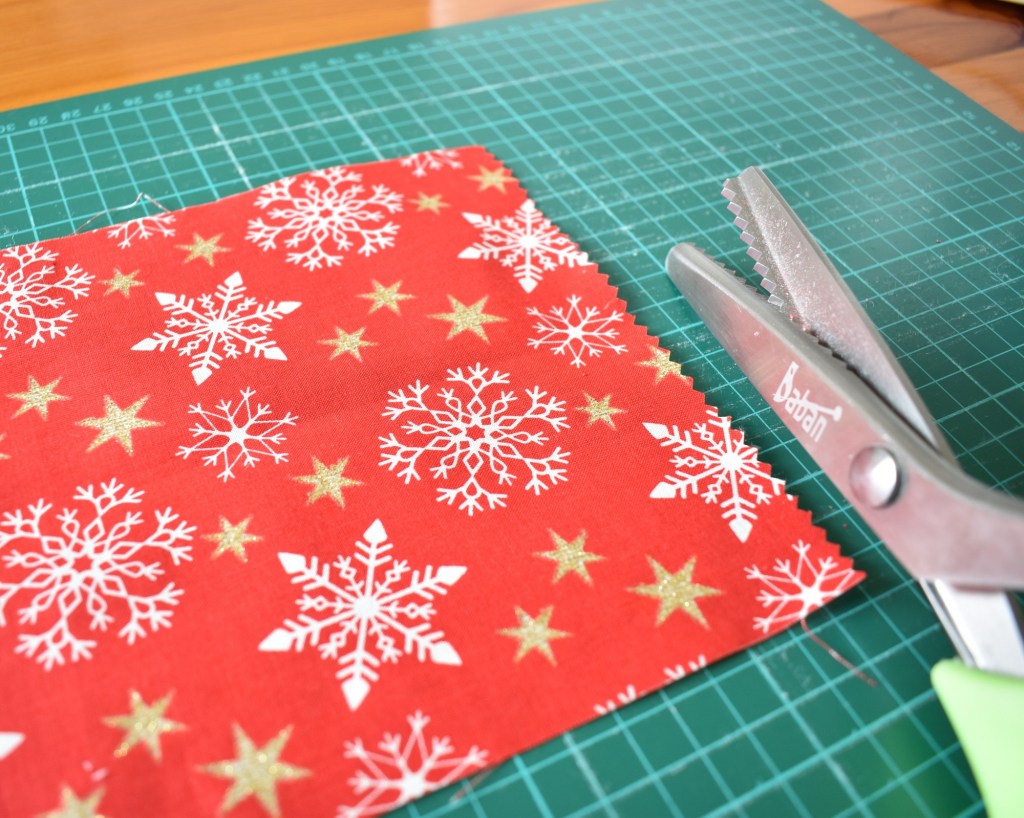
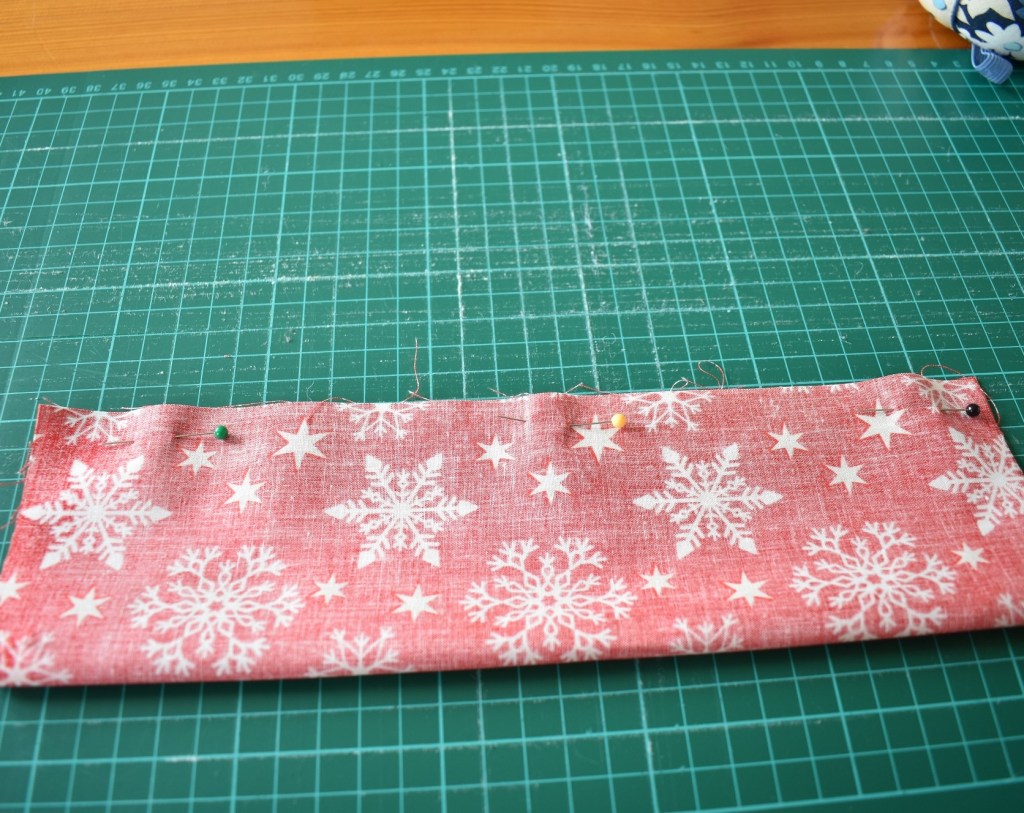
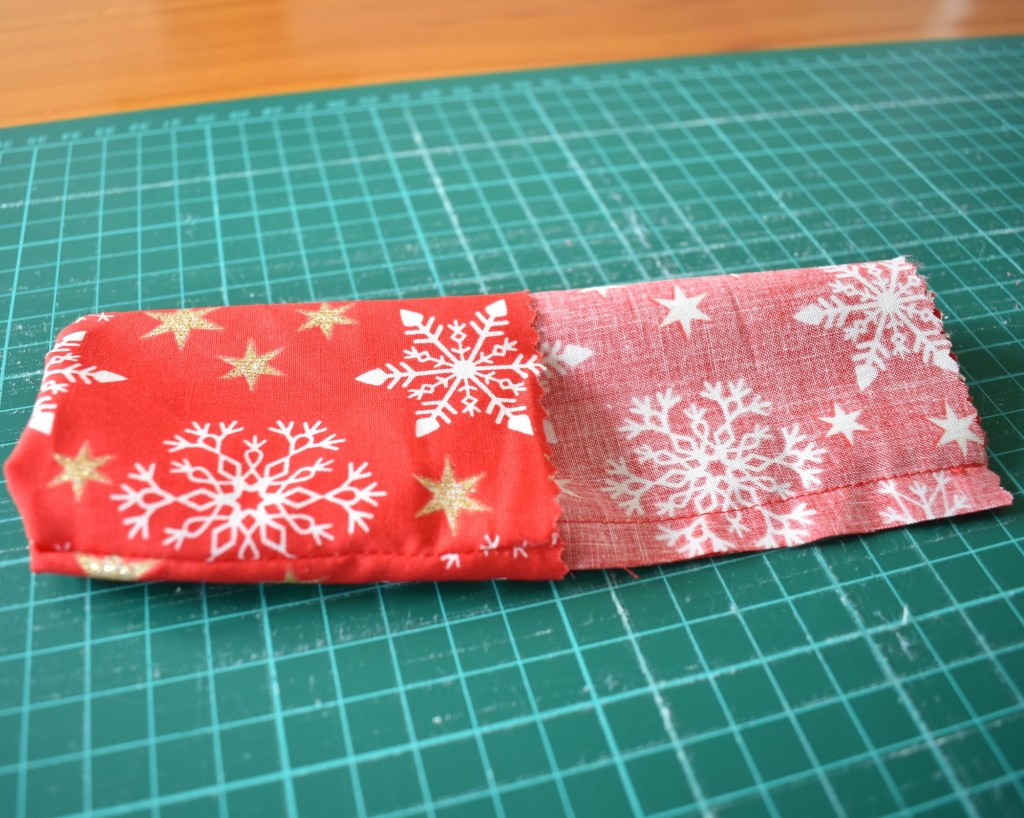
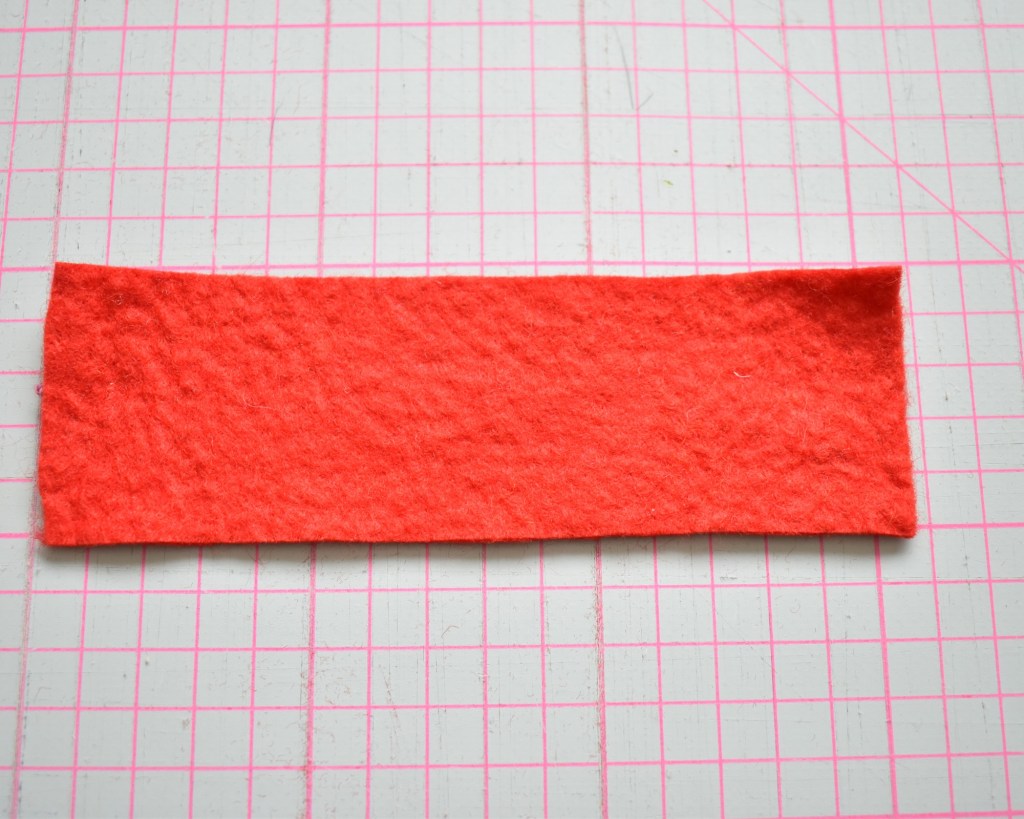
This is the perfect extra touch for those of us who perhaps don’t have time to do all the sewing involved in true bunting but still want to adorn our walls in this traditional way. The beauty of this is you can use up any leftover pieces of fabric, any size, any colour, and make any shape you want out of what you have.
What you’ll need:
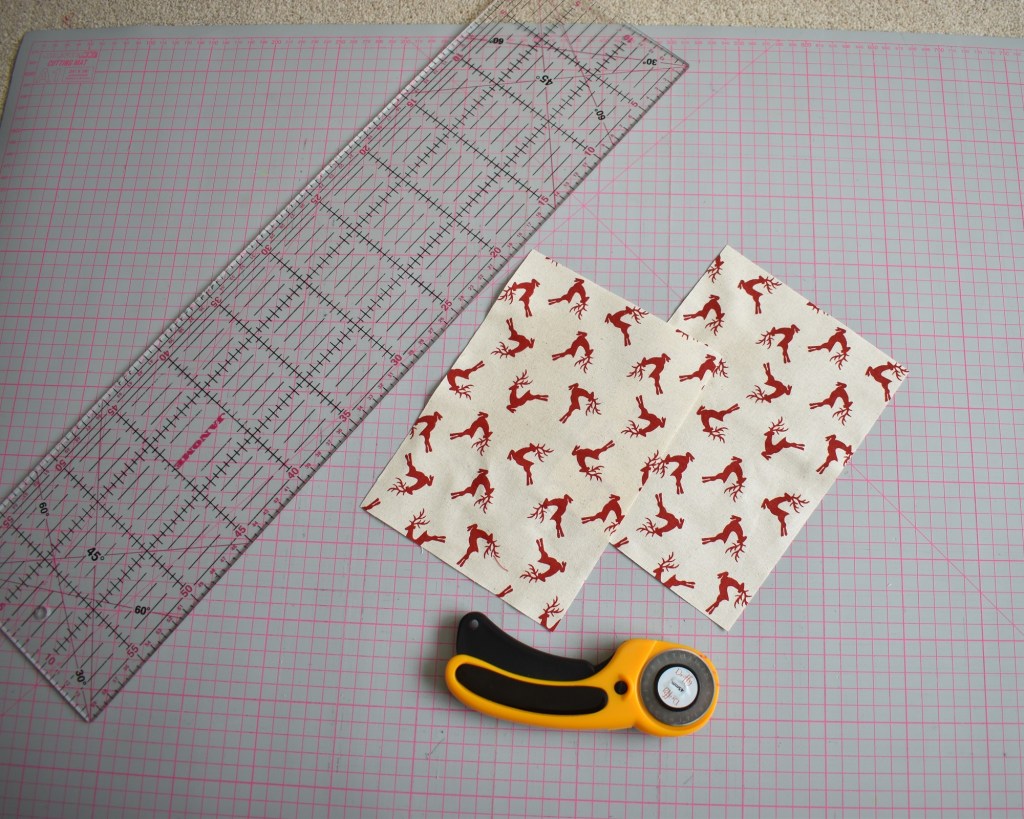
Fabric (whatever you have leftover)
Ribbon (as long as you want it to be)
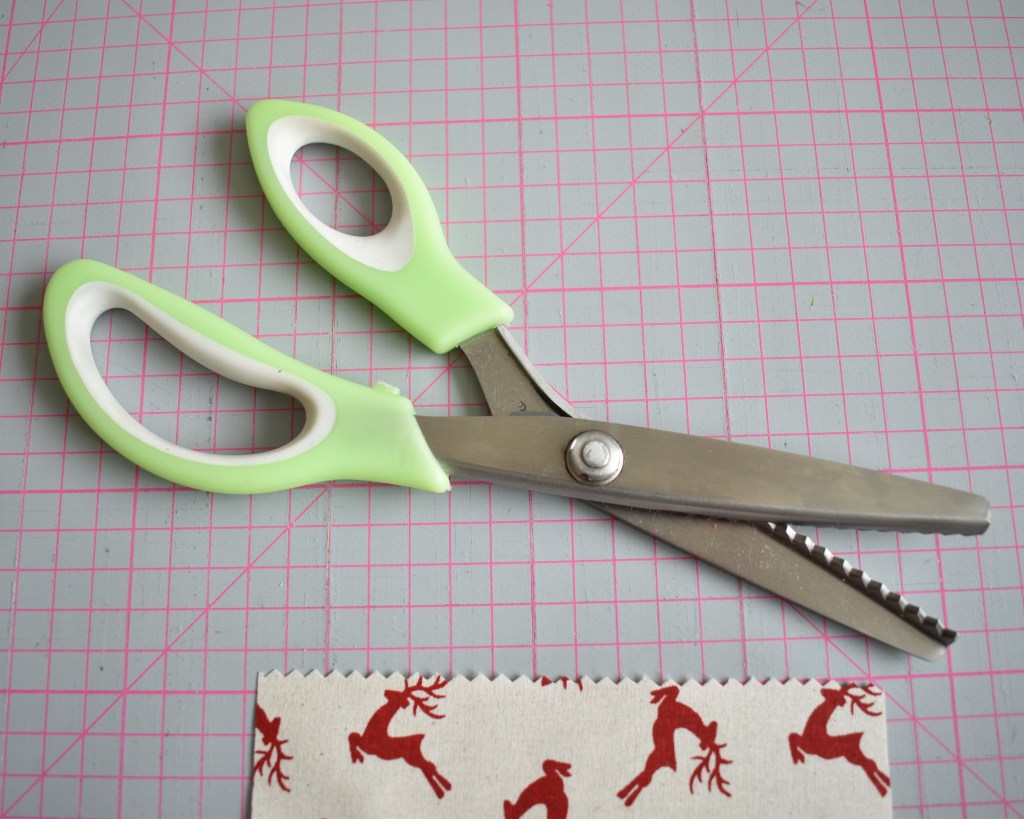
Pinking shears
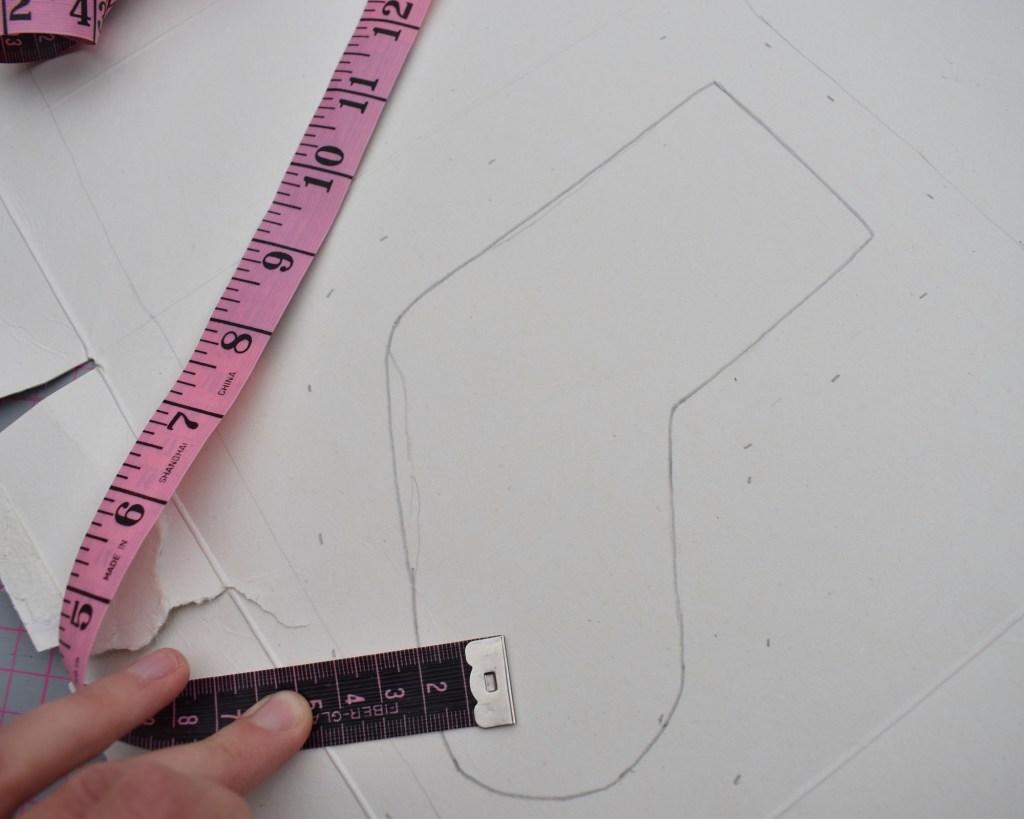
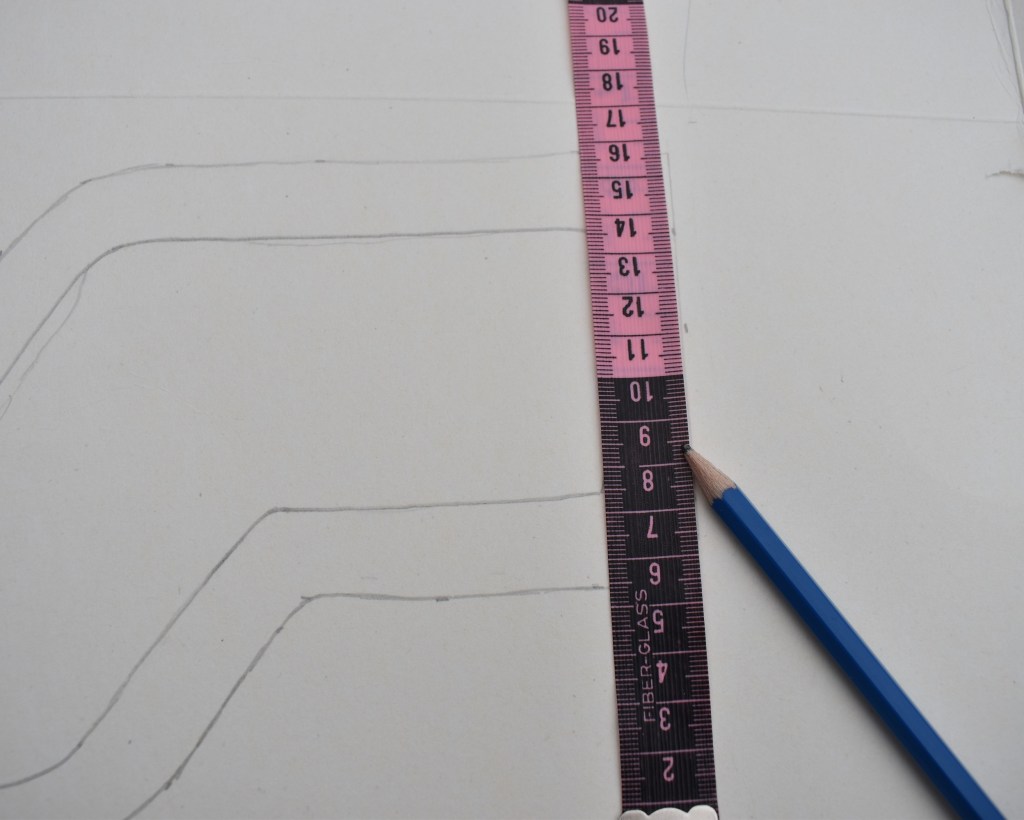
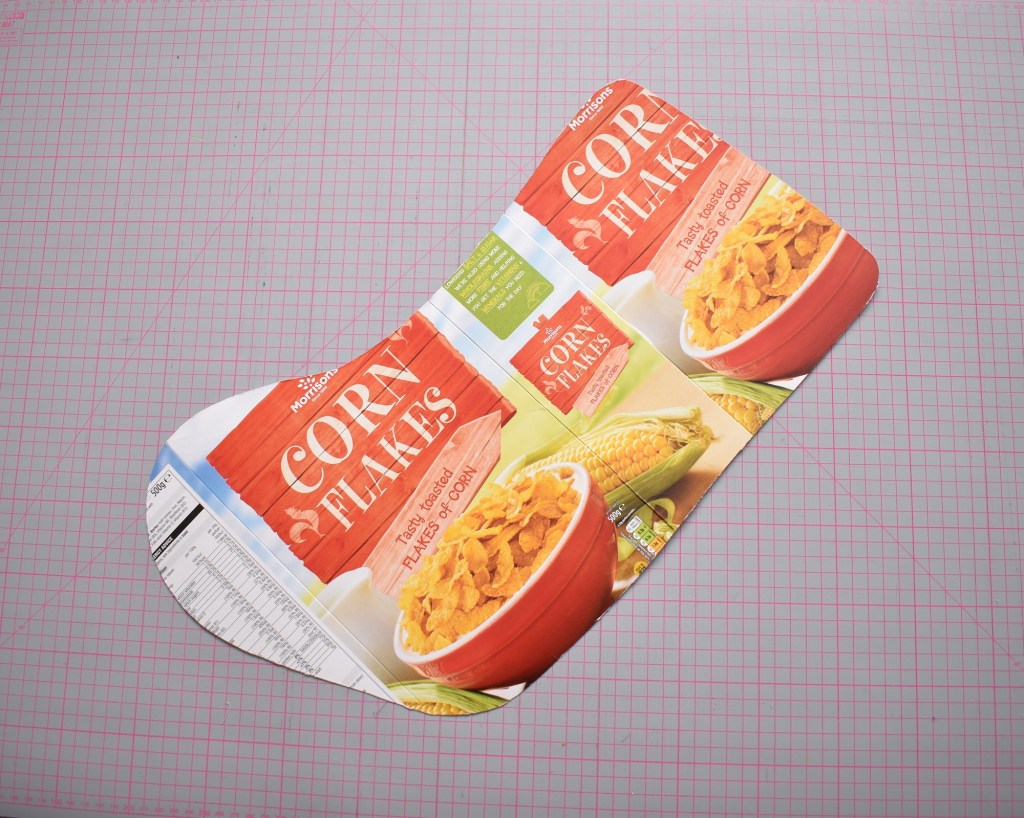
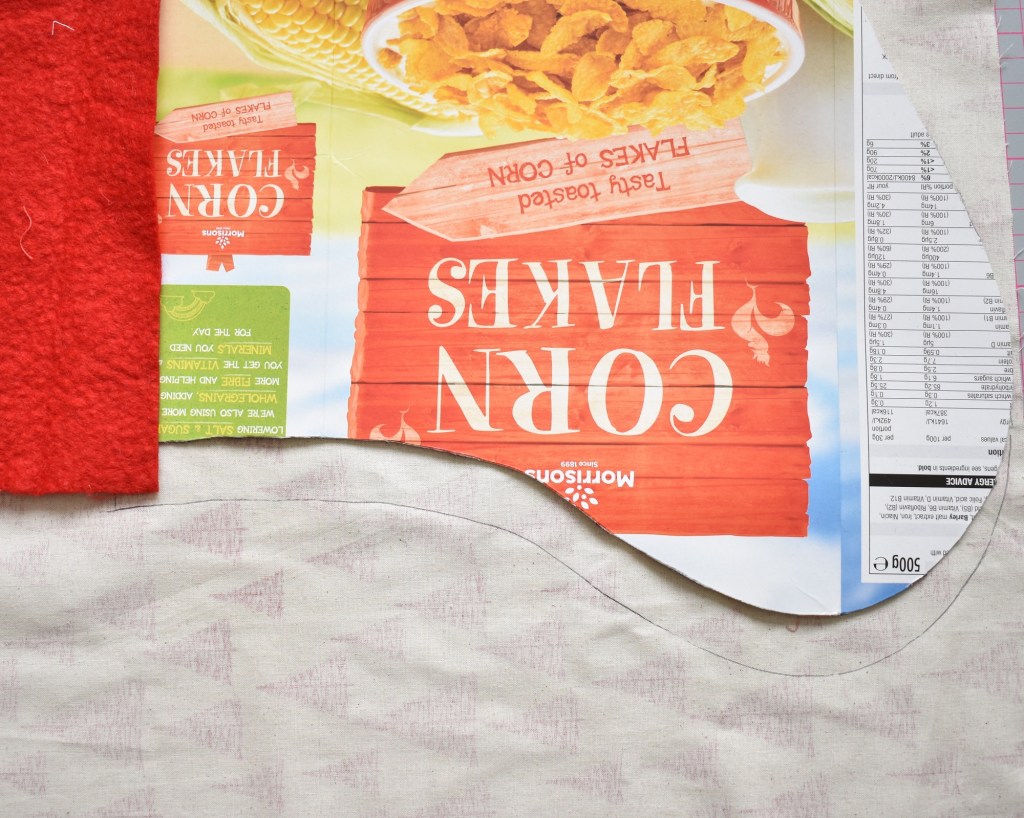
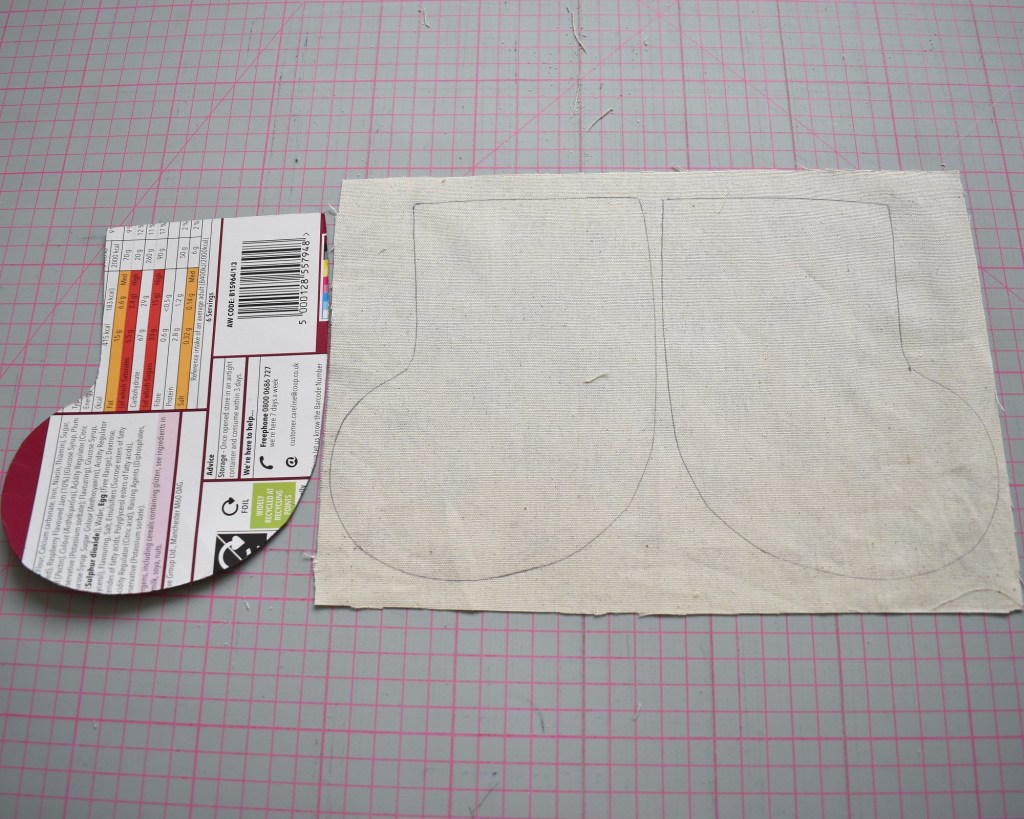
Cardboard for making templates (the back of cereal box is perfect)
Scissors
Mini craft pegs
How to make your no-sew bunting
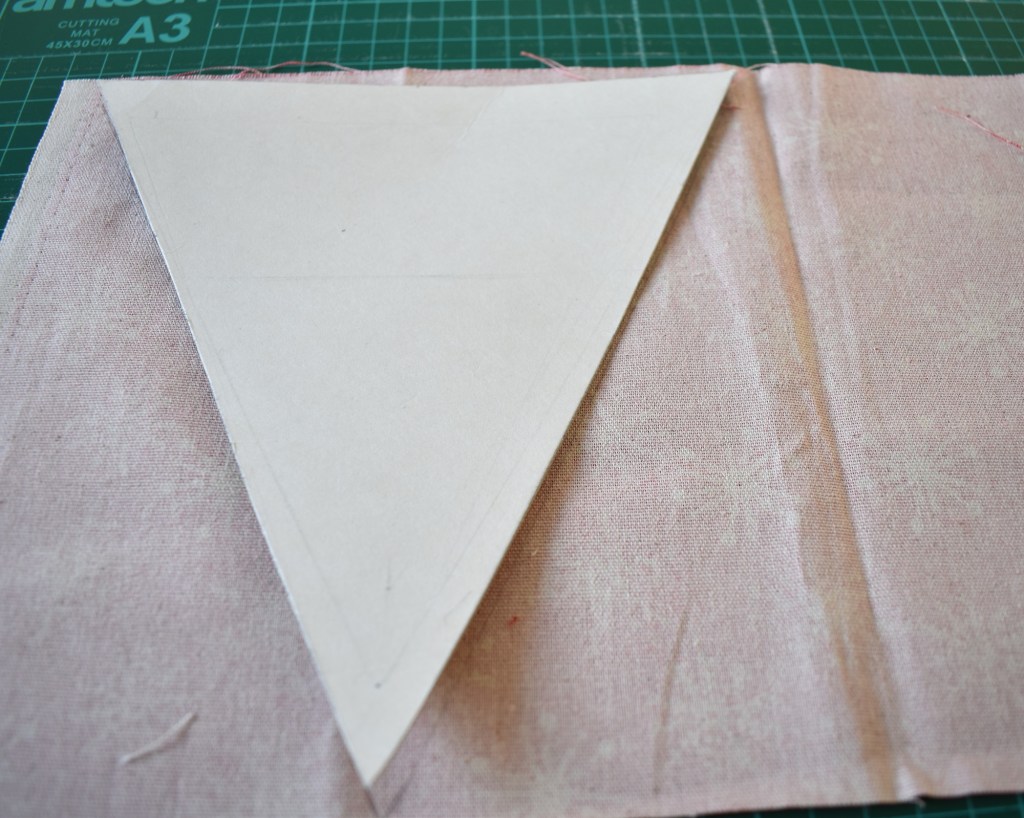
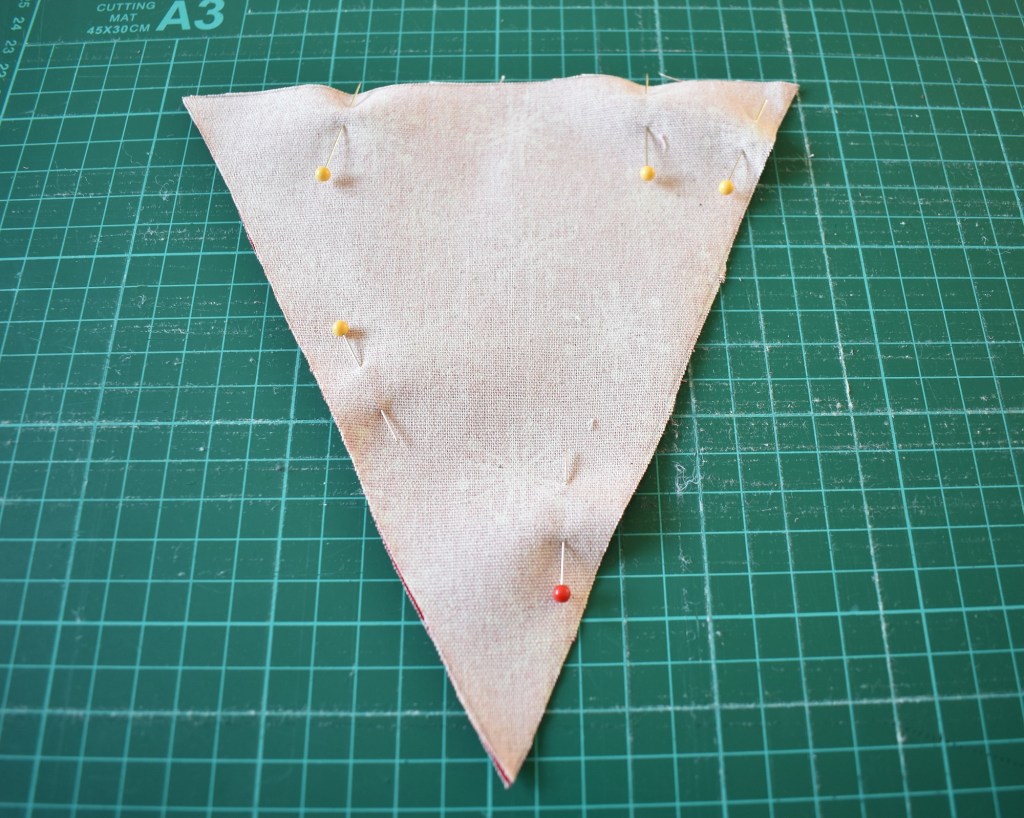
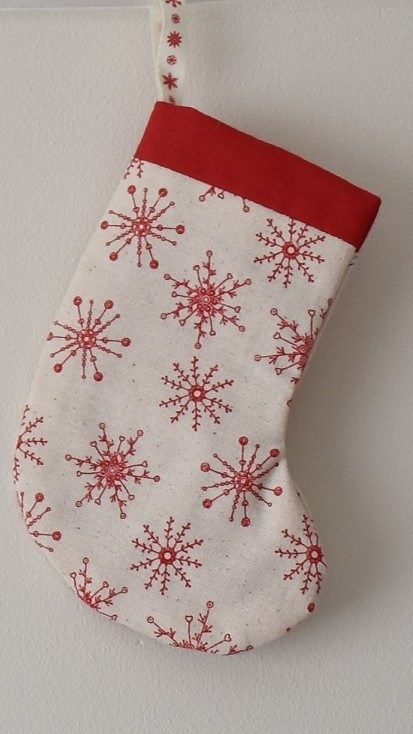
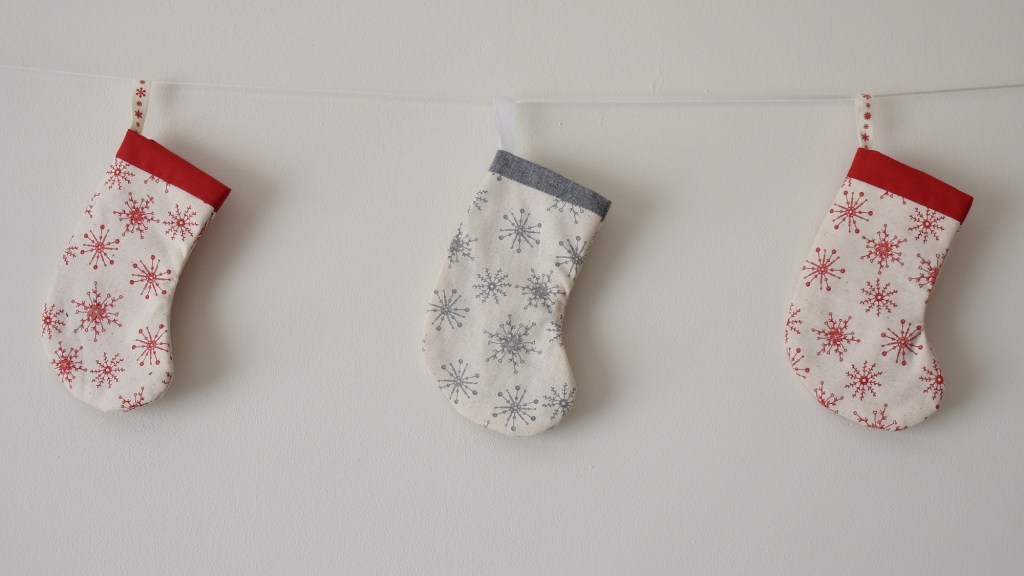
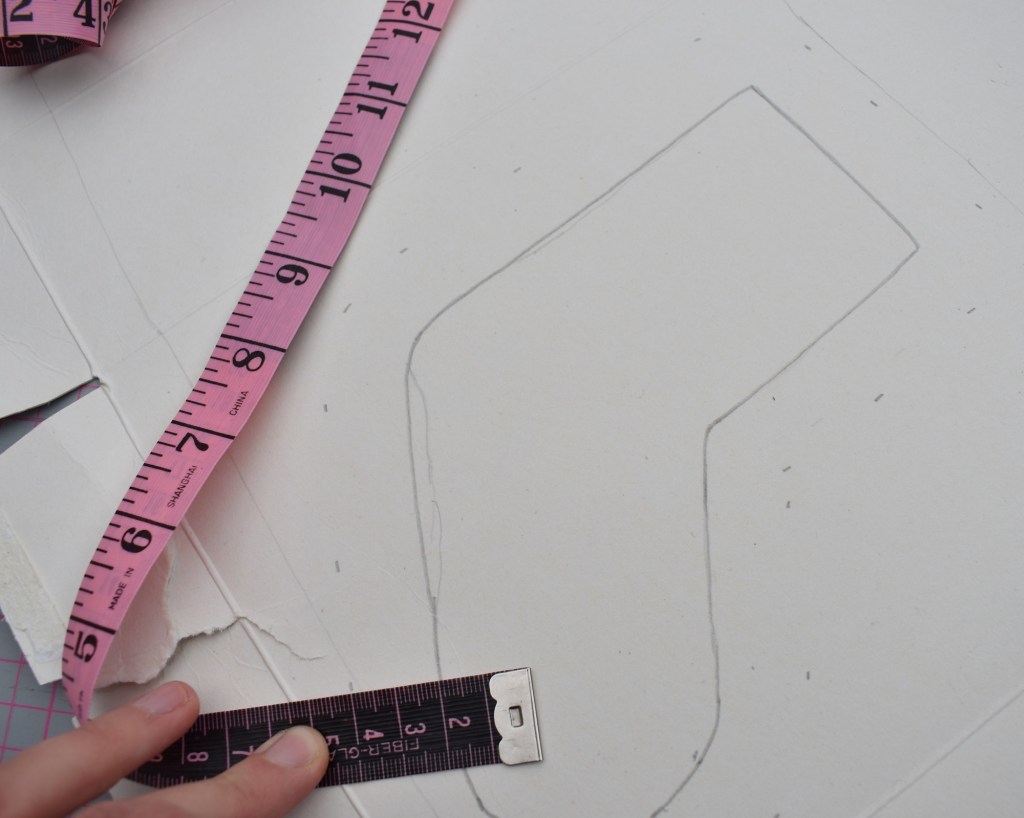
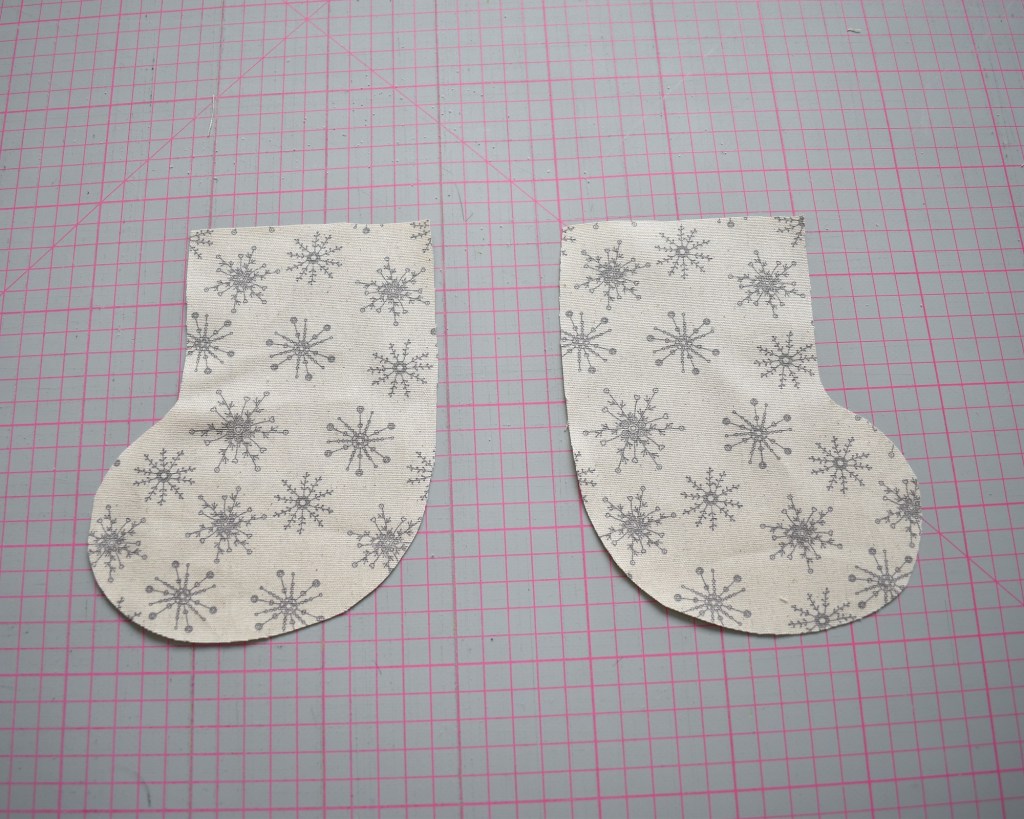
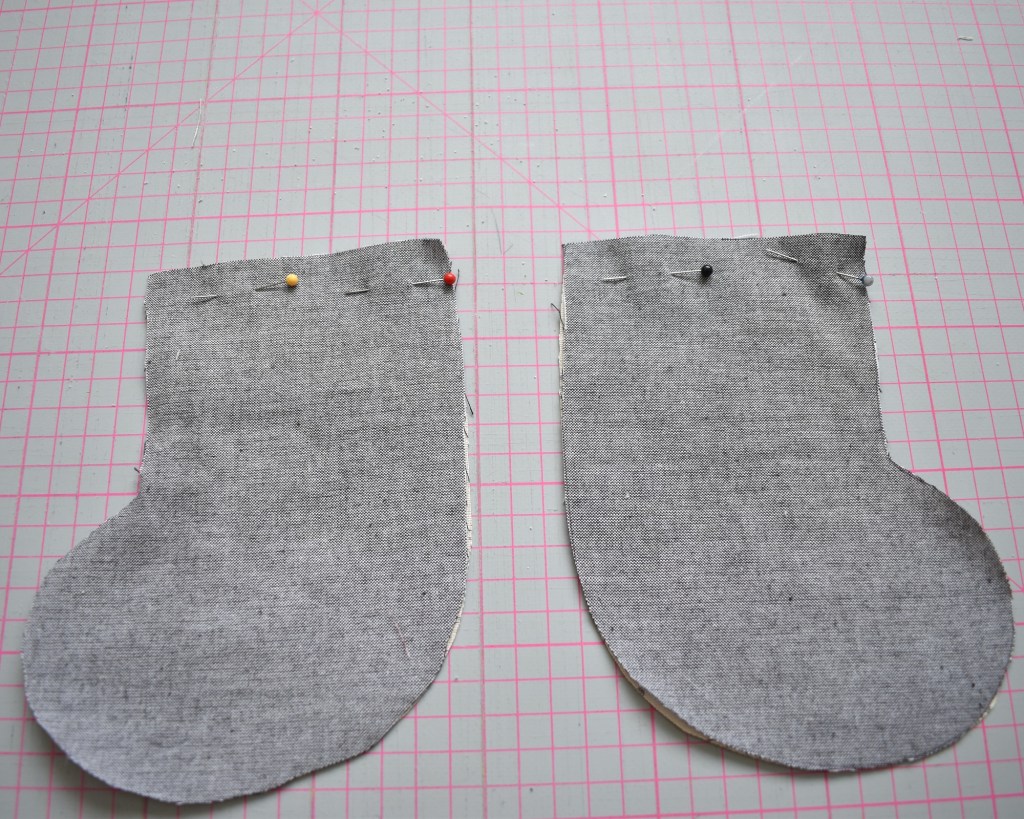
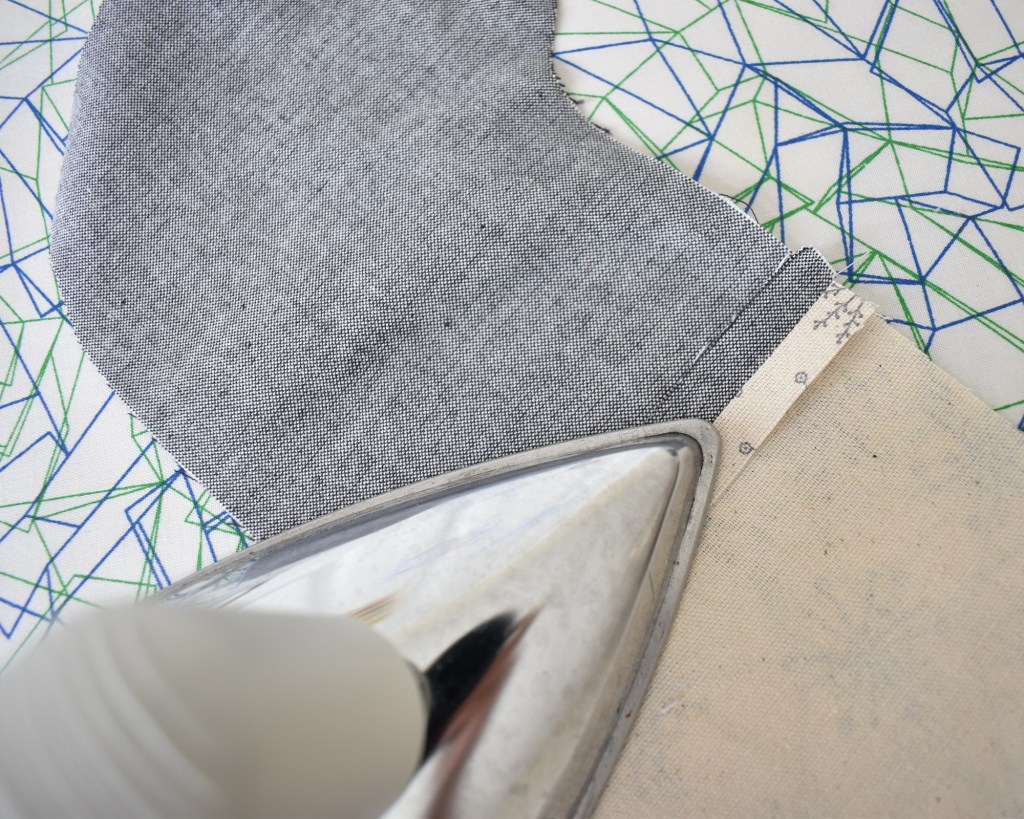
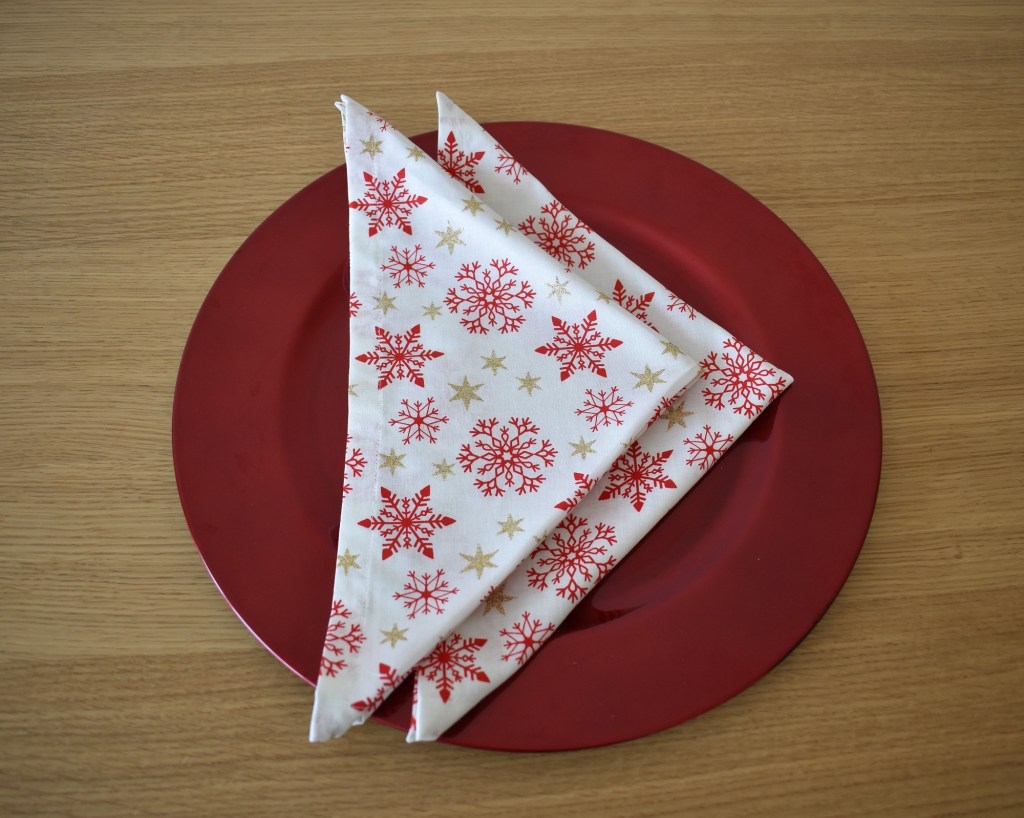
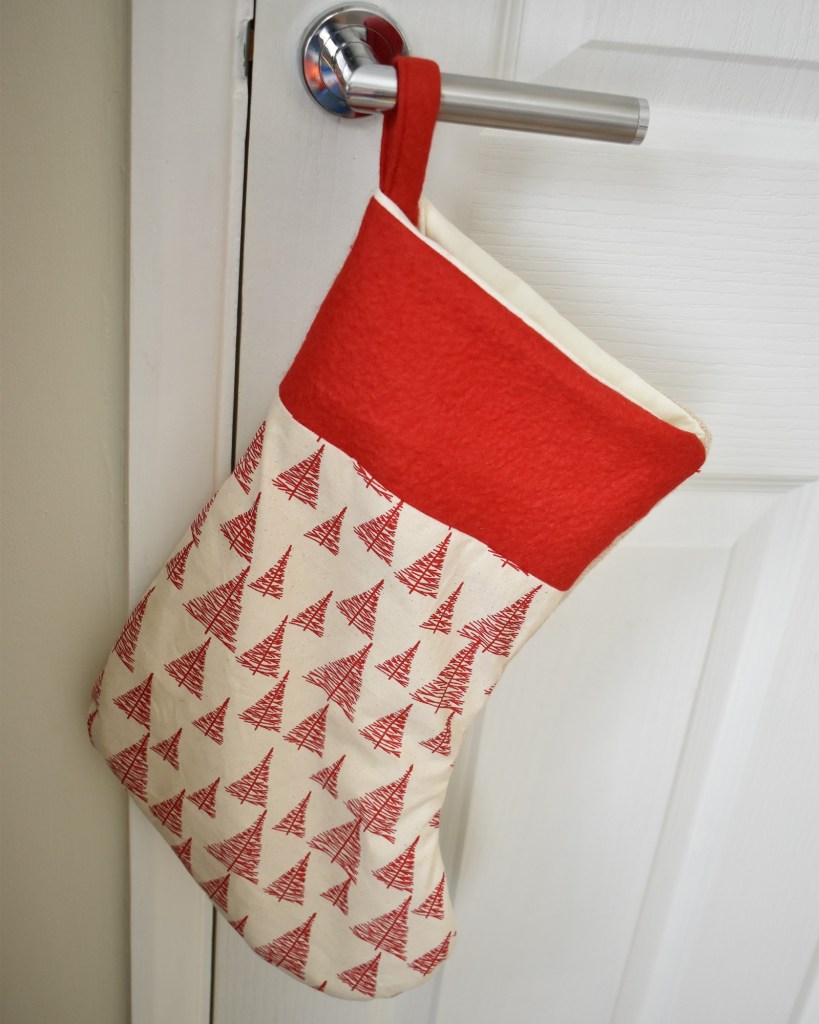
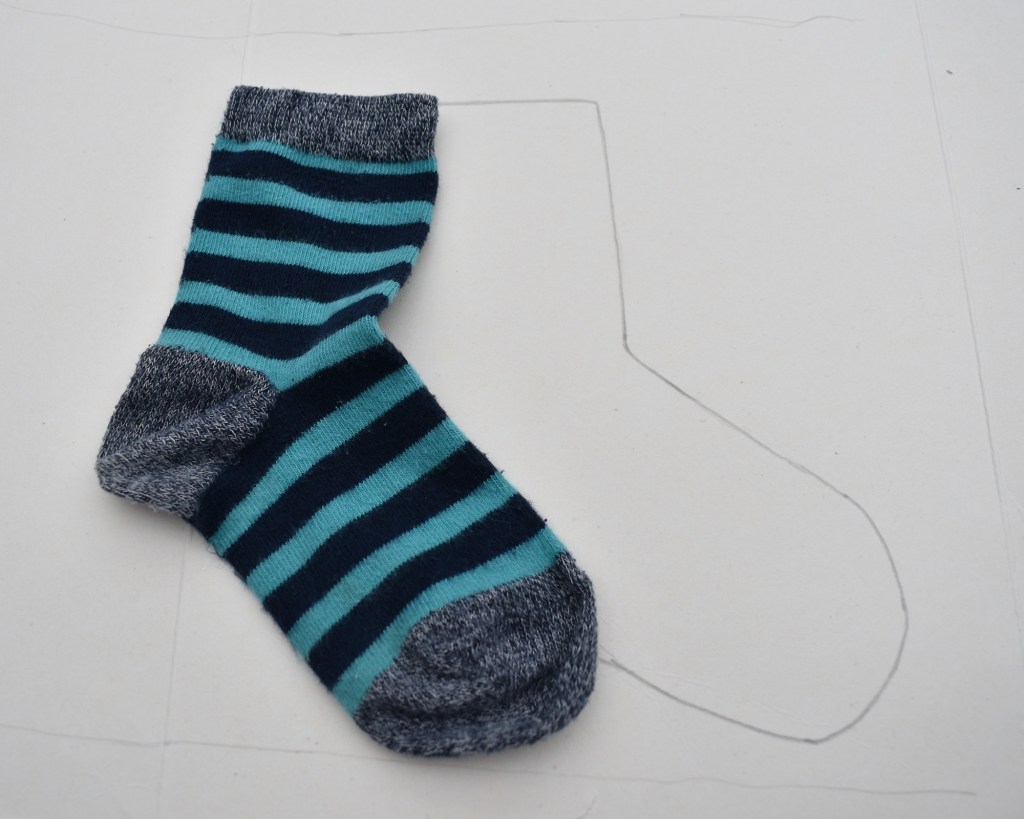
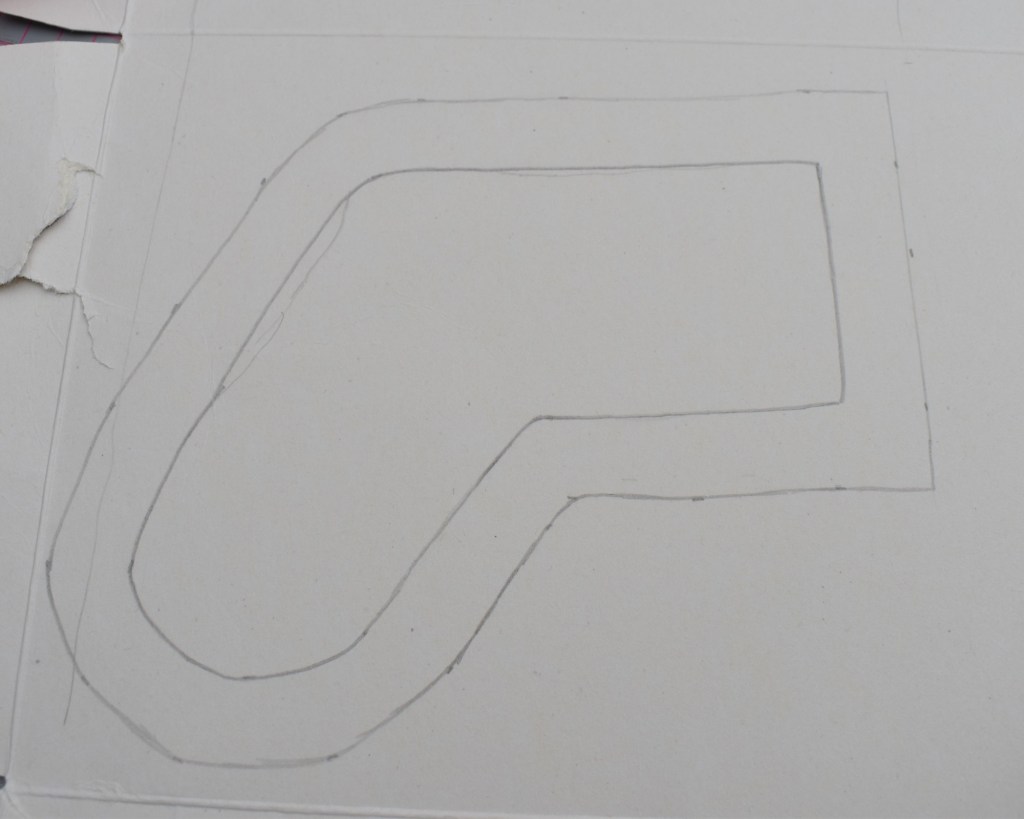
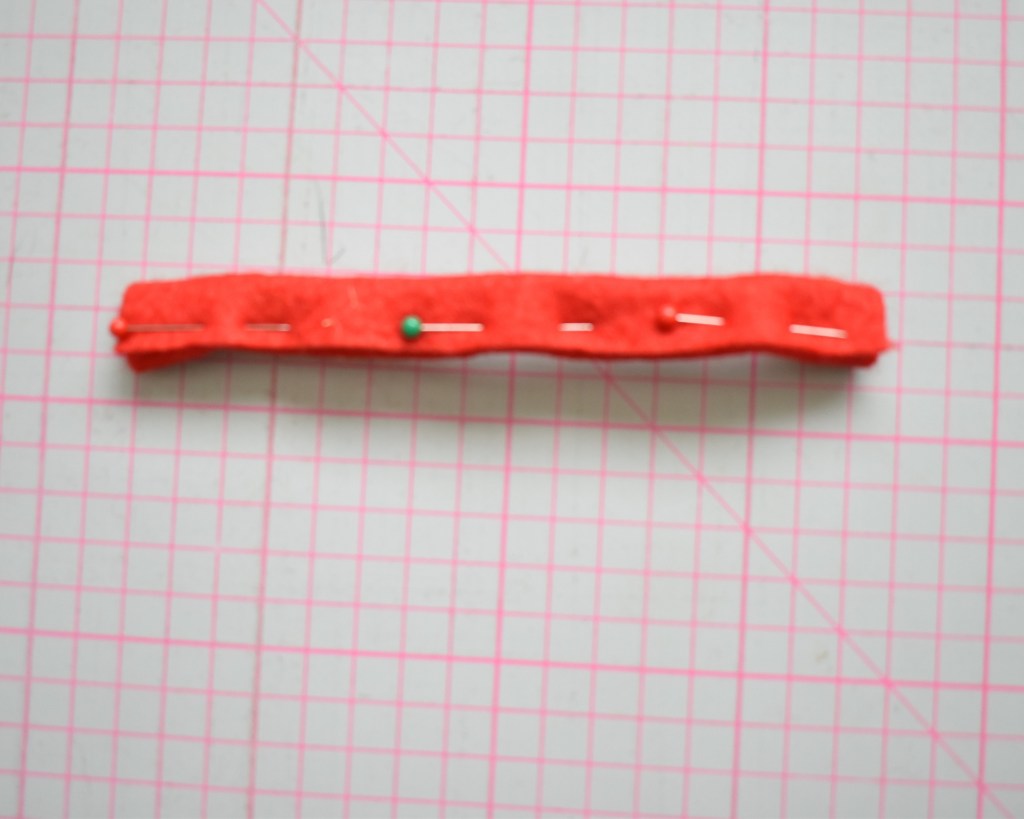
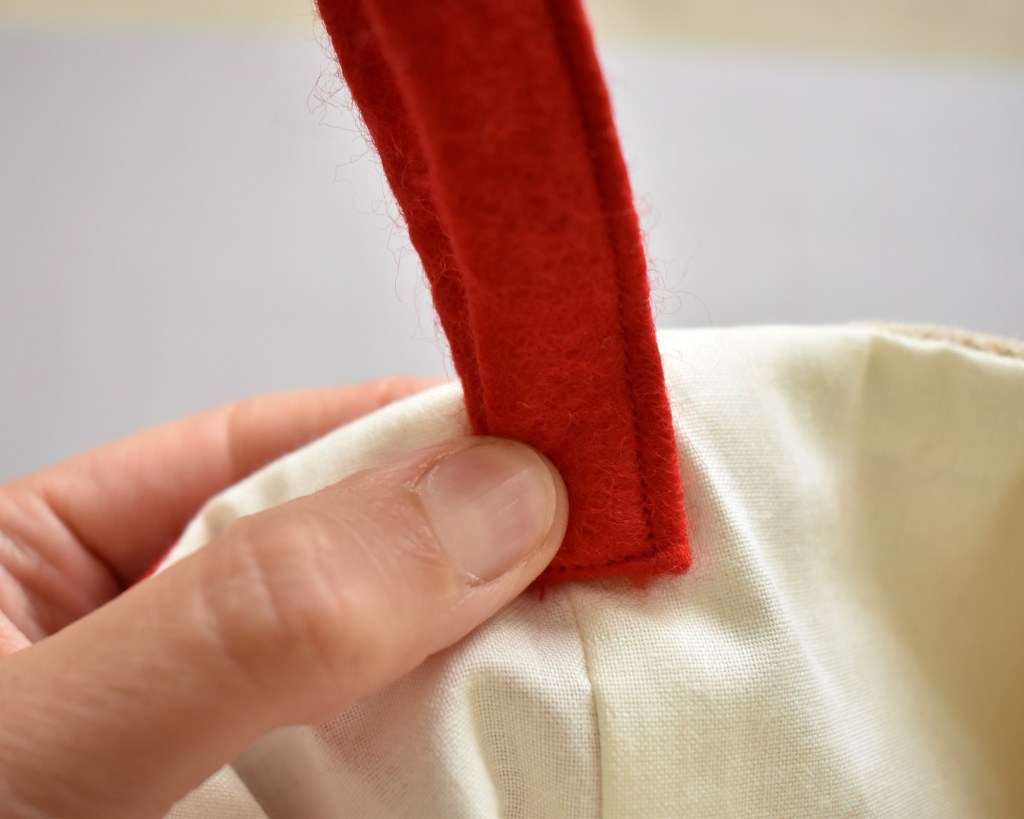
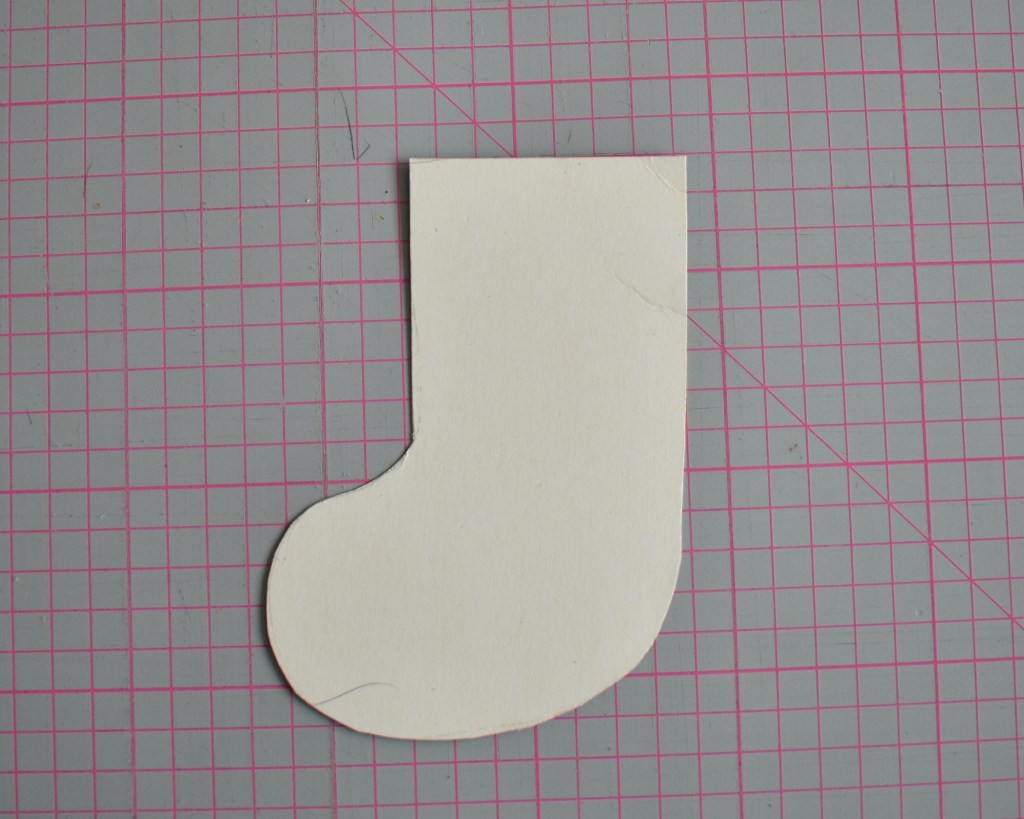
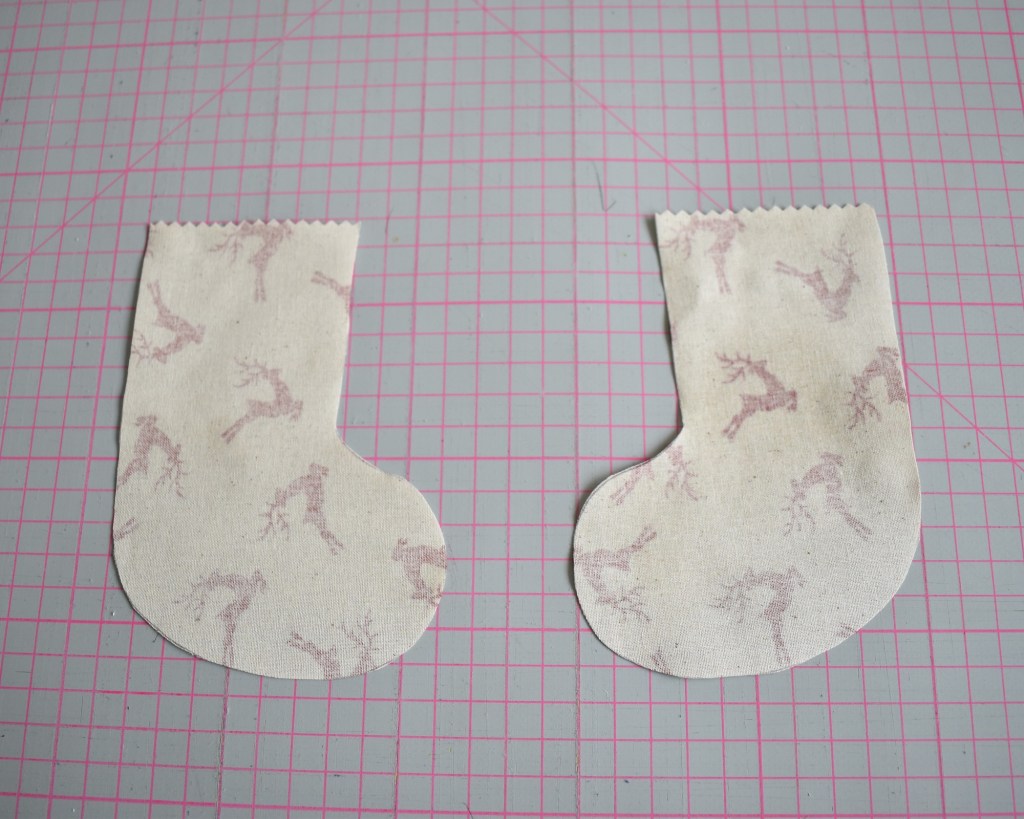
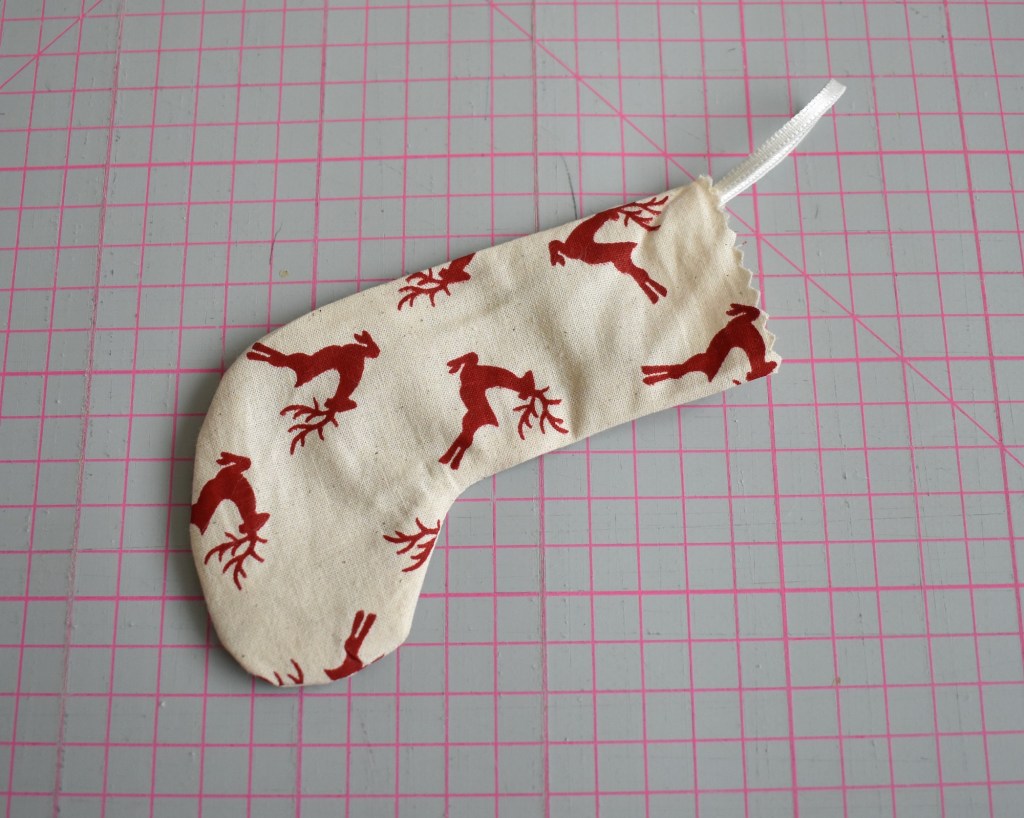
1) First of all you will want to make templates for whatever shape you want to use. For my bunting I opted for traditional triangles, baubles, stockings and hearts.
Top Tip
For instructions on how to create a perfect triangle shape check out Week 11:
https://wordpress.com/post/jilliansharplesdesign.com/981
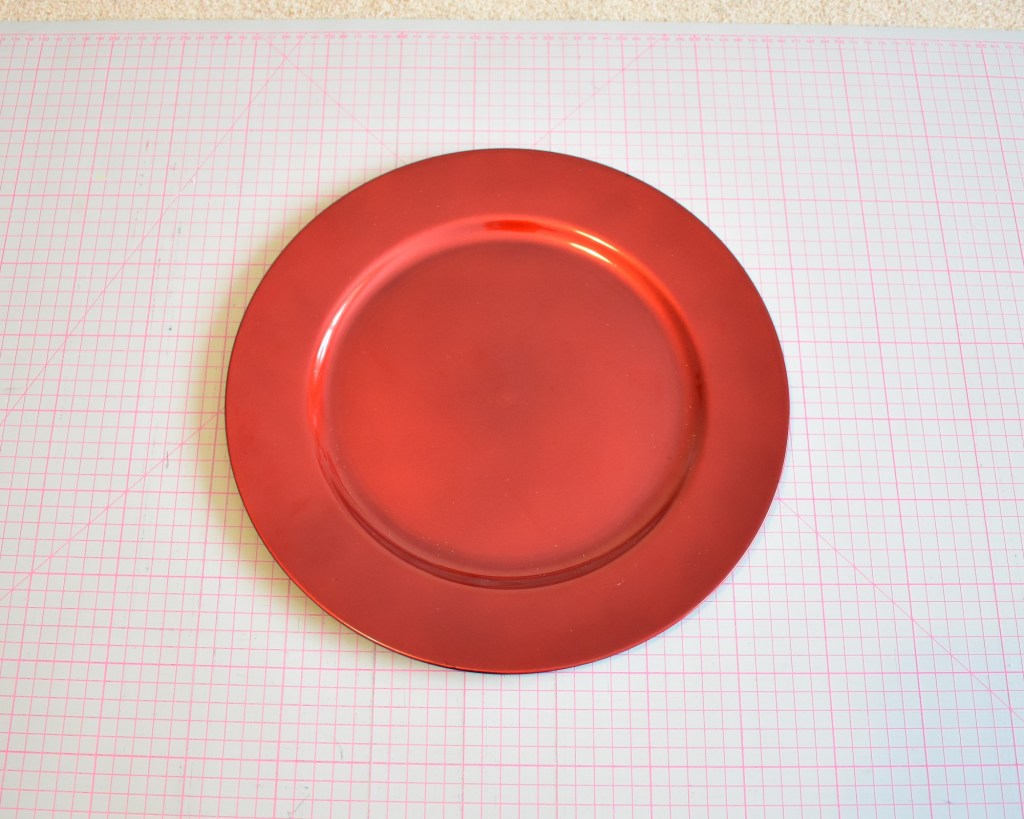
For the baubles, I simply drew around an appropriate sized plate and added a wee rectangle on one edge for the top.
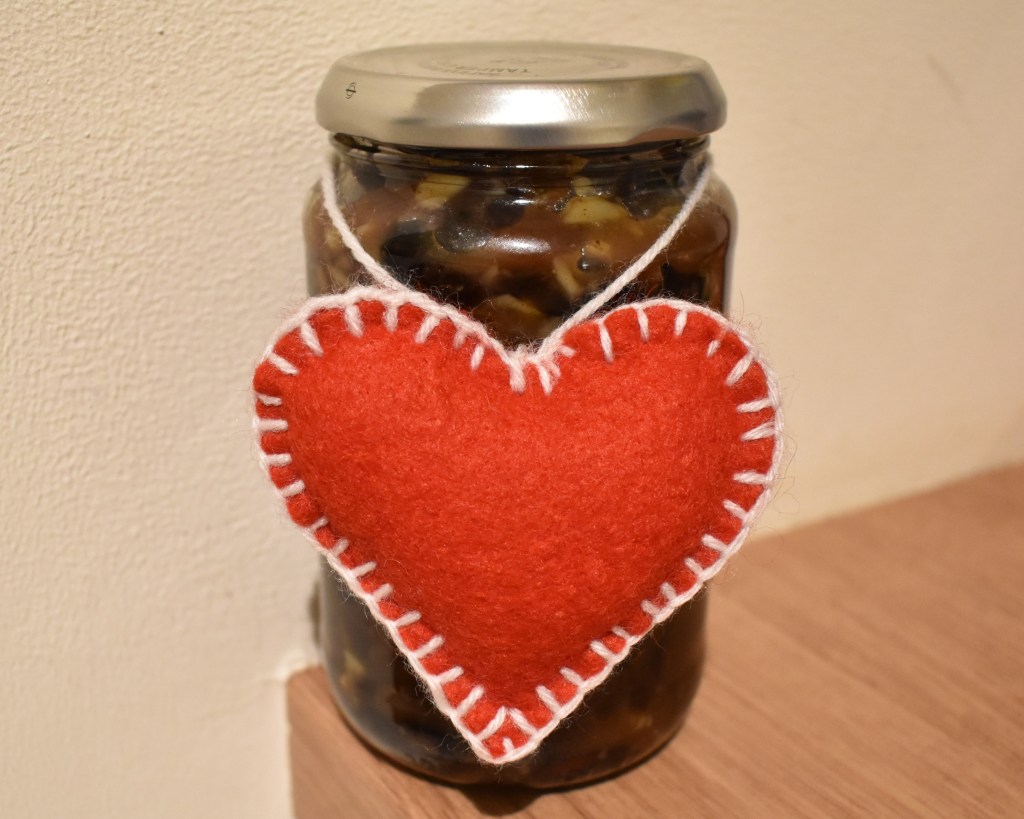
For the heart please see below under the hanging hearts craft
For stockings, simply draw around a sock of an appropriate size

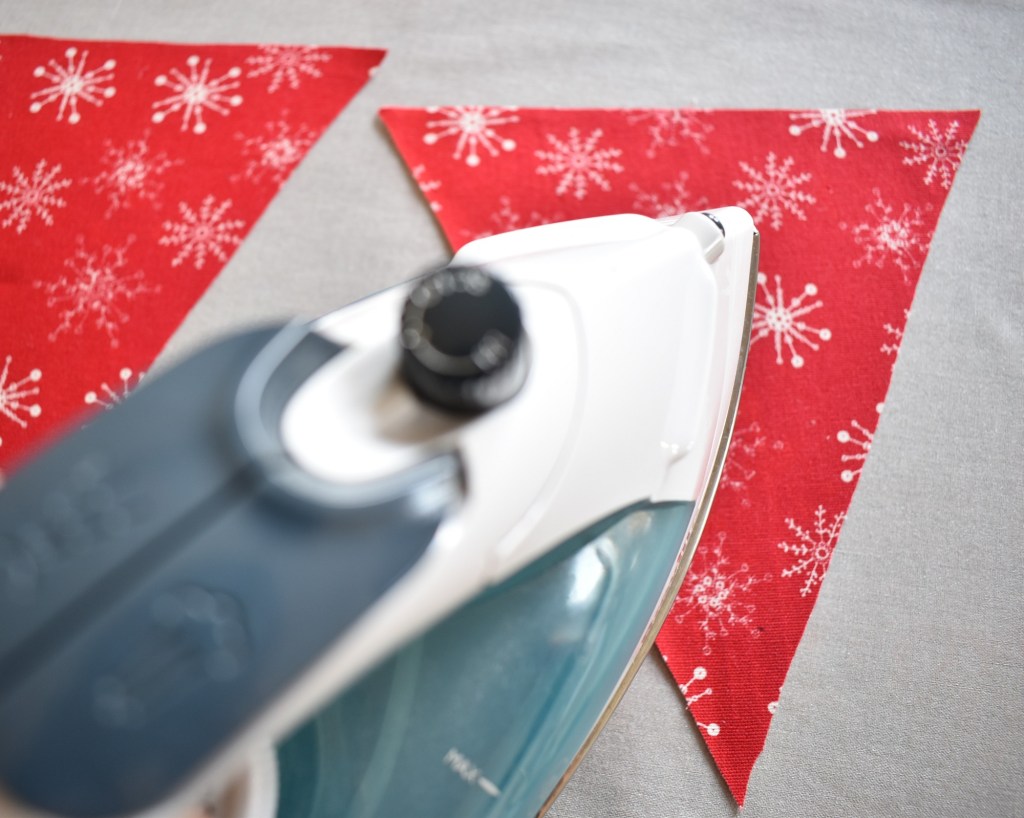
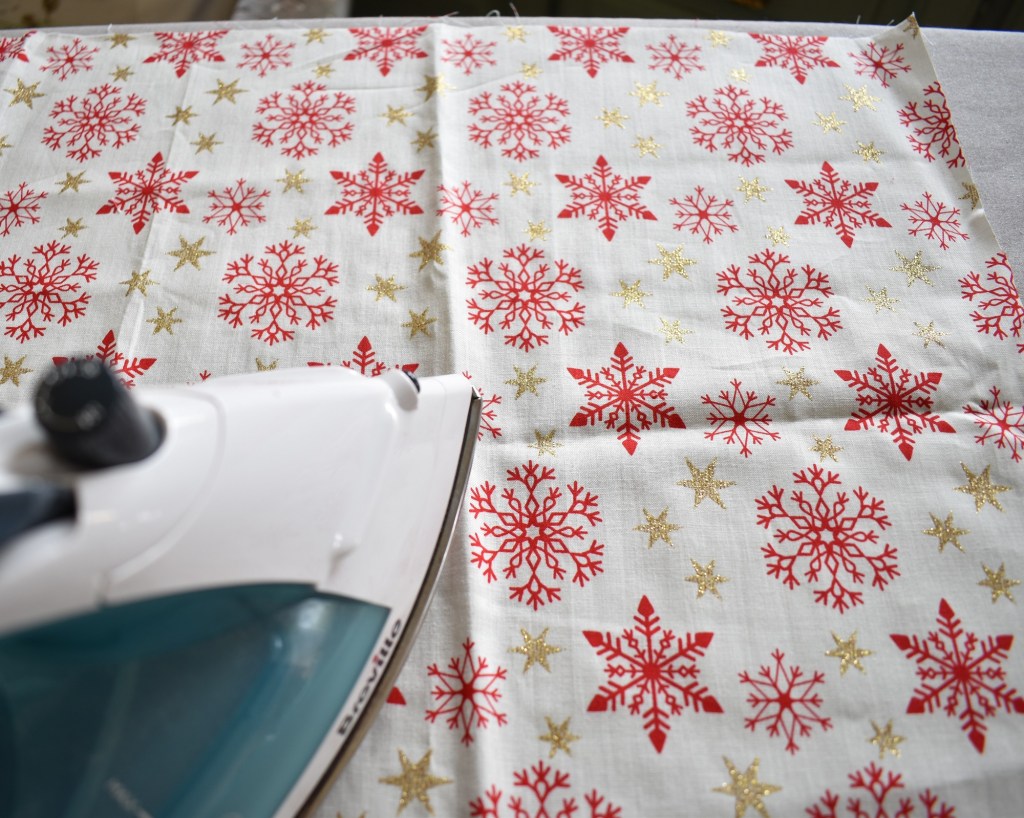
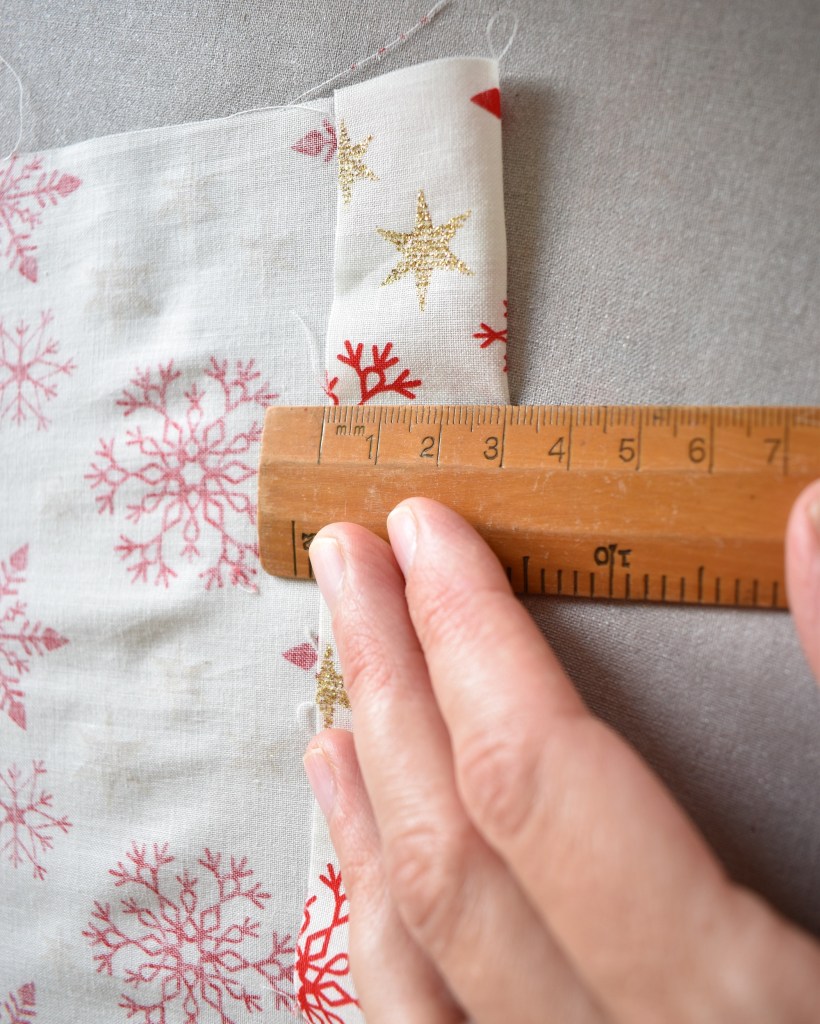
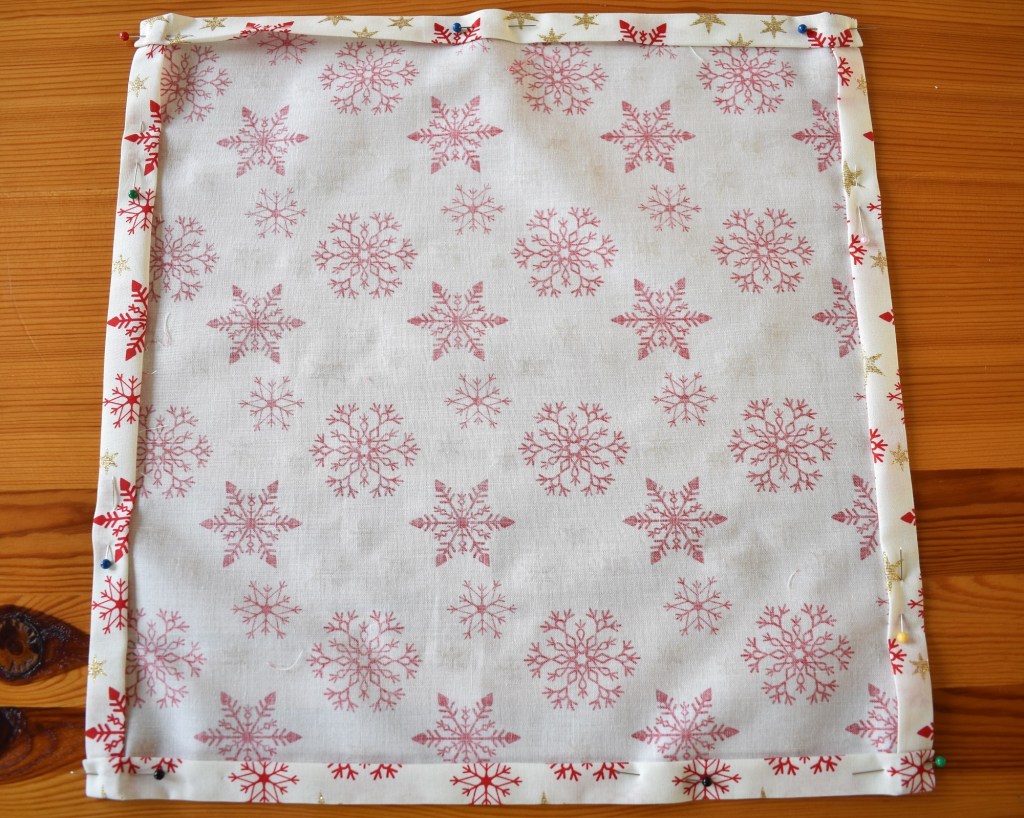
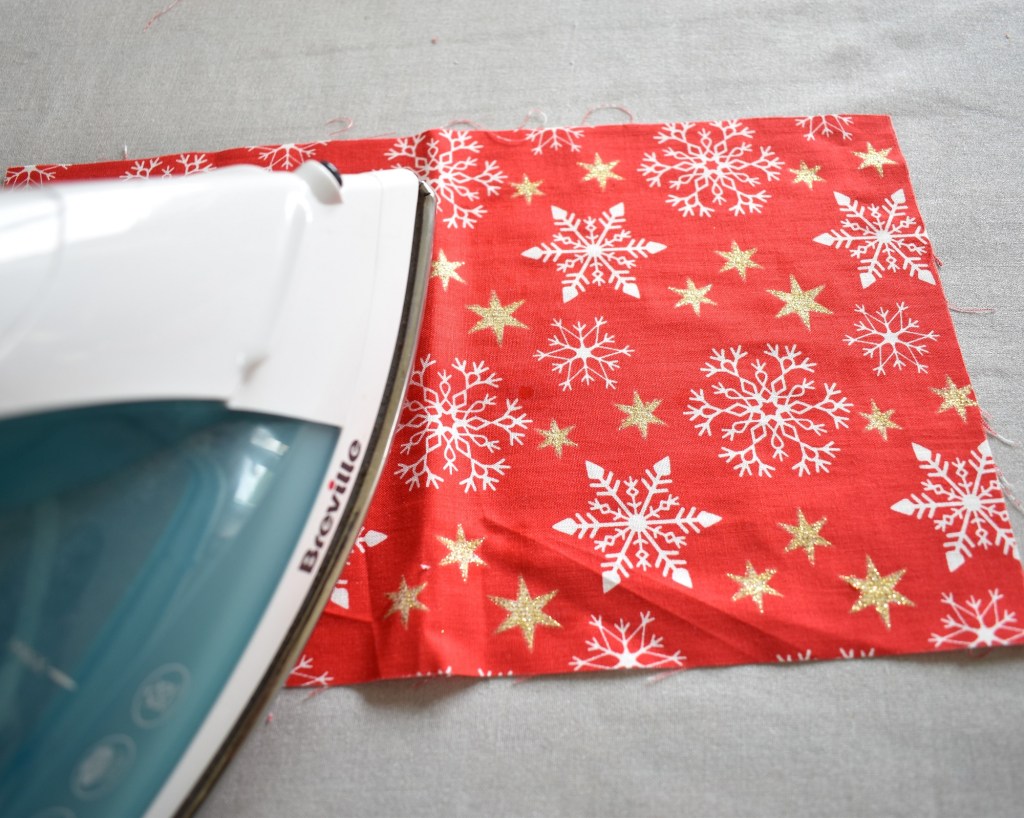
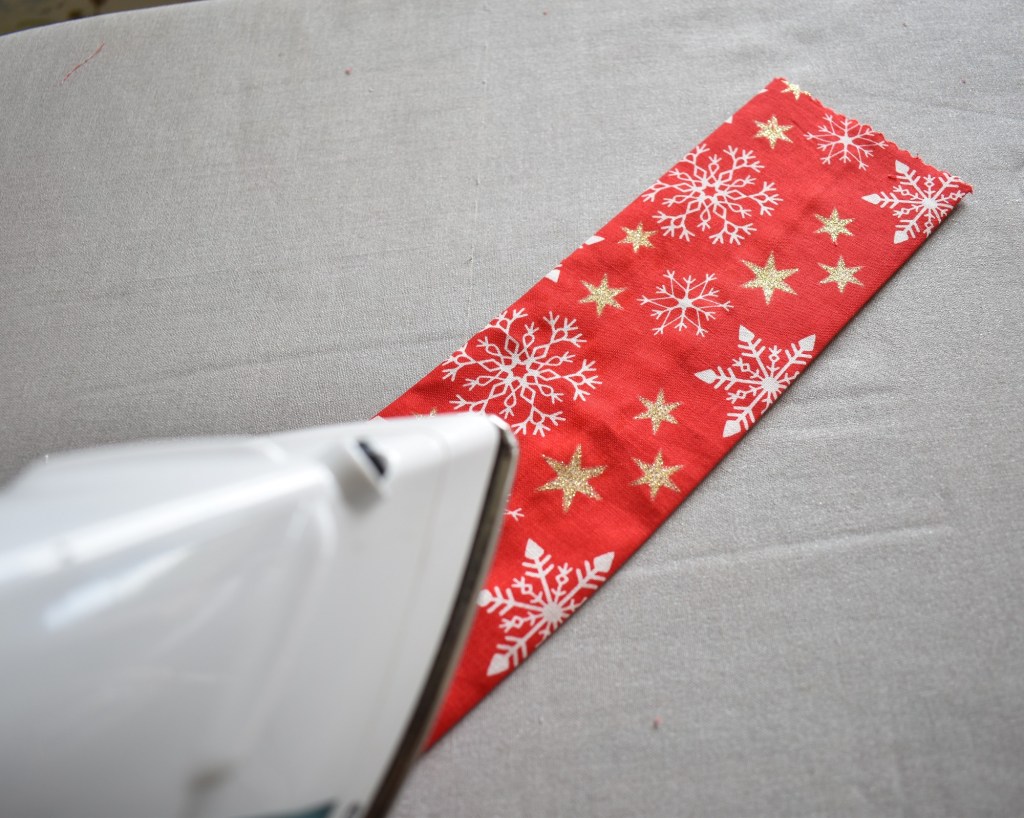
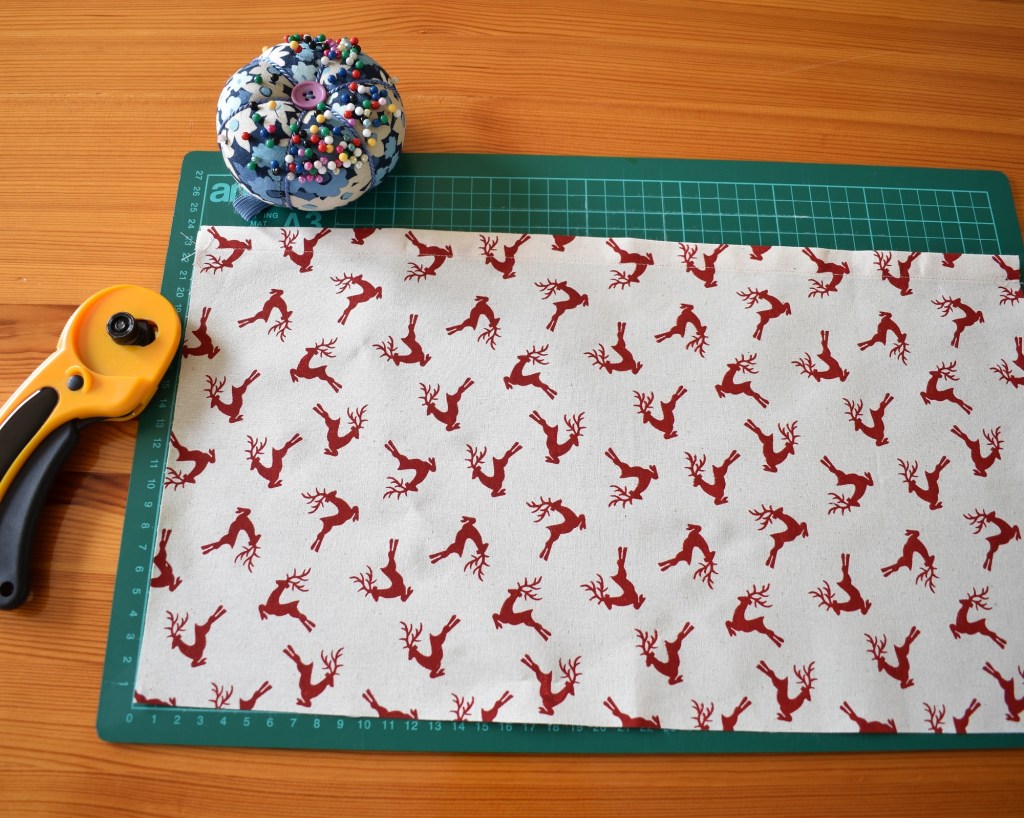
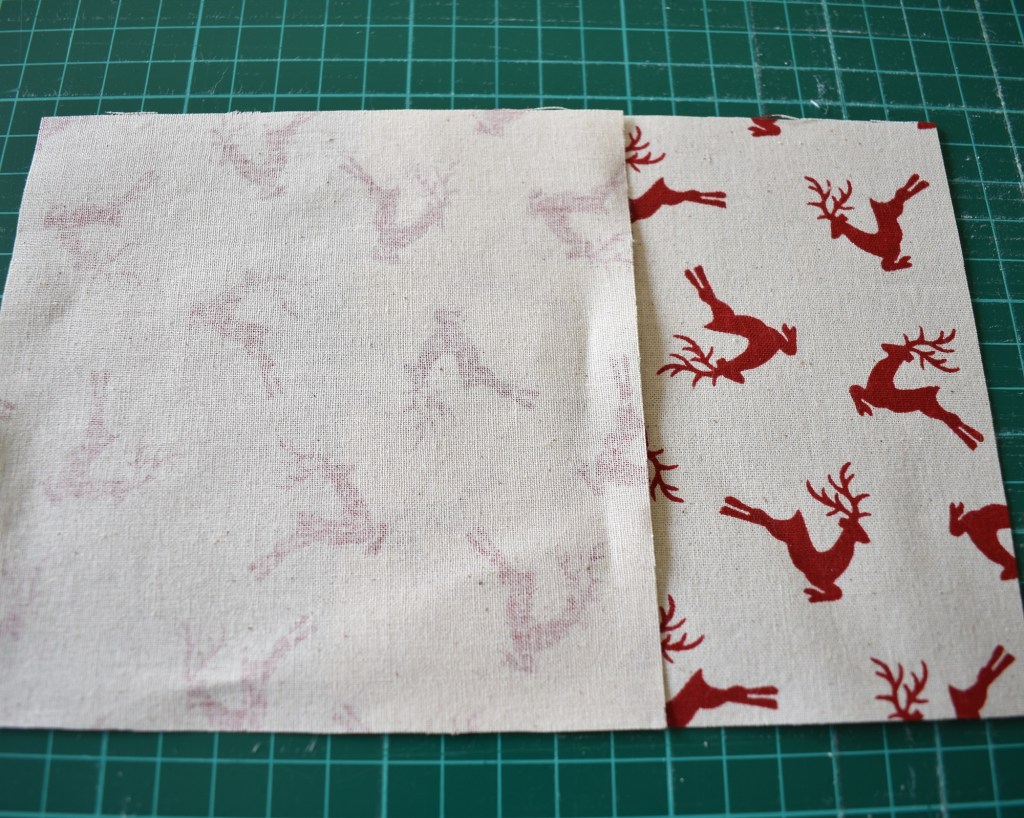
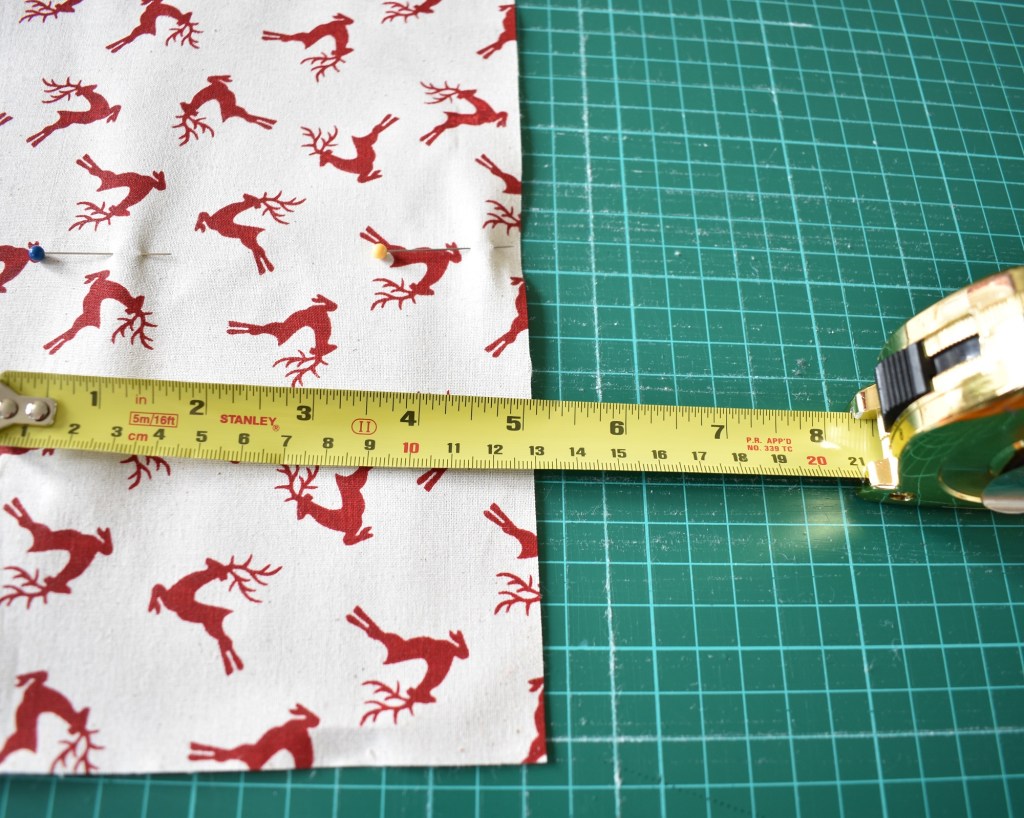
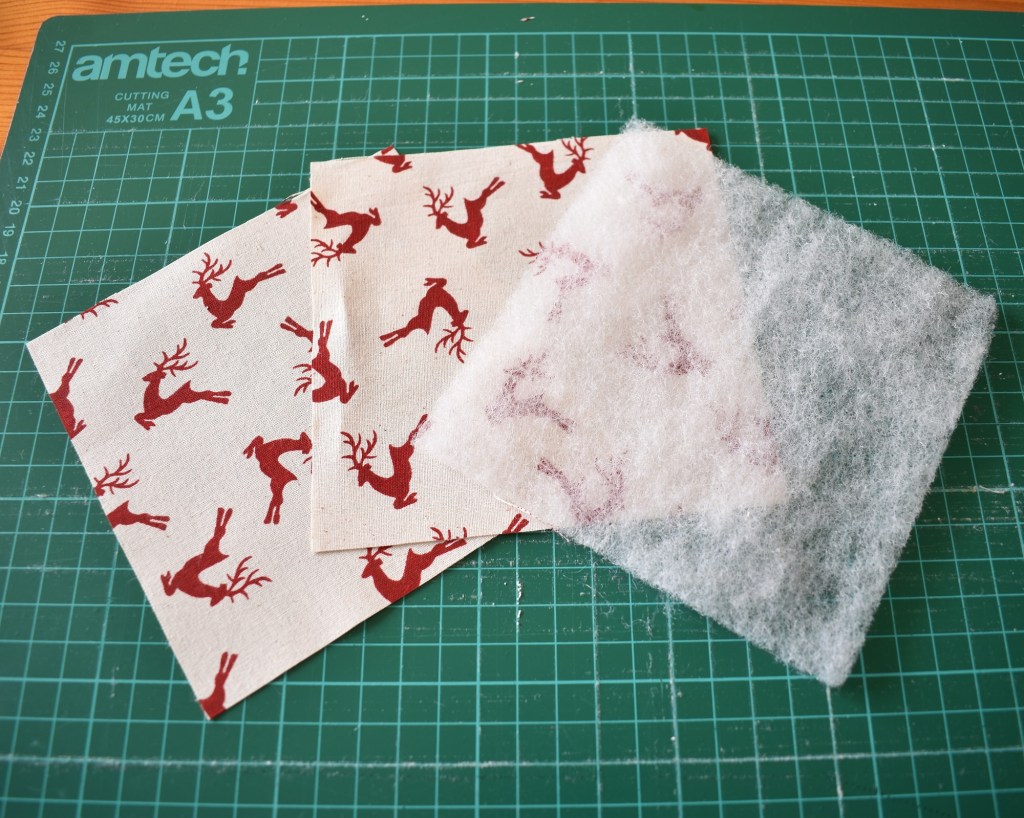
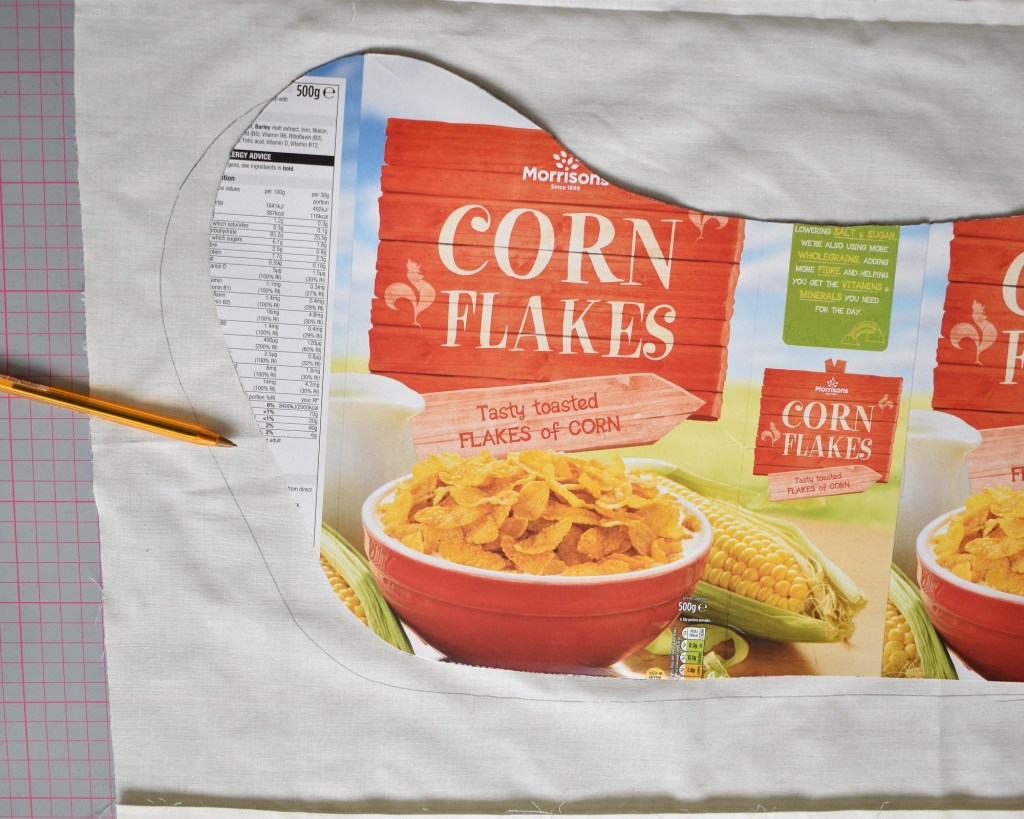
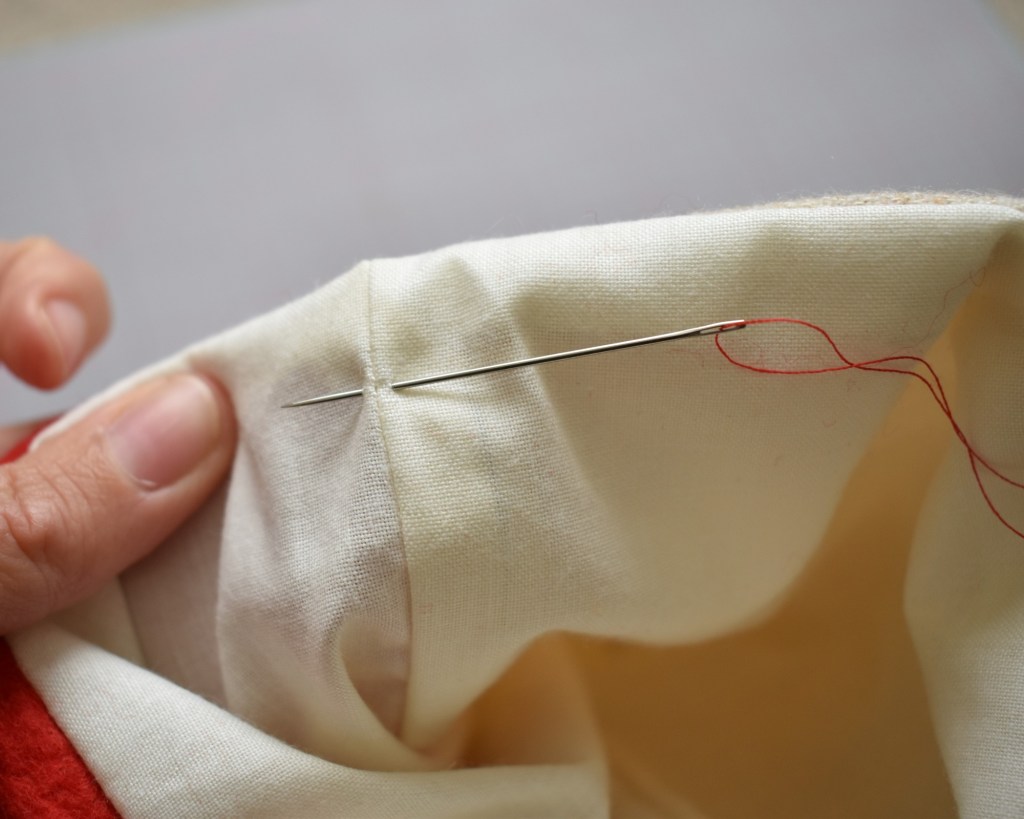
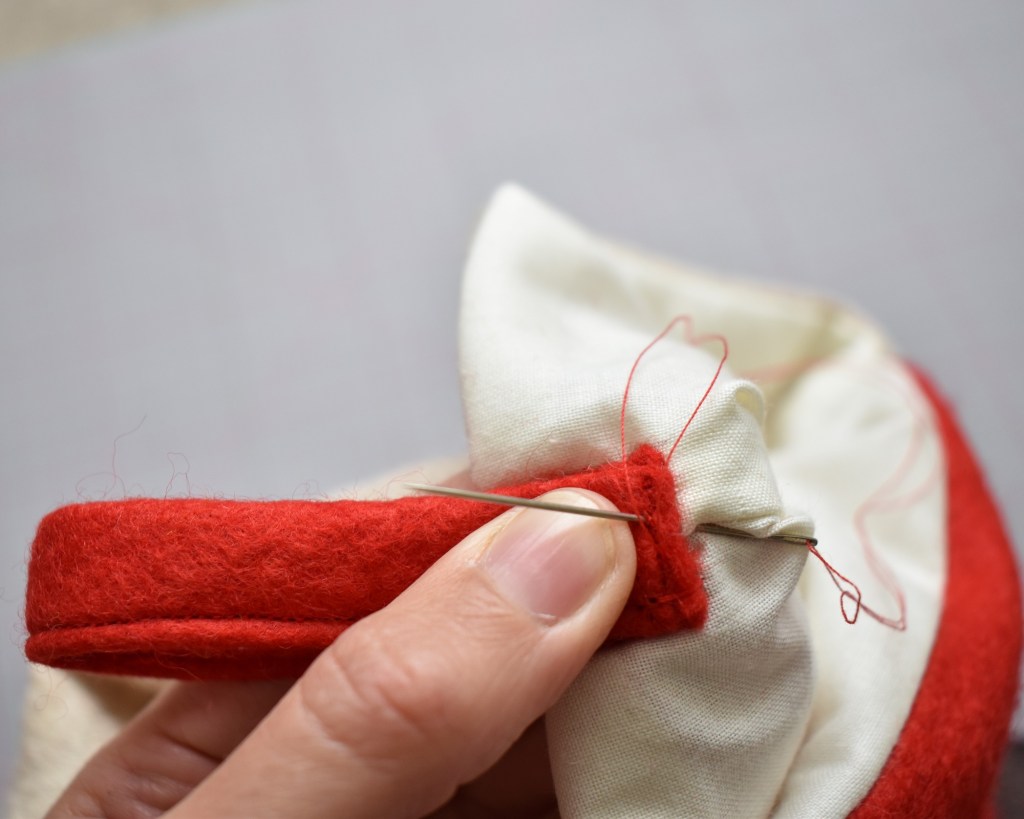
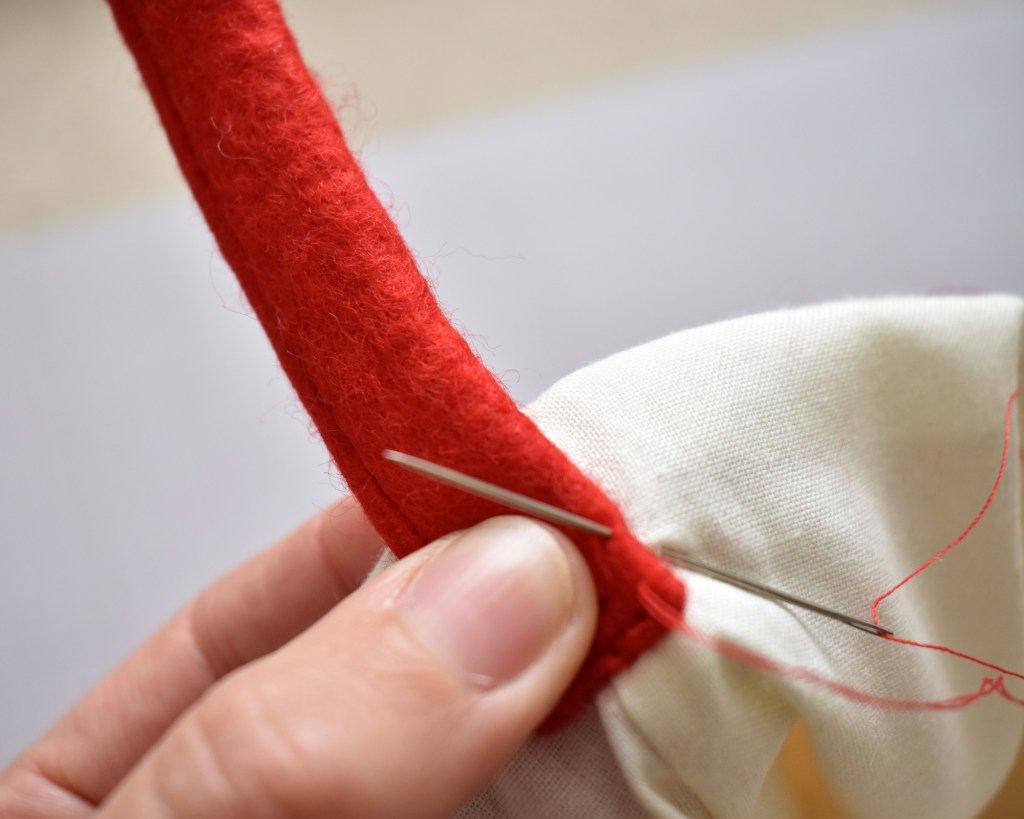
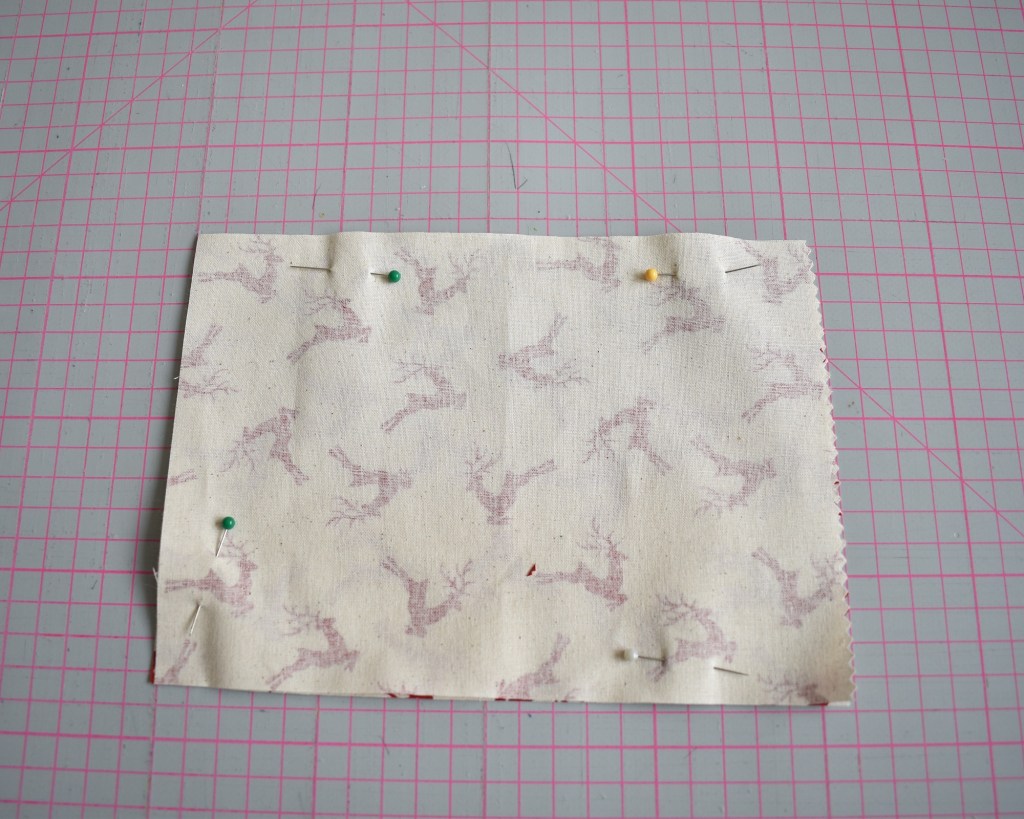
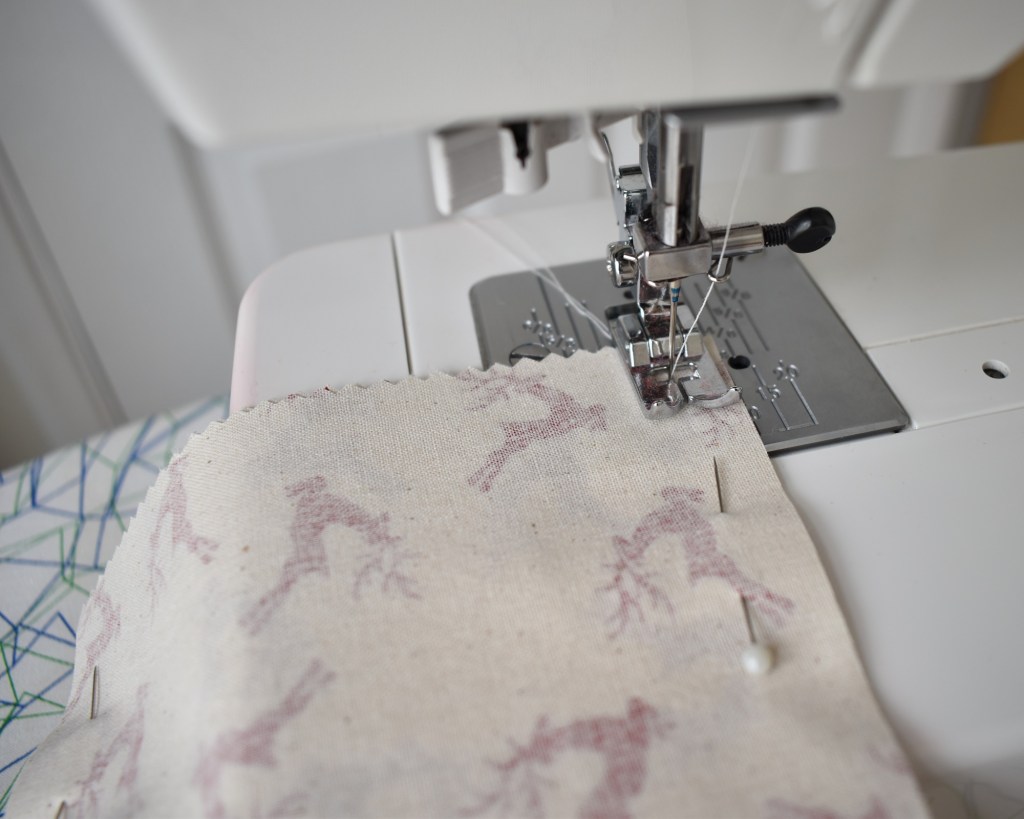
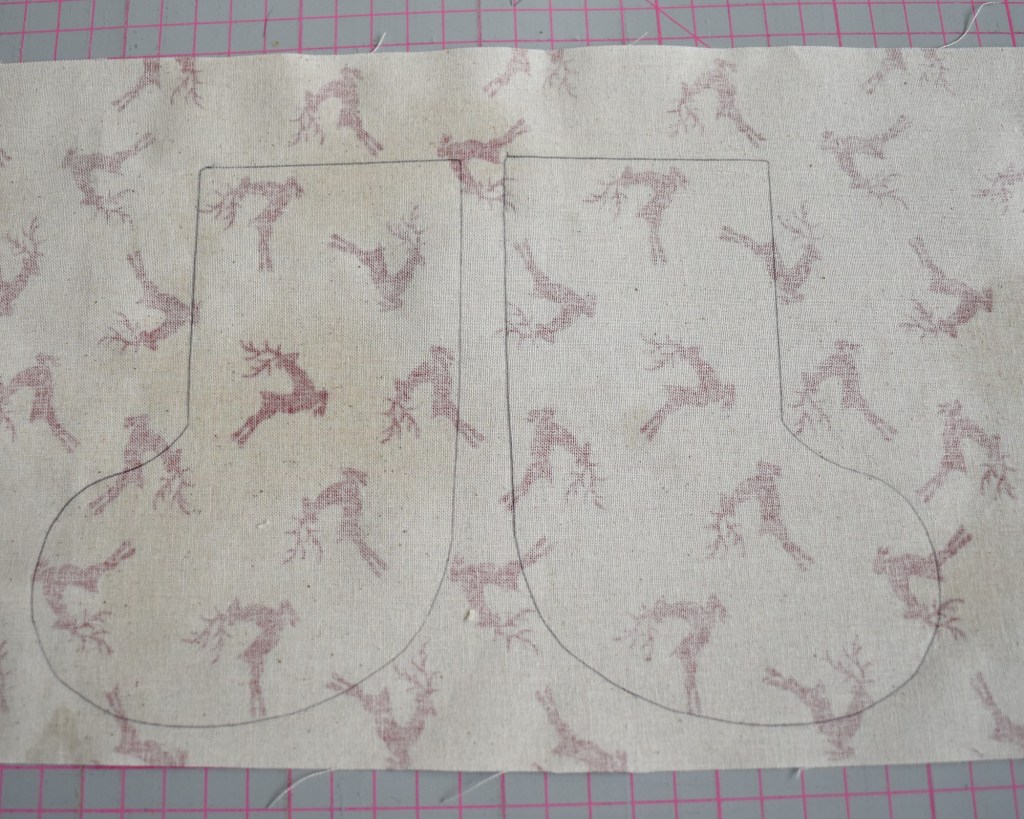
Select your fabric, iron if necessary 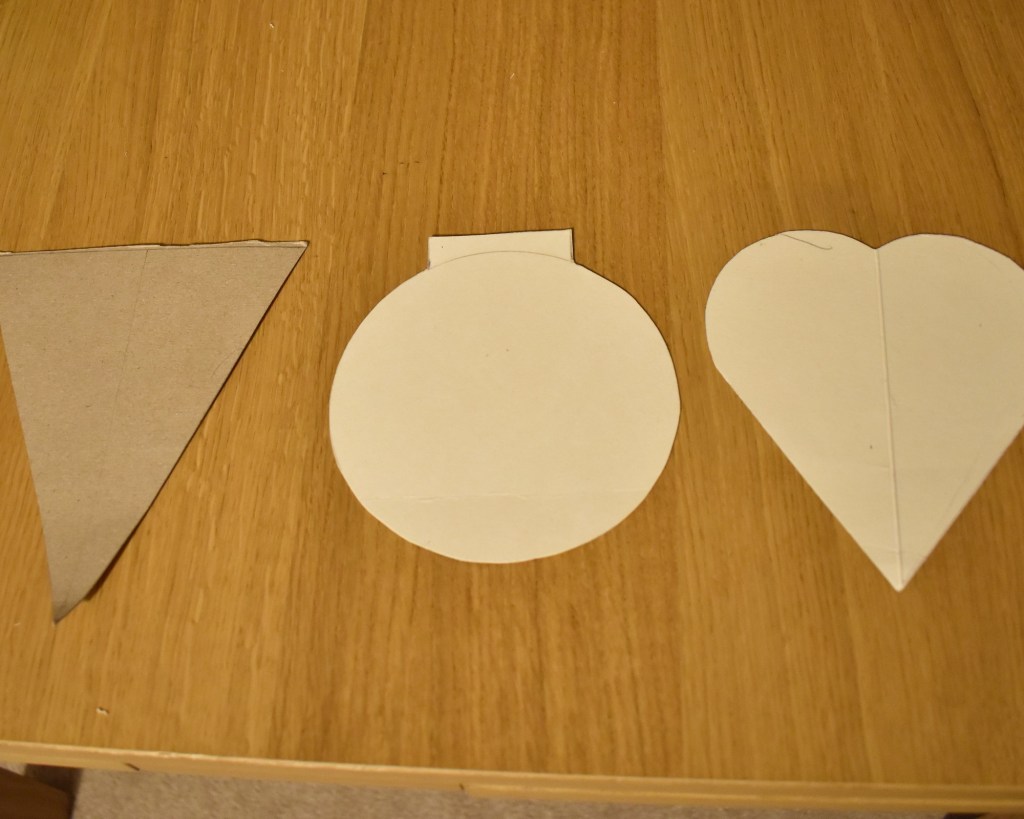
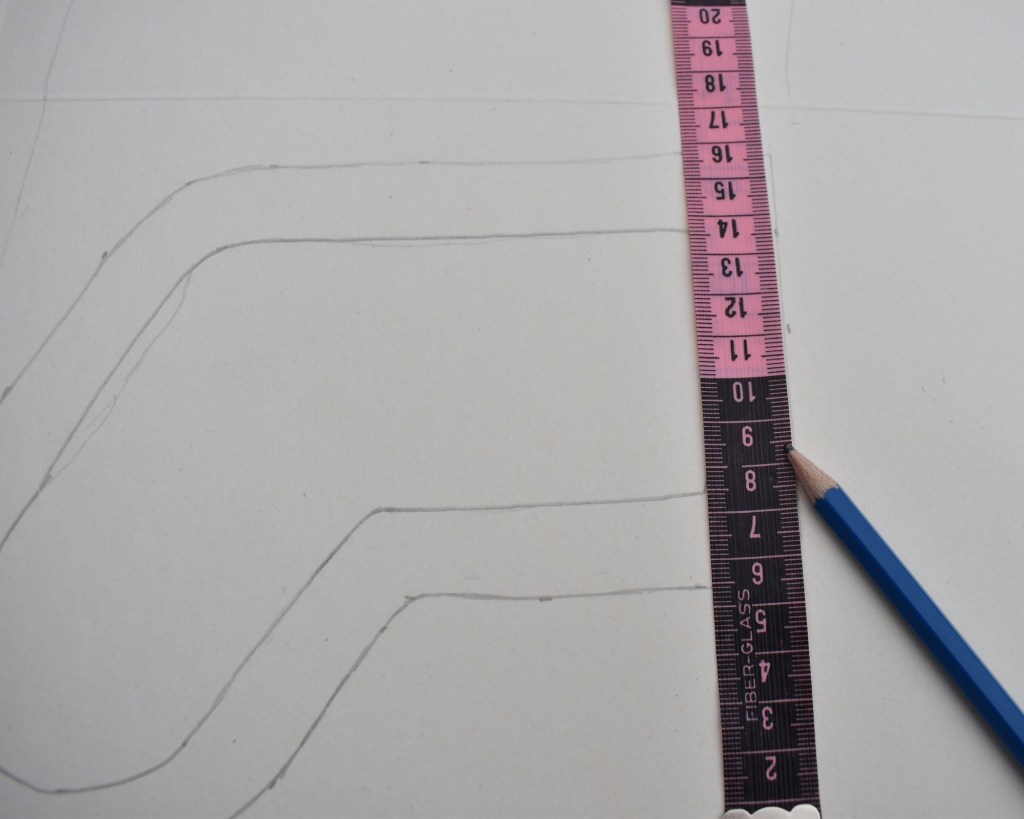
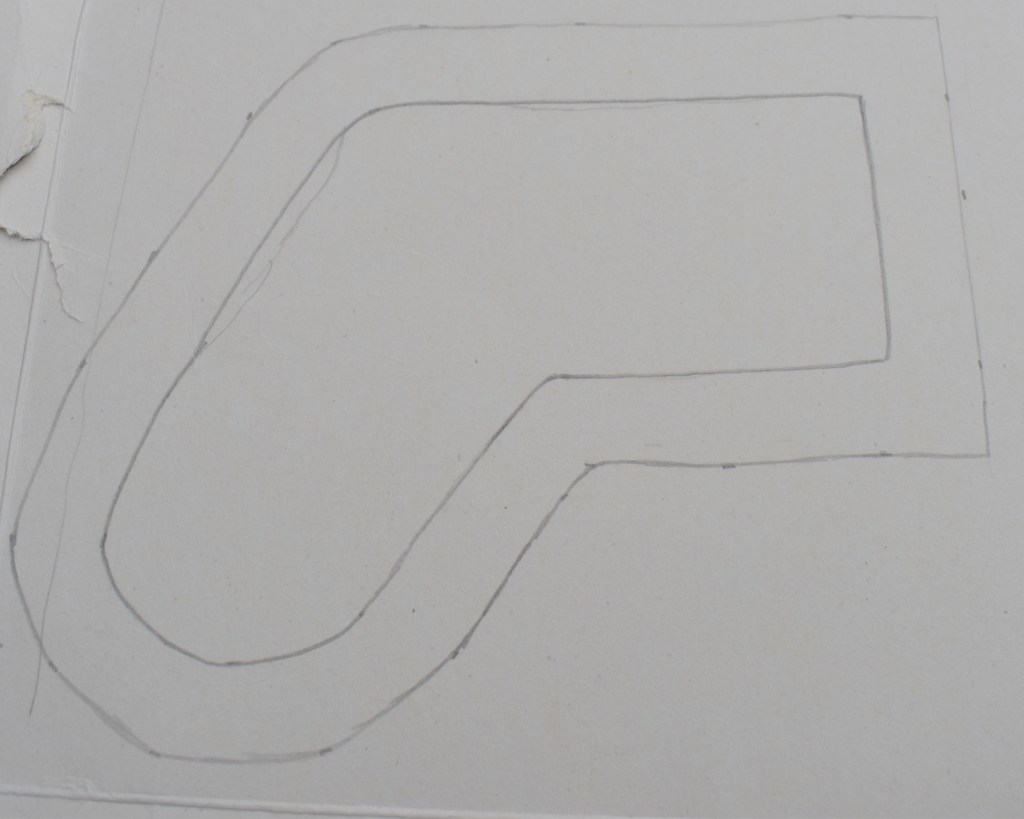
Create your templates from card 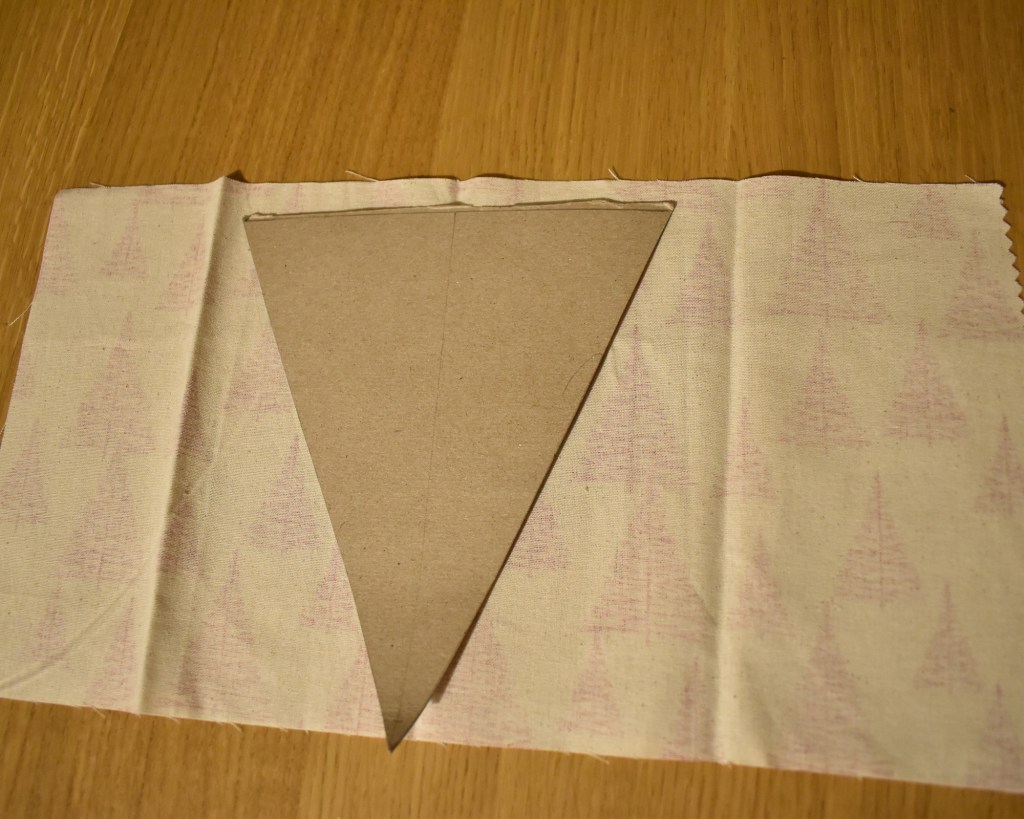
Draw round templates on the back of the fabric
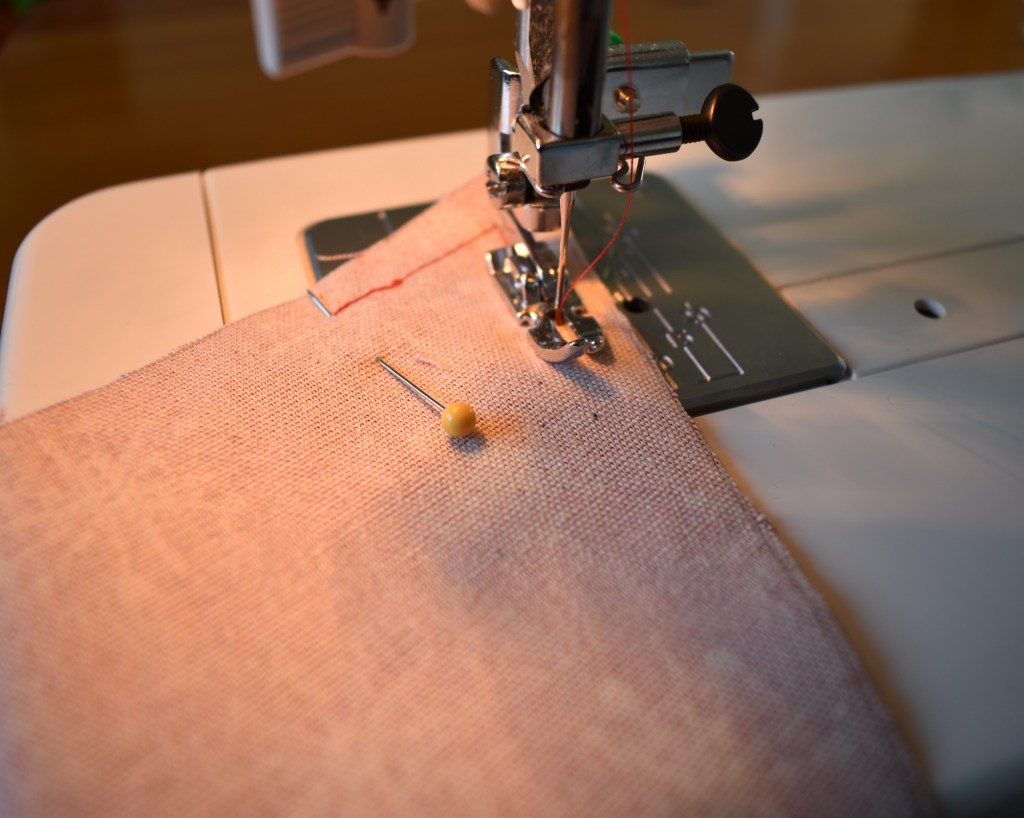
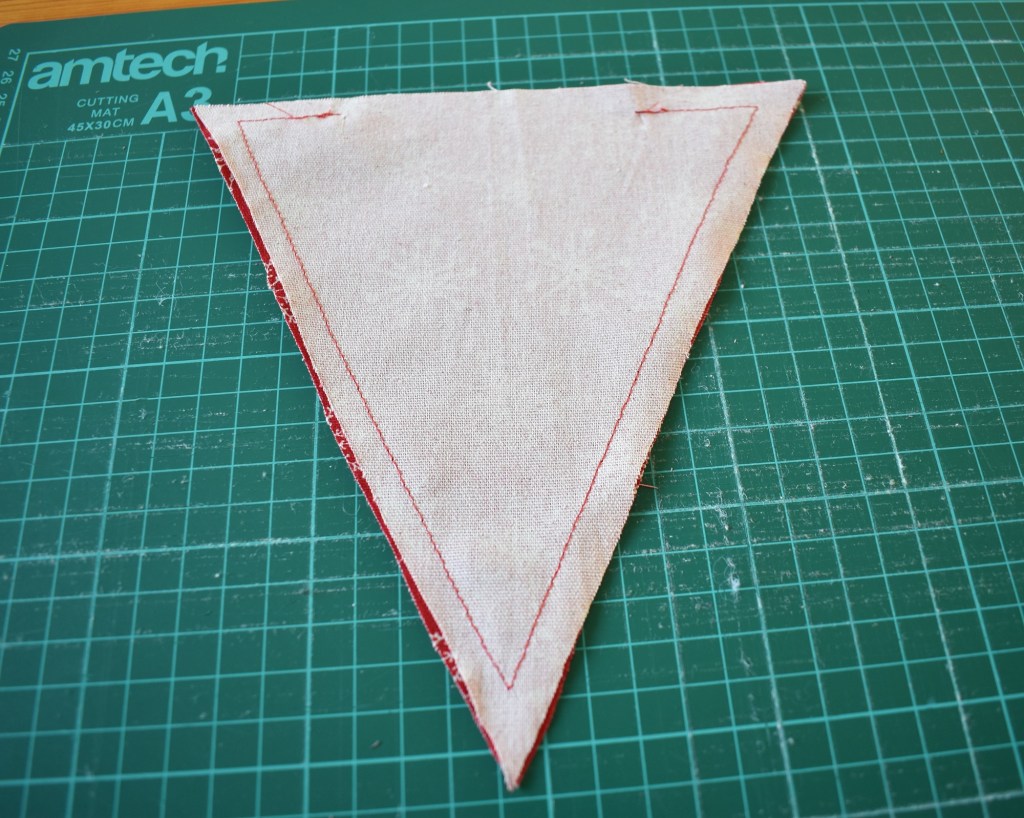
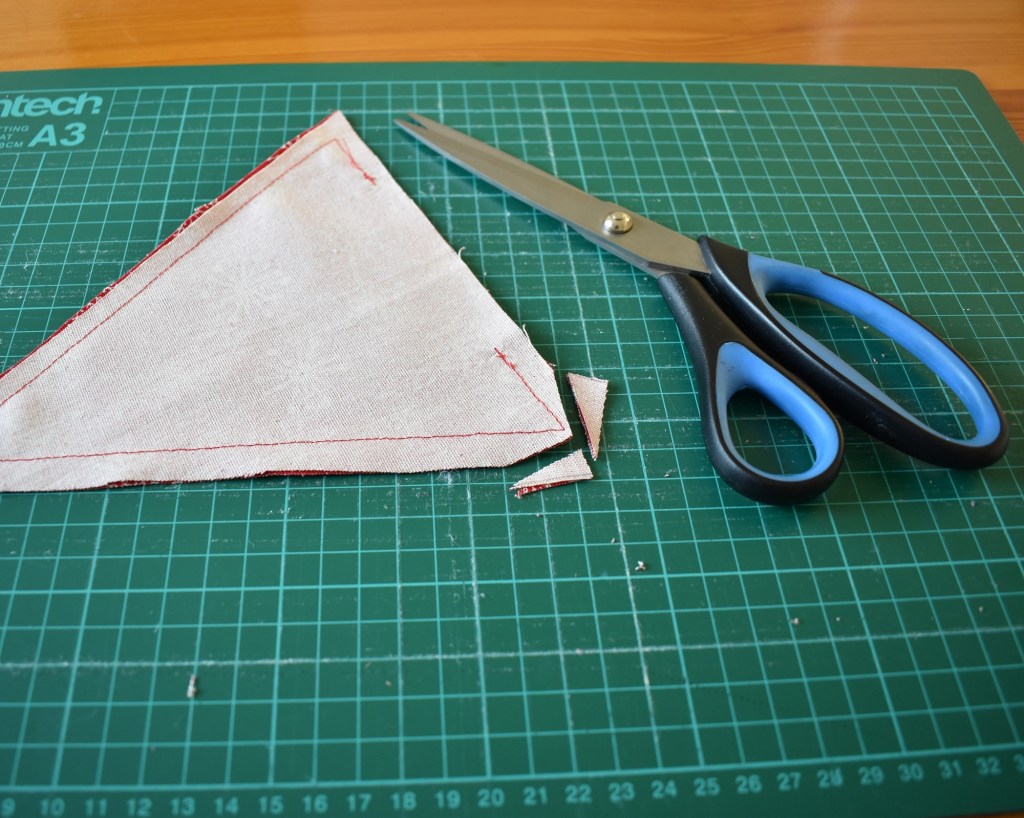
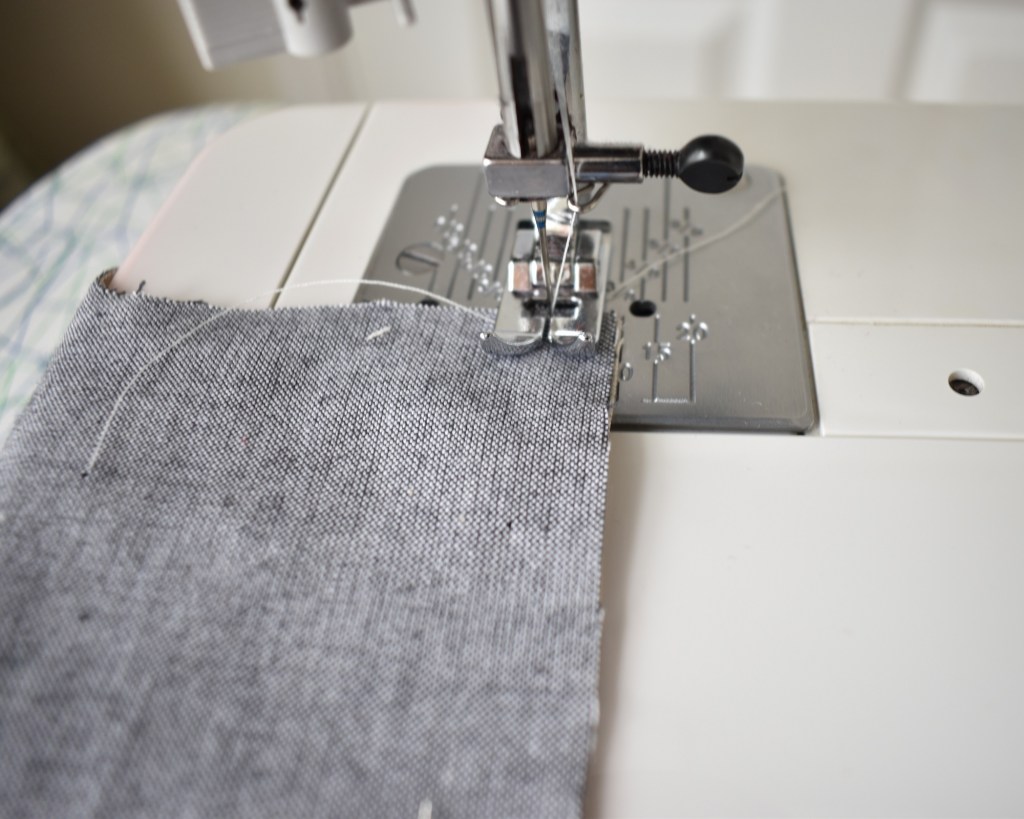
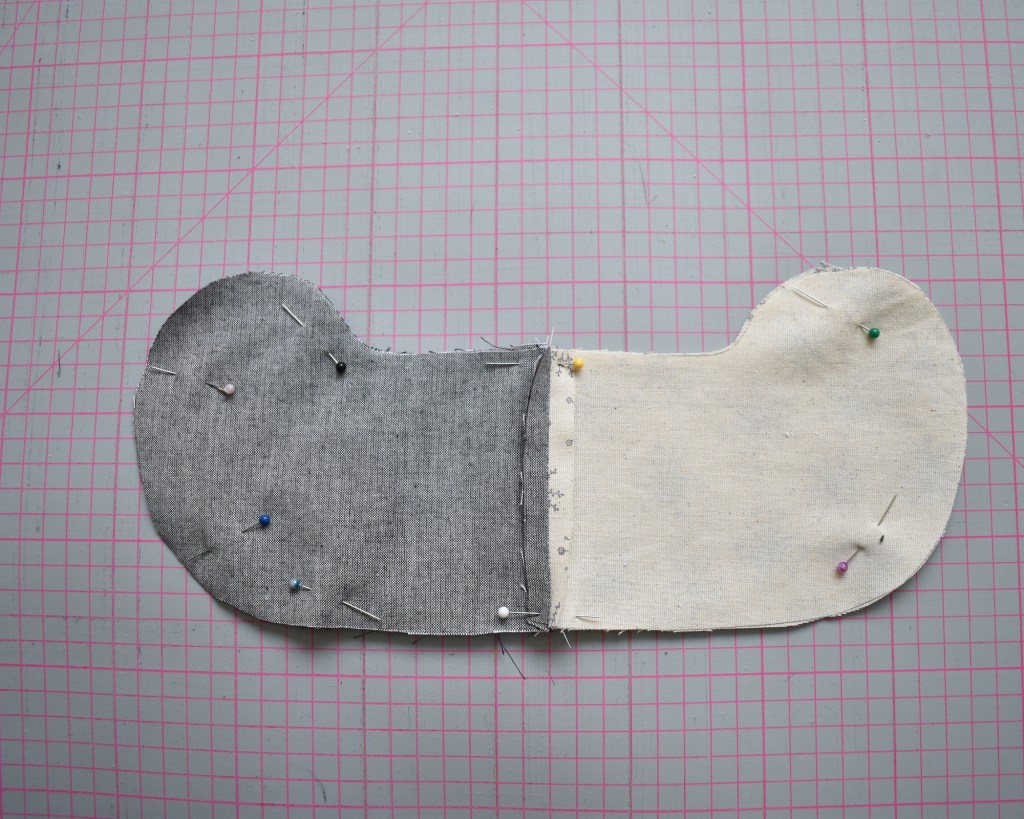
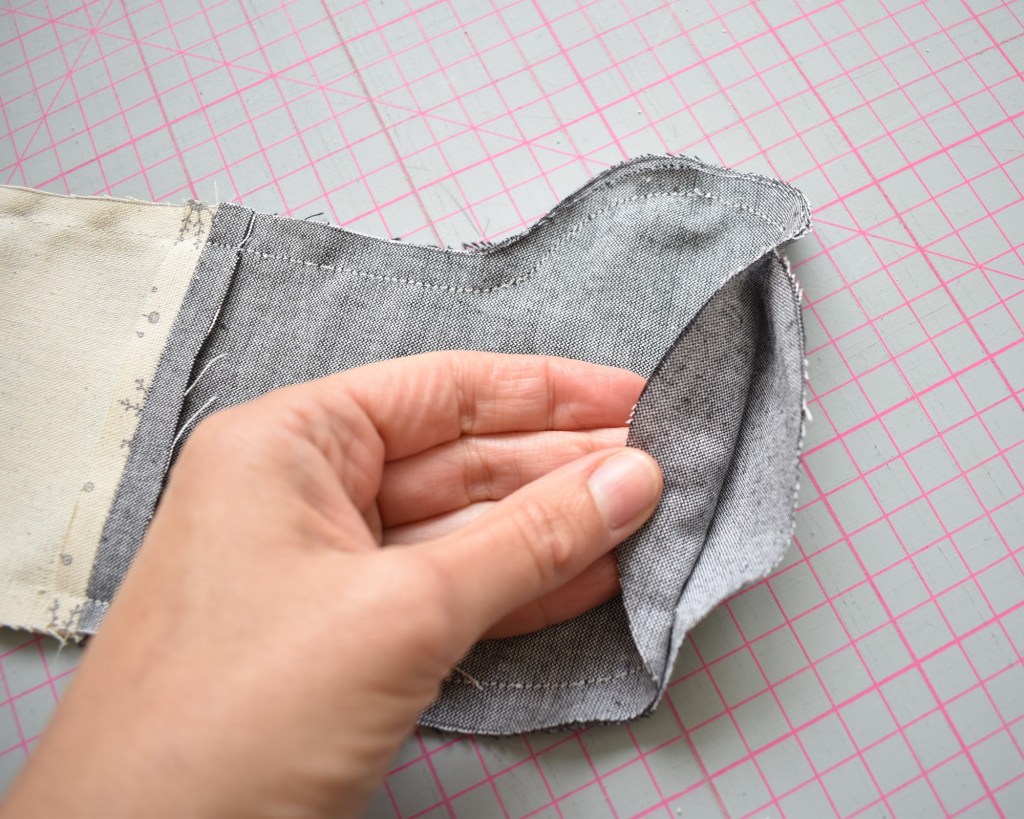
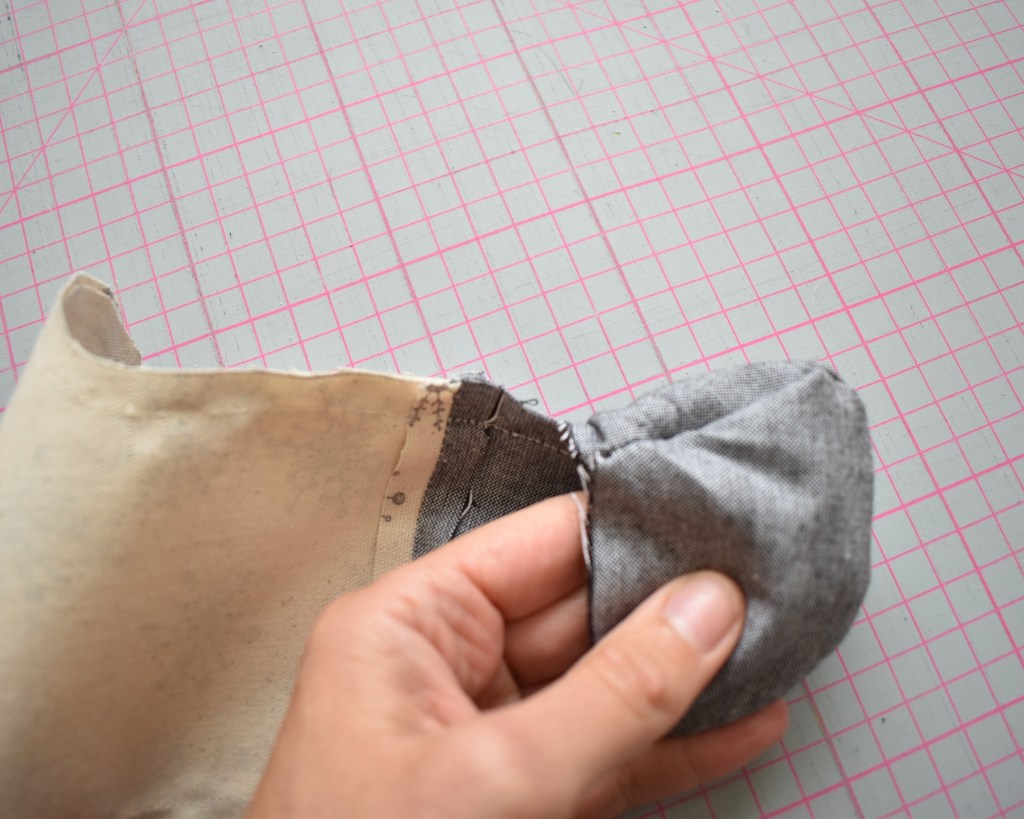
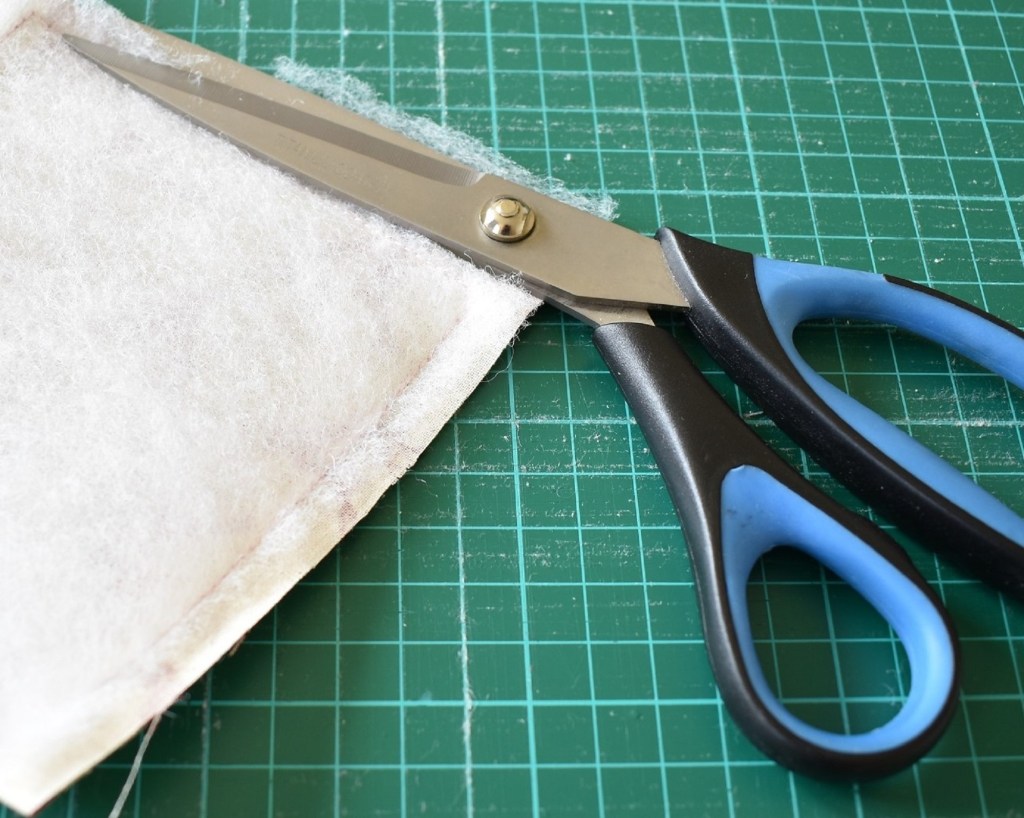
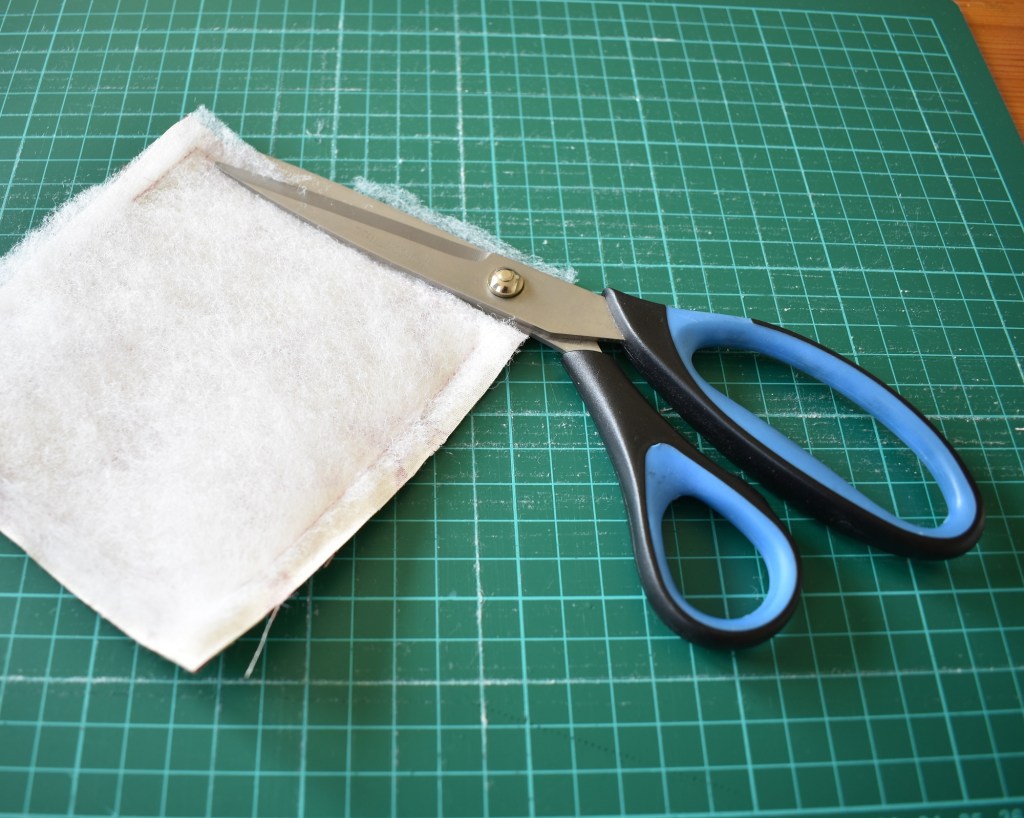
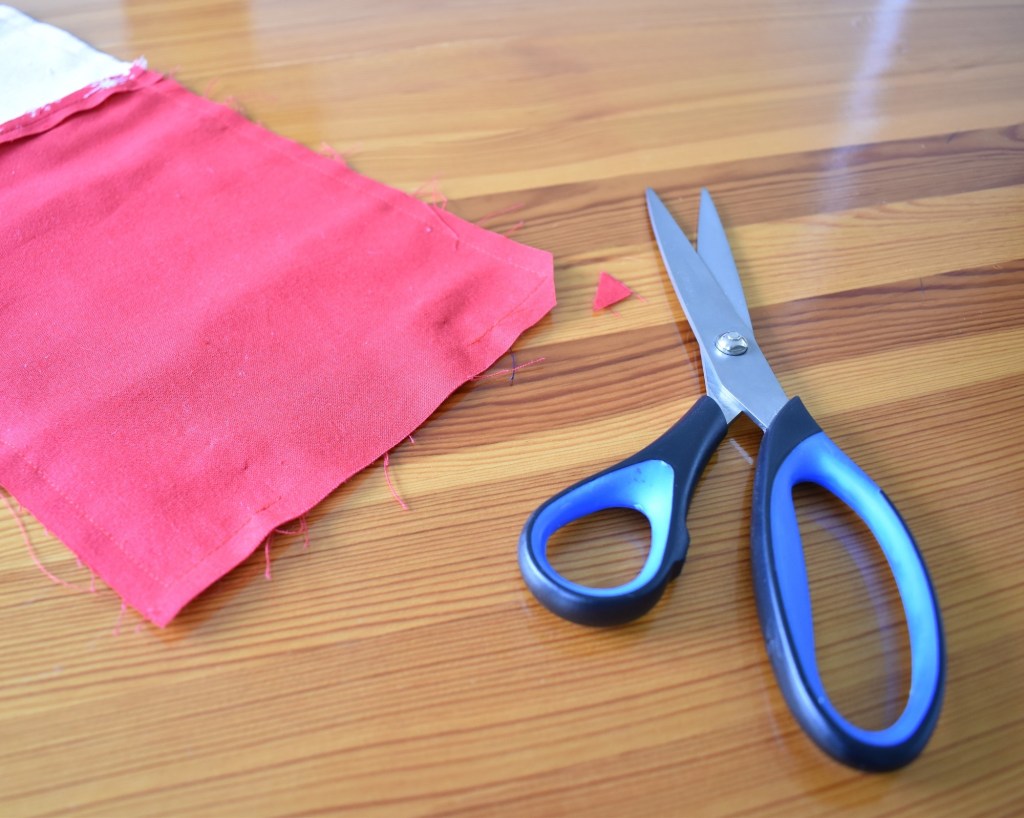
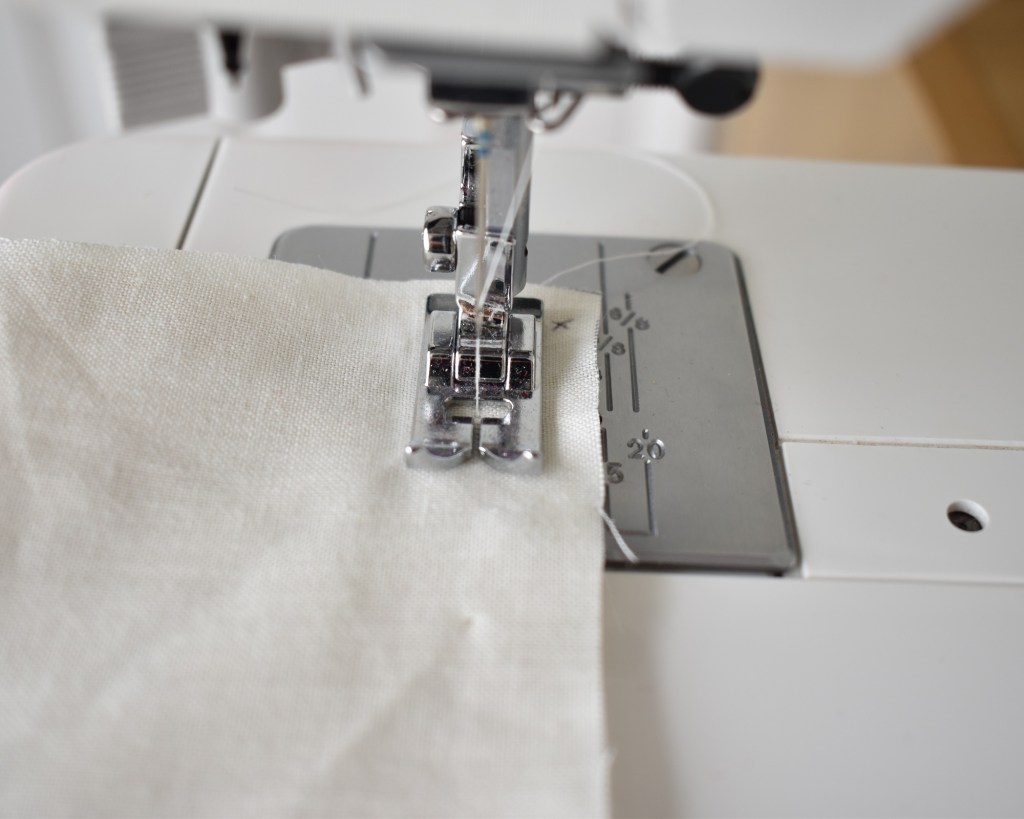
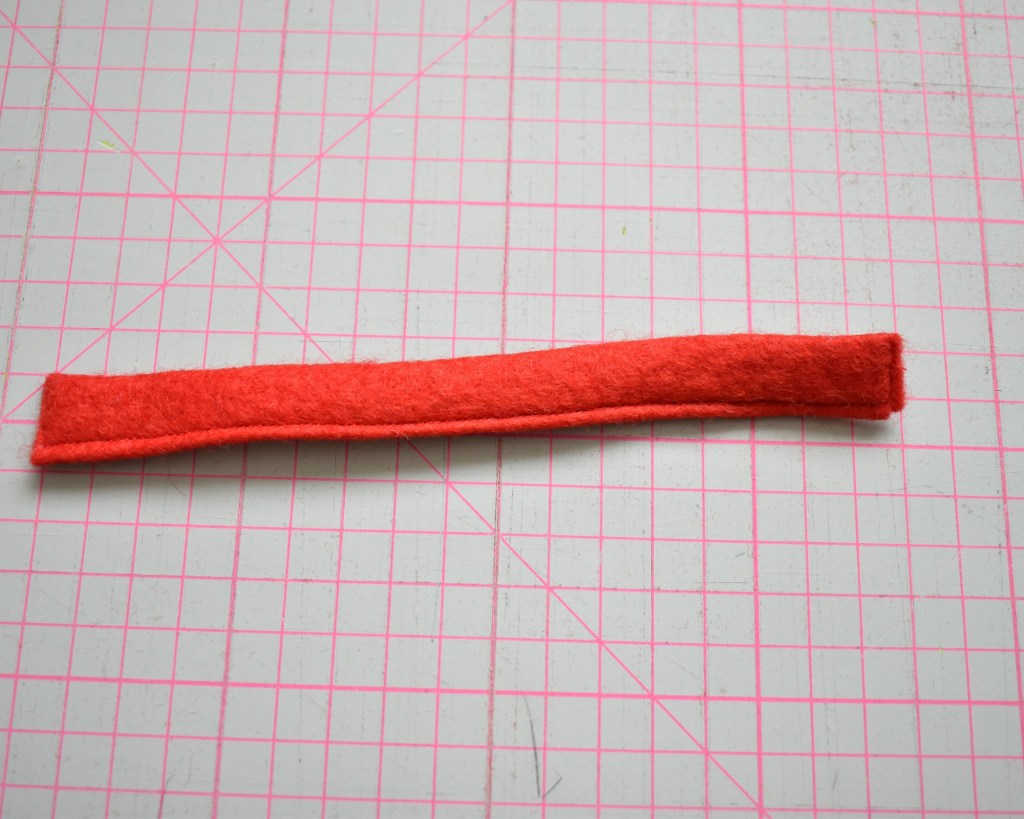
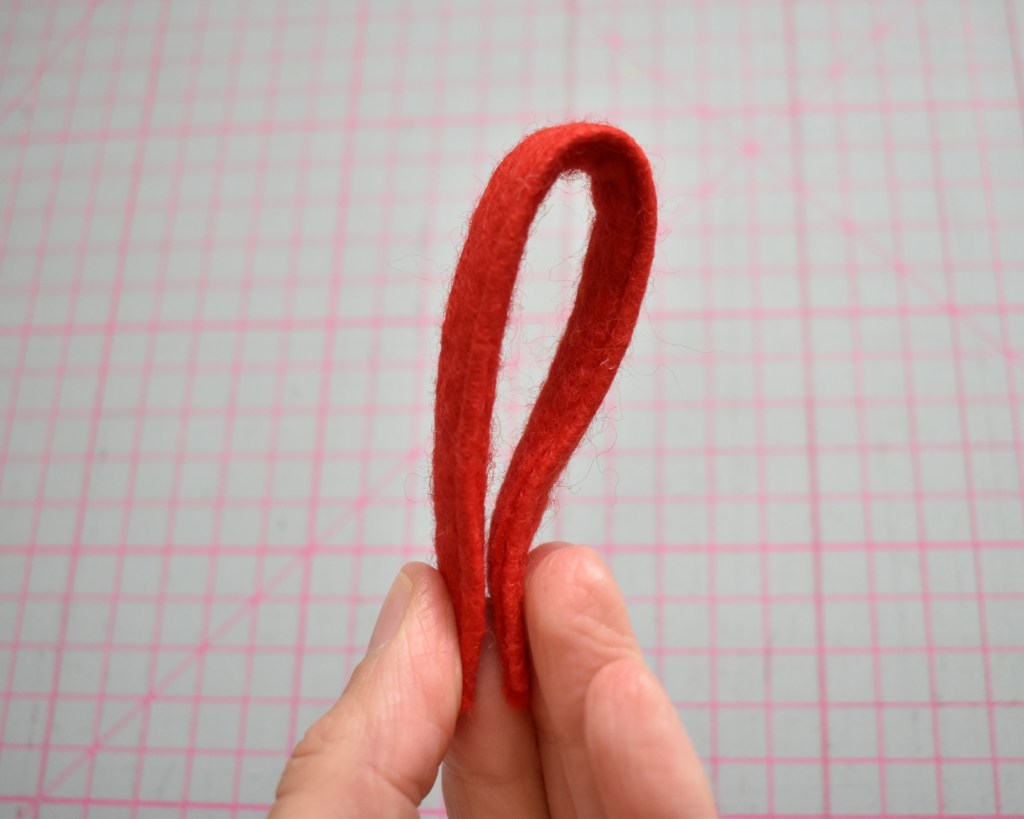
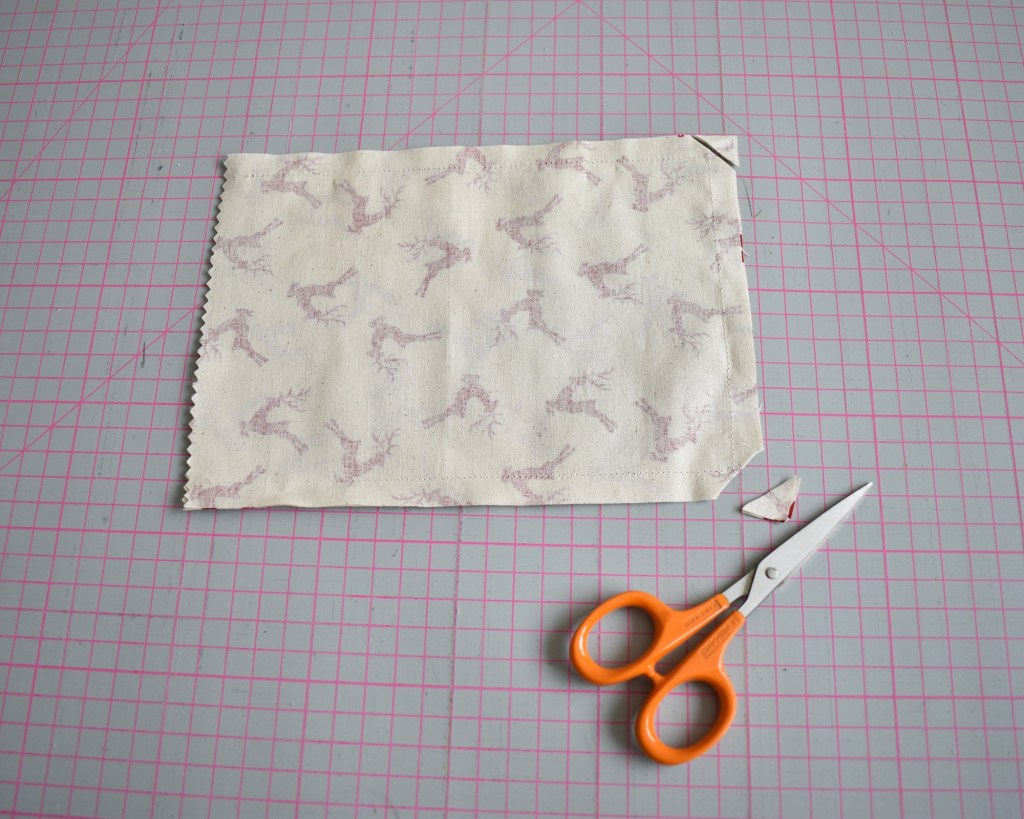
2) Using pinking shears cut out the shapes. This is the easiest option as pinking shears create an attractive triangular edge that helpfully prevents fraying, meaning you can use these year after year. If you don’t have pinking shears, or you like a more rustic look you can also just use a regular pair of scissors and embrace any fraying as part of the design.
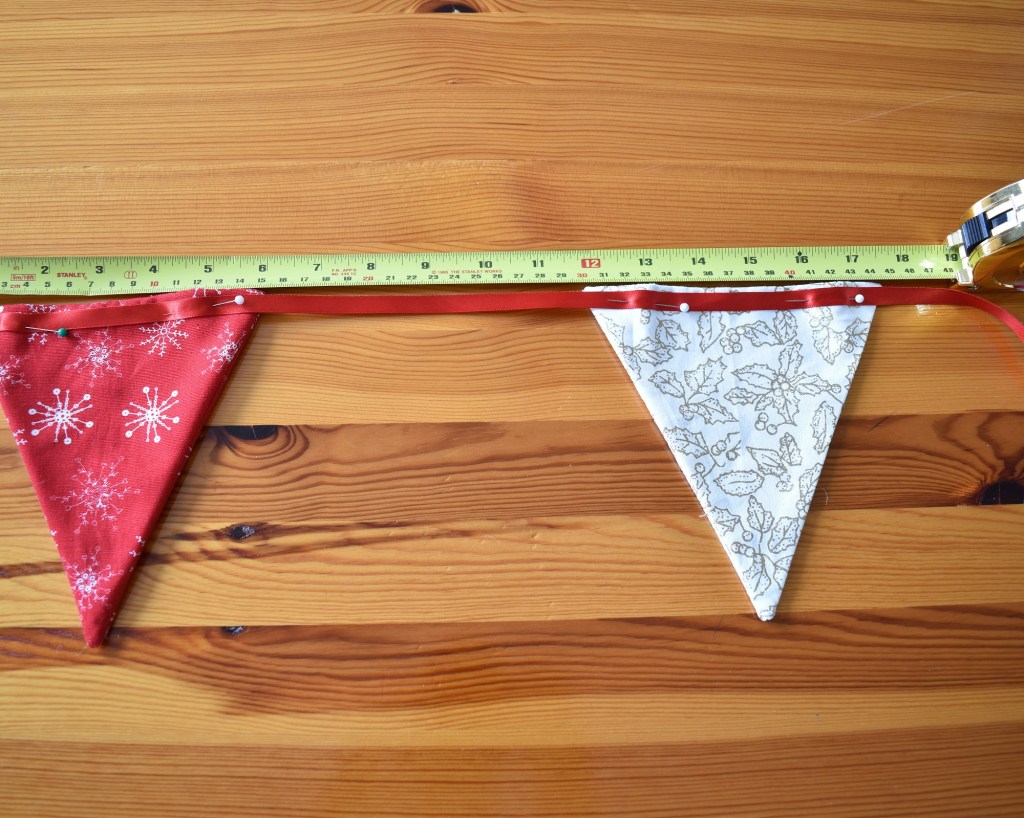
3) Hang your ribbon where you would like the bunting. I put mine between two doors and simply used blu tac to secure the ribbon to the frame. It can’t be seen and leaves no mark but hanging between pictures or mirrors, or along fireplaces are also lovely ideas.
4) Using the craft pegs simply hang your shapes to the ribbon. I used two pegs for each shape so they hang evenly. You can measure the distance between each if you like or simple follow your eye.
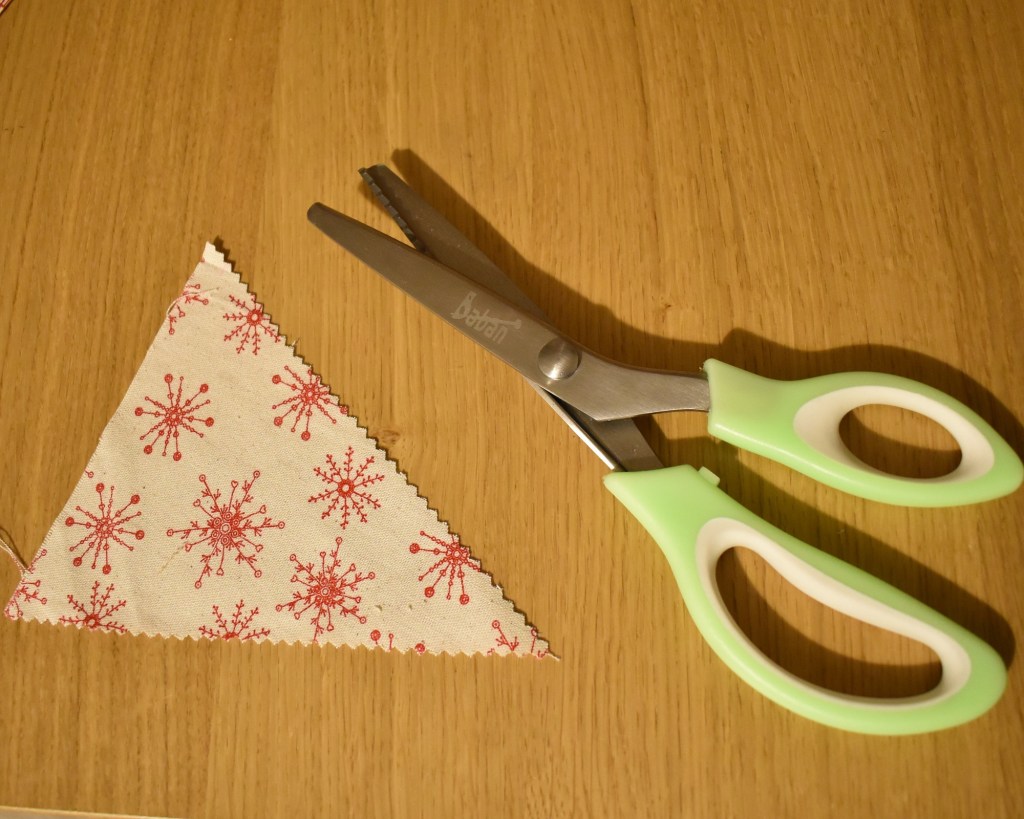
Use pinking shears to cut out the shapes 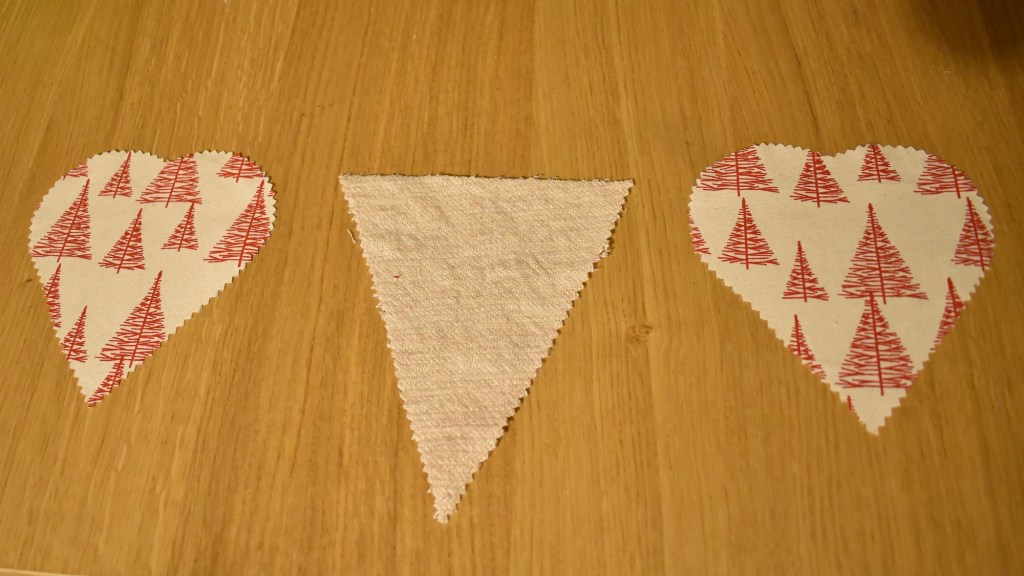
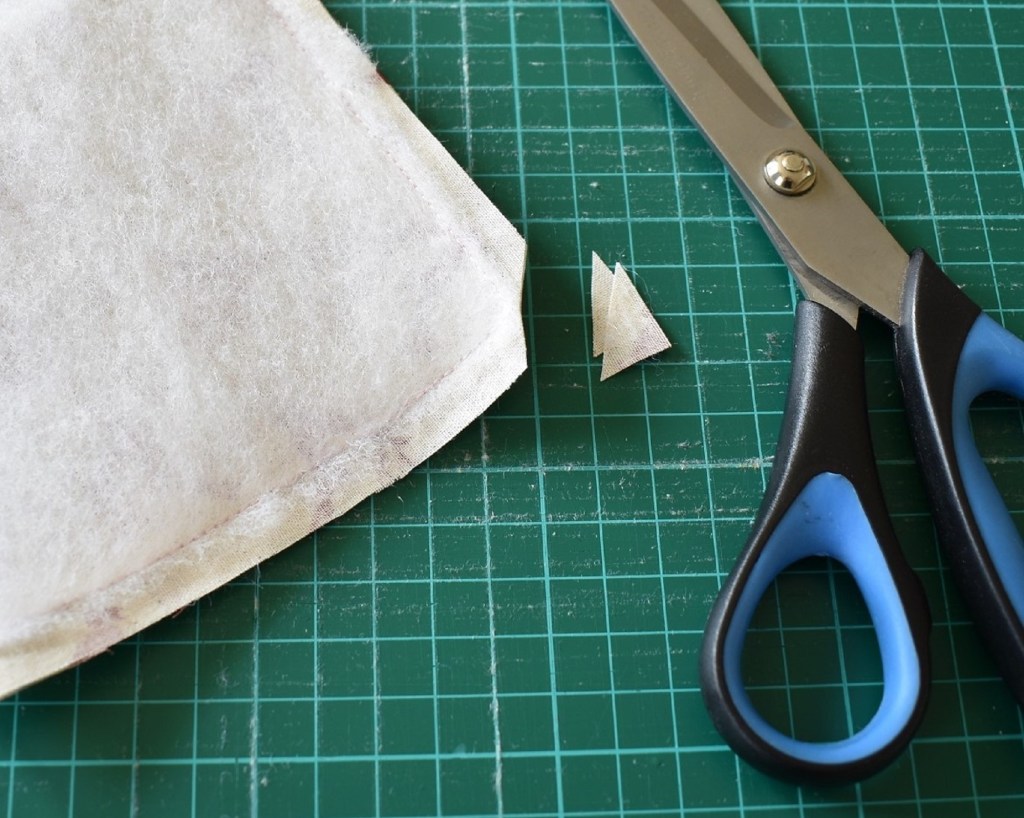
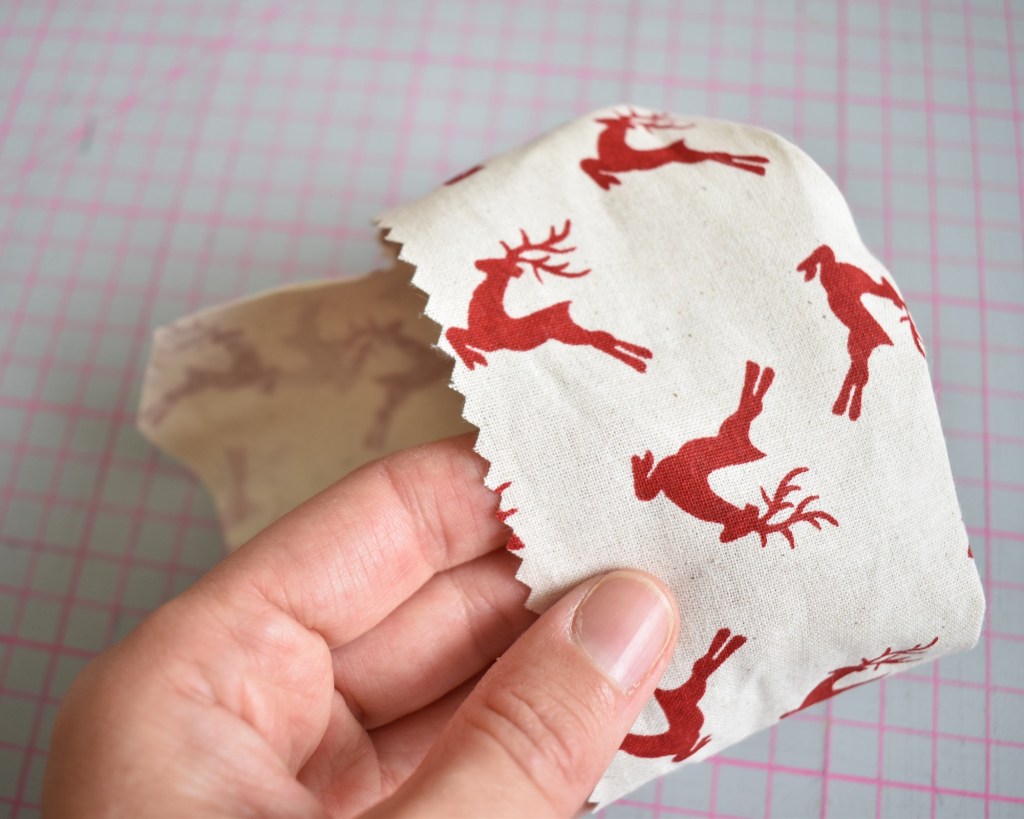
Your shapes, ready to use 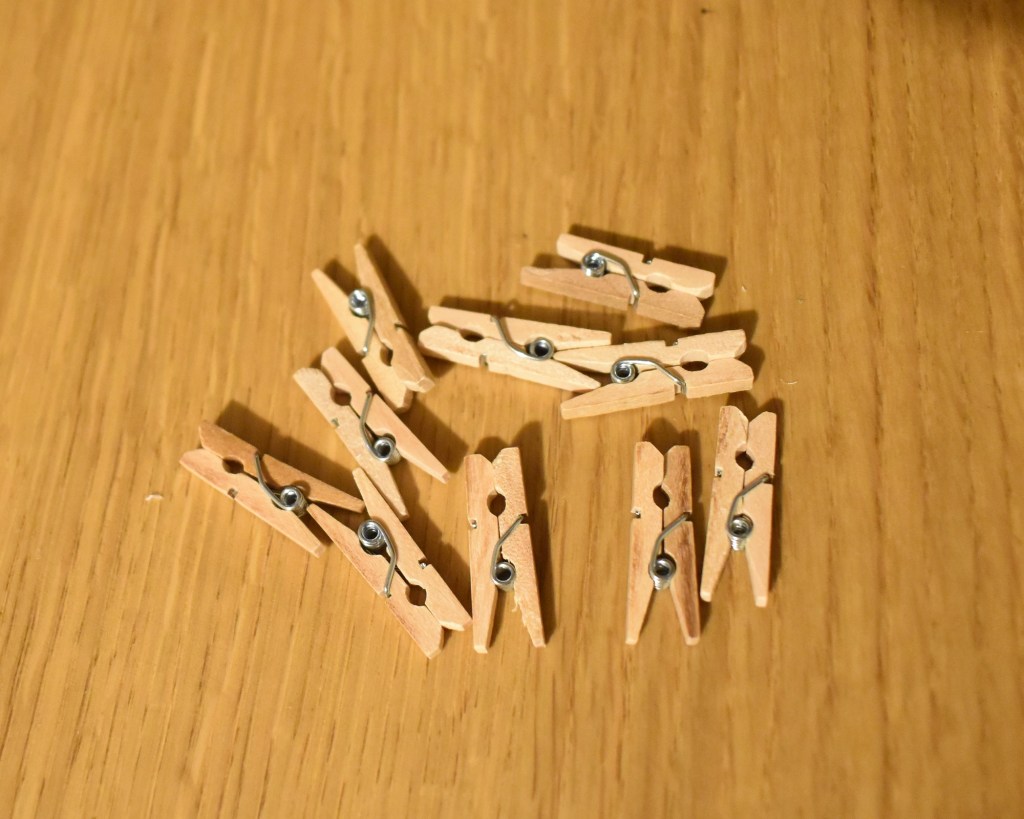
Craft pegs
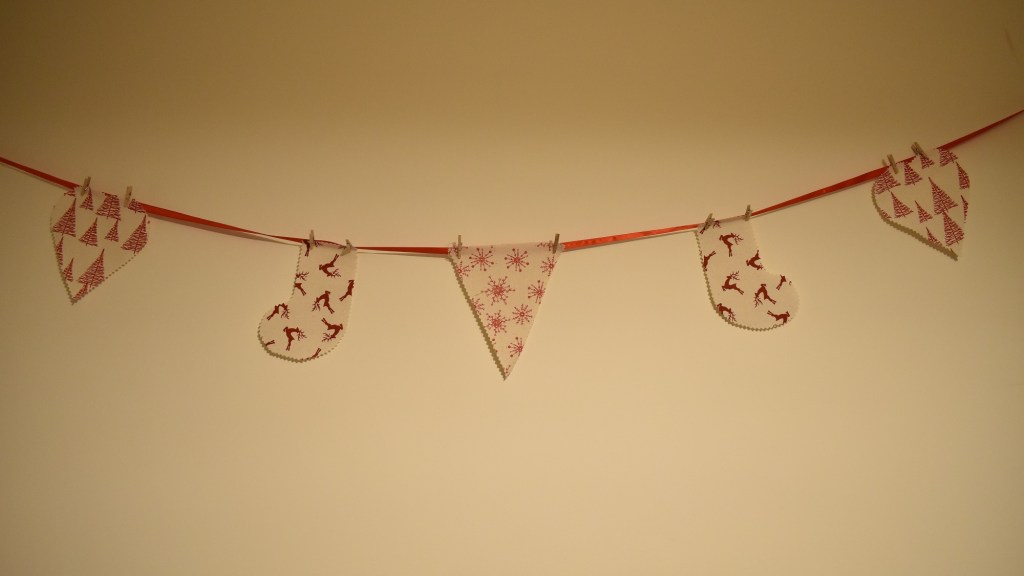
And, Voila! Some simple but attractive bunting that takes hardly no time at all but finishes off an empty space with a lovely handmade touch
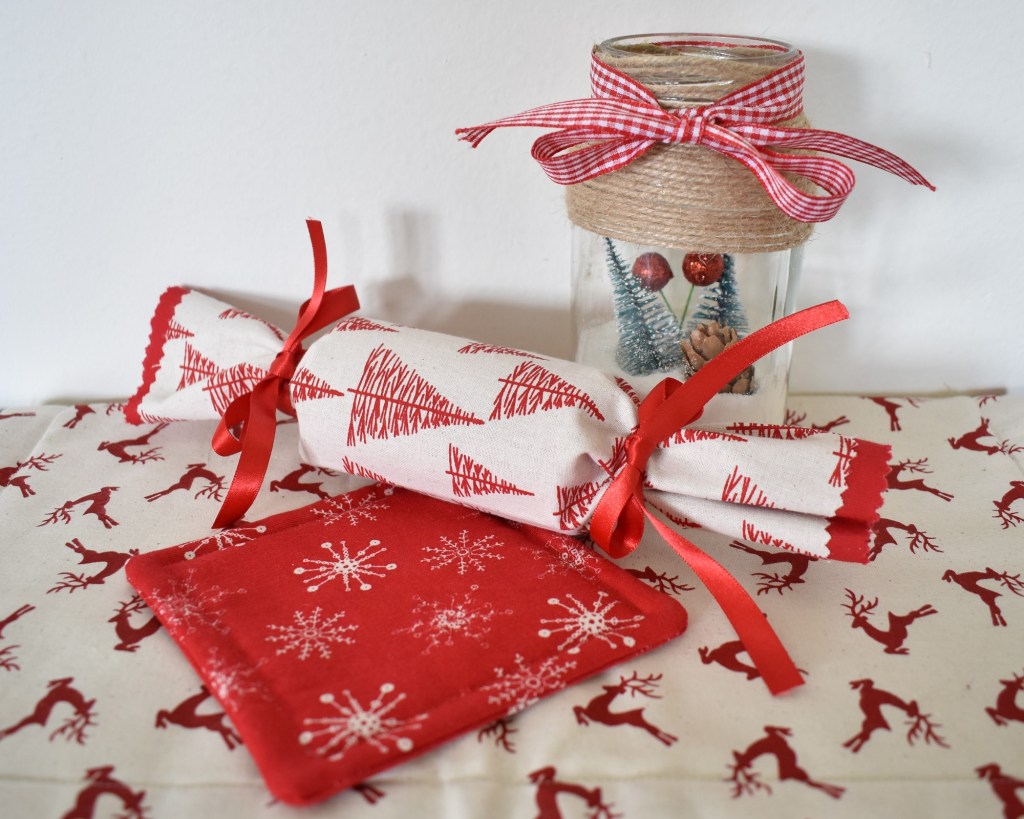
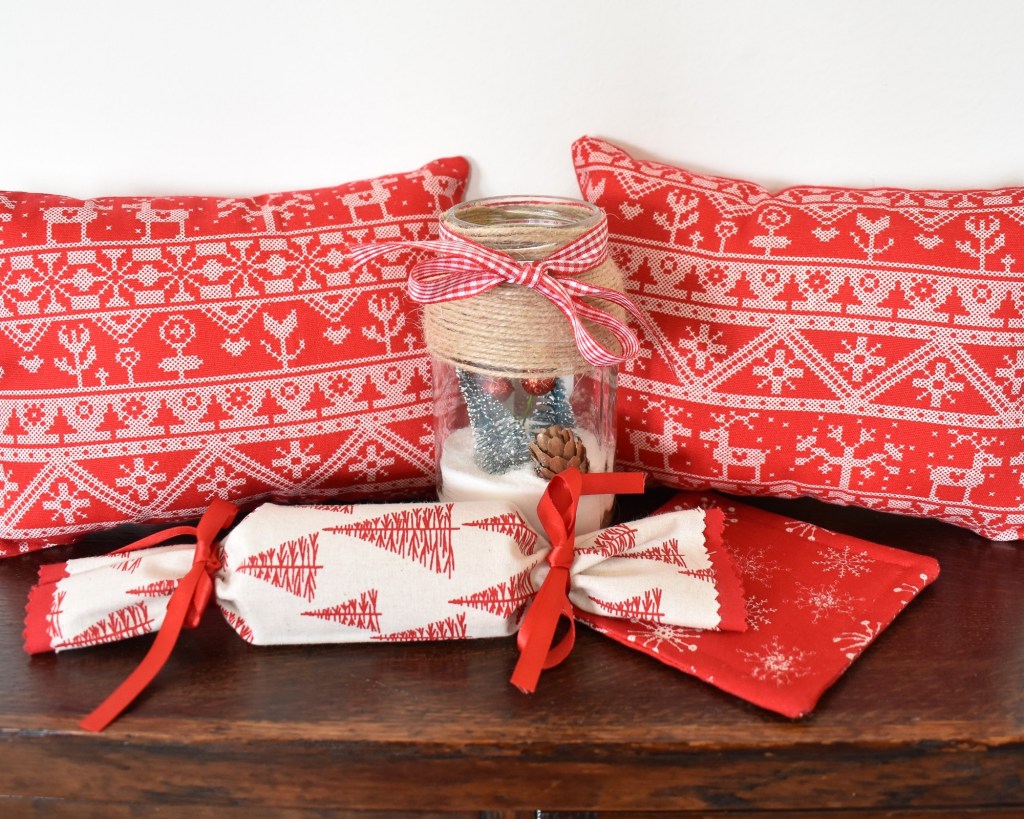
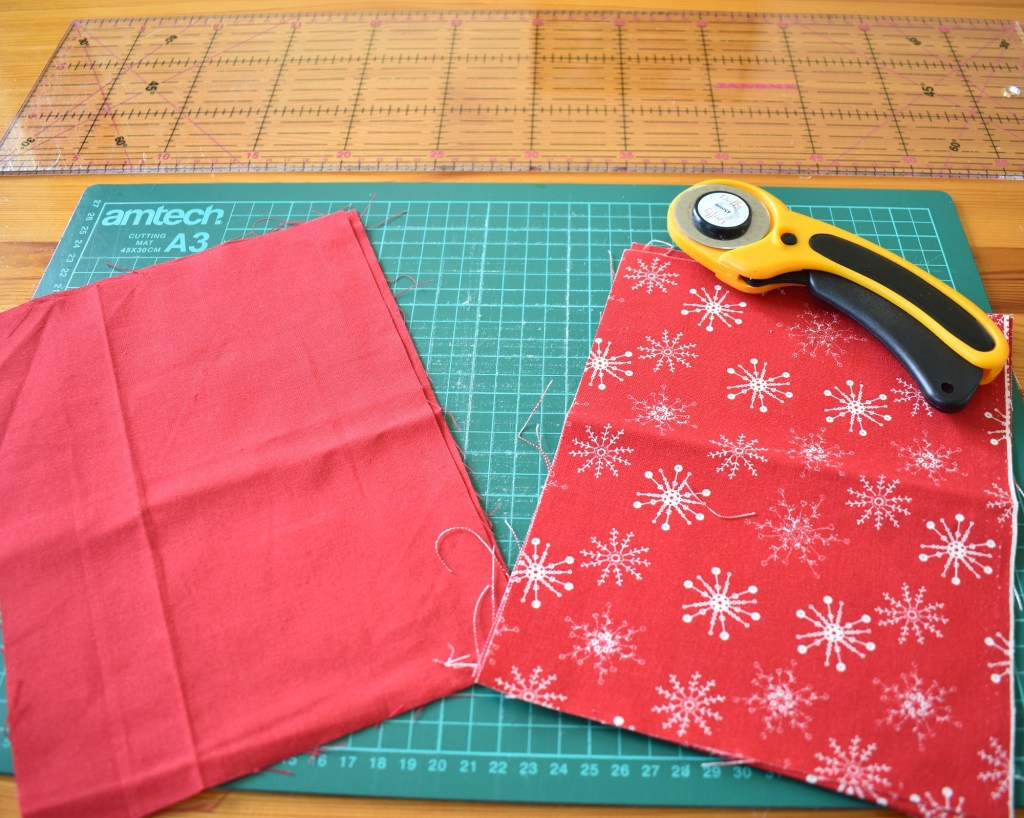
Glass Jars
These are particularly perfect for if you want to create an extra handmade table piece or to fill a corner of a window sill, or if you want something sweetly festive to pop a candle in. They are a great way to use up extra pieces of ribbon that always seem to be hanging around a crafters sewing box! Through the process of working through these crafts I have been amazed at how many ribbons and odd pieces of decorative items I have come across and this little project seemed the easiest way to use many of them up.
What you’ll need:
Glass jars (fully washed and dried in whatever size you fancy )
Ribbon, string, pieces of fabric
Scissors, fabric glue
Decorative items to place inside (The Works is a great place to pick up cheap craft supplies that are perfect for these kinds of projects, I got mini trees, baubles and pine cones)
- For my first jar, I simply glued a piece of ribbon around the top, filled it with sugar to imitate snow, and inserted some of my craft supplies. It would also be cute to simply add a candle.


For my second