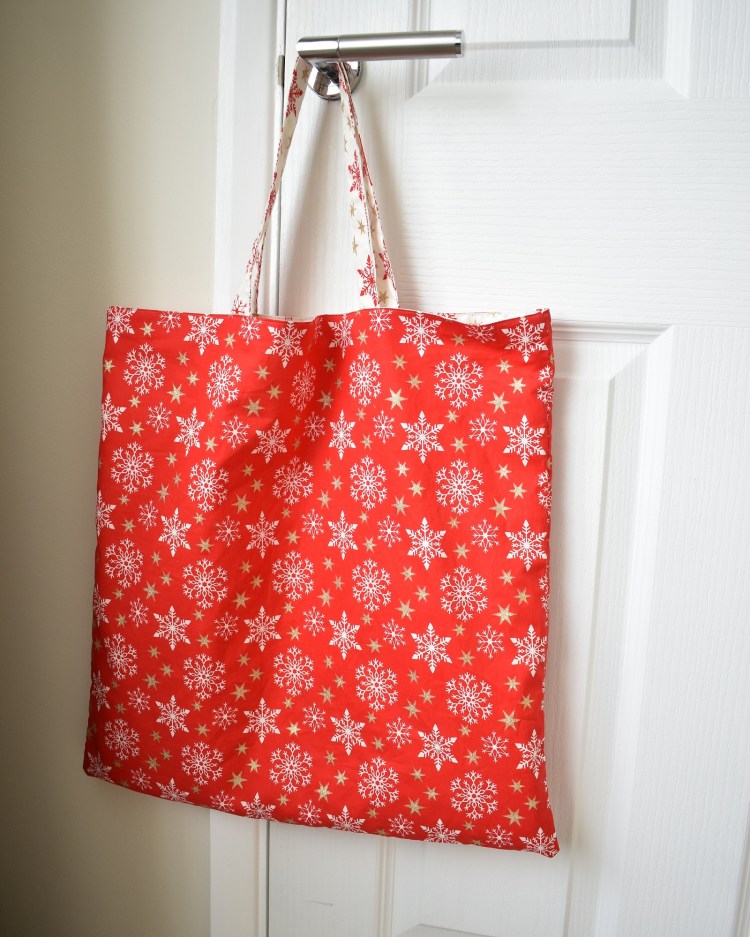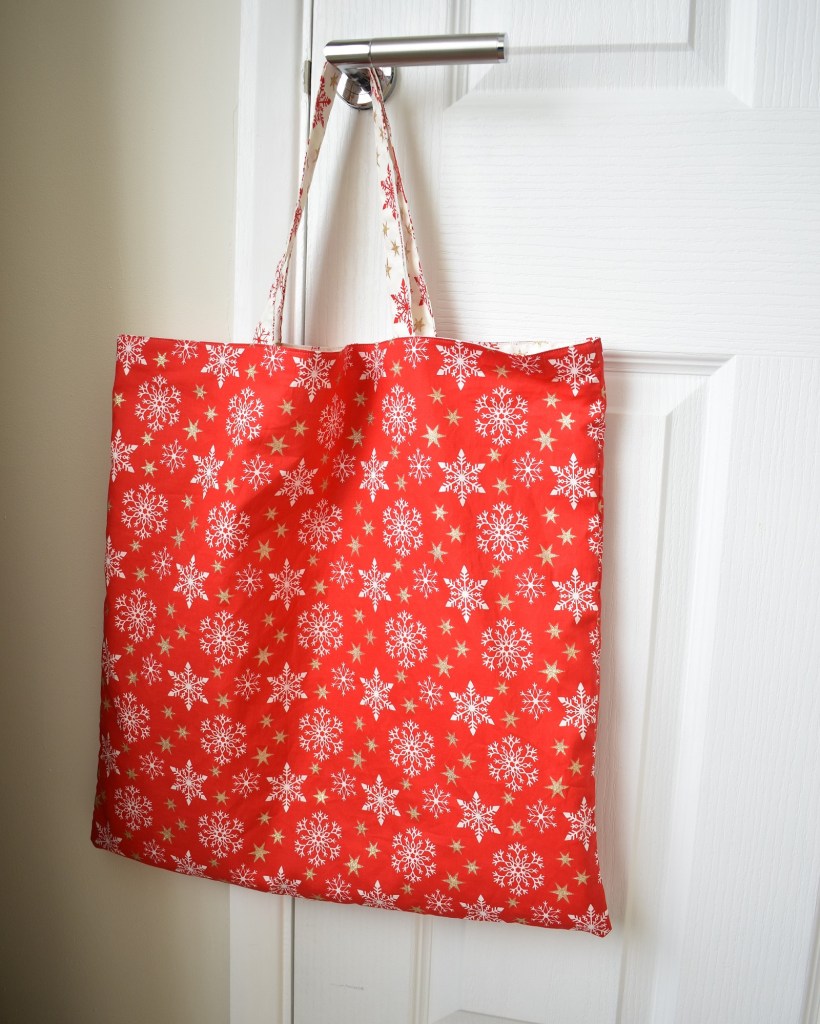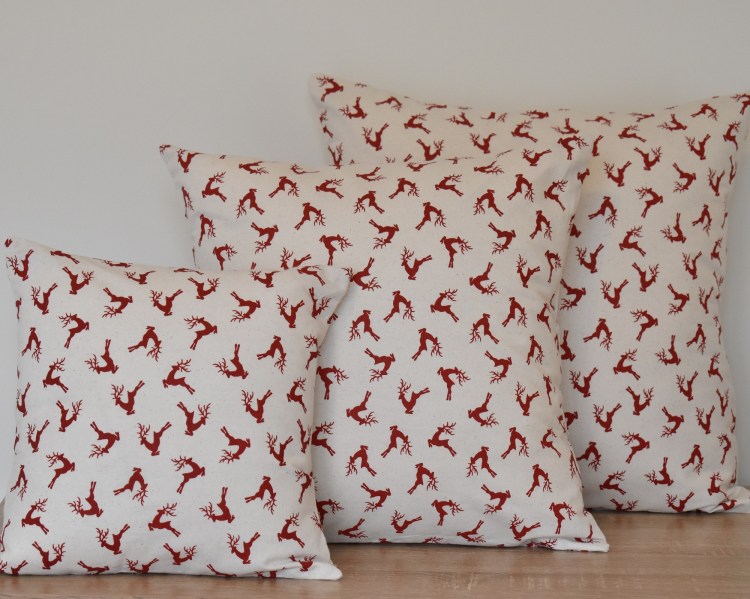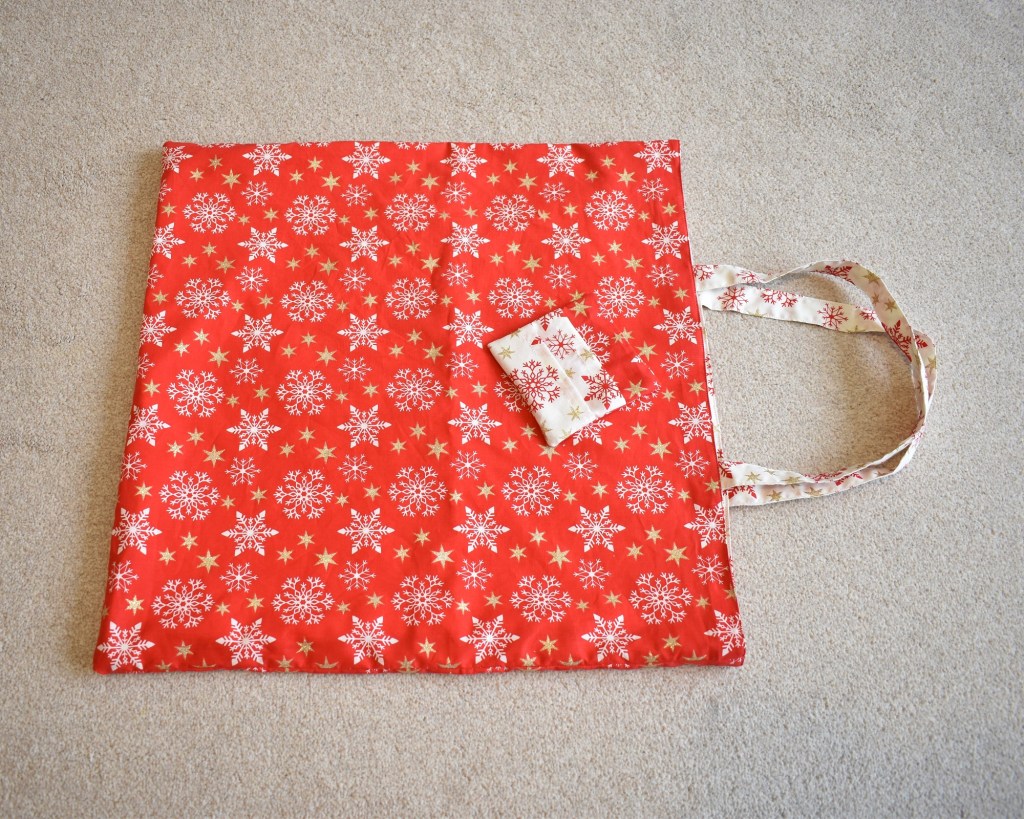
On the second day of Christmas Jillian Sharples Design gave to me, a cute little Debit Card Holder to match my Christmas Tote Bag
Hi there! So, how are the festive vibes going? Have you got stuck in this week and sewn your own festive tote bag already? Looking for that final finishing touch of a matching debit card holder so you can shop in full festive style? Well, look no further!
Today I’m going to carry on with our Christmas shopping theme, and show you how to make a neat little wallet for carrying your debit cards. This will fit conveniently in the pocket of your Christmas Tote Bag and is all you need in our current cash free society!
What you’ll need:
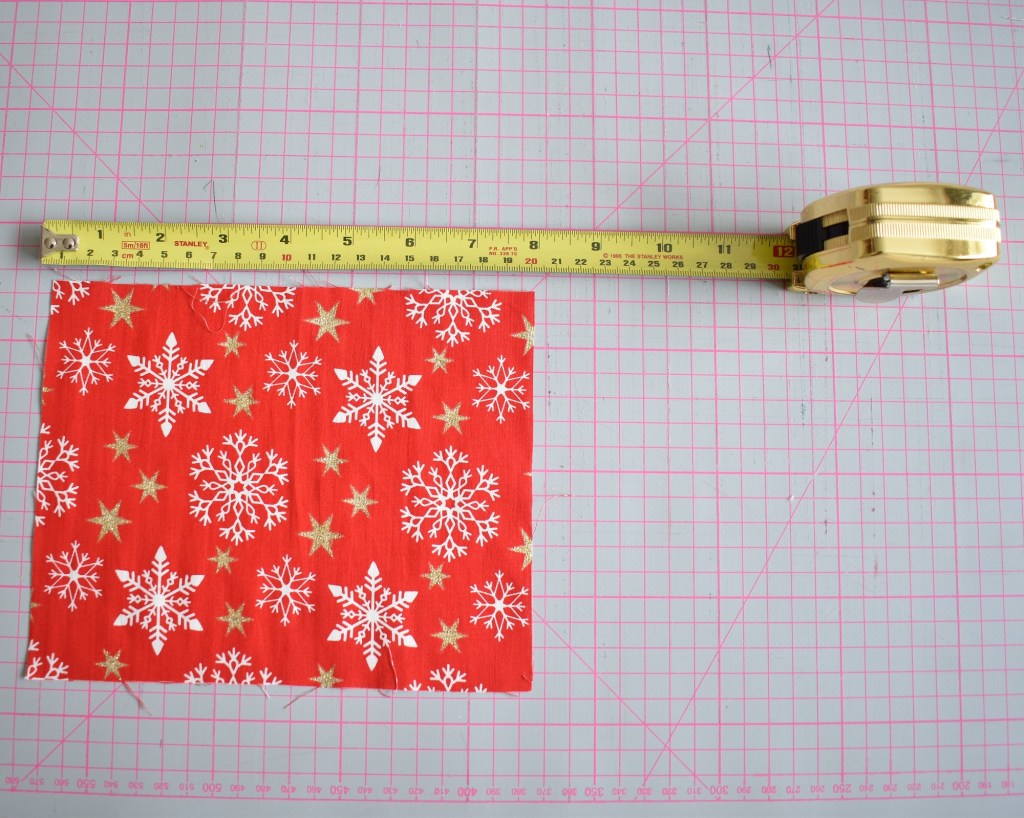
1 fat quarter or equivalent piece of fabric measuring roughly 40 x 40 cm maximum.
Cutting board (if you have one)
Cutting ruler (if you have one)
Roller cutter or scissors
Tape Measure
Sewing machine
Matching thread
Needles and Pin
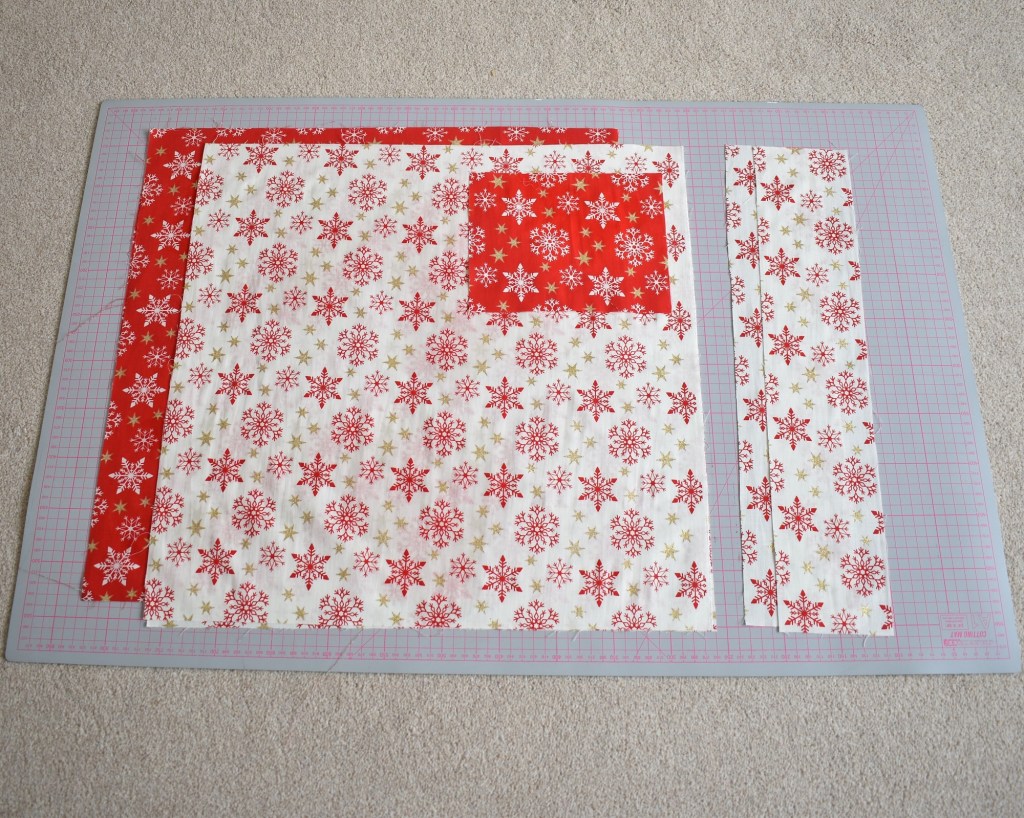
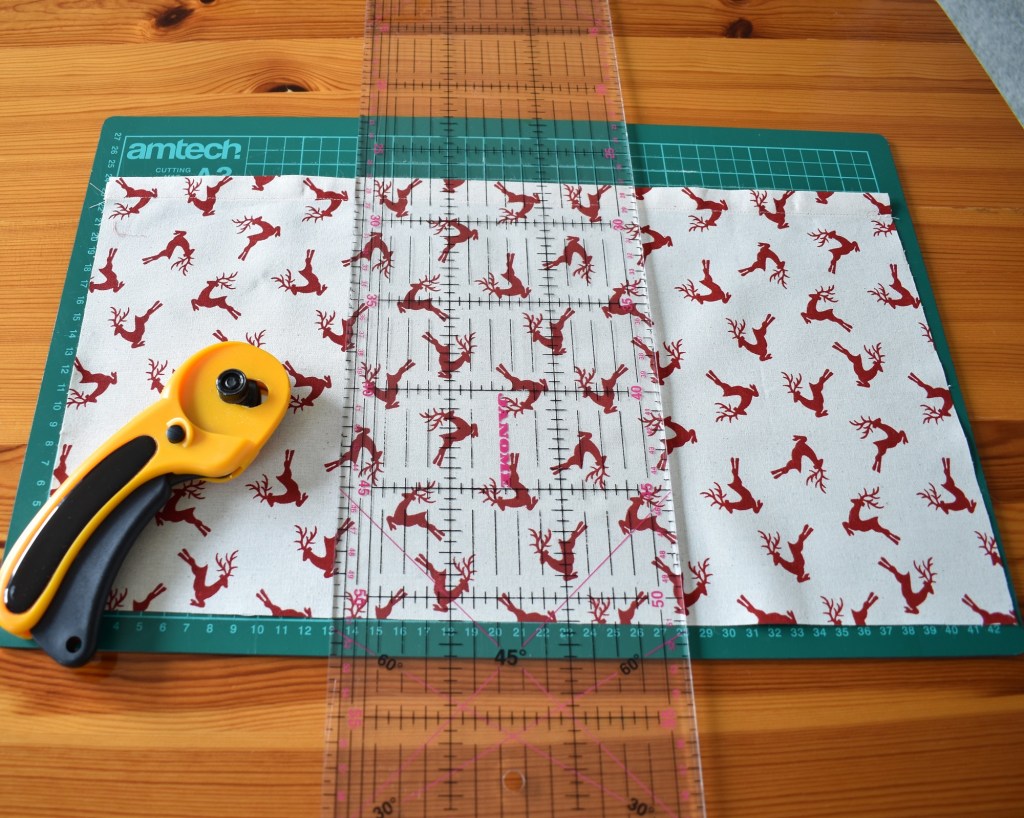
1) Preparing the fabric
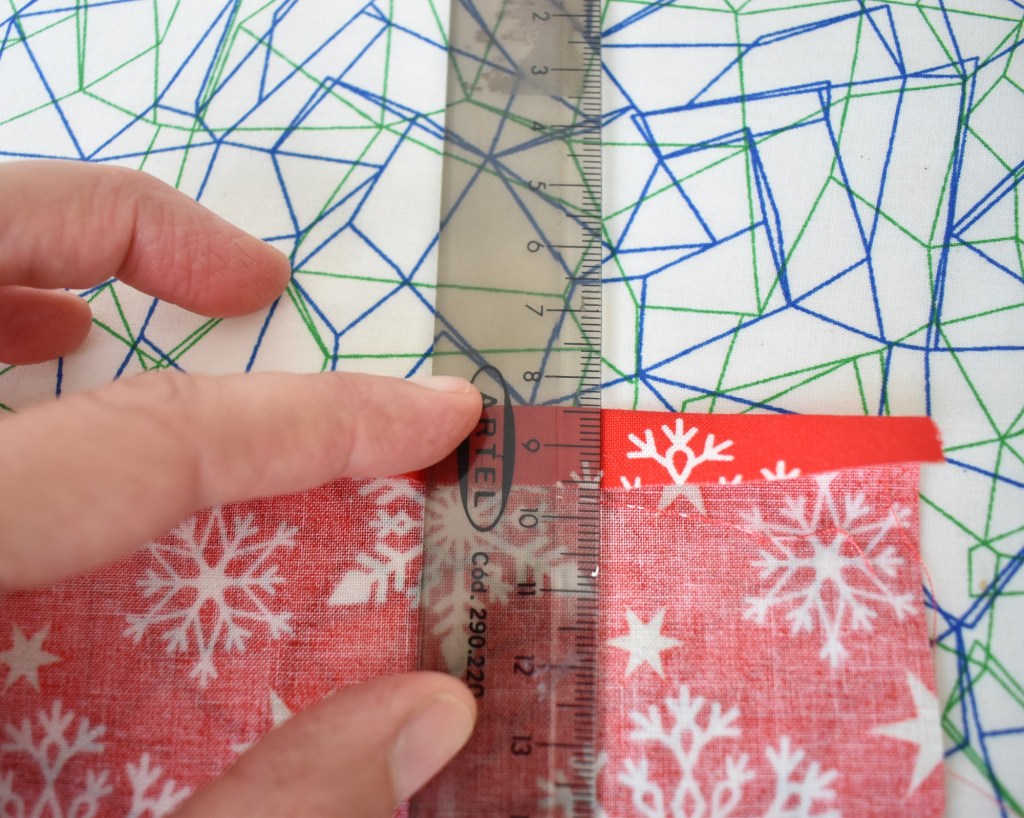
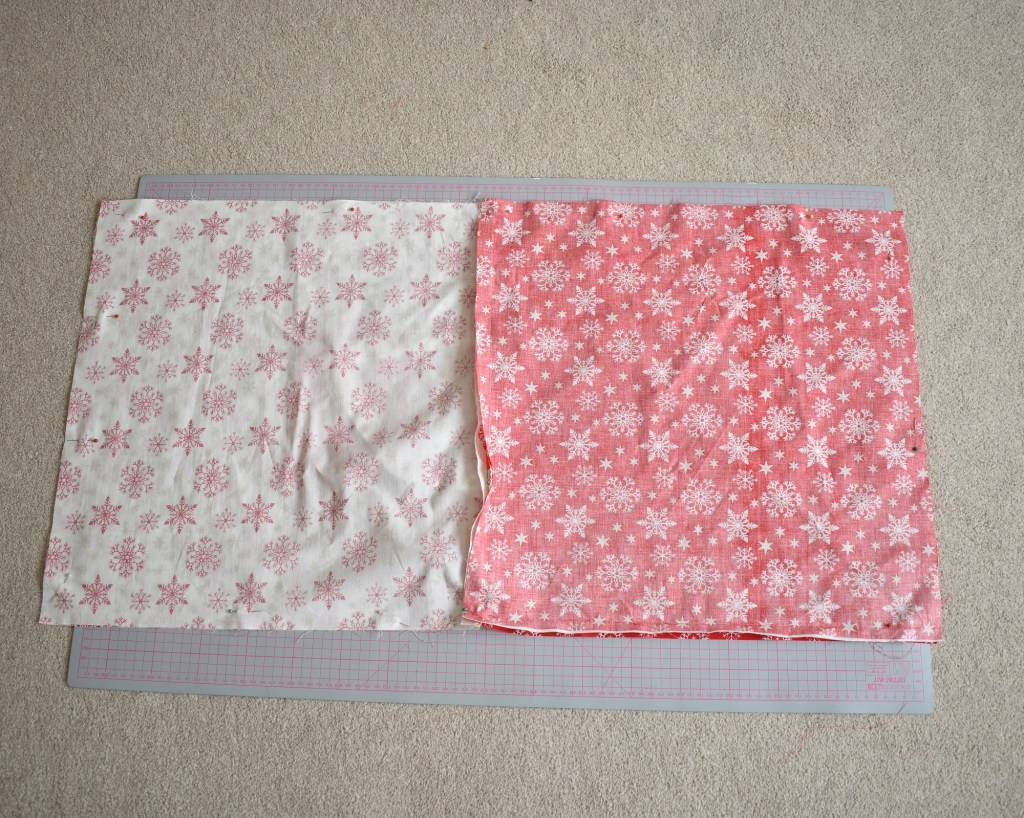
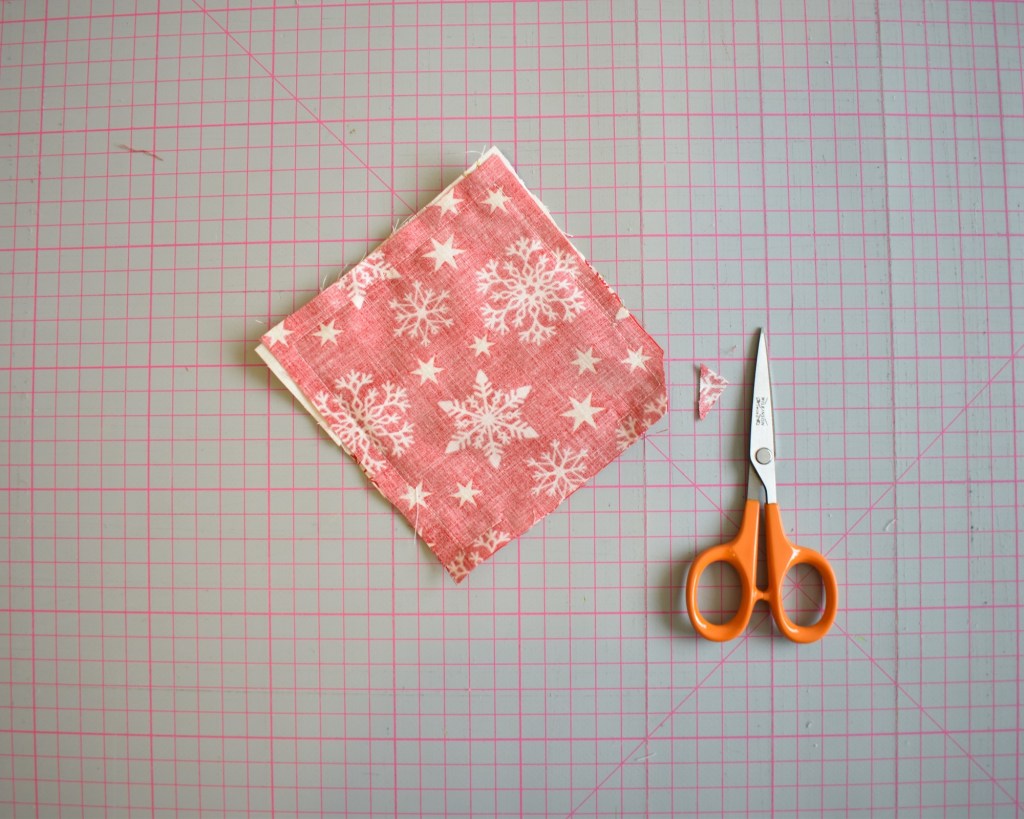
For this project you want to begin by cutting out 4 pieces of fabric:
2 of 11.5 cm x 12 cm – for the main body of the wallet
1 of 11.5 cm x 9 cm – For the larger pocket
1 of 11.5 cm x 7.5 cm – For the smaller pocket
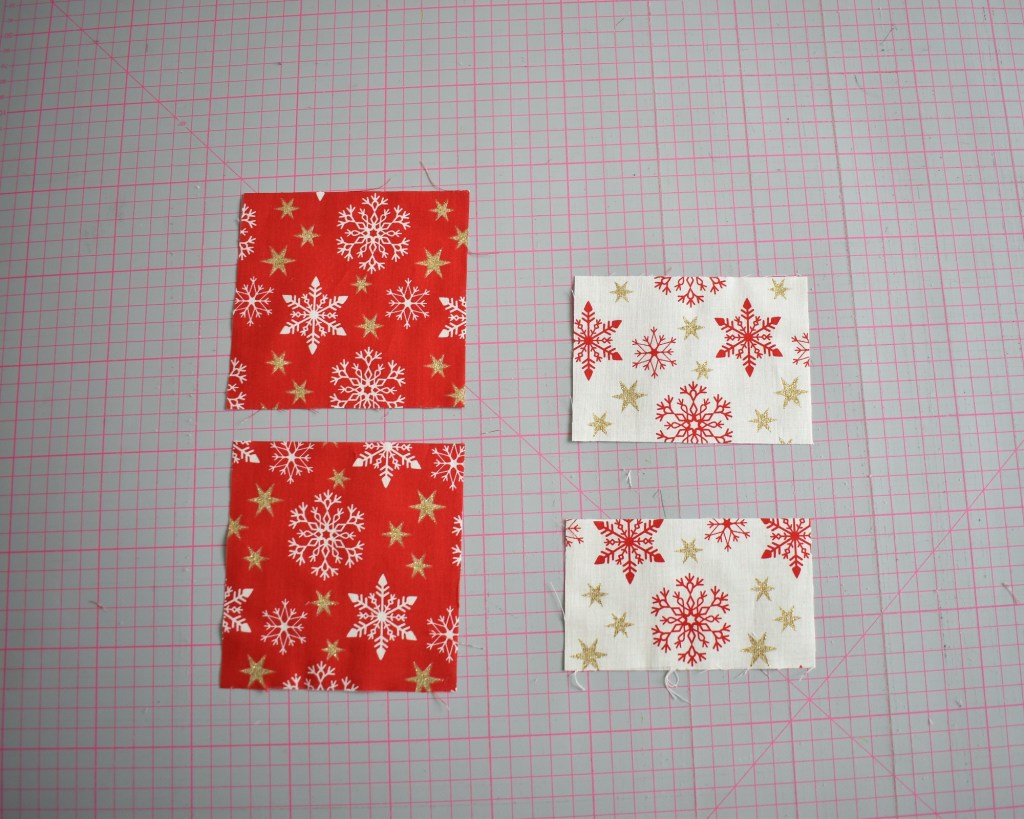
Your 4 pieces of fabric 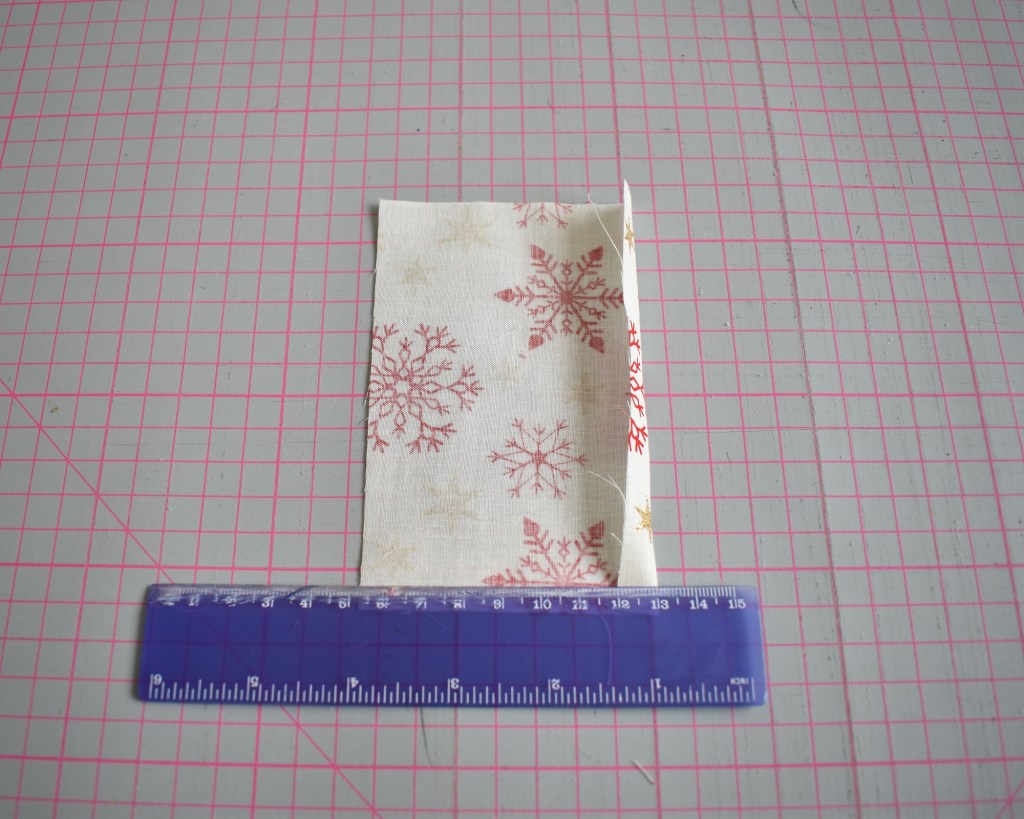
Measure and fold a 1cm hem
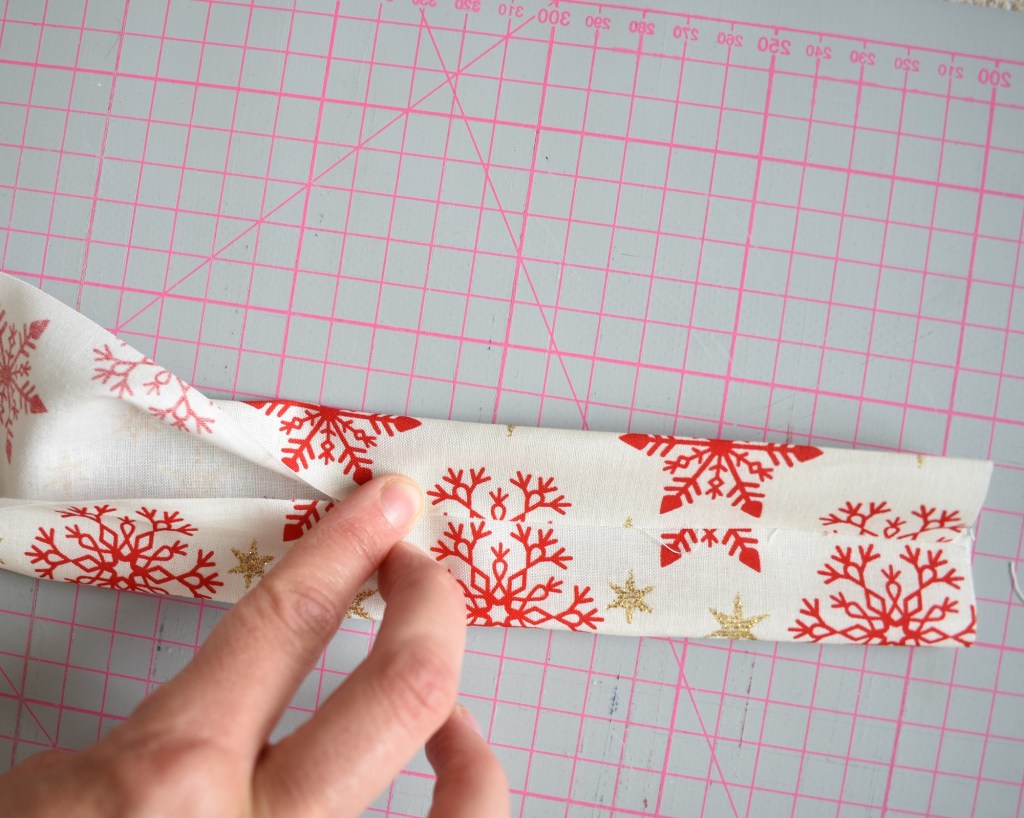
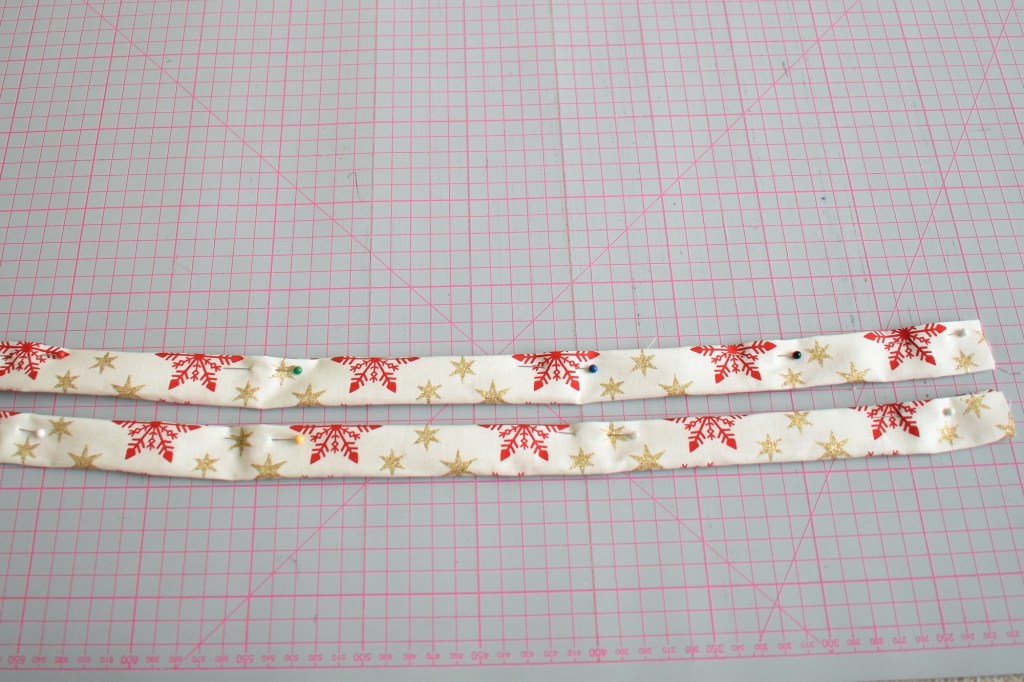
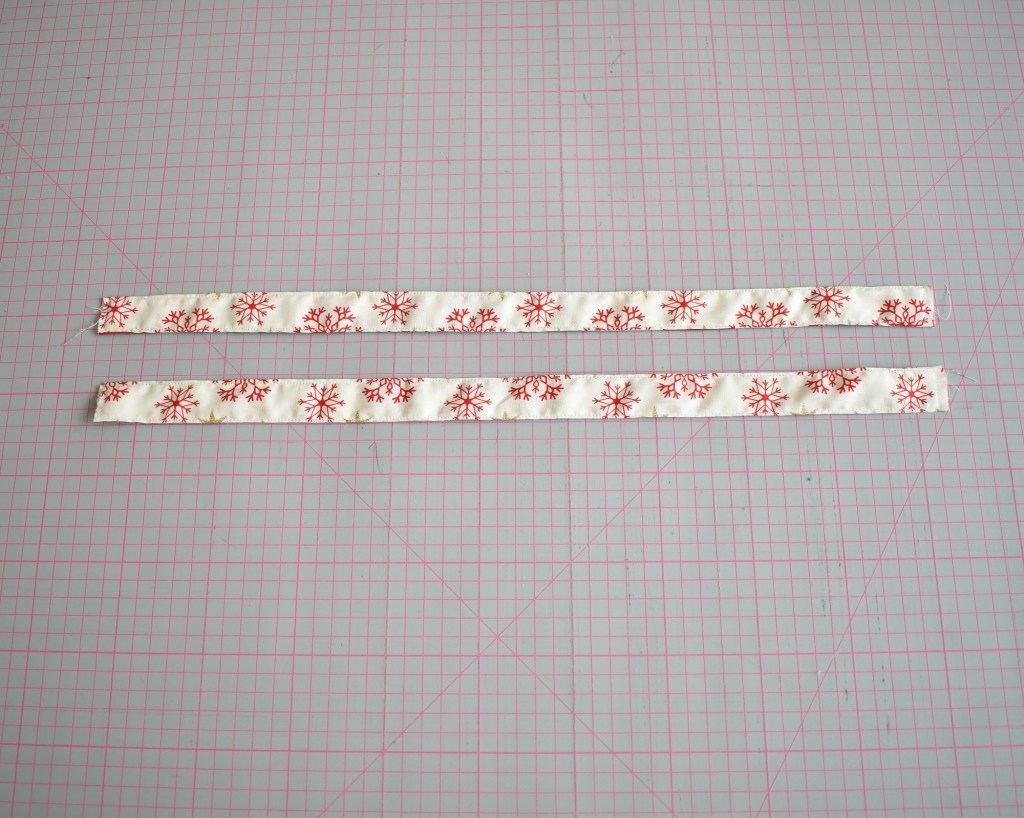
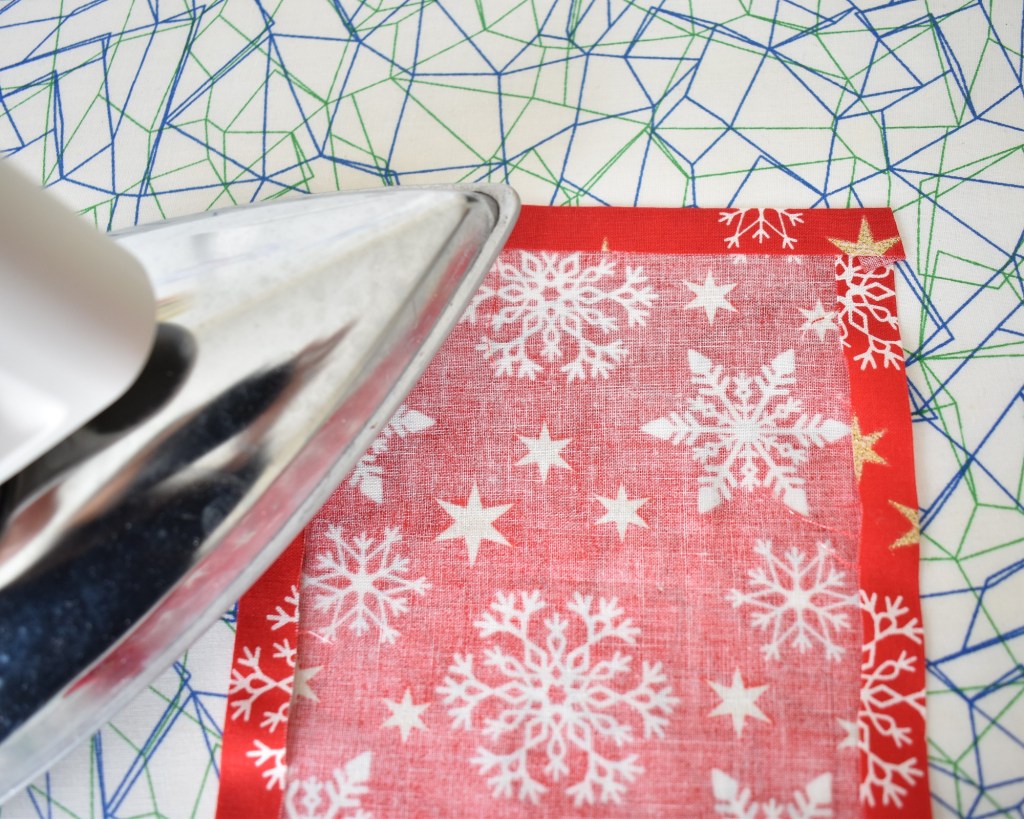
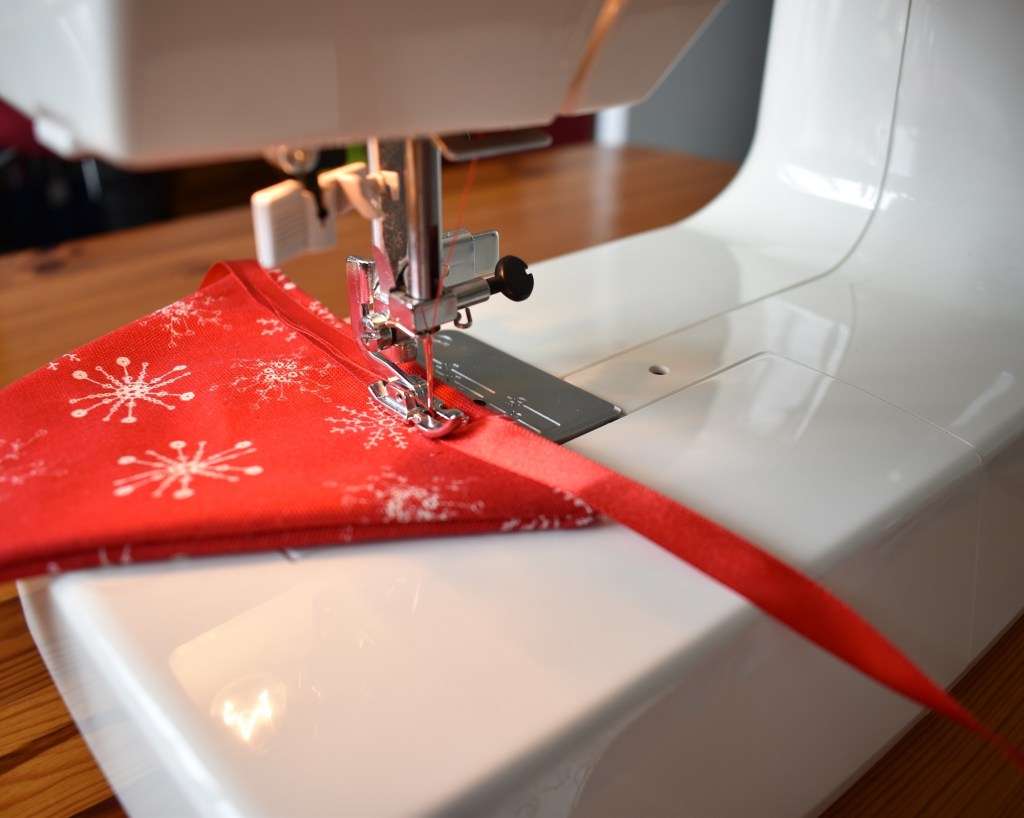
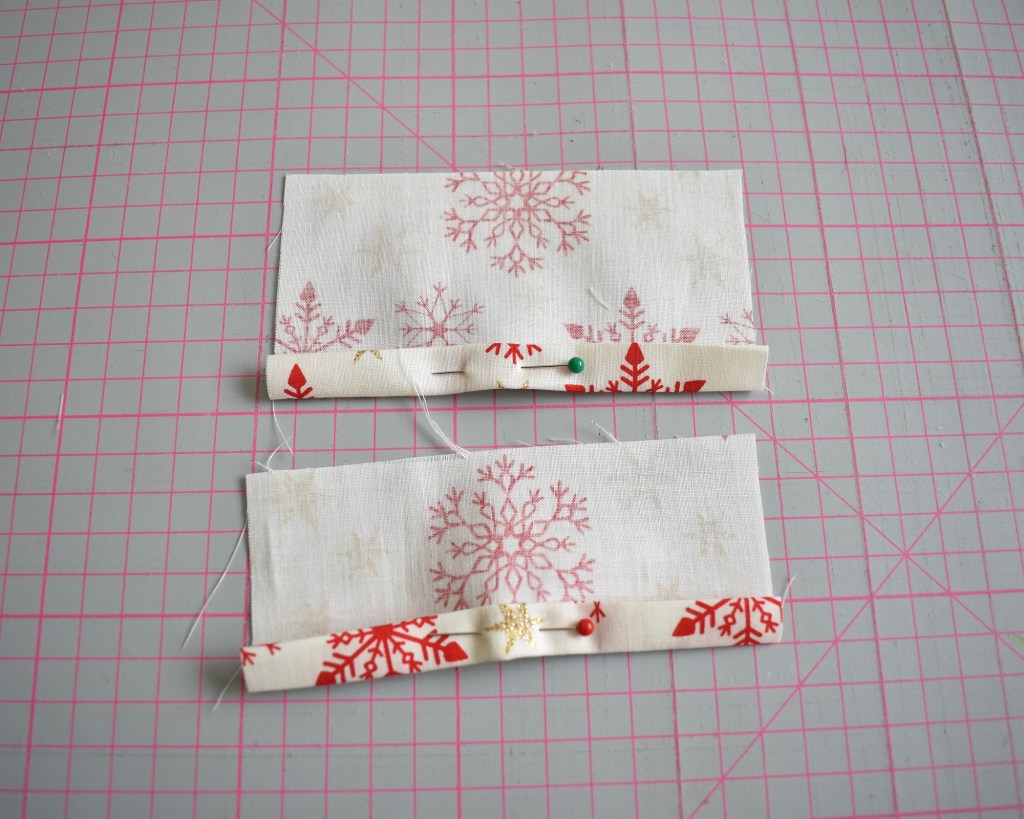
1) Prepare the pocket pieces
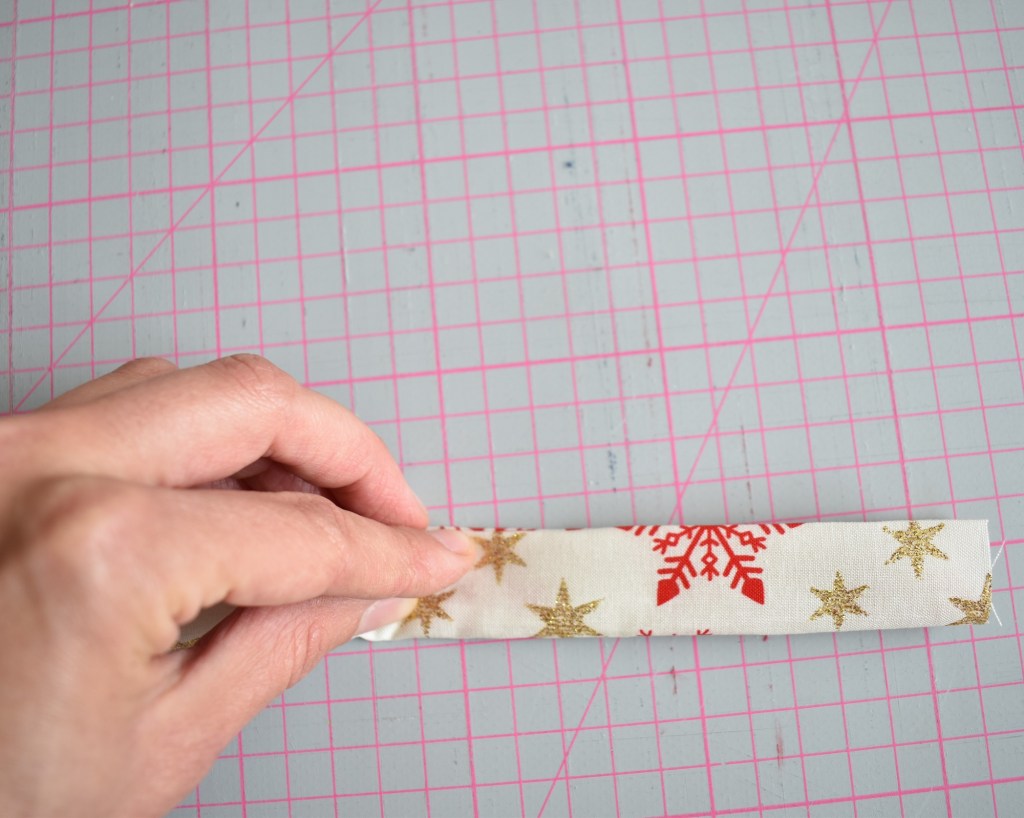
Take the two smaller pieces of fabric and fold a 1 cm hem along the long edge of each fabric. Fold it a second time to make a double folded hem that won’t fray. Pin down.
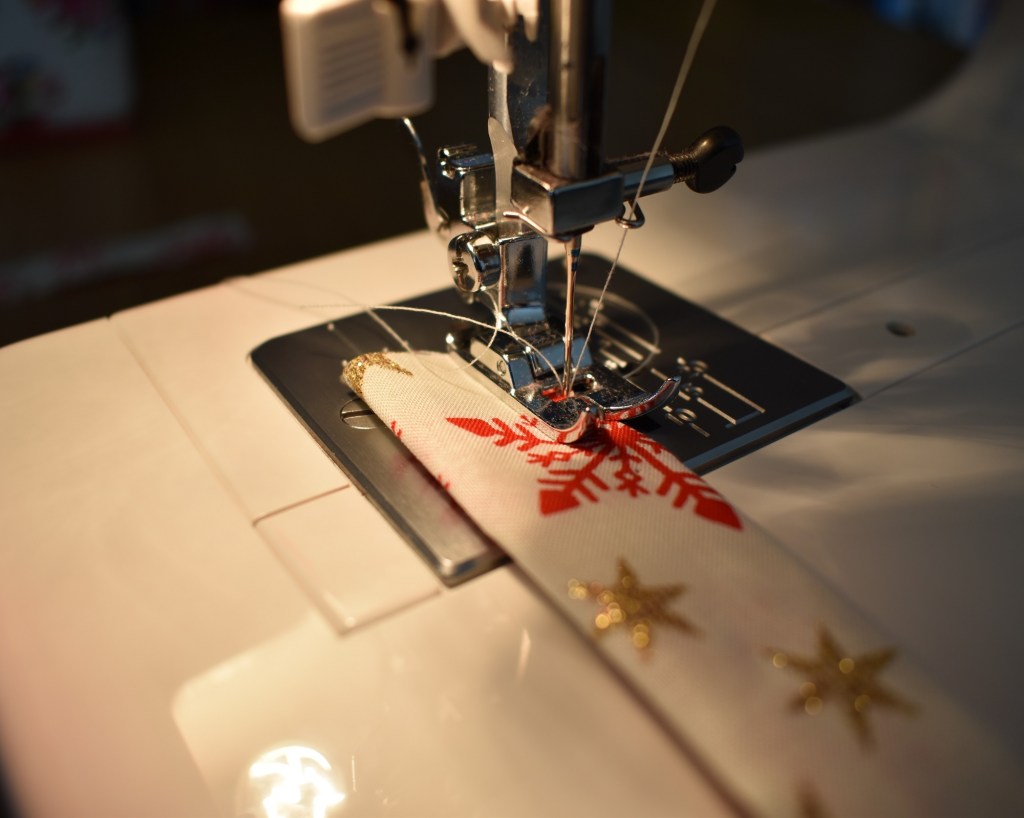
Sew a stitch line along this, a couple of millimeters in from the folded edge.
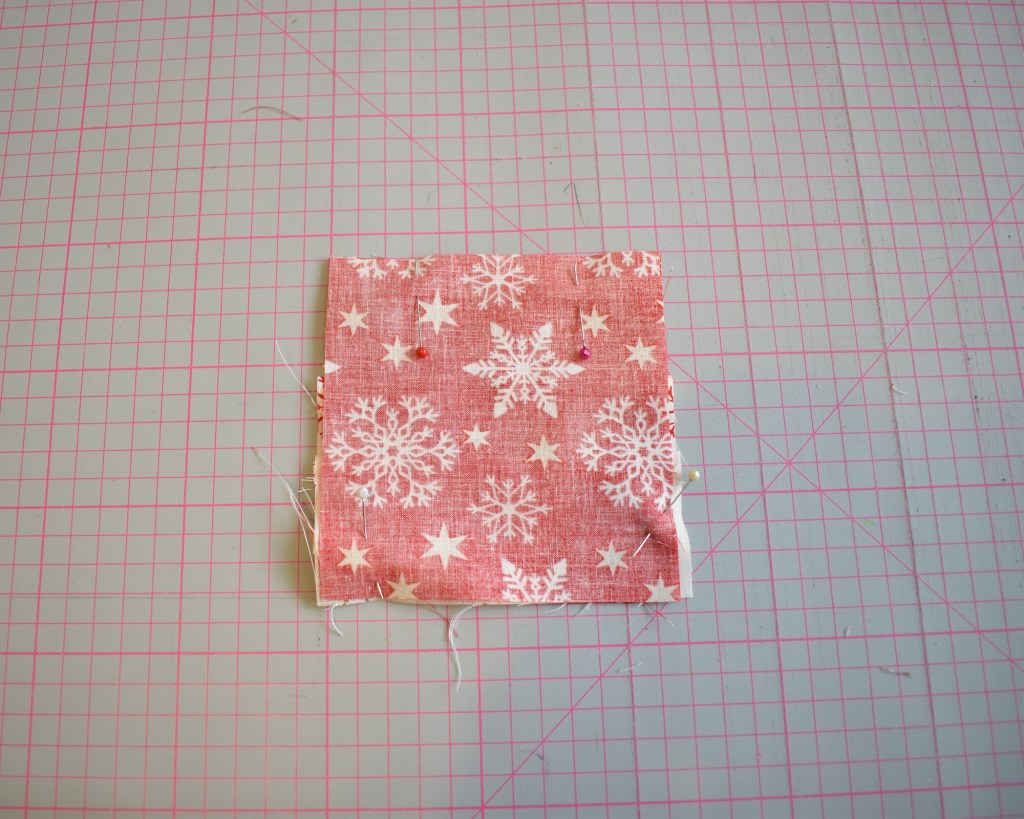
Pin down the hem 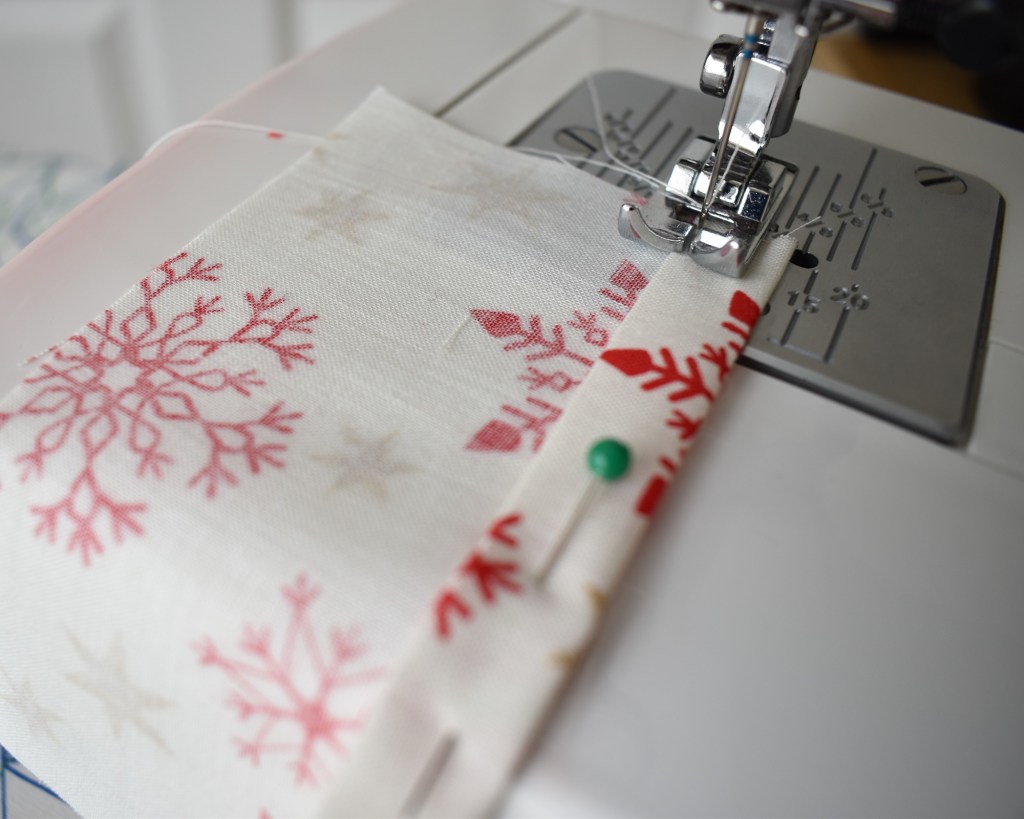
Sew a stitch line a couple of millimeters from the top edge
2) Making the wallet
Lay one of the main pieces of fabric down, face side up. Place the larger of the two pockets on this, lengthways along the 11.5 cm length of the fabric, 1.5. cm from the bottom edge of the main fabric. Measure 4 cm from the bottom of the main fabric and stitch a line across the pocket piece. This will ensure you don’t lose your debit card in the depths of the pocket!

Place the large pocket on top of main fabric 1.5cm from bottom 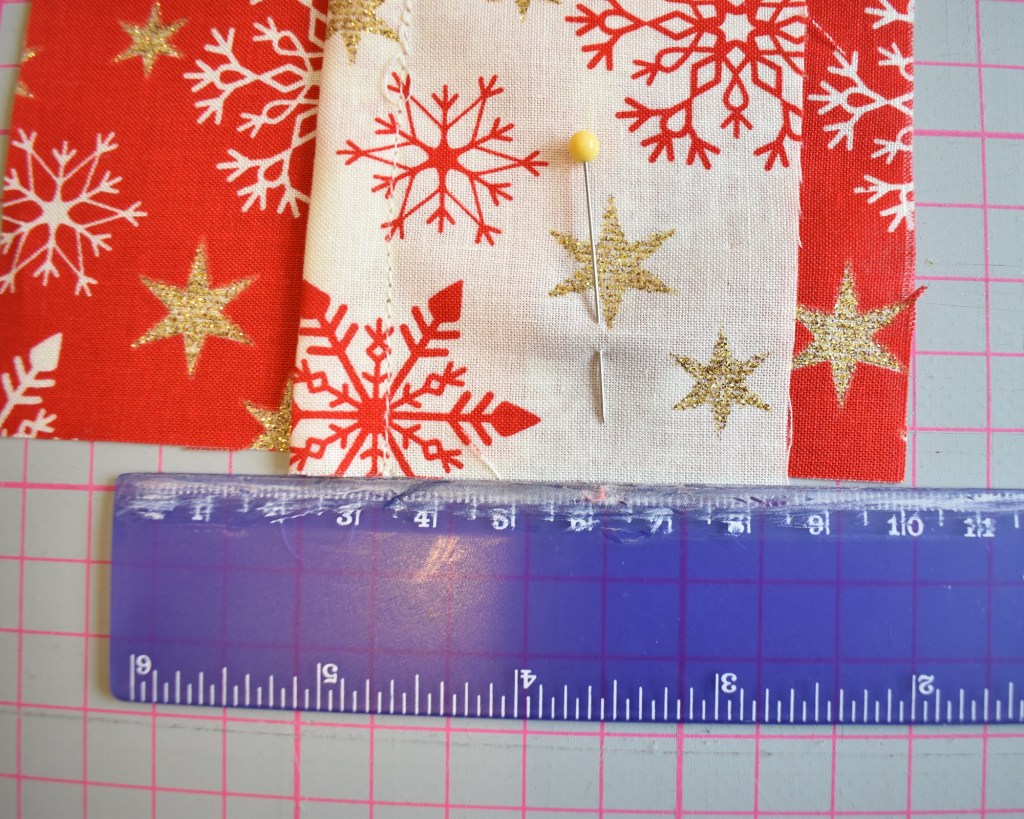
Measure 4cm up and pin 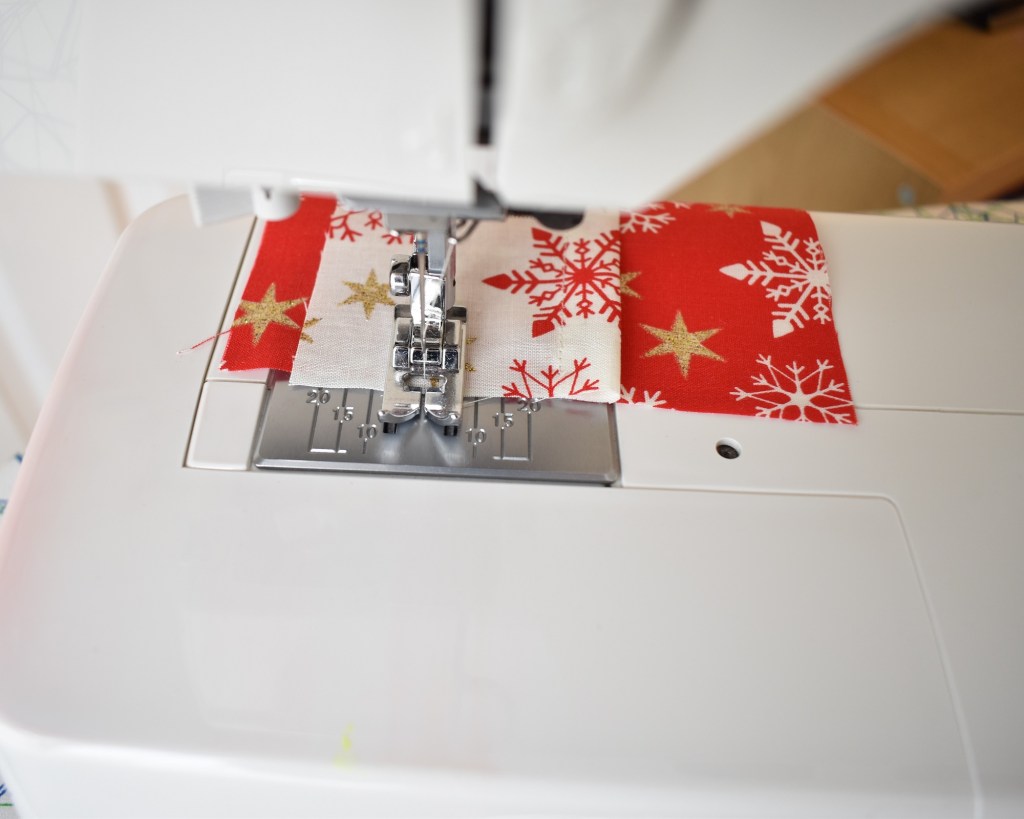
Sew a stitchline along the pins 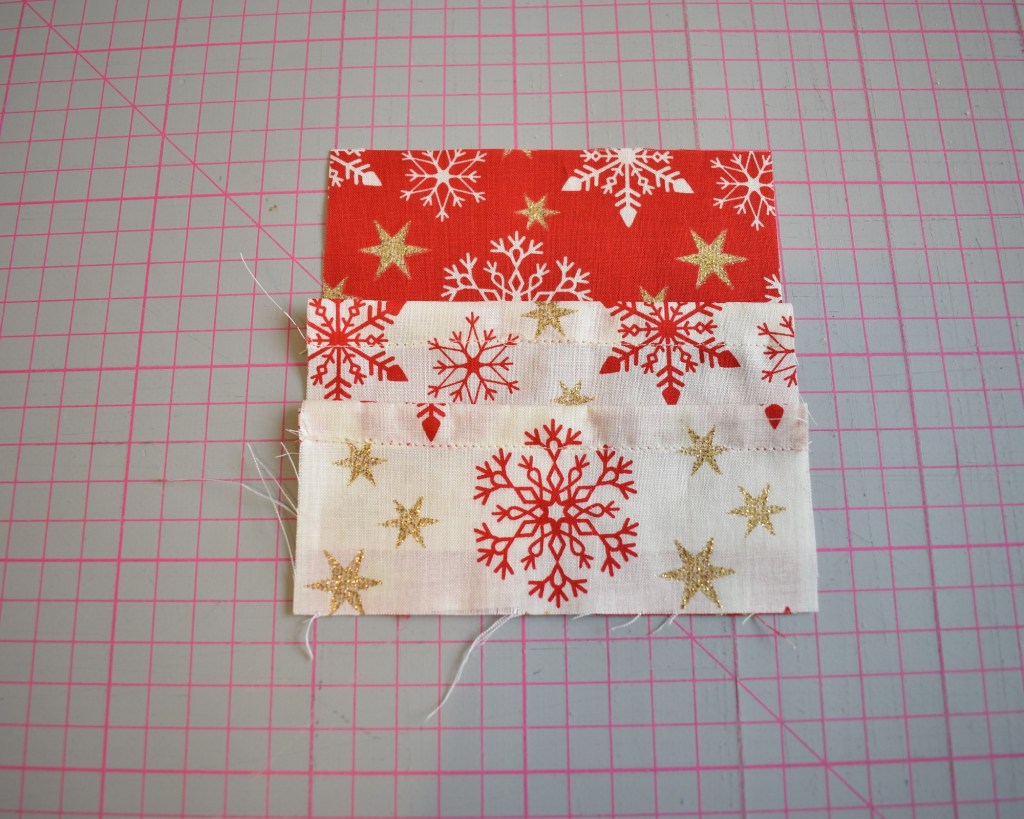
Place the second pocket on top 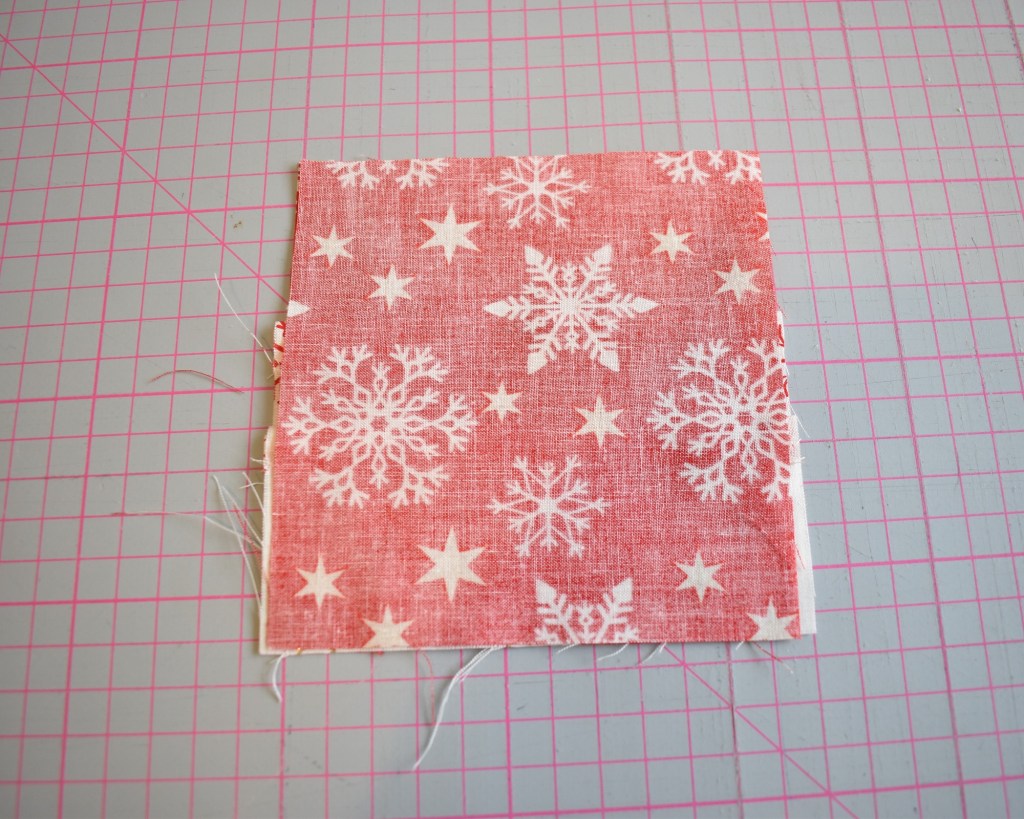
Place the second piece of main fabric on top of the pockets
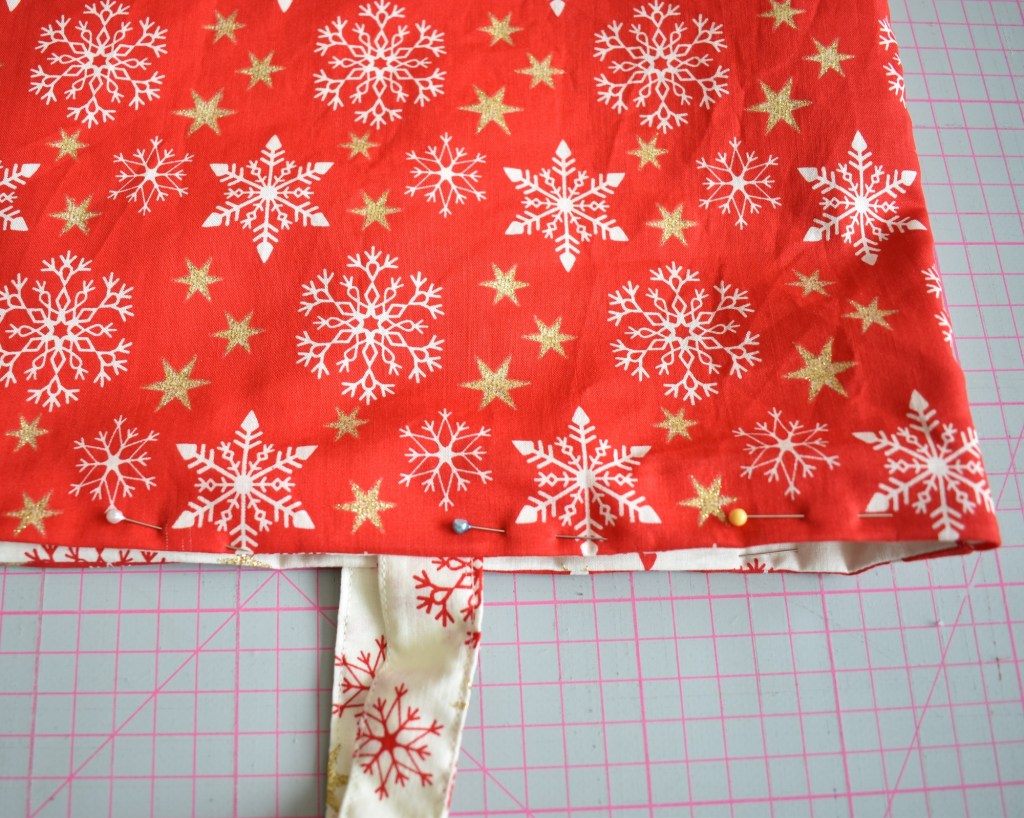
Place the second pocket piece on top of this edge to edge with the bottom of the main fabric.
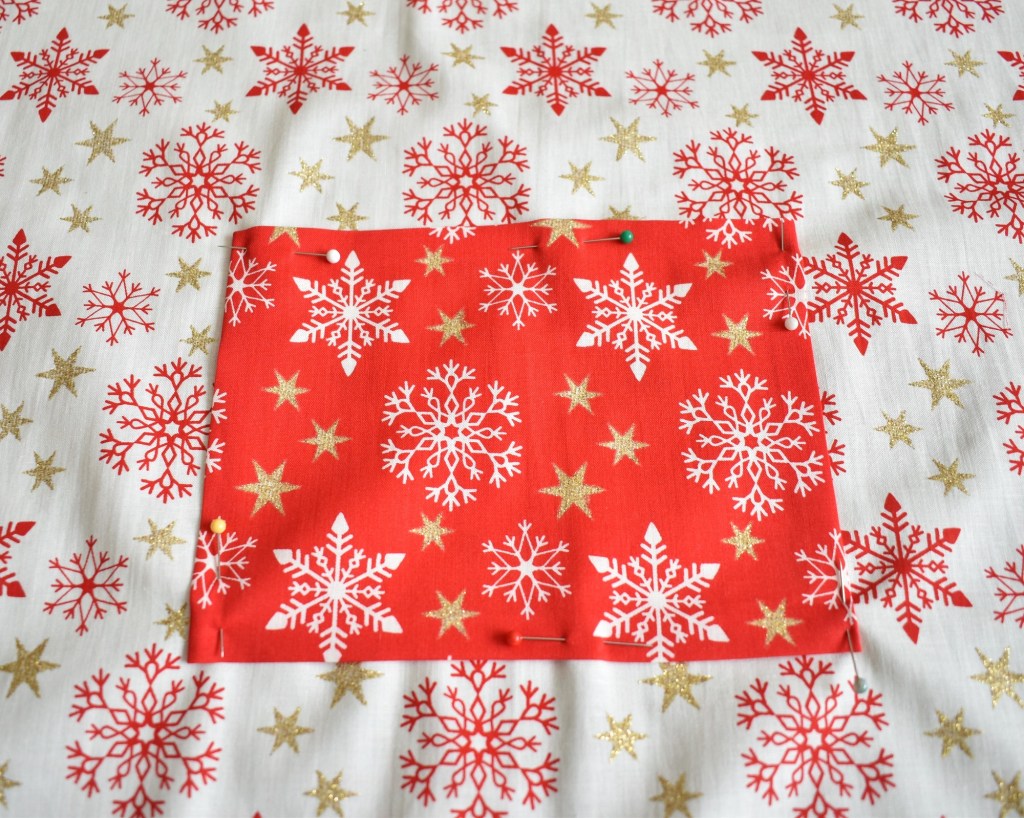
Place the second piece of main fabric on top, face side down. Pin all the fabric together, leaving a gap along one edge, 3 cm from each side edge, for turning in the right way.
Pin all 4 pieces of fabric together 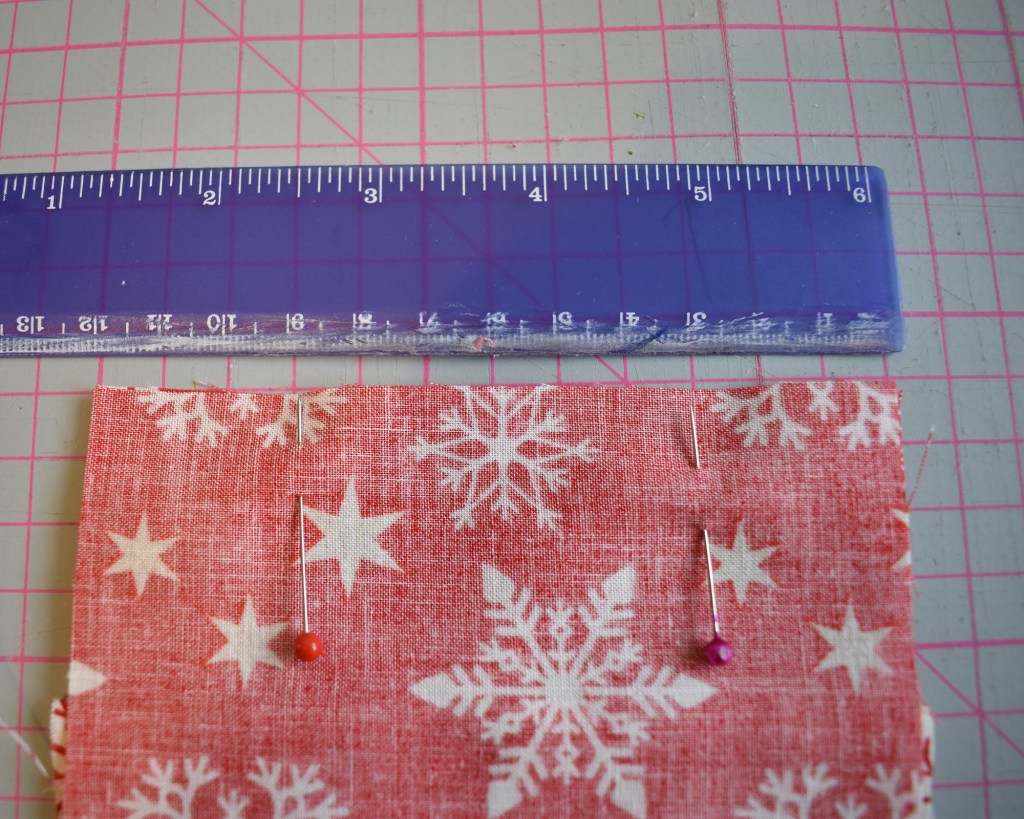
Leaving a gap in the middle of one edge
Top Tip
I place the pins for the gap or ‘doorway’ vertical as this helps me remember not to sew here.
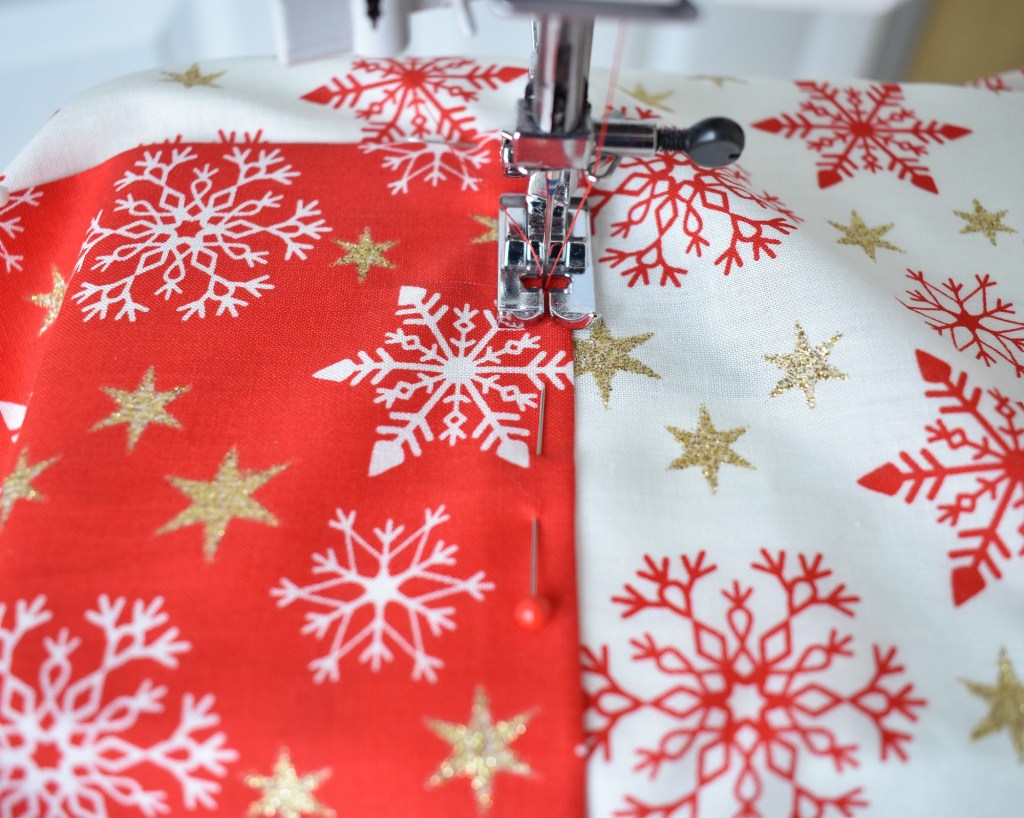
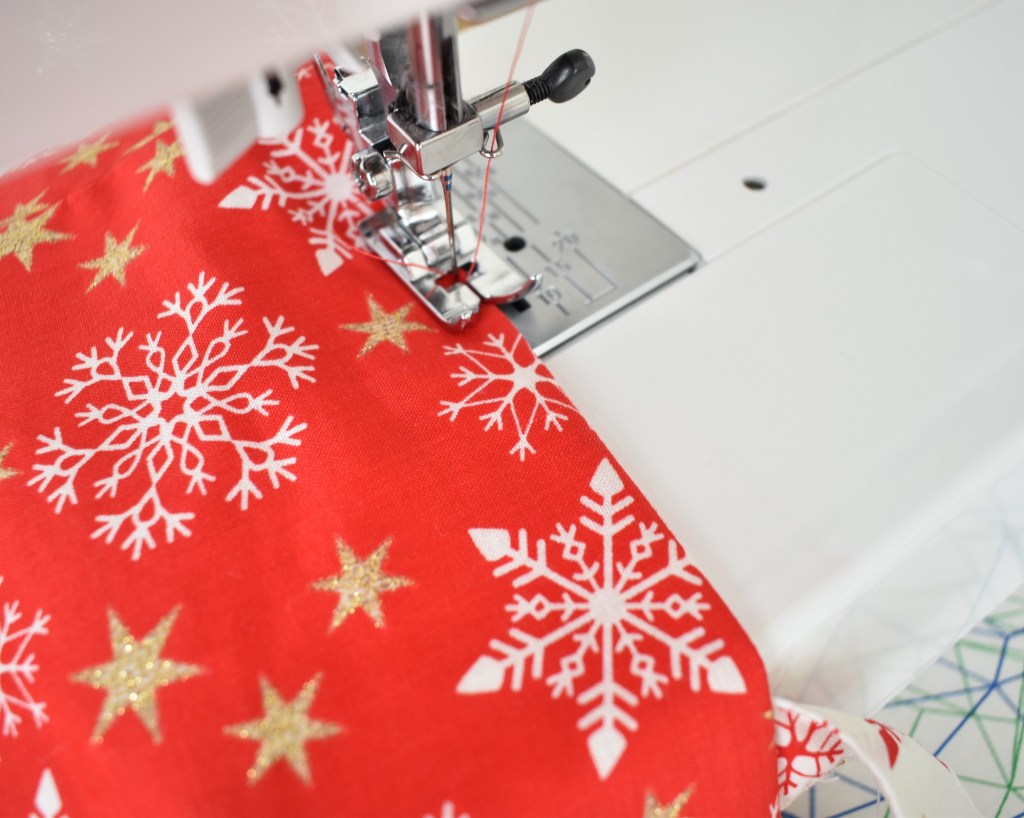
Starting at one side of the gap / doorway, sew a line of stitches all the way round the fabric, 1.5 cm in from the edge. Remember to do a few back stitches at the beginning and end to secure the line of stitches and prevent fraying.
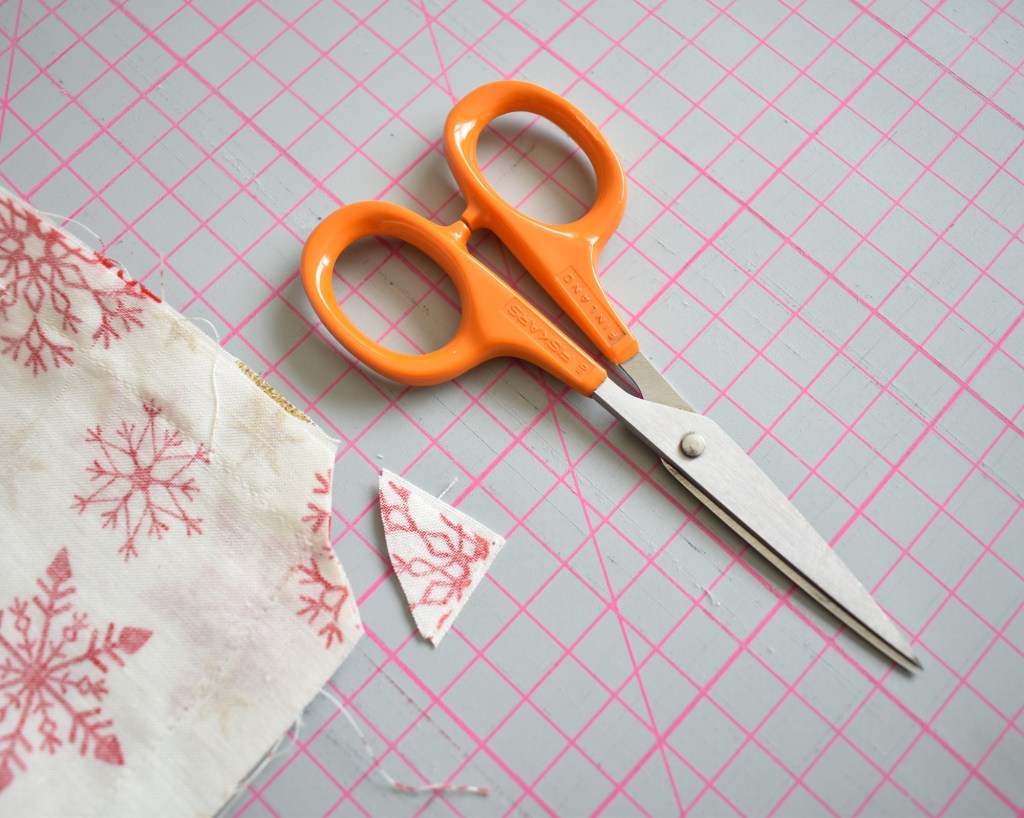
Cut off the four corners, leaving a couple of millimeters between the cut and the stitch line. This helps the corners to be turned neatly with no bunching.
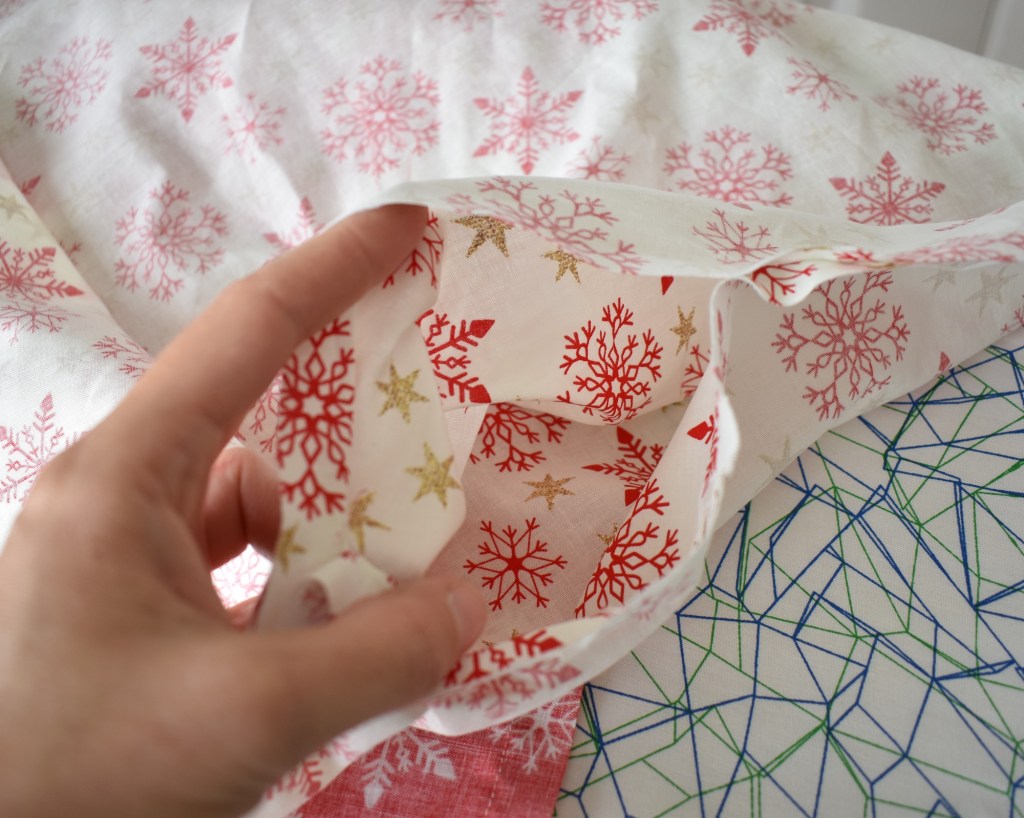
Turn inside out.
Carefully cut the corners off 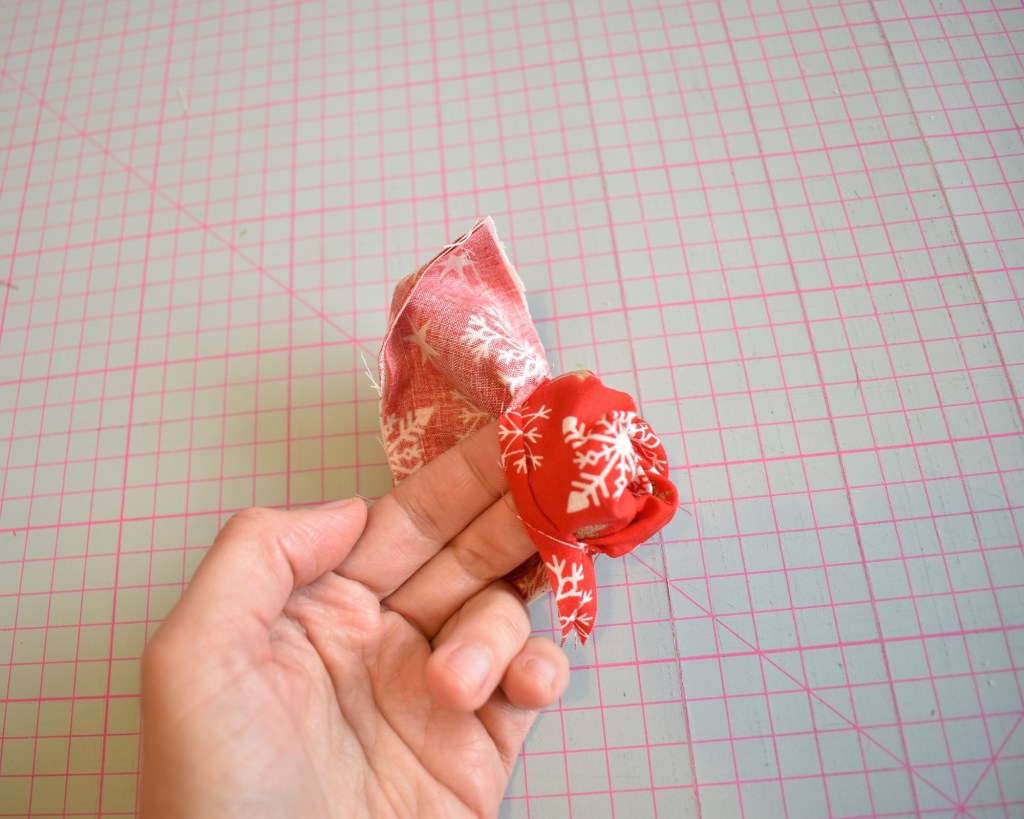
Use the gap to turn the wallet in the right way 
Use a pin to nudge the corners out 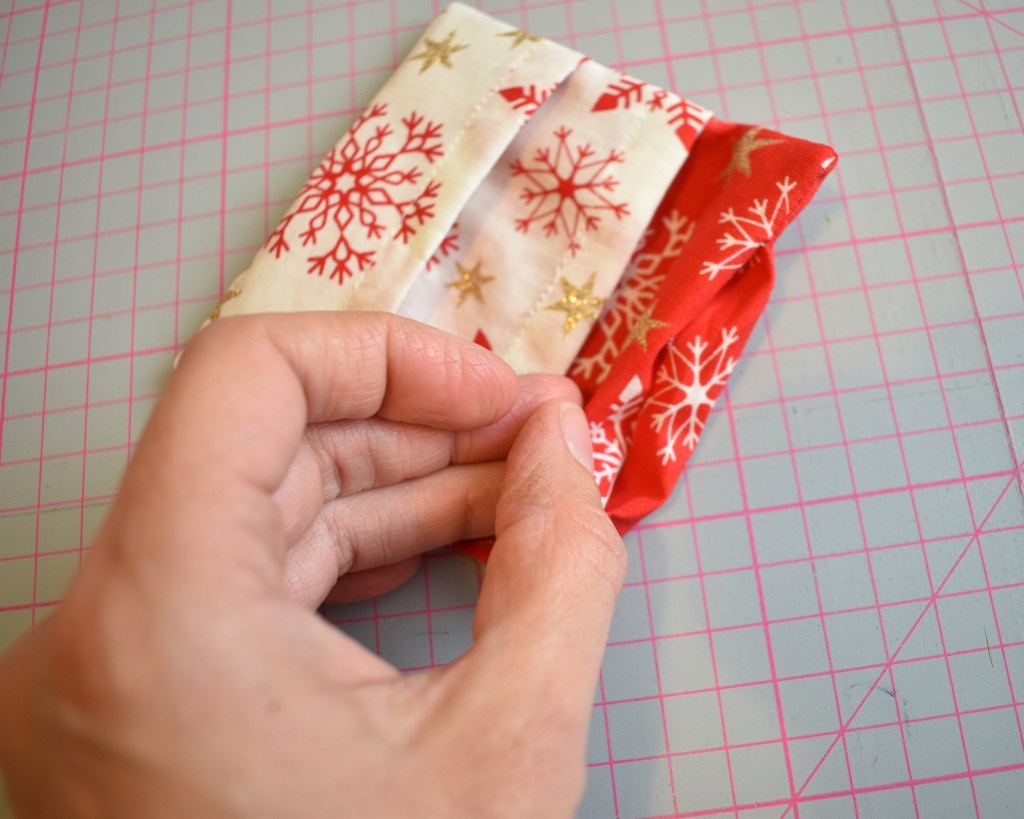
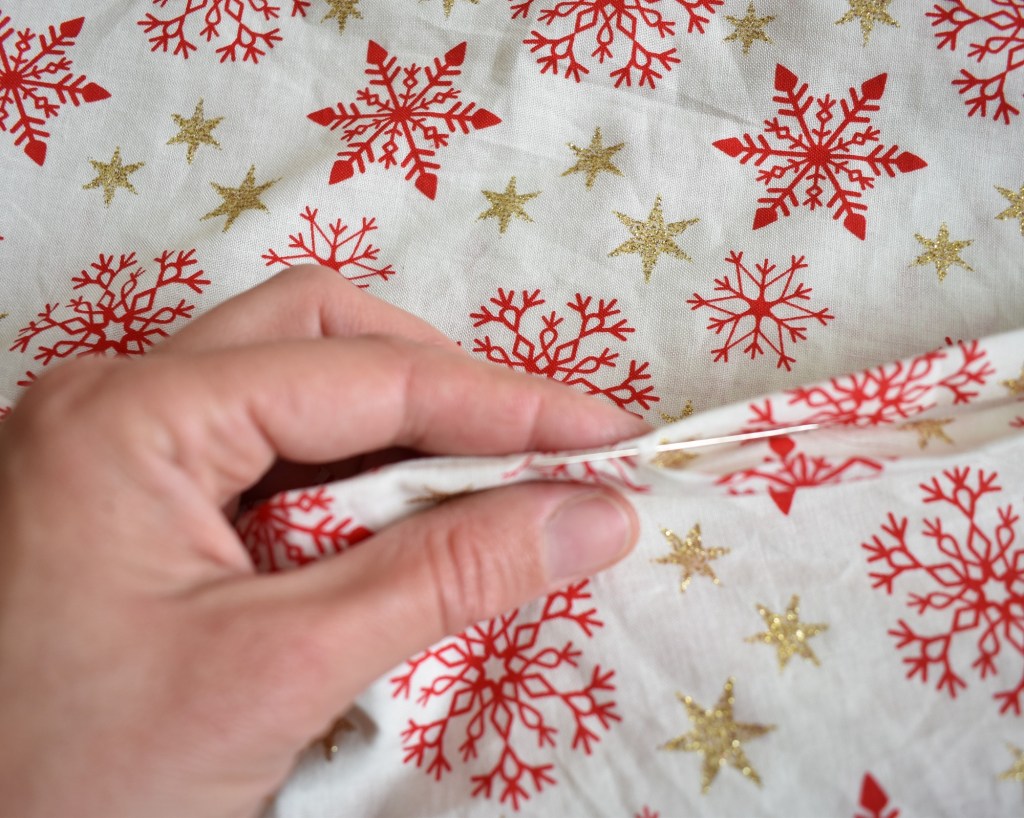
Smooth the wallet out and flatten the open hems 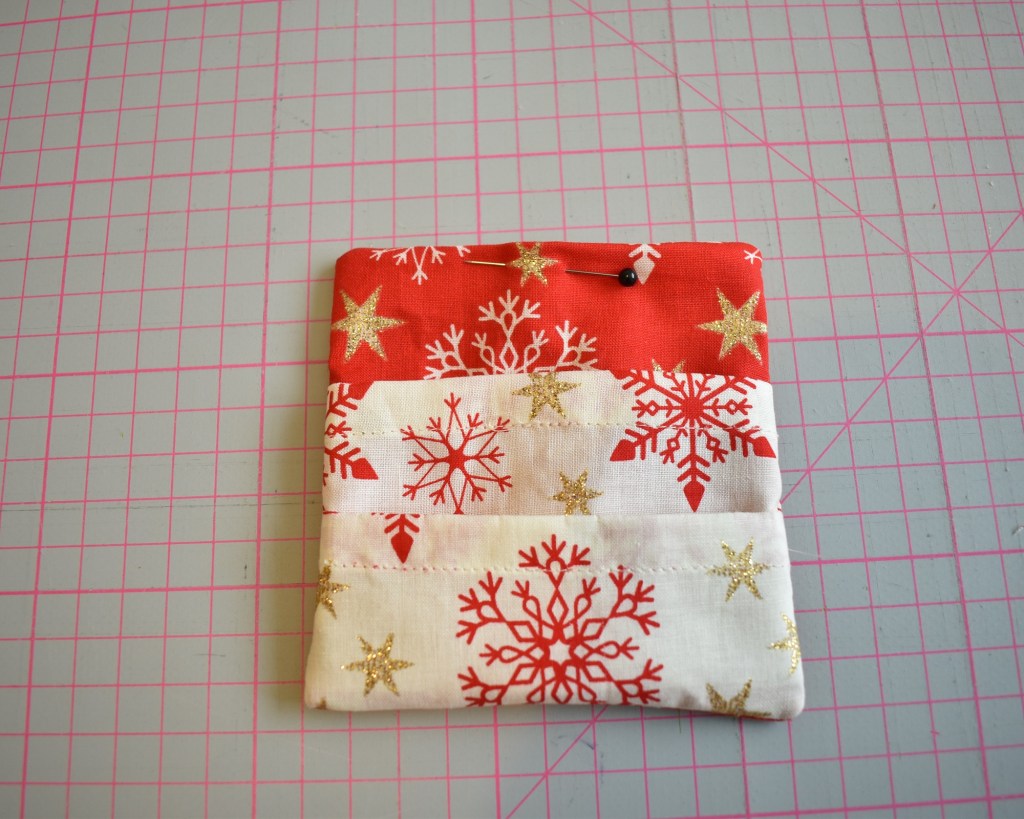
Pin together 
Sew the gap together using ladder stitch
Smooth the wallet out and iron the hems of the gap flat if necessary before pinning together. Using a simple ladder stitch to close the remaining gap.
Top Tip
If you are unsure of how to do ladder stitch, or slip stitch as it is also known, please watch my youtube video
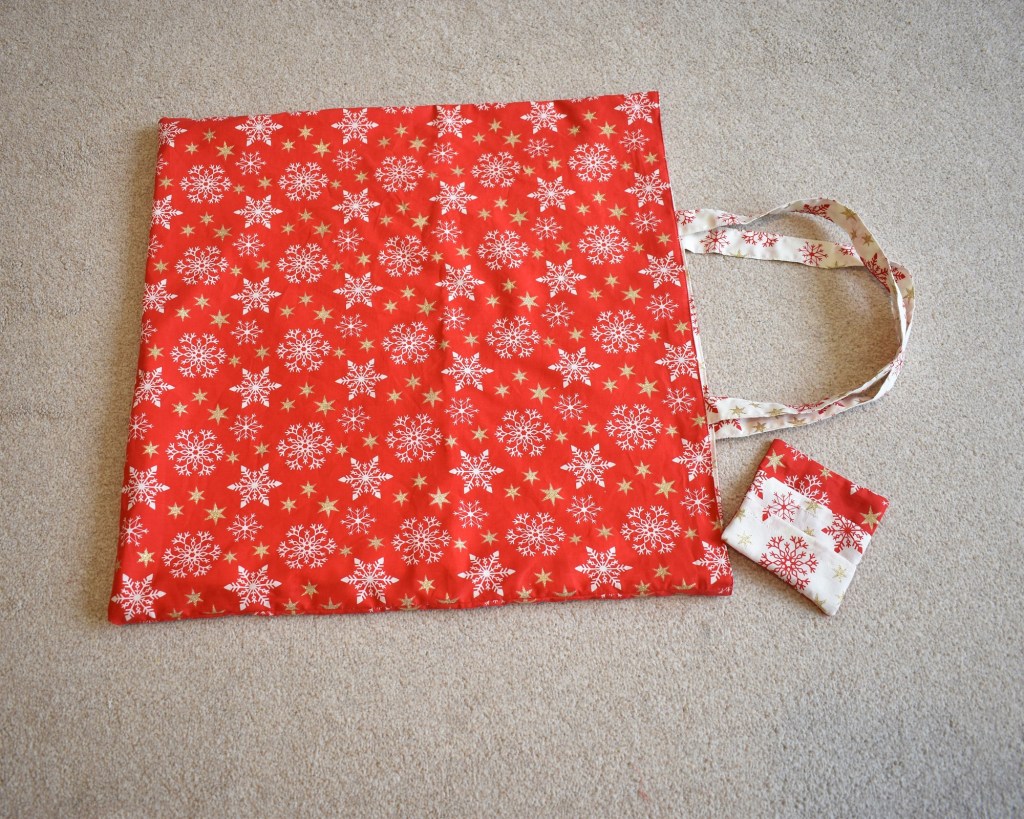
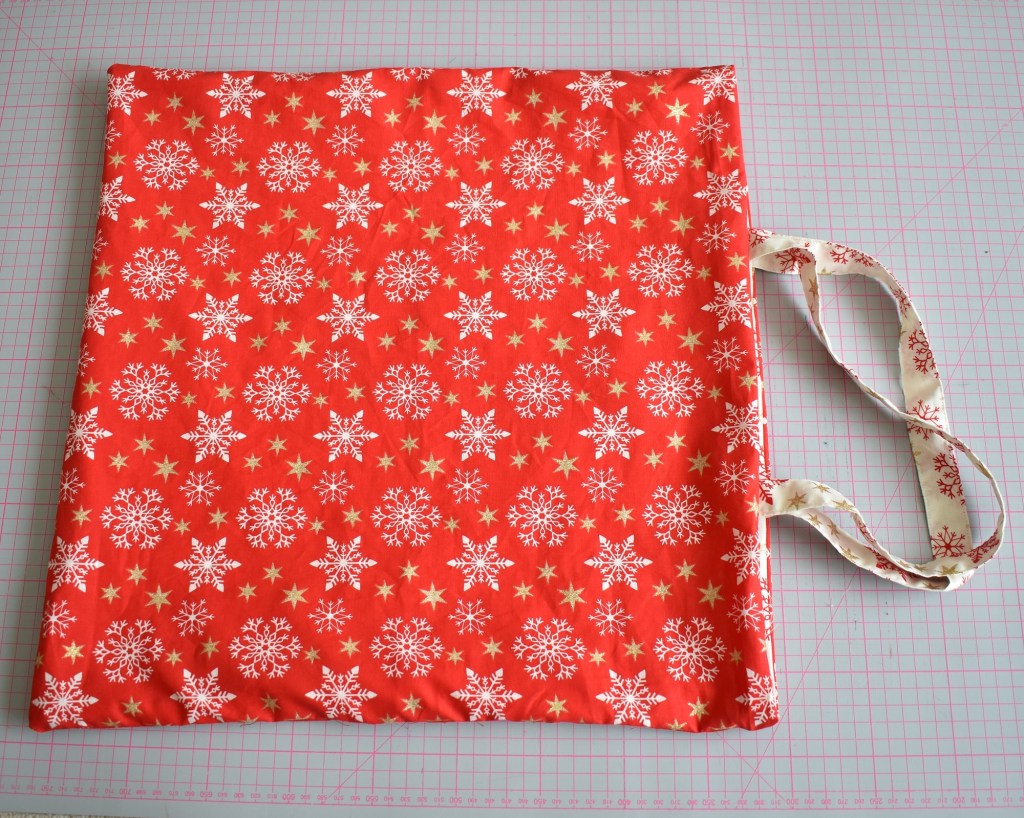
And, Voila! You have a lovely little debit card wallet to pop in the pocket of your Christmas Tote Bag!
So now you’re all ready for the Christmas shopping trips, join me next week when I’ll show you how to make a nice and simple, lucky dip advent calendar!